(This indoor plant wall post contains affiliate links that I may be compensated for. Your clicks and purchases help support The DIY Lighthouse at no extra charge to you.)
Last year I wanted to add more plants to my home. In full disclosure, I’ve got a few faux plants too, but there’s no denying the impact real plants can have on the feel of a space. Real plants add more life, energy, and peacefulness. In addition, there are health reasons to add more plants–they help filter out harmful toxins found in homes.
I’m no plant expert, but through the little research I have done, the benefits of having plants around were worth taking the plunge and looking for ways to add more to my home. That said, I started looking into adding an indoor plant wall.
Why an indoor plant wall instead of just more plants in regular pots? I had an empty wall that I wanted to add some sort of wall feature to. I could have used paint, or an art piece, or something like that, but the light-filled room was just begging for some plants.
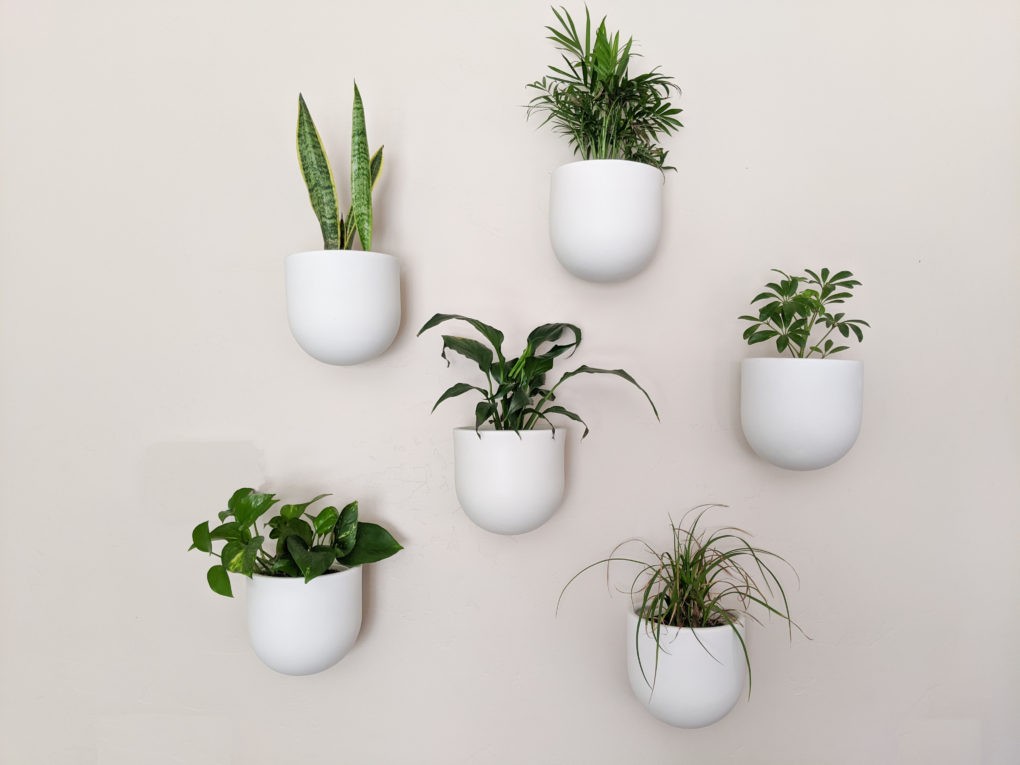
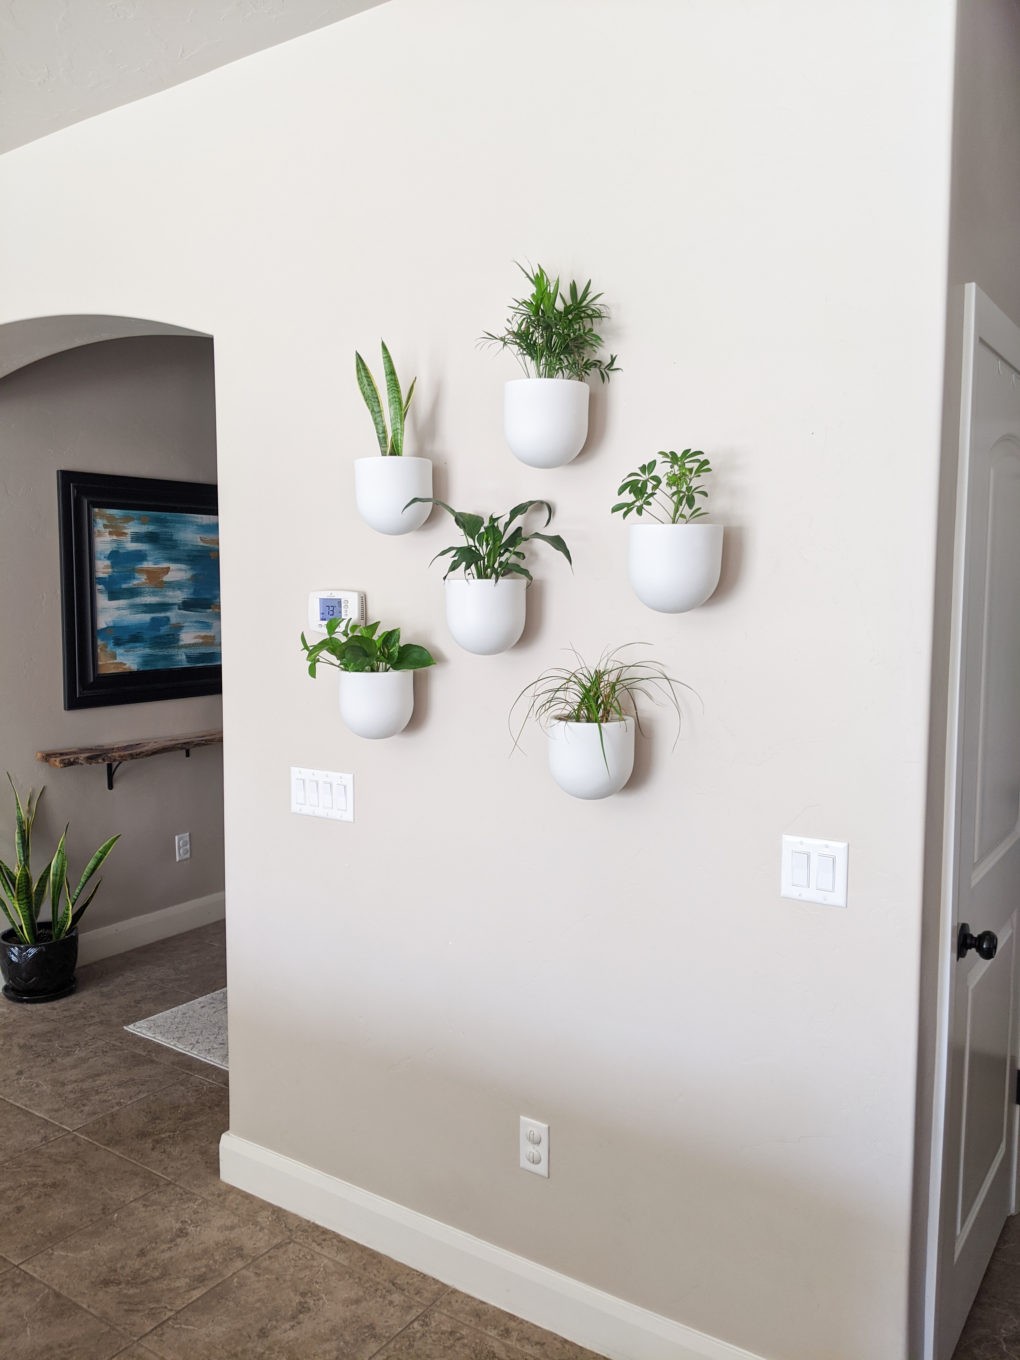
Eventually, my indoor plant wall with real plants was up, and I am still LOVING it! Other people do too! People frequently compliment it and ask if the plants are real. Read on for tips on putting up your own indoor plant wall.
Indoor Plant Wall Materials & Links
White & Modern Ceramic Wall Planters
I wanted to find wall planters with a modern look–something crisp and with a clean edge. After poking around at online options (because I’m a total online shopper), I kept coming back to these Ceramic Wallscape Planters by West Elm. Although I very easily salivate over all things West Elm, I’m not normally a shopper there because I’m too cheap (thrifty?) for that. But after keeping my eye on those planters for a while, when they went on sale I decided to bite the bullet and get six 6″ white ceramic planters for my wall.
Inside Plastic Planter Liners with Drainage Holes
With beautiful wall planters in hand, I had my next hurdle: finding draining pots to fit inside of them. The ceramic planters from West Elm didn’t have any drainage holes, and I needed that if I was going to realistically have real, healthy plants in my planters. After much searching, I discovered these 5.5″ plastic planters that fit beautifully inside the ceramic ones.
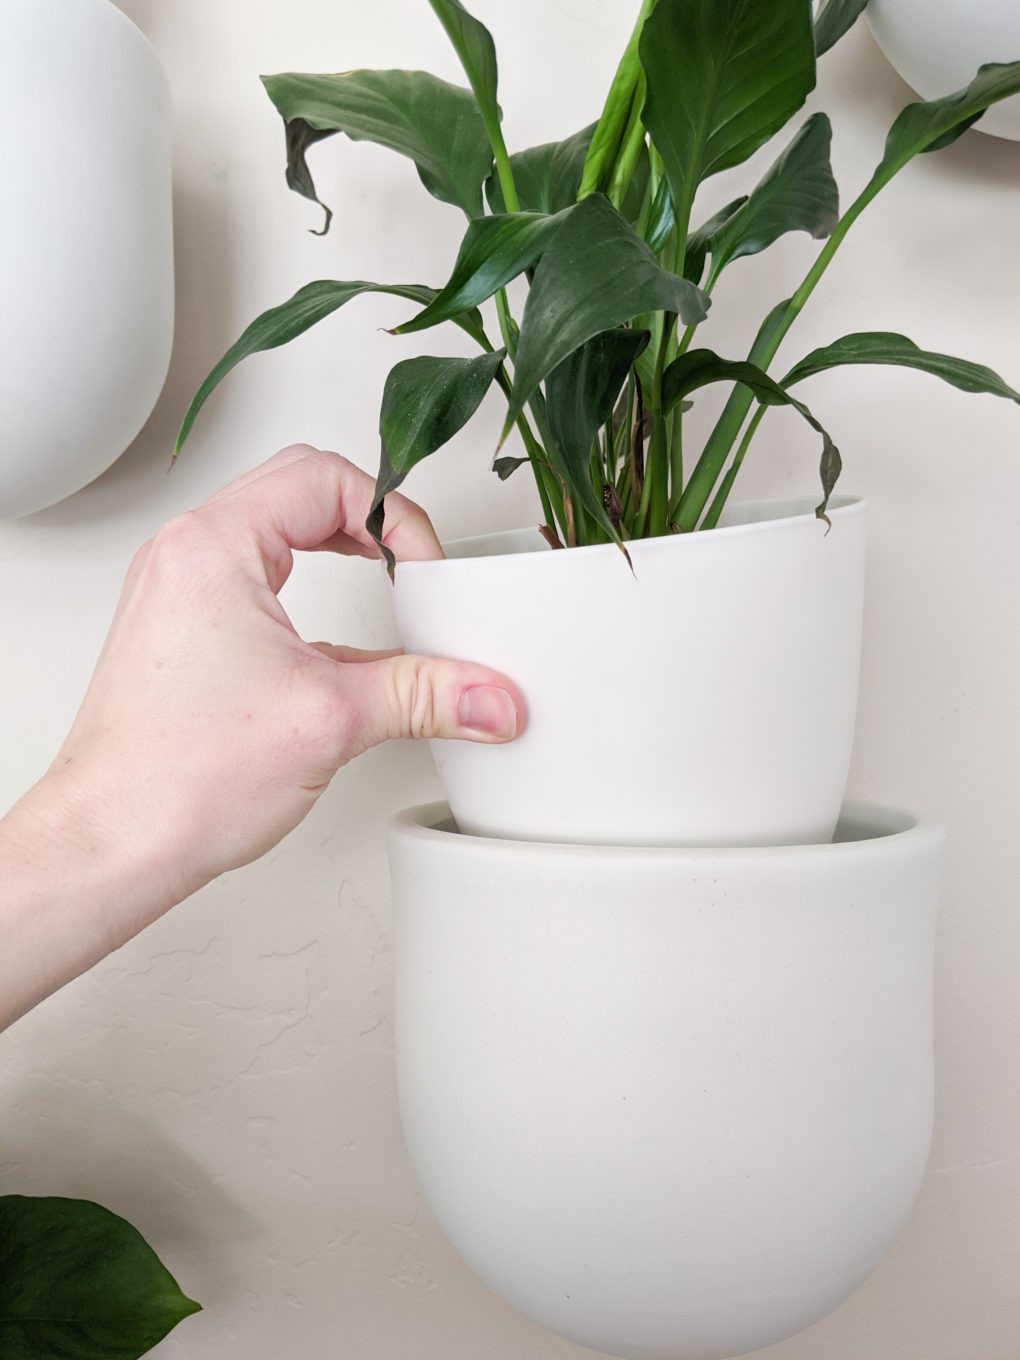
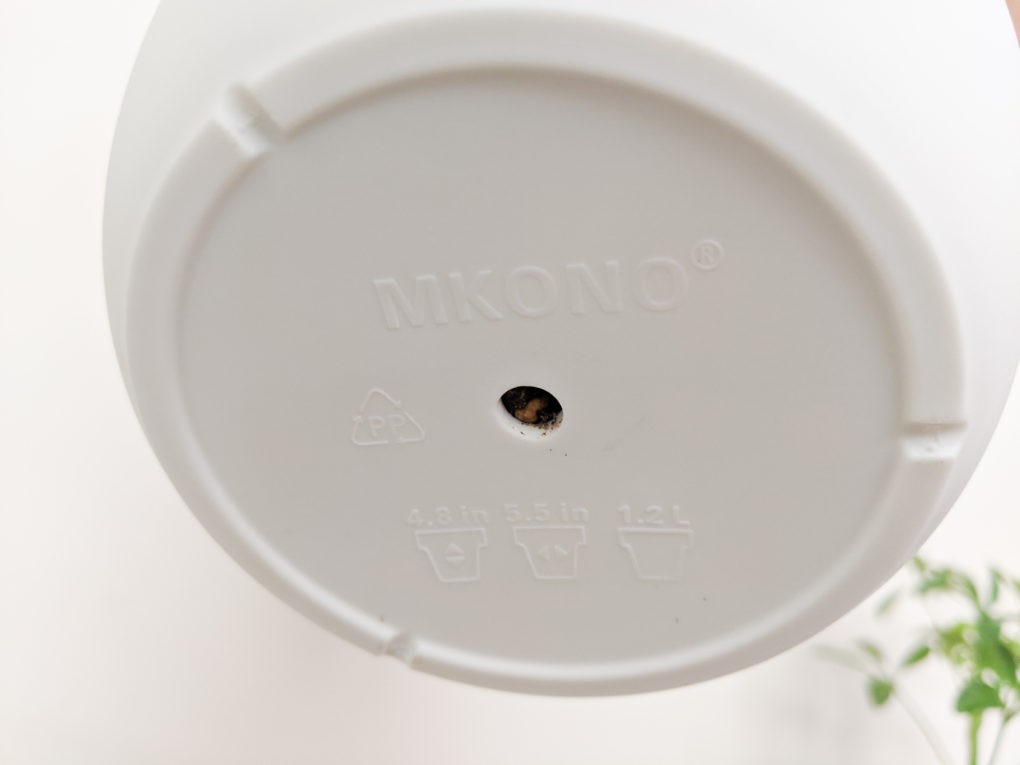
Using those plastic planters as pot liners for the ceramic planters has worked great! I added a few small pieces of foam to the bottom of each ceramic pot, and my plastic pot slides inconspicuously in.
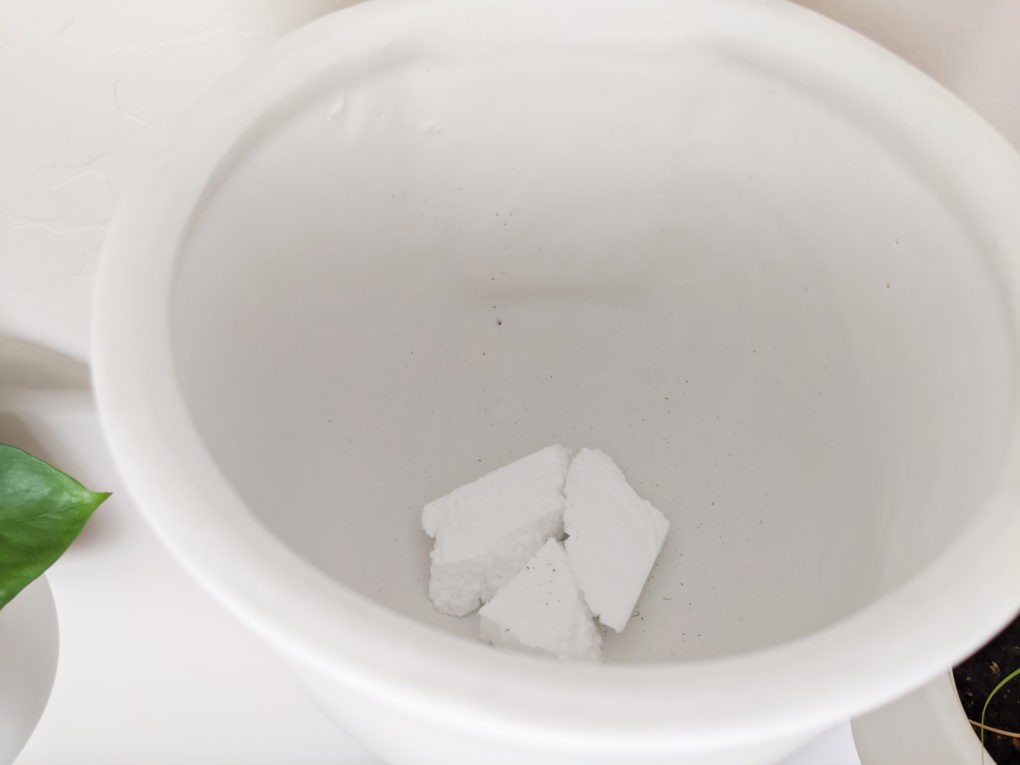
Only upon closer examination can you tell the ceramic pots were lined with plastic ones. I think this is thanks to the fact that the plastic ones are also white, thin (although they are surprisingly sturdy), and the planters are mostly hanging above eye level.
Plants Used in My Indoor Plant Wall
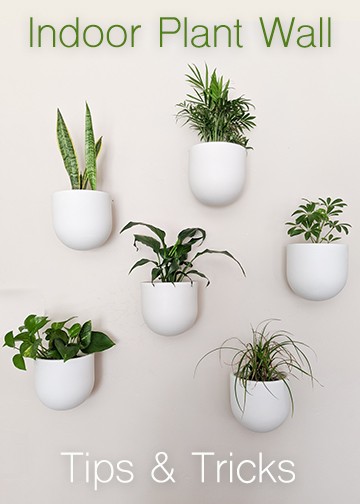
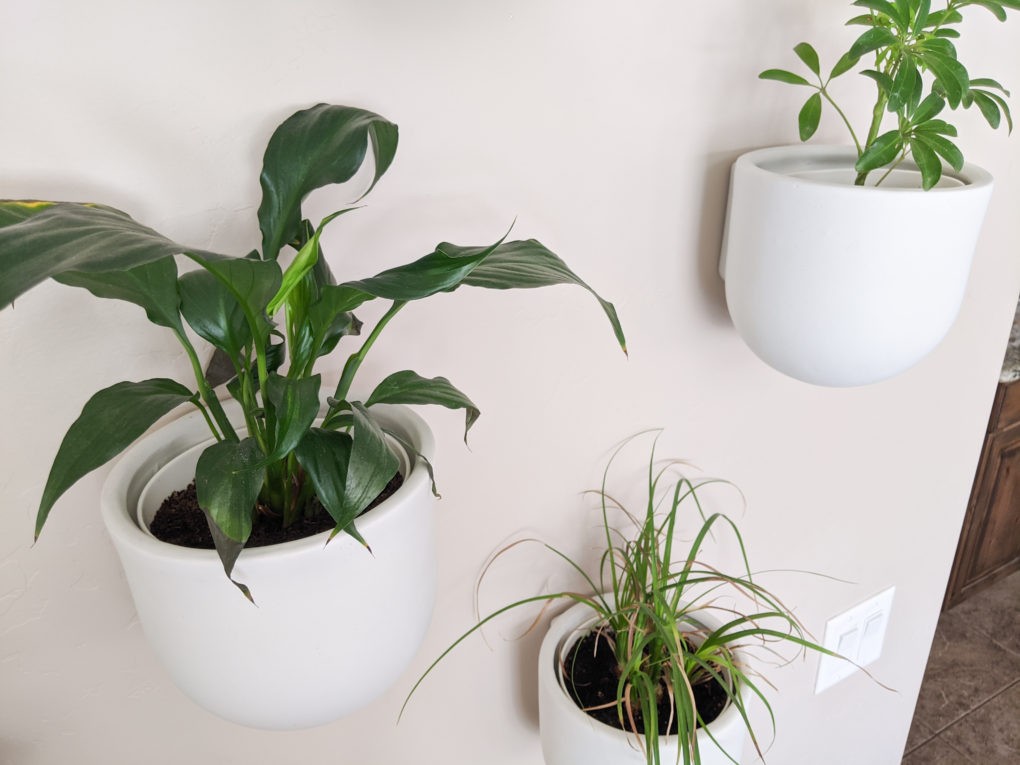
Because you will probably ask, below are the plants I used in this indoor plant wall that I have managed to keep alive for months now. (I got all of the plants at Lowes in their indoor garden section and particularly looked for small plants that would fit my little 5.5″ pots.)

Top left: snake plant
Top right: cat palm (I think)
Middle right: schefflera
Bottom right: ponytail palm
Bottom left: pothos
Middle: peace lily
On watering day (I water every 2 weeks), I pull out the plastic pot liners. After bringing them over to the sink, watering the plants, and letting the excess water drain out, then I slip the plastic pots back inside the ceramic pots. That’s it!
FYI, I used to have herbs in some of the planters, but they died after a couple of months from lack of enough sunlight. So far, my current plants have been going strong for 6+ months!
Tips for Hanging an Indoor Plant Wall
First, I suggest you figure out the placement of your planters with these tricks. I traced the pot shape/size onto a piece of paper, cut out six of them, and used painters tape to hang them up on the wall. After trying out a bunch of different positions and asking some trusted people which arrangement they liked best, I landed on this current option. To me the placement looks random but there is actually a pattern to it that keeps things even.

Then, once you know where you want the pots to go, you are ready to hang. These ceramic wall planters come with hanging hardware (screws and wall anchors). I ended up using the supplied wall anchors for wherever the screw didn’t hit a wall stud.
The picture below better shows you how the planters are connected to the wall.

On the flat part at the back are two hanging holes. I measured where the holes were and then transferred that to the wall. (Tip: I suggest you measure the holes on every single planter. The distance between the holes and their positioning on the planter varied slightly from planter to planter.) After some measuring, leveling, drilling, and screwing, the planters slid onto the screws and voila! my planters were up.
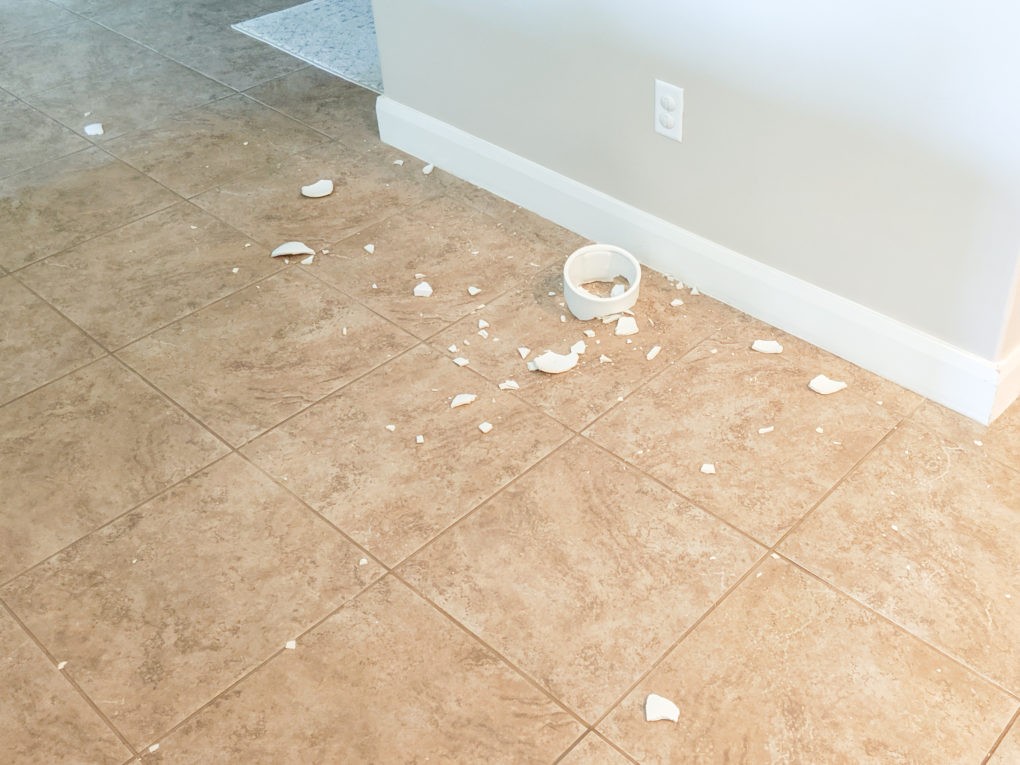
I did have one planter slip off of the wall when I was trying to hang it and break on the tile floor, but West Elm customer service was amazing and sent me another one free of charge. If you have that happen too, then try calling customer service before just buying another.
What Do You Think?
What do you think of my indoor plant wall? Have any easy, indoor plants that would work great in a plant wall like this? Please share by commenting below!
Pin it for Later
