(This DIY wallpaper collaborative post written by Brandy Frame contains content that I may be compensated for. Thank you for supporting The DIY Lighthouse at no extra cost to you.)
One way to liven up your living room is by adding new wallpaper. However, you don’t want to pay exorbitant fees to get it done so here we’ll be teaching you how to do it yourself.
Now, there are several ways you can go about applying your wallpaper, but we’ve narrowed it down to two. Read on to learn more about how to spruce up your living room through the use of DIY wallpaper.
DIY Wallpaper #1- Wall Stickers
Wall Stickers: Advantages and Disadvantages
The most obvious advantage that wall stickers have over other options is that they are much easier to apply. This is because all you have to do is buy wallpaper and stick it to the walls of your living room.
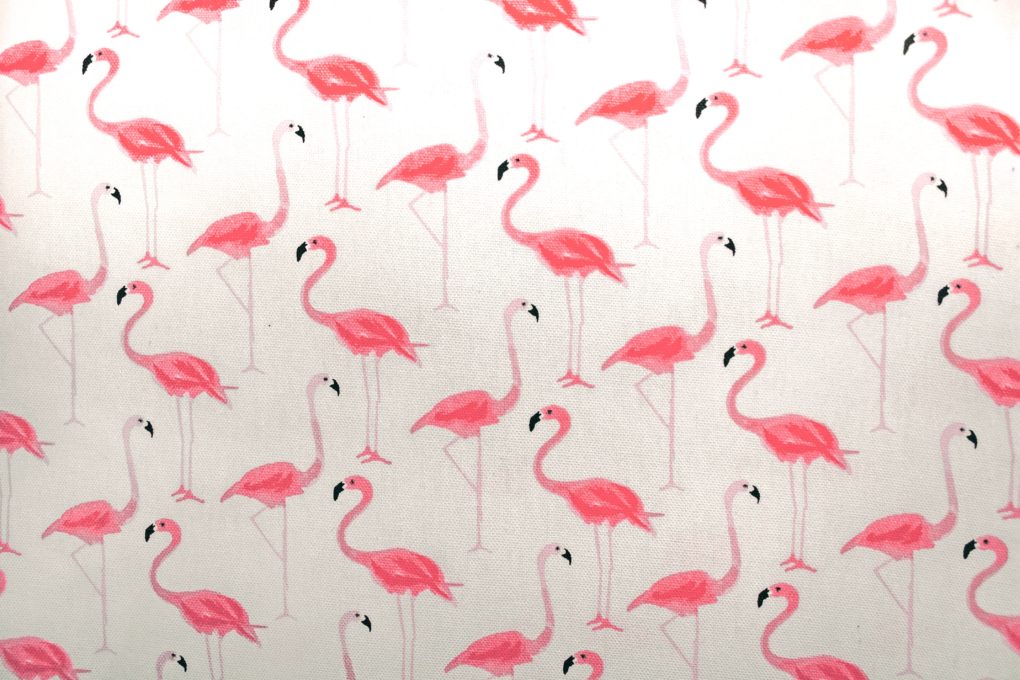
One drawback is that since the wall stickers are often pre-made, they offer less room for personalization and the designs will be rather generic. However, there are sites and stores where you can customize the design. Another disadvantage is that since it’s applied with an adhesive, it tends to peel off when exposed to the moisture in the air. How long the wall sticker will last fully depends on the environment that you are living in.
Wall Stickers: Guide
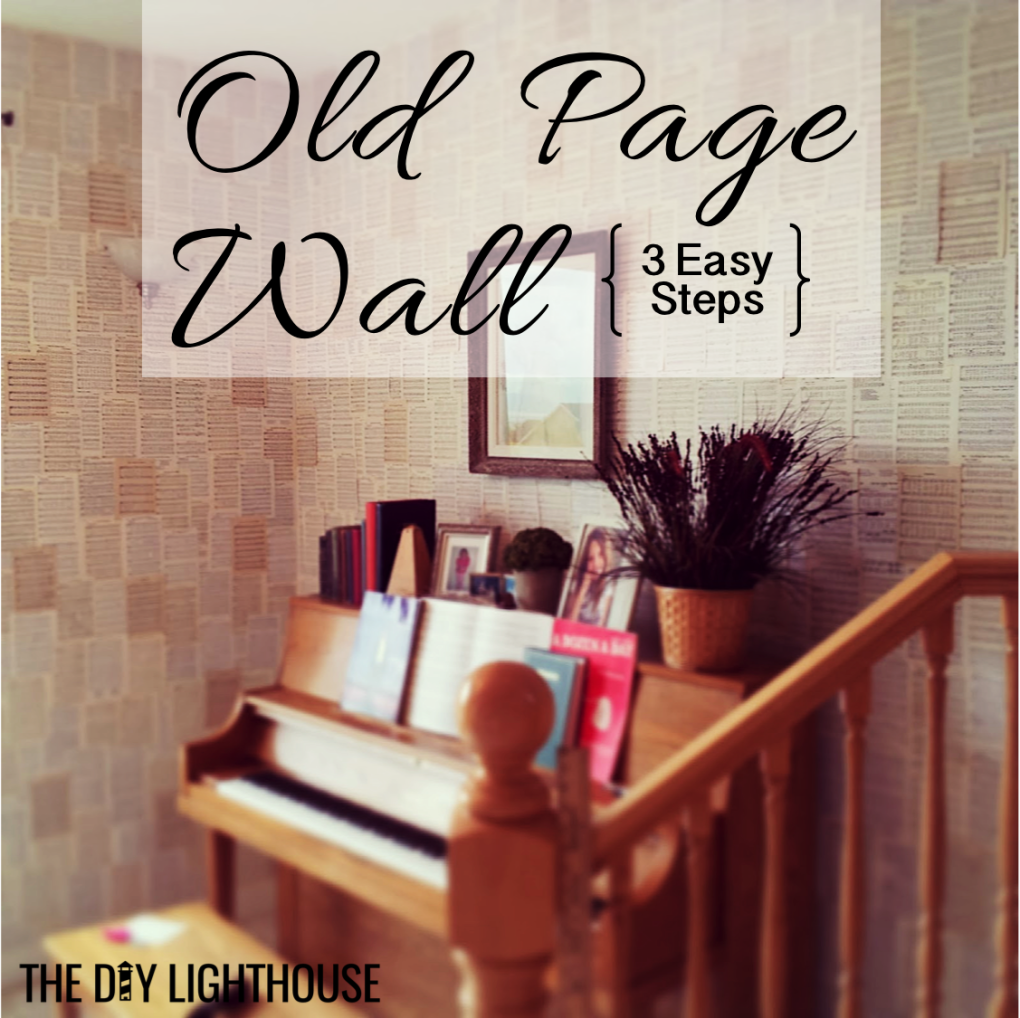
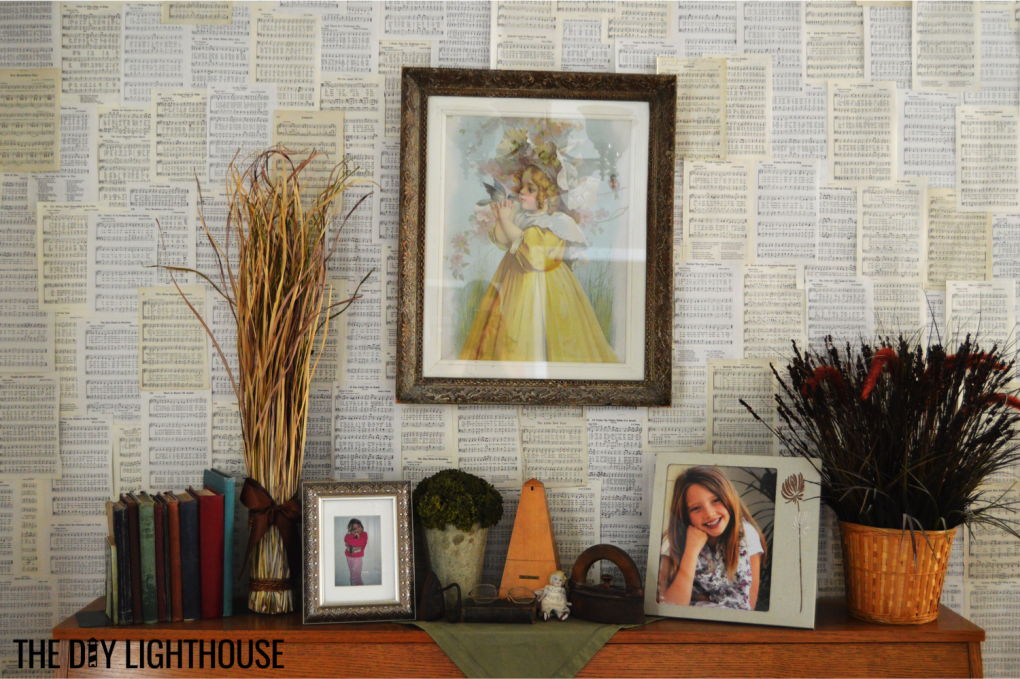
If you’ve read this blog’s article on DIY Old Page Wall: A Step-By-Step Tutorial, then you’ll have some sort of an idea on how to do this. But instead of using old hymn book pages, you’ll be using pre-bought wall stickers.
All you have to do is to measure the lengths of the side of the wall that you’ll be applying the stickers to and cut the stickers according to those measurements. A difficult part of the process is the corners where the walls intersect. Corners are tricky because you need to measure the edge of the last strip of paper to the corner, both the top and the bottom, and add 1/2 inch to the wider of the two measurements.
For these tricky corners, a post by HomeServe recommends using a seam roller small enough to perfectly flatten the design onto the wall. If you aren’t satisfied with how it turns out, the good news is that you can just take the sticker off and re-apply it until you’re happy with how it looks.
DIY Wallpaper #2- Painted Patterns
Painted Patterns: Advantages and Disadvantages
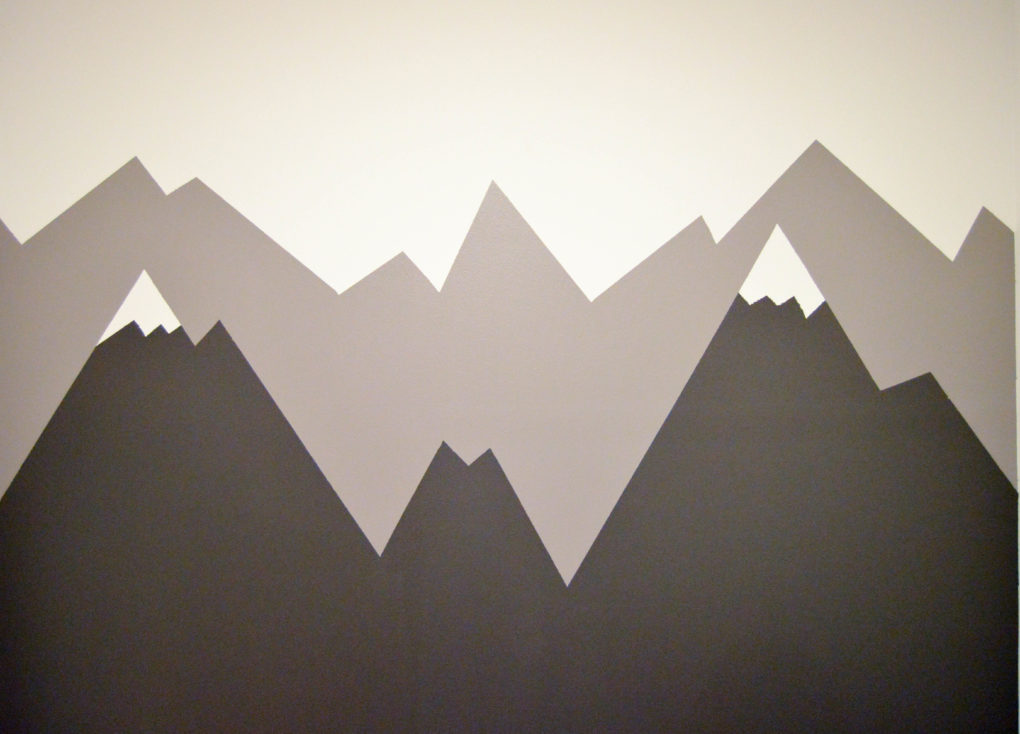
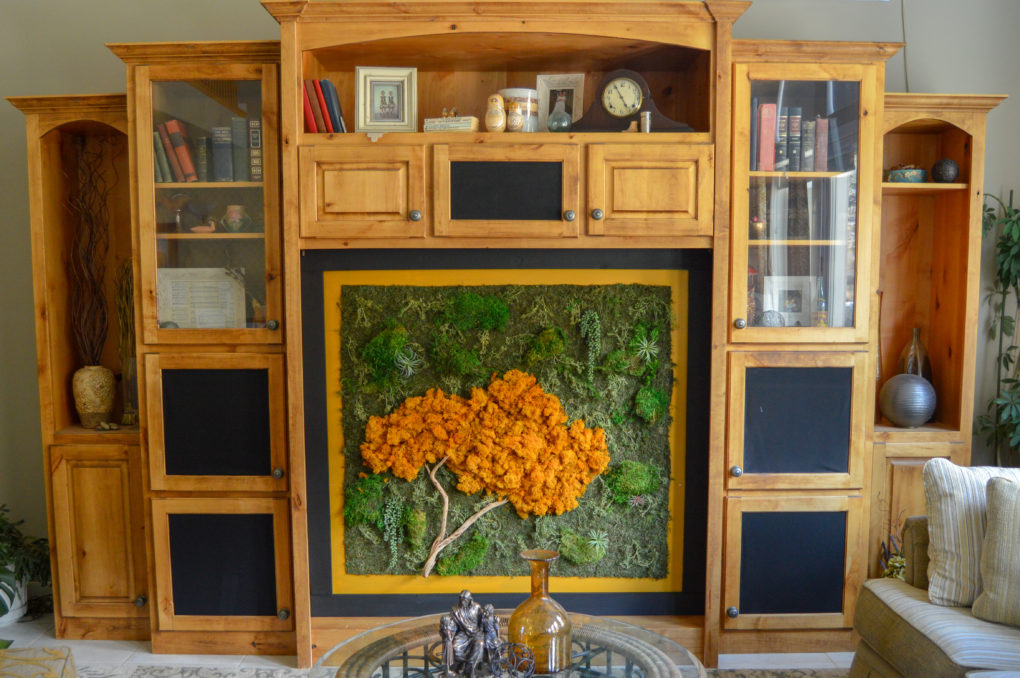
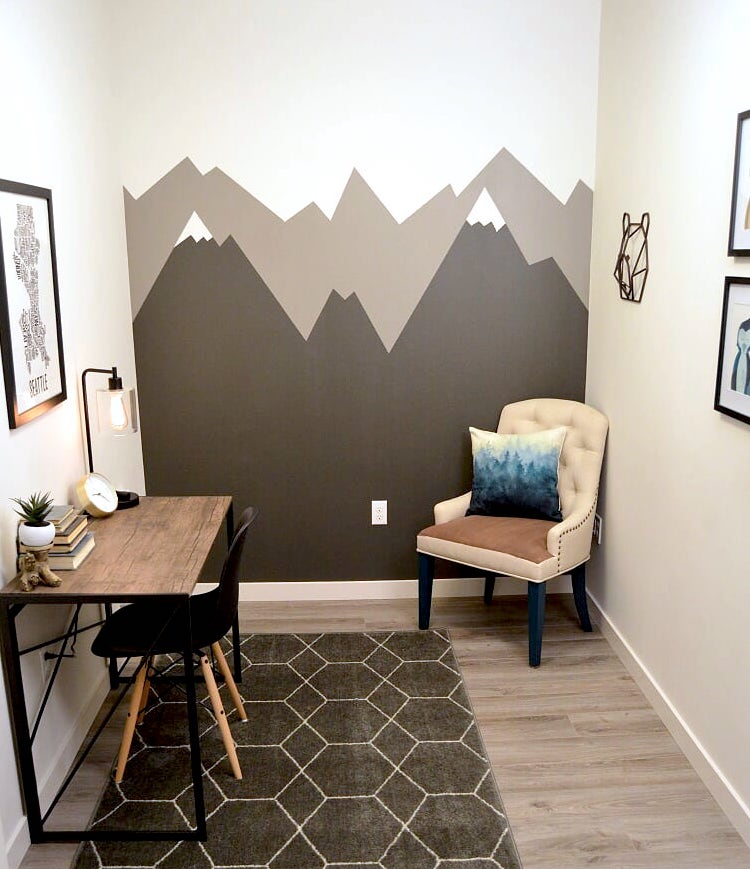
One advantage of painting your own patterns is that you get to customize and choose what specific designs go up on your walls. These could range from intricate markings to plain, bold colors to murals like this blog’s modern color block Mountain Mural.
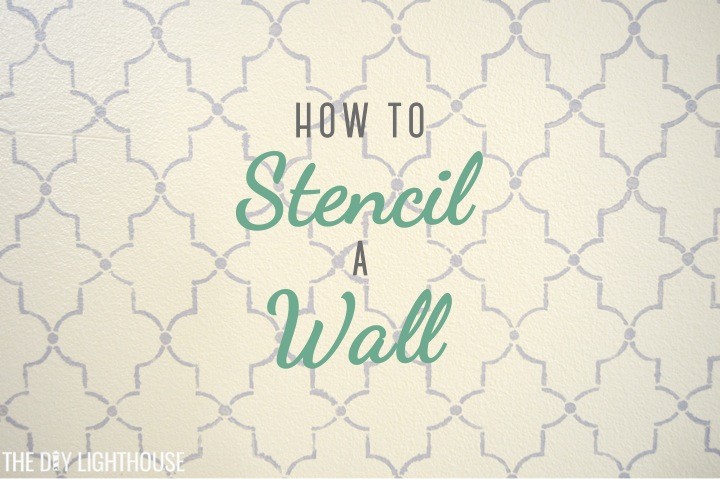
The former option will give it more of that wallpaper feel like in this blog’s How to Stencil a Wall with a Pattern article. Of course, considering you’ll have to apply multiple layers of paint, this option will take a little more work and time.
Another drawback is that paint often comes with Volatile Organic Compounds or VOCs for short, that have proven to be harmful to the people exposed to them. Luckily, there are paint alternatives that come with no VOCs, so just be sure to use those when painting your interiors.
Painted Patterns: Guide
The first thing you have to do is to paint your base. Be sure to lay down some painter cloth or plastic covering down on the floor before you begin to avoid getting paint on your flooring.
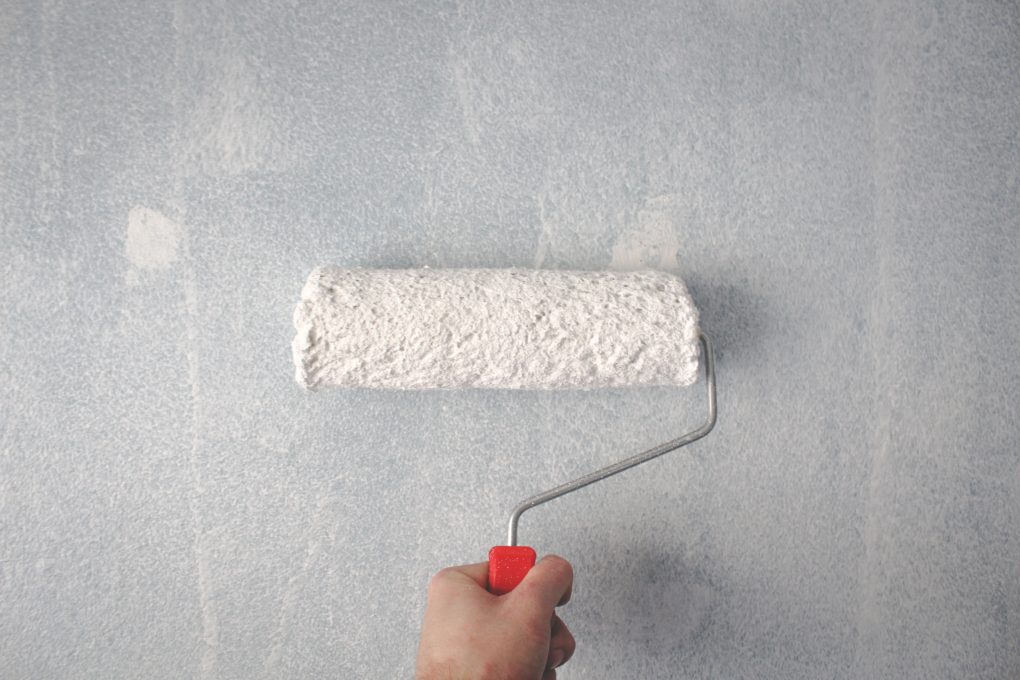
You’ll need to cover the entire wall with the base color of your choosing. The Independent highlights how the color of your walls can impact your mood, so keep this in mind when choosing a base color. Give the paint around eight hours to dry and then proceed to add whatever patterns you choose. You can either freehand the patterns or use a pencil to outline your chosen pattern on the wall, and then use paint to fill the outline in.
Hope this post gave you some fun ideas for sprucing up your living room wall! Please share any tips you have or ideas you have tried in the comment section below.