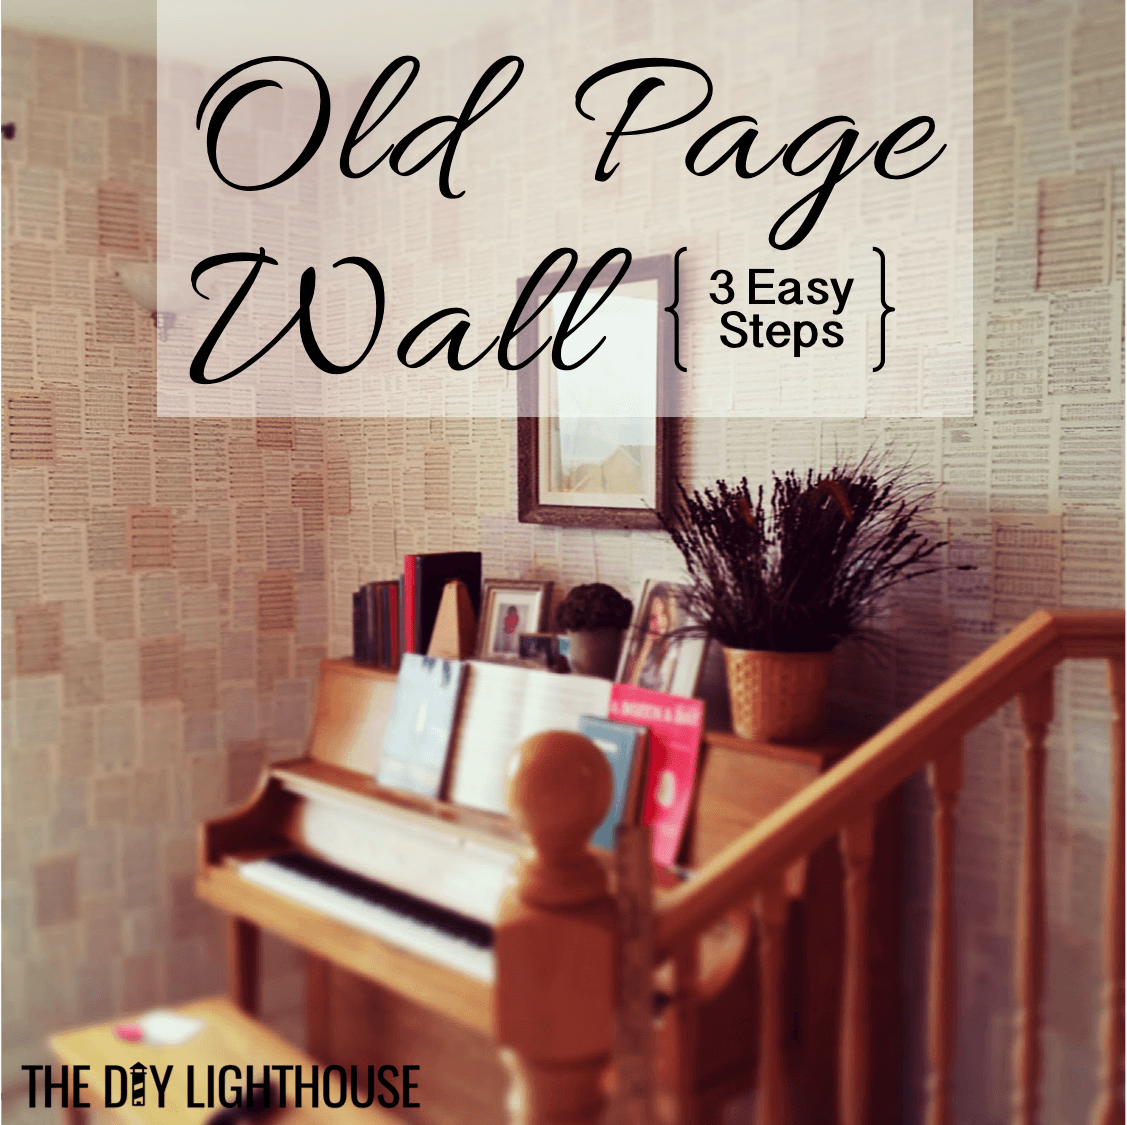
My mom wanted her walls covered in old pages for a while. (She got her inspiration from Marisa, a talented lady in her neighborhood.) So, I took on the project to cover her music room walls in old hymn book pages. My mom loves her music room now! The walls add so much character to the room and helps create an antique, magical feel.
3 Easy Steps
- Take old hymn books with pages of varying color and use a utility knife to cut out the pages
- Start along the borders of the wall and work your way in stapling the pages to the wall
- Keep the orientation of each paper straight for a clean look, but staple the pages in a random fashion changing where and when you overlap them and spreading out the different colored pages
My Process
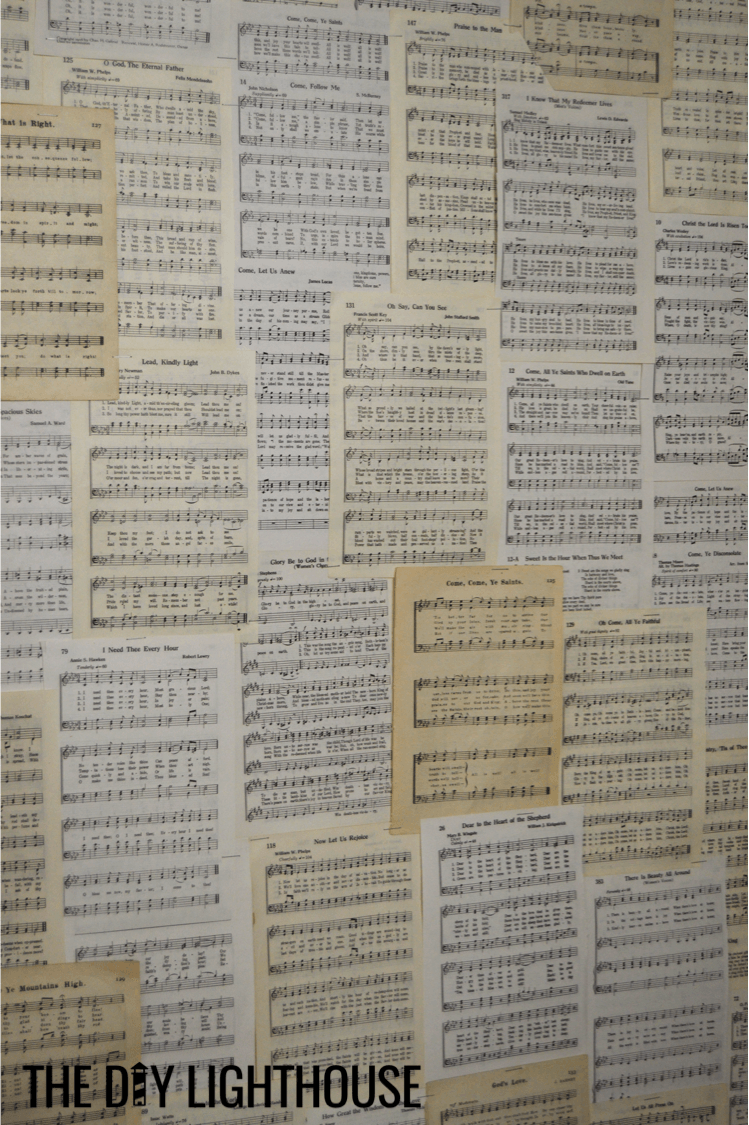
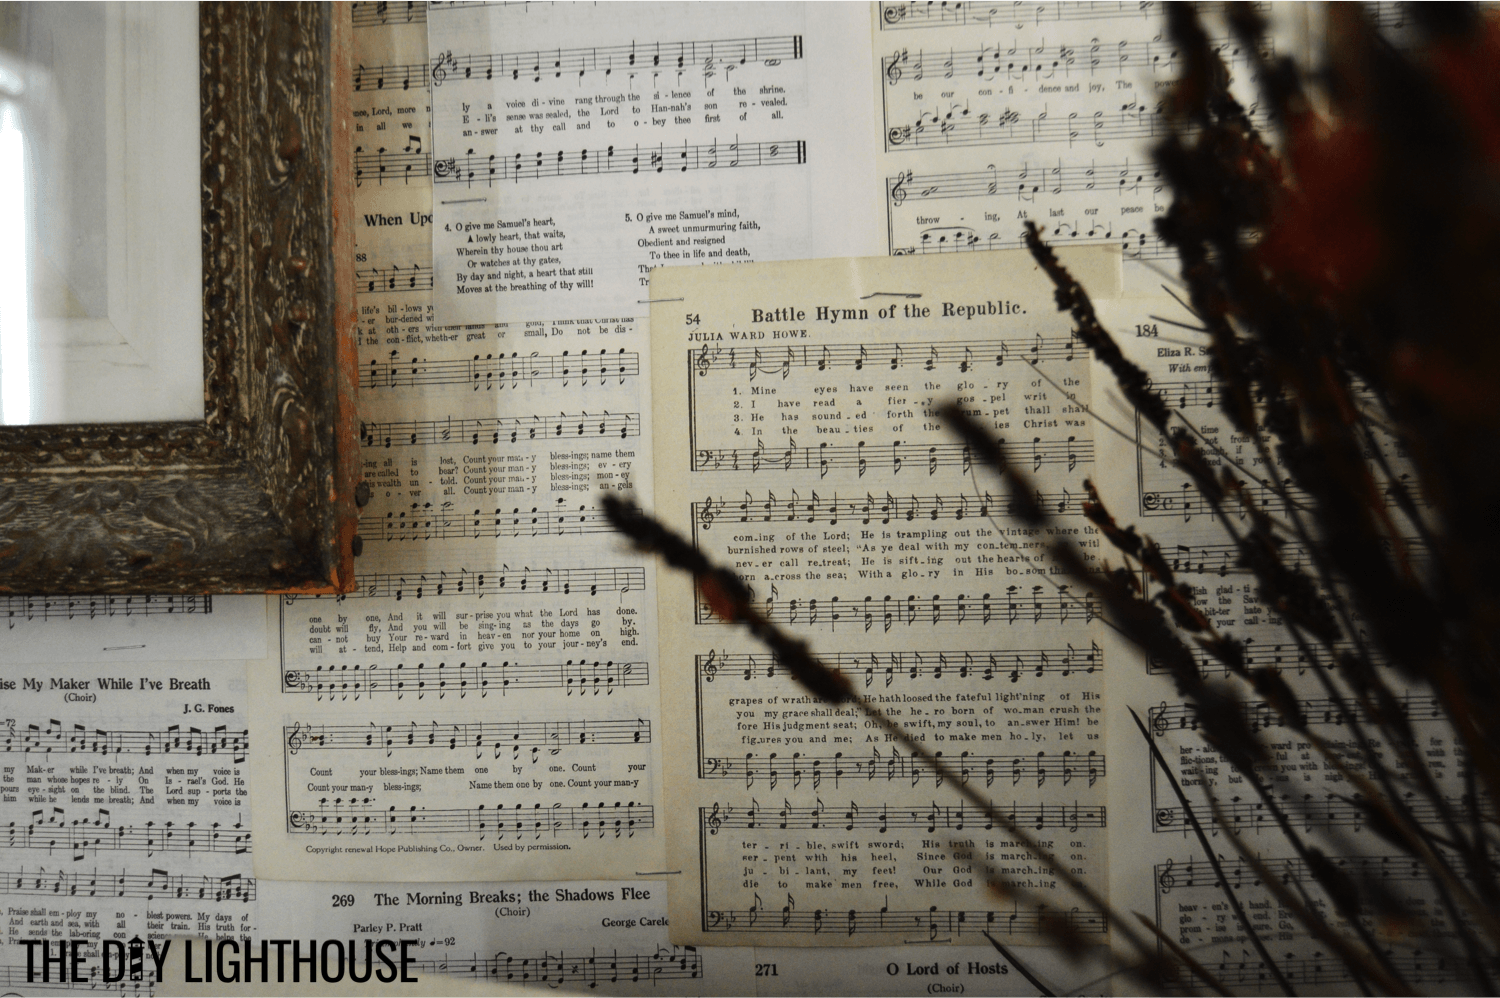
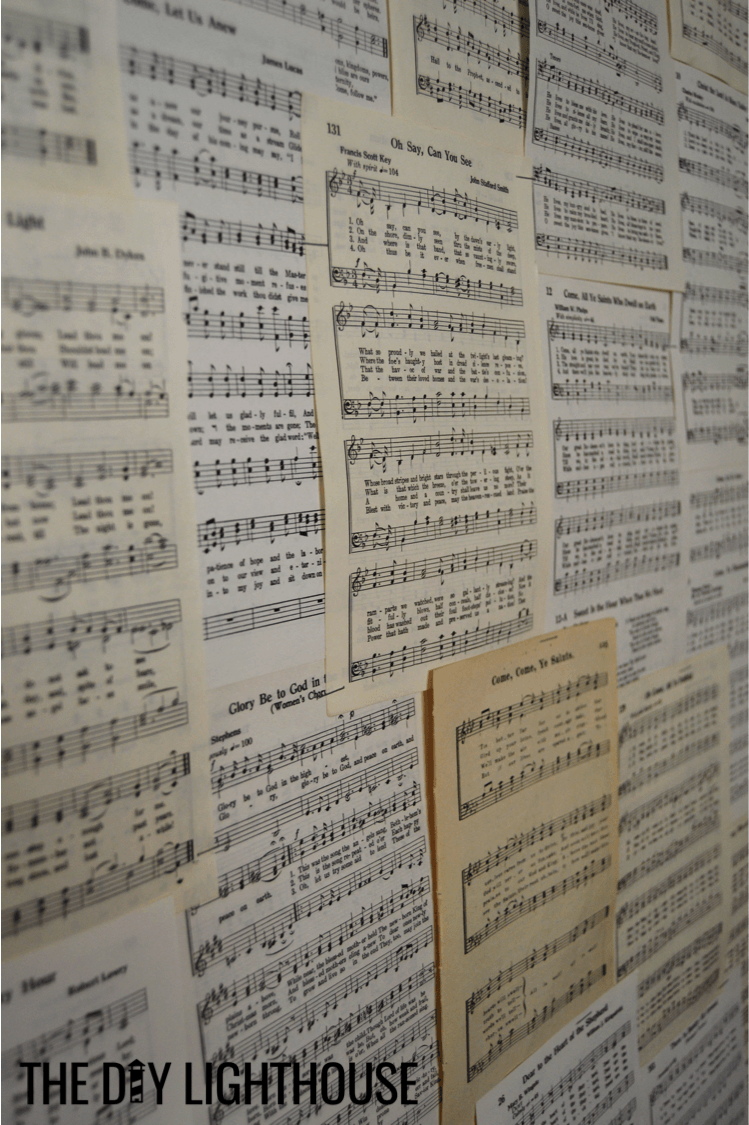
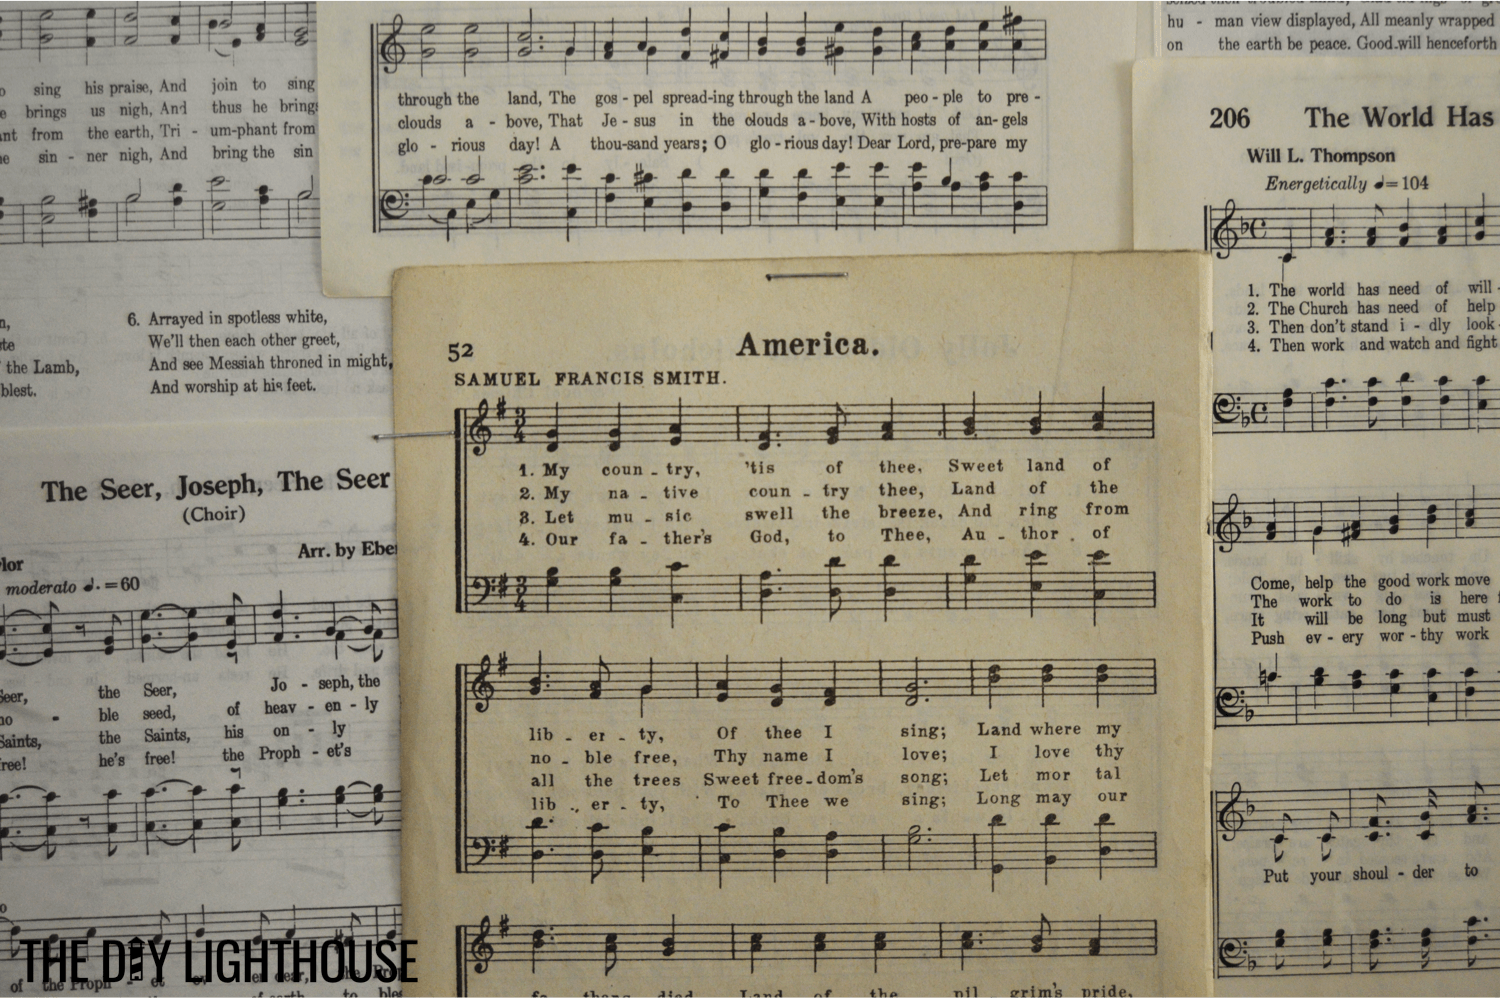
I took old hymn books and cut the pages from their spines using a utility knife. To create a nice variety of color on the wall, I picked books that varied in the coloration of its pages. As you can see, the colors differed from off-white to brownish-yellow.
After making stacks of my different colored pages, I started to staples them to the walls of my mom’s music room. (Side note: using staples will leave a lot of holes if you want to take the pages down later, but it was SO easy using them instead of worrying about messy glue or another adhesive that can wrinkle. My mom wasn’t, but if you’re worried about all the holes, perhaps think of stapling the pages to a large plywood board and then nailing the board to your wall for less holes to cover up later.) I used regular paper staples and a regular stapler for the job and found that they held up the pages well. Just make sure that you have a stapler that can open to a 180 degree orientation so you can staple the pages to the wall.

Along the edges of the wall (wherever it met the ceiling, floor, corner, a window, etc.), I lined it with pages—overlapping them here and there for an un-patterned look. Then, I moved towards the center until I had covered the whole wall. It is important to make sure that you use the different colored pages in a random fashion so that not too many of the same color are together. In addition, I made sure to scatter where and which pages I overlapped for the scattered, random look.
There are different looks you can use when putting up old pages. I liked keeping the pages all standing up straight. This way, I kept it neat and tidy because pages weren’t tilted, but I was still able to create randomness with layering and coloring.
This project took a while, because we had a couple big walls to cover, but now her music room looks absolutely magical! Well worth the time put in!

Other Links
Here are some links to other great blogs that show how to make a DIY old page wall:
http://awelldressedhome.com/884-diy-wall-of-book-pages-vintage-master-bedroom-follow-up/
http://www.apartmenttherapy.com/diy-book-page-wallpaper-164972
Let me know if you have any questions in the comment section below!