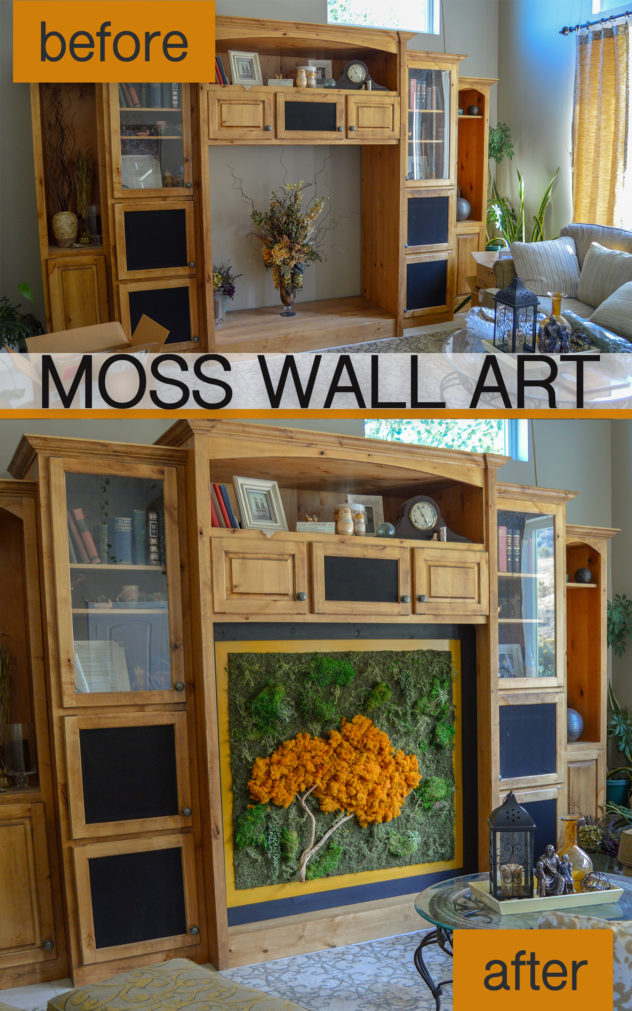
Once again my mom gave me permission to let my creativity run wild. (Thanks mom!) The result? A super cool moss wall art project! I had seen living walls and moss art on Pinterest before and thought they looked awesome. So when my mom told me that she wanted to fill the big hole in her entertainment center with something other than a TV, my brain turned to a living wall or moss wall art. She didn’t want the maintenance of a living wall (or the cost of putting in a drip system to keep it alive) so we went the moss wall art direction and used preserved moss and preserved reindeer moss to give us the live look without the hassle of live plants.
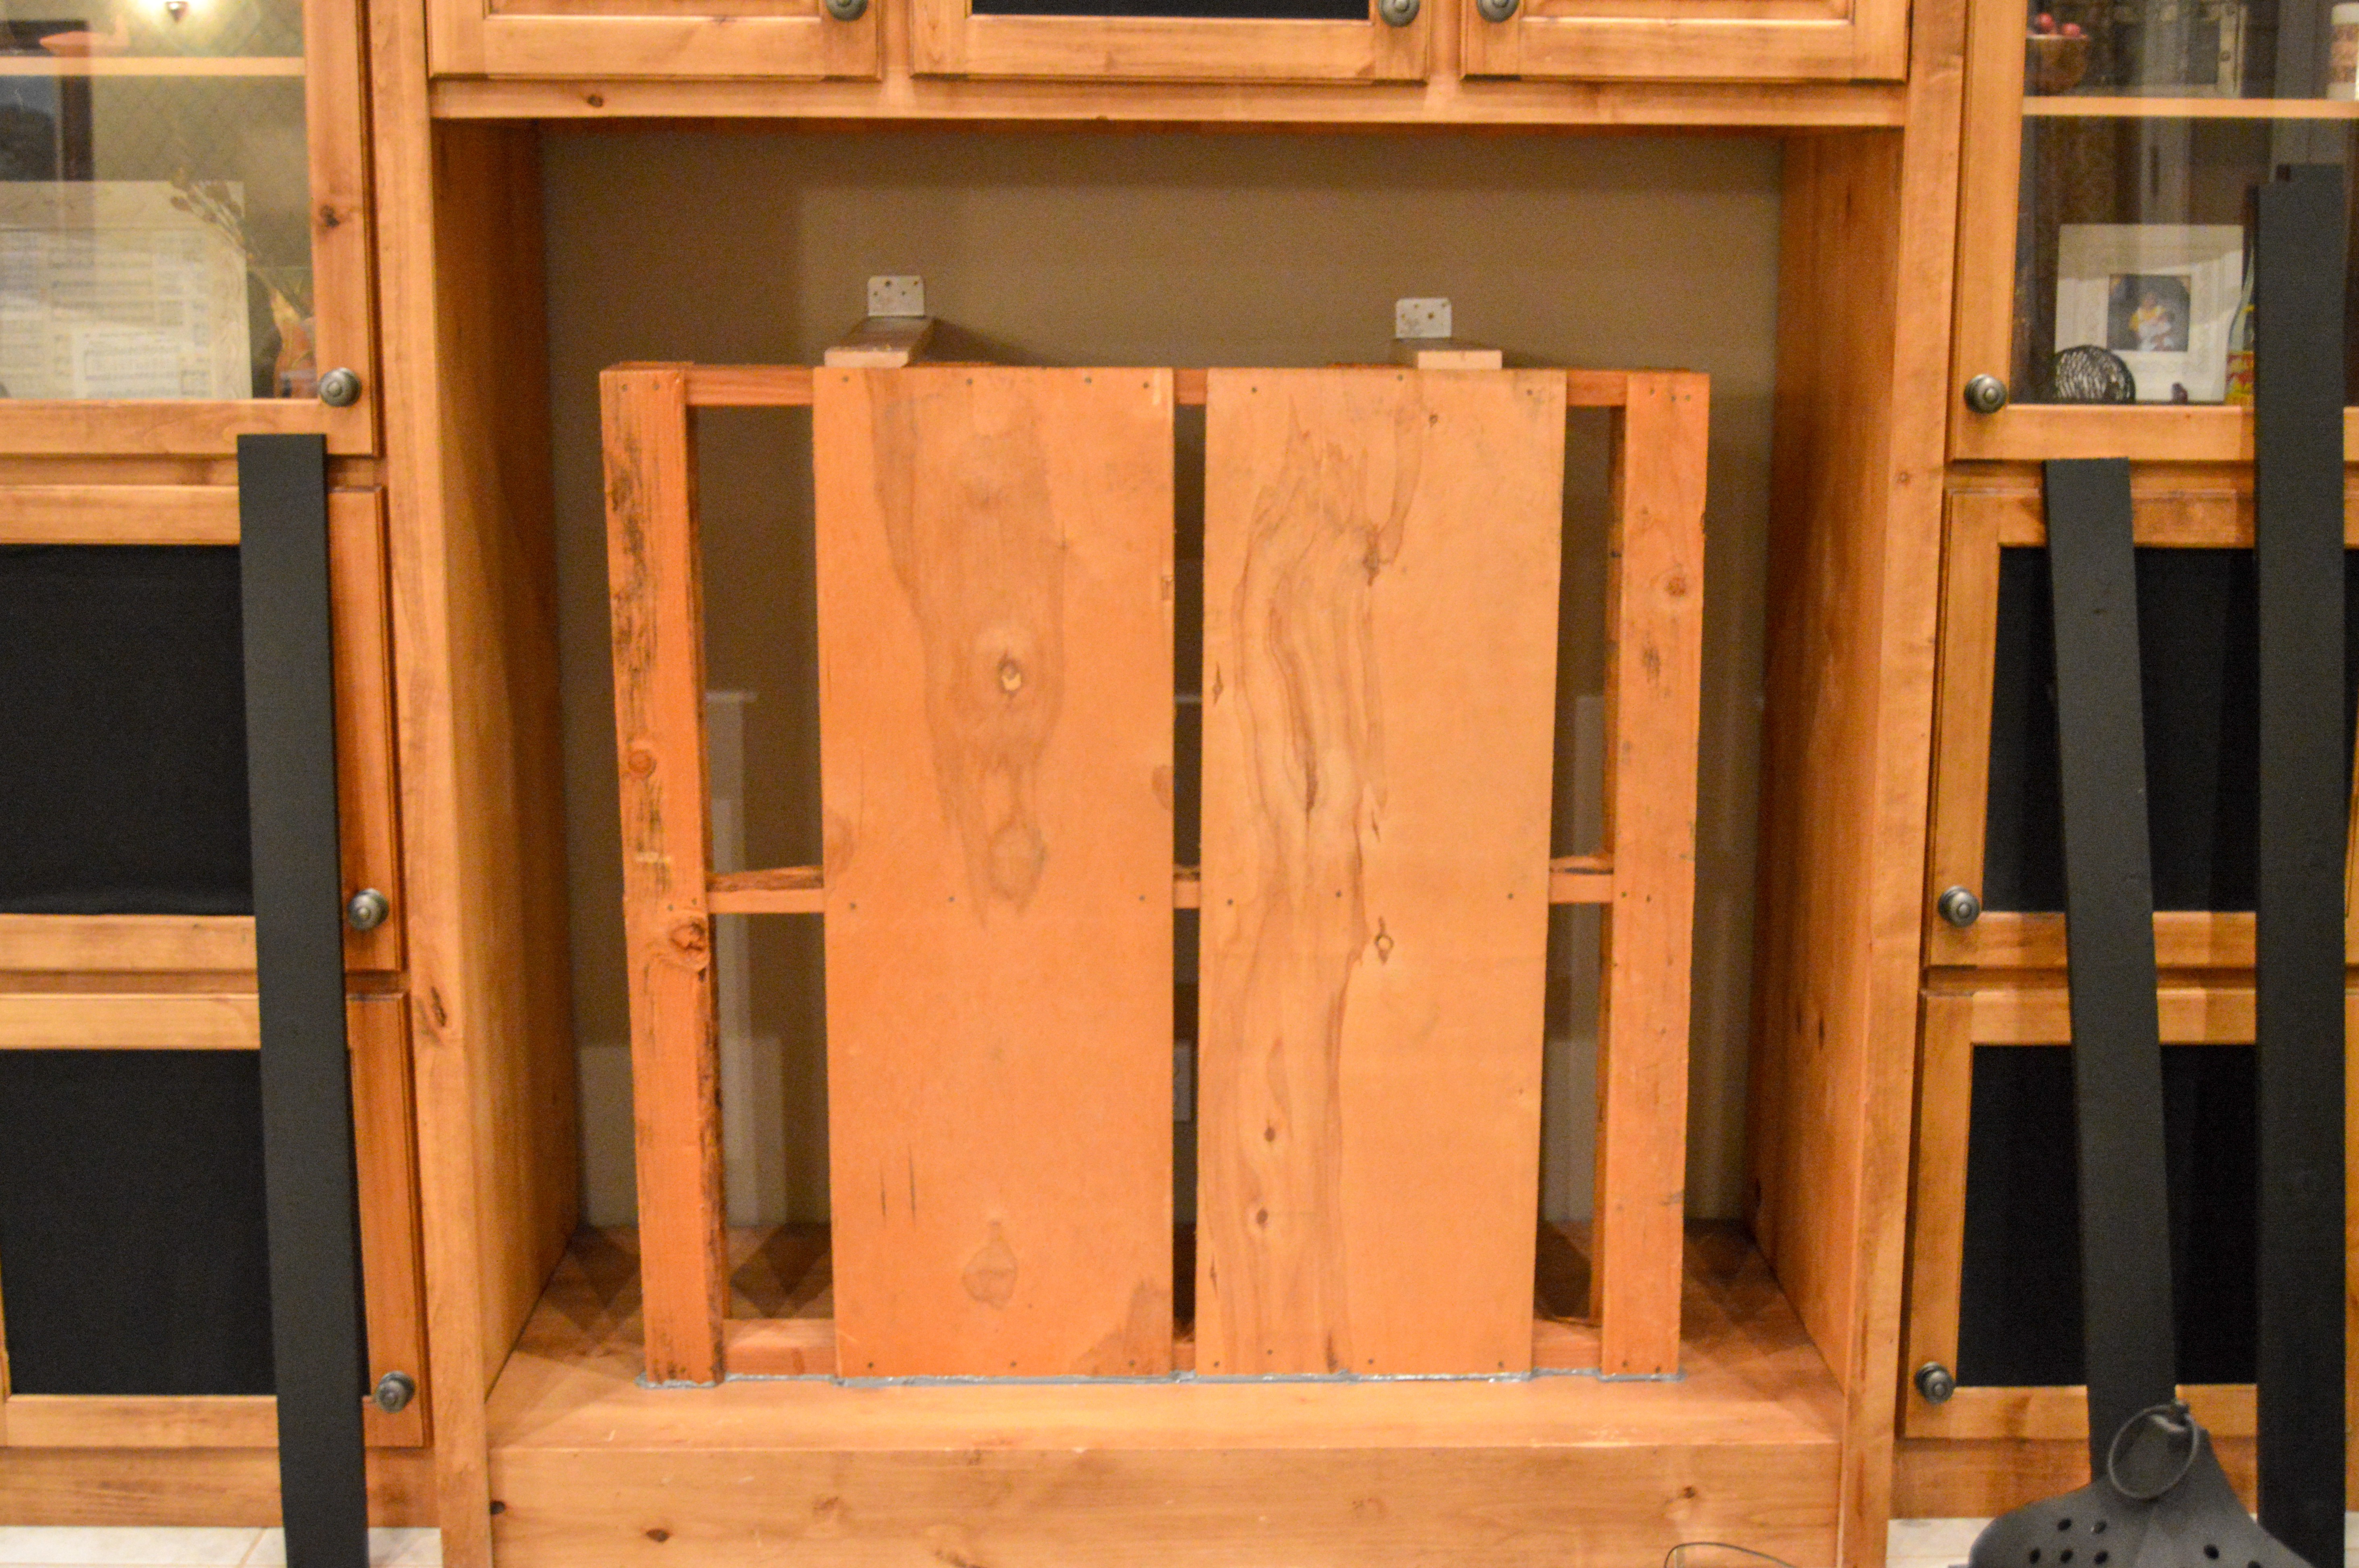
The picture below is what we started with (aka a giant hole to fill). I’m sharing my process in case you want to make moss wall art for your own home too.
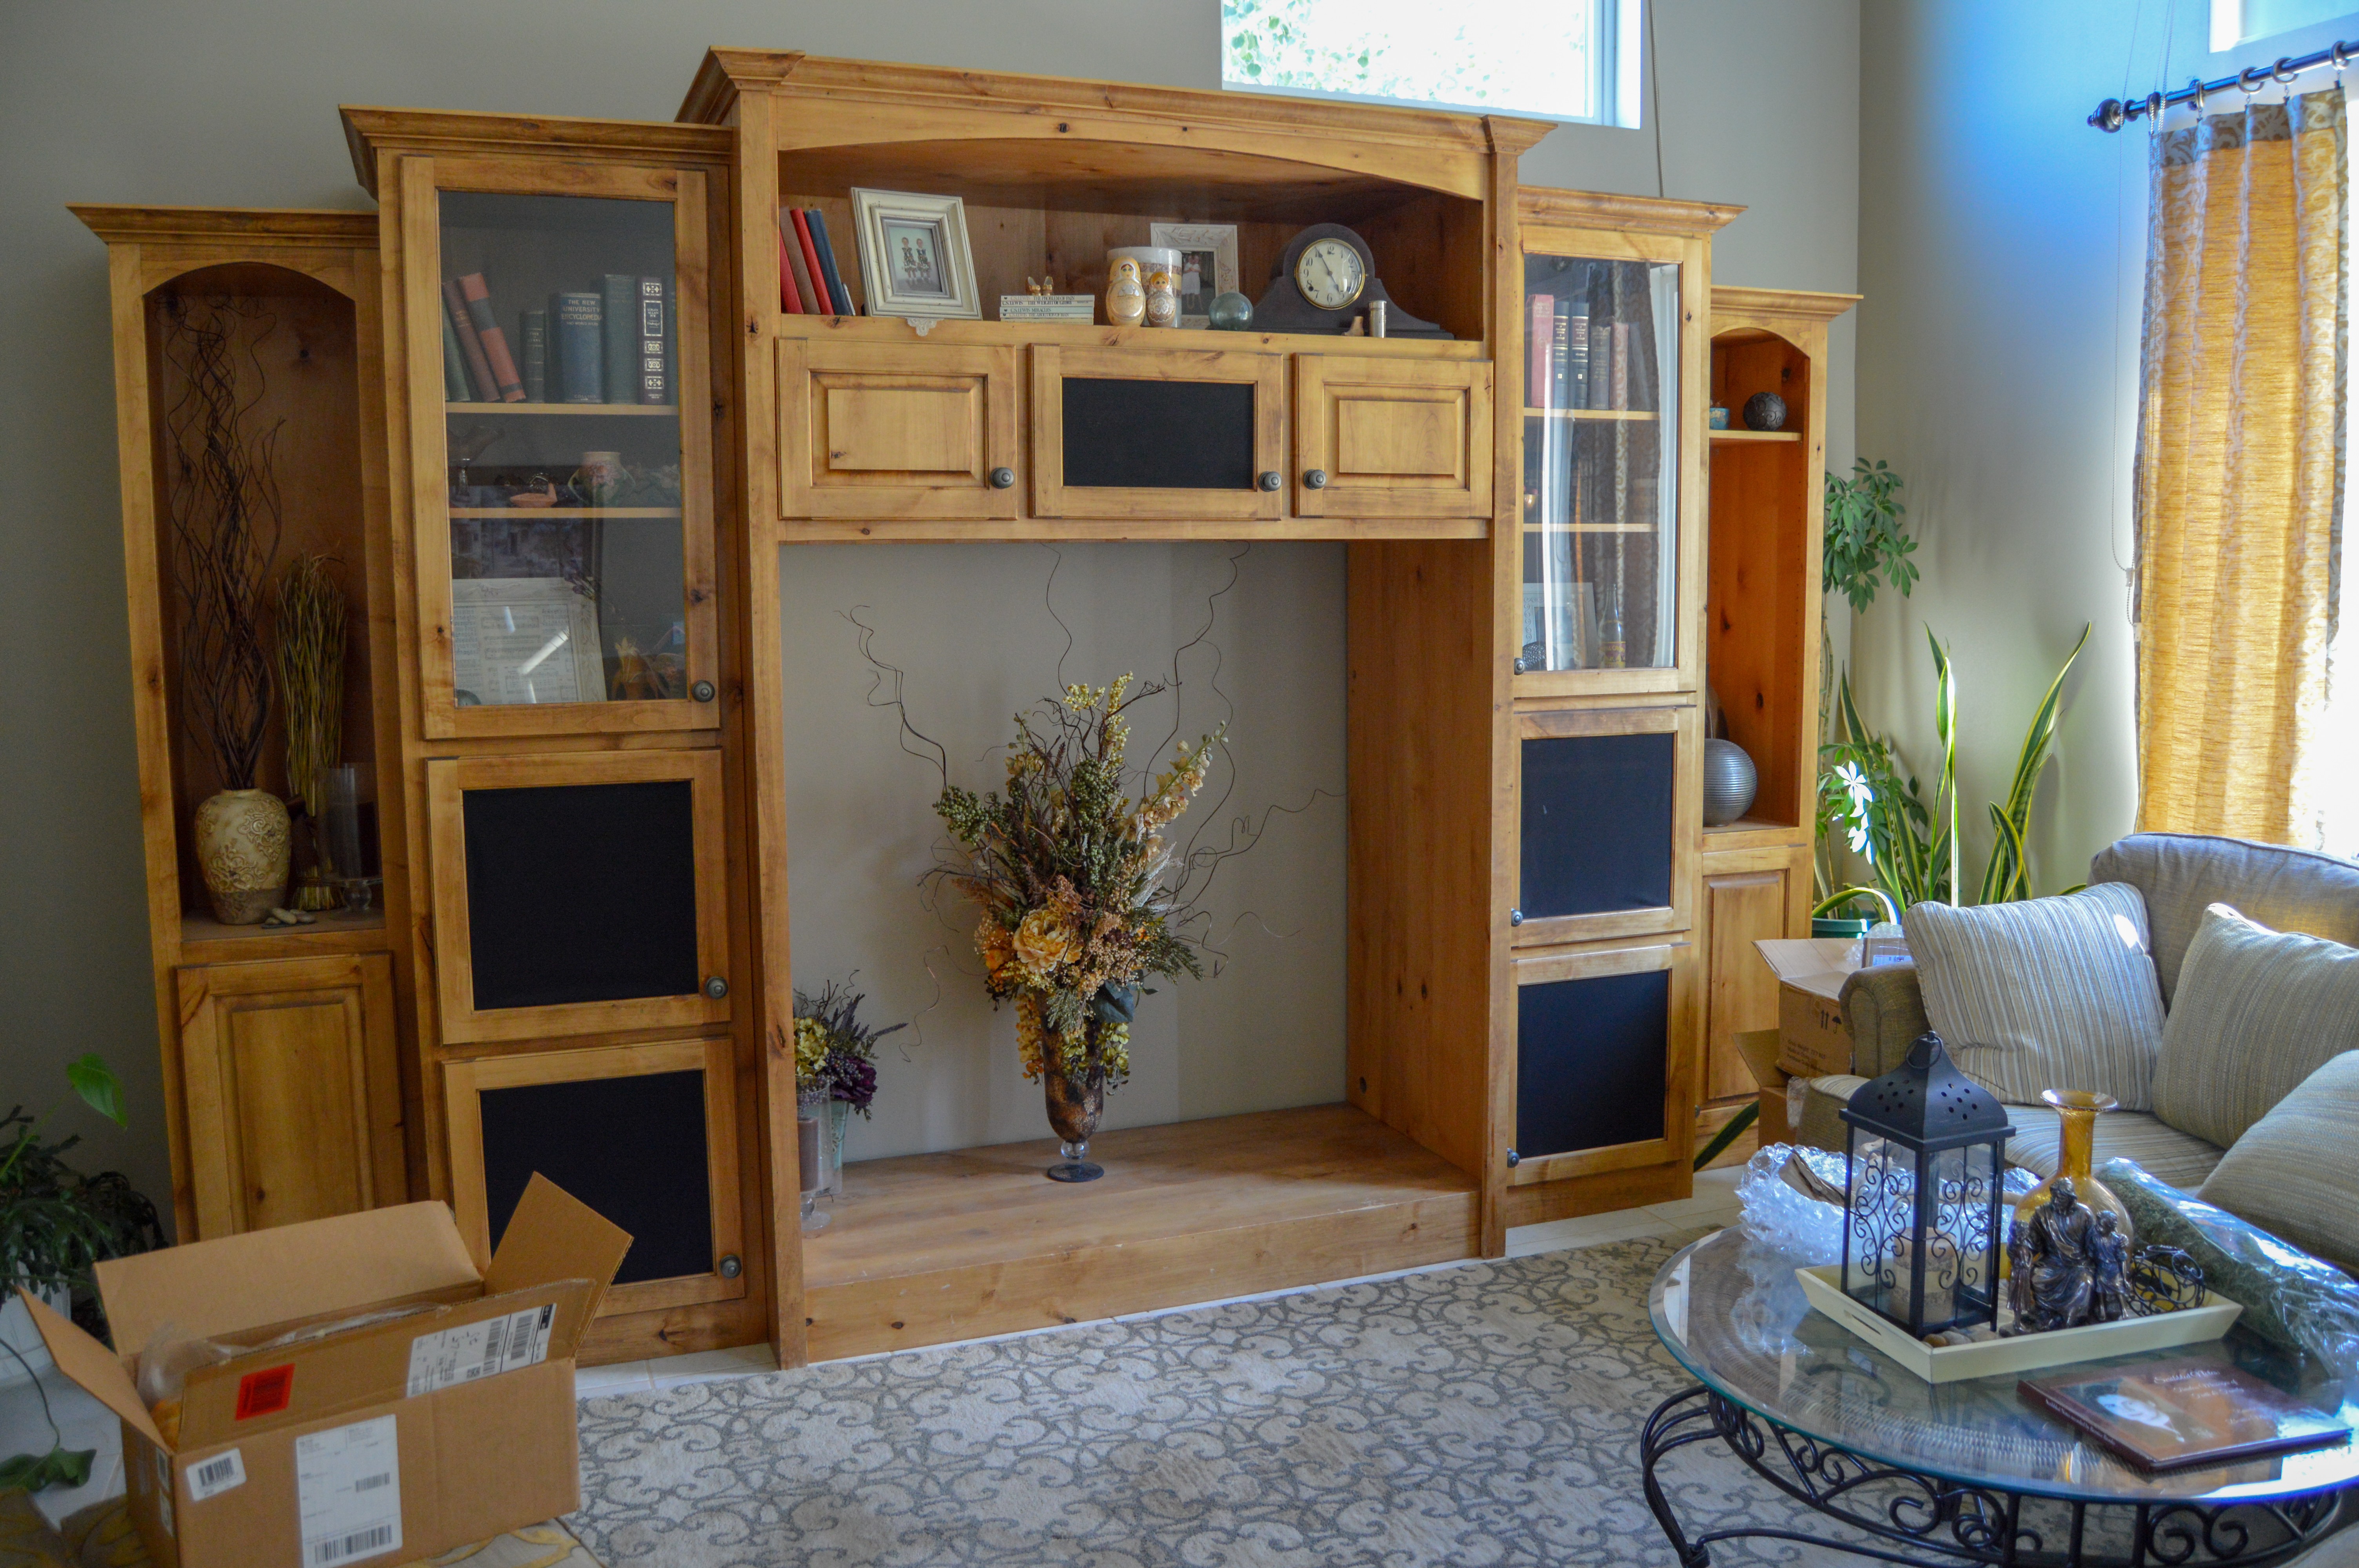
Supplies
(This page contains affiliate links that we may be compensated for. Your clicks and purchases help support The DIY Lighthouse at no extra charge to you. We only put links to products we love and would recommend anyway.)
Keep in mind that our moss wall art piece is really large. And it’s a very specific size because we were filling in a giant hole instead of just creating a stand-alone art piece on the wall. So the amount of materials you will need very much depend on the size of your desired moss wall art. With that in mind, here is what we ordered for our 61″ wide x ~57″ tall x 29″ deep project:
- Main Moss Background: 3 x moss sheeting runner 16 x 48 (Save on Crafts)
-
Accent Yellow Moss for Tree: 1 x yellow moss box (3 lbs) (Amazon)
-
Branch: 1 x driftwood branch (Save on Crafts)
- Accent Moss/Plants: 2 x accent moss, 3 x faux air plants, 1x faux baby’s breath garland, 2 x faux hanging bean leaf plants (Hobby Lobby)
- Back Support: 2 x sheet of corrugated plastic (Home Depot)
- Frame: 4″ wood cut to fit our hole (Home Depot)
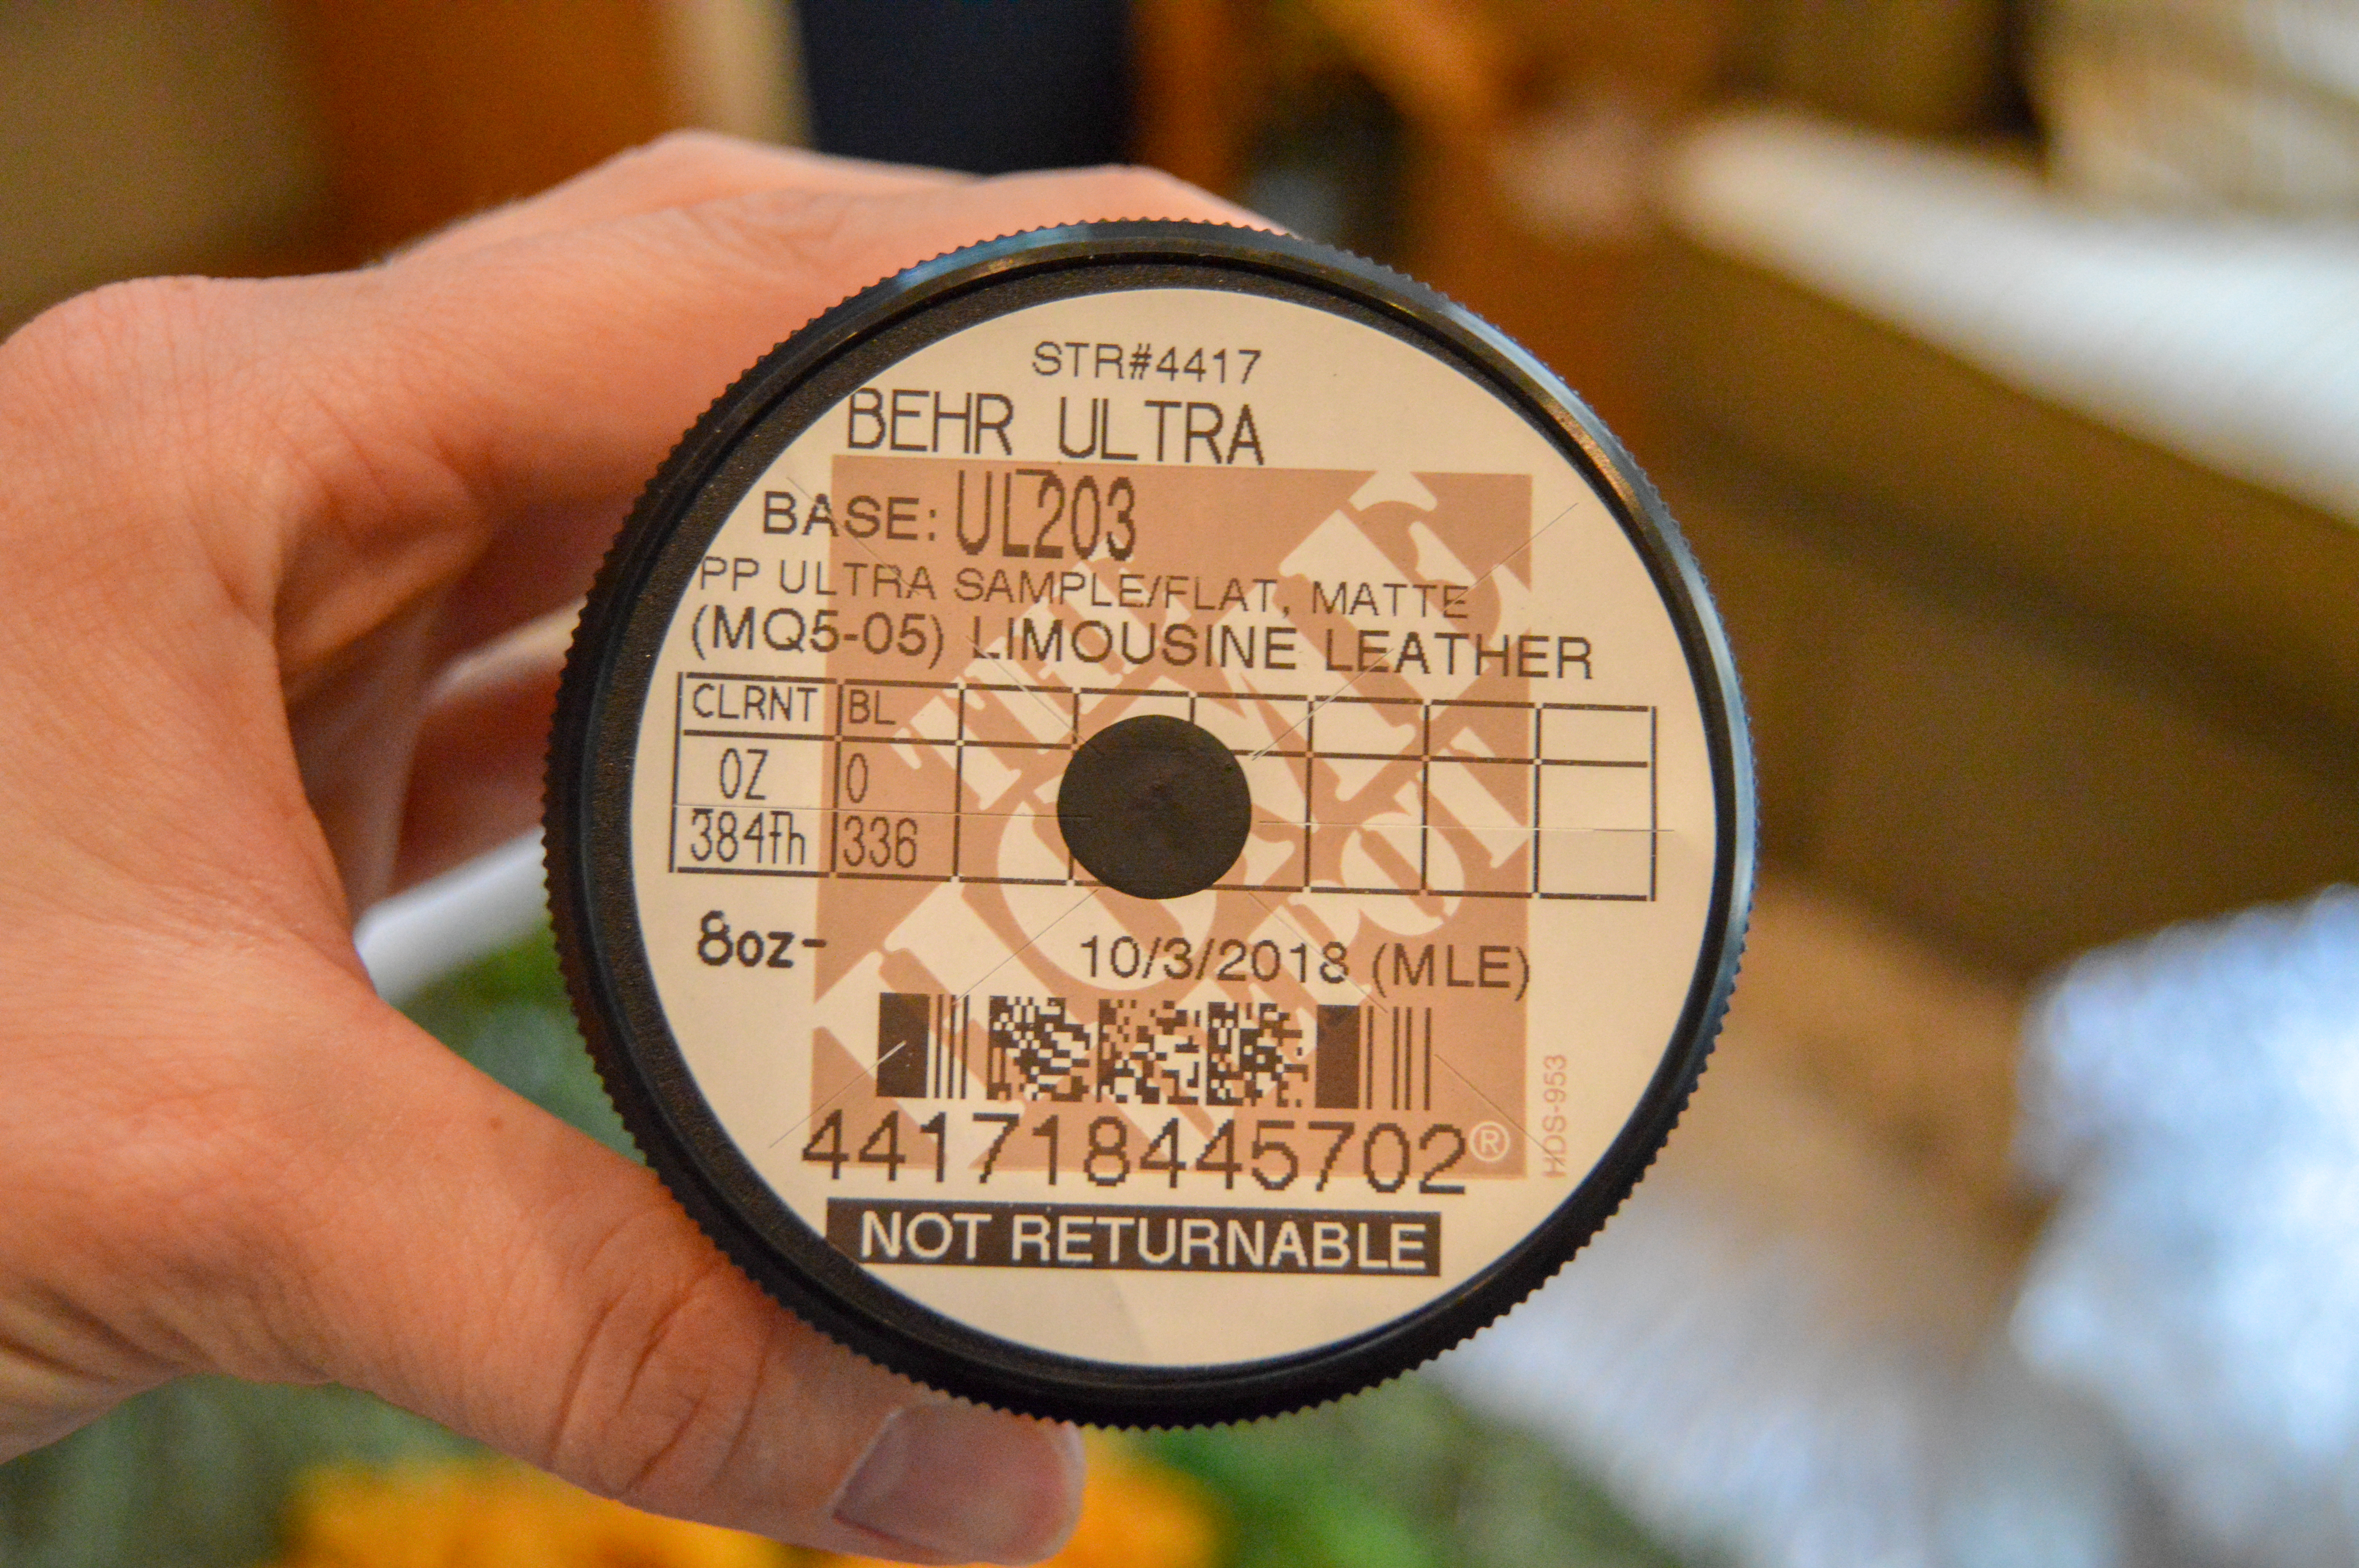
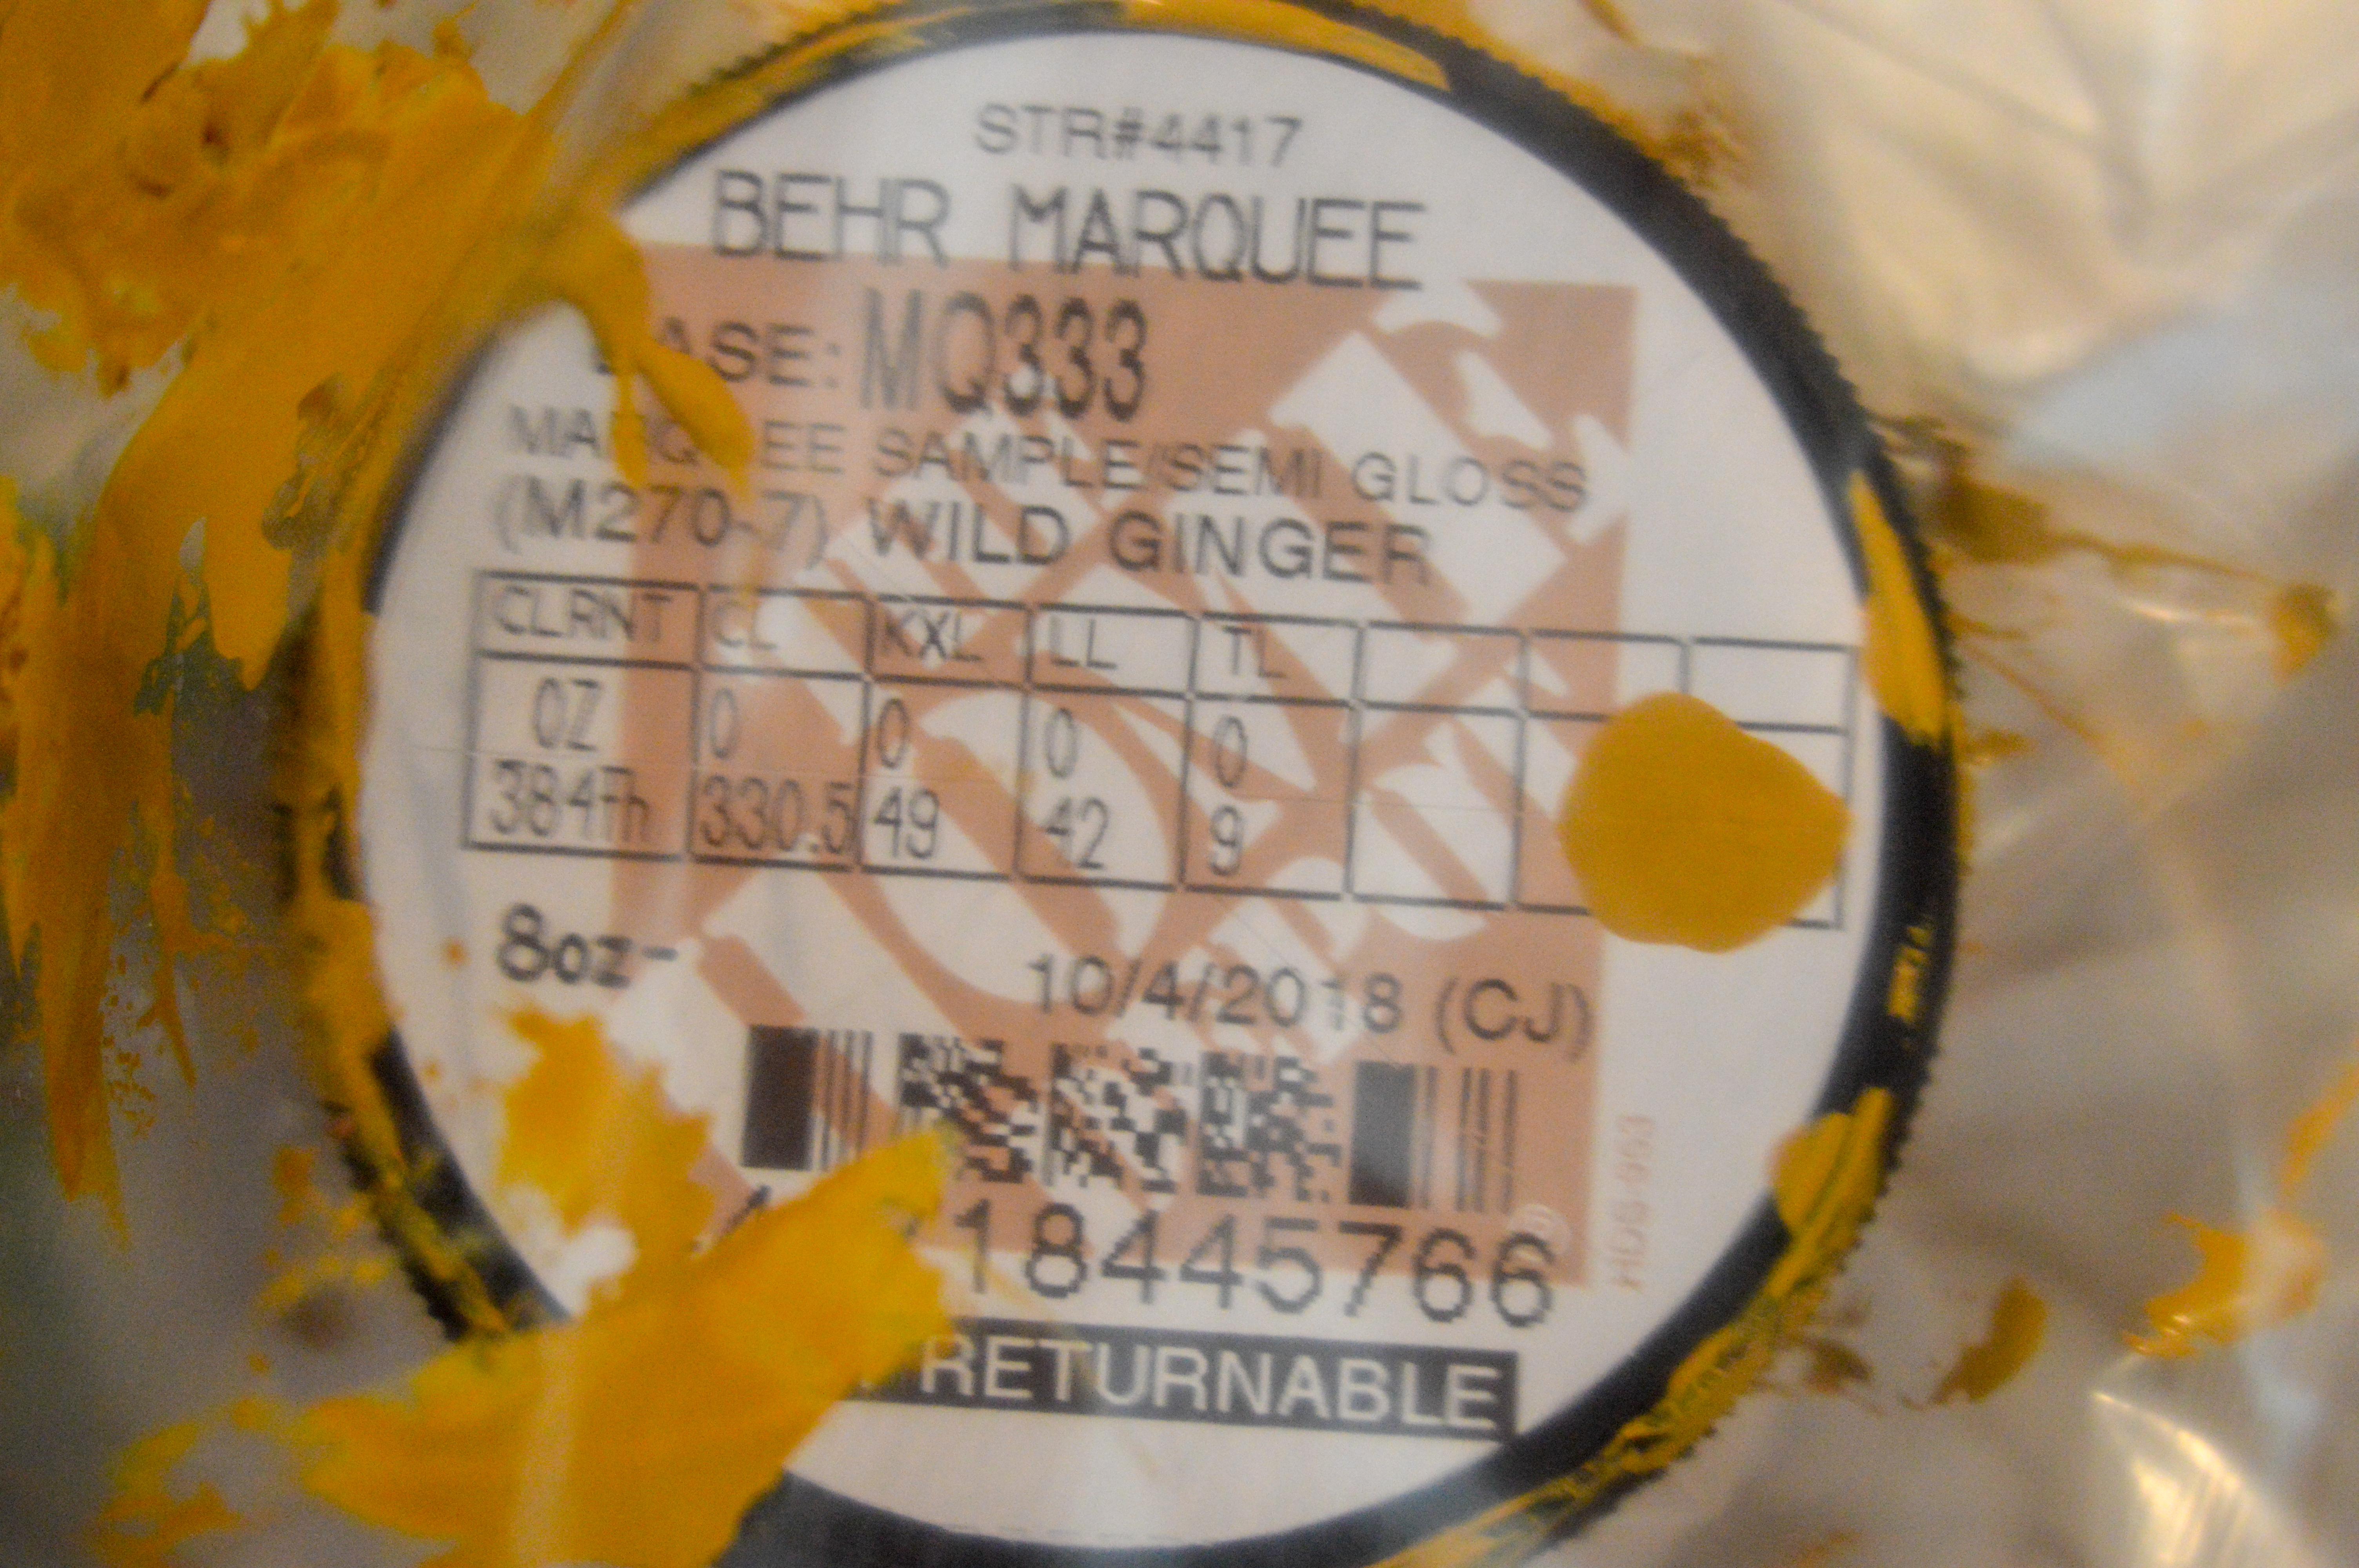
- Paint: black – Limousine Leather Behr Ultra 8oz, gold – Wild Ginger Behr Marquee (Home Depot), 2x brushes
- Hot glue: a ton! Here’s a good hot glue gun and hot glue sticks (Amazon)
- Drop cloth or two (Home Depot)
Step-by-Step Directions
1. Decide on Size of Moss Wall Art and Gather Supplies
The section above shares which supplies we gathered to make our moss wall art.
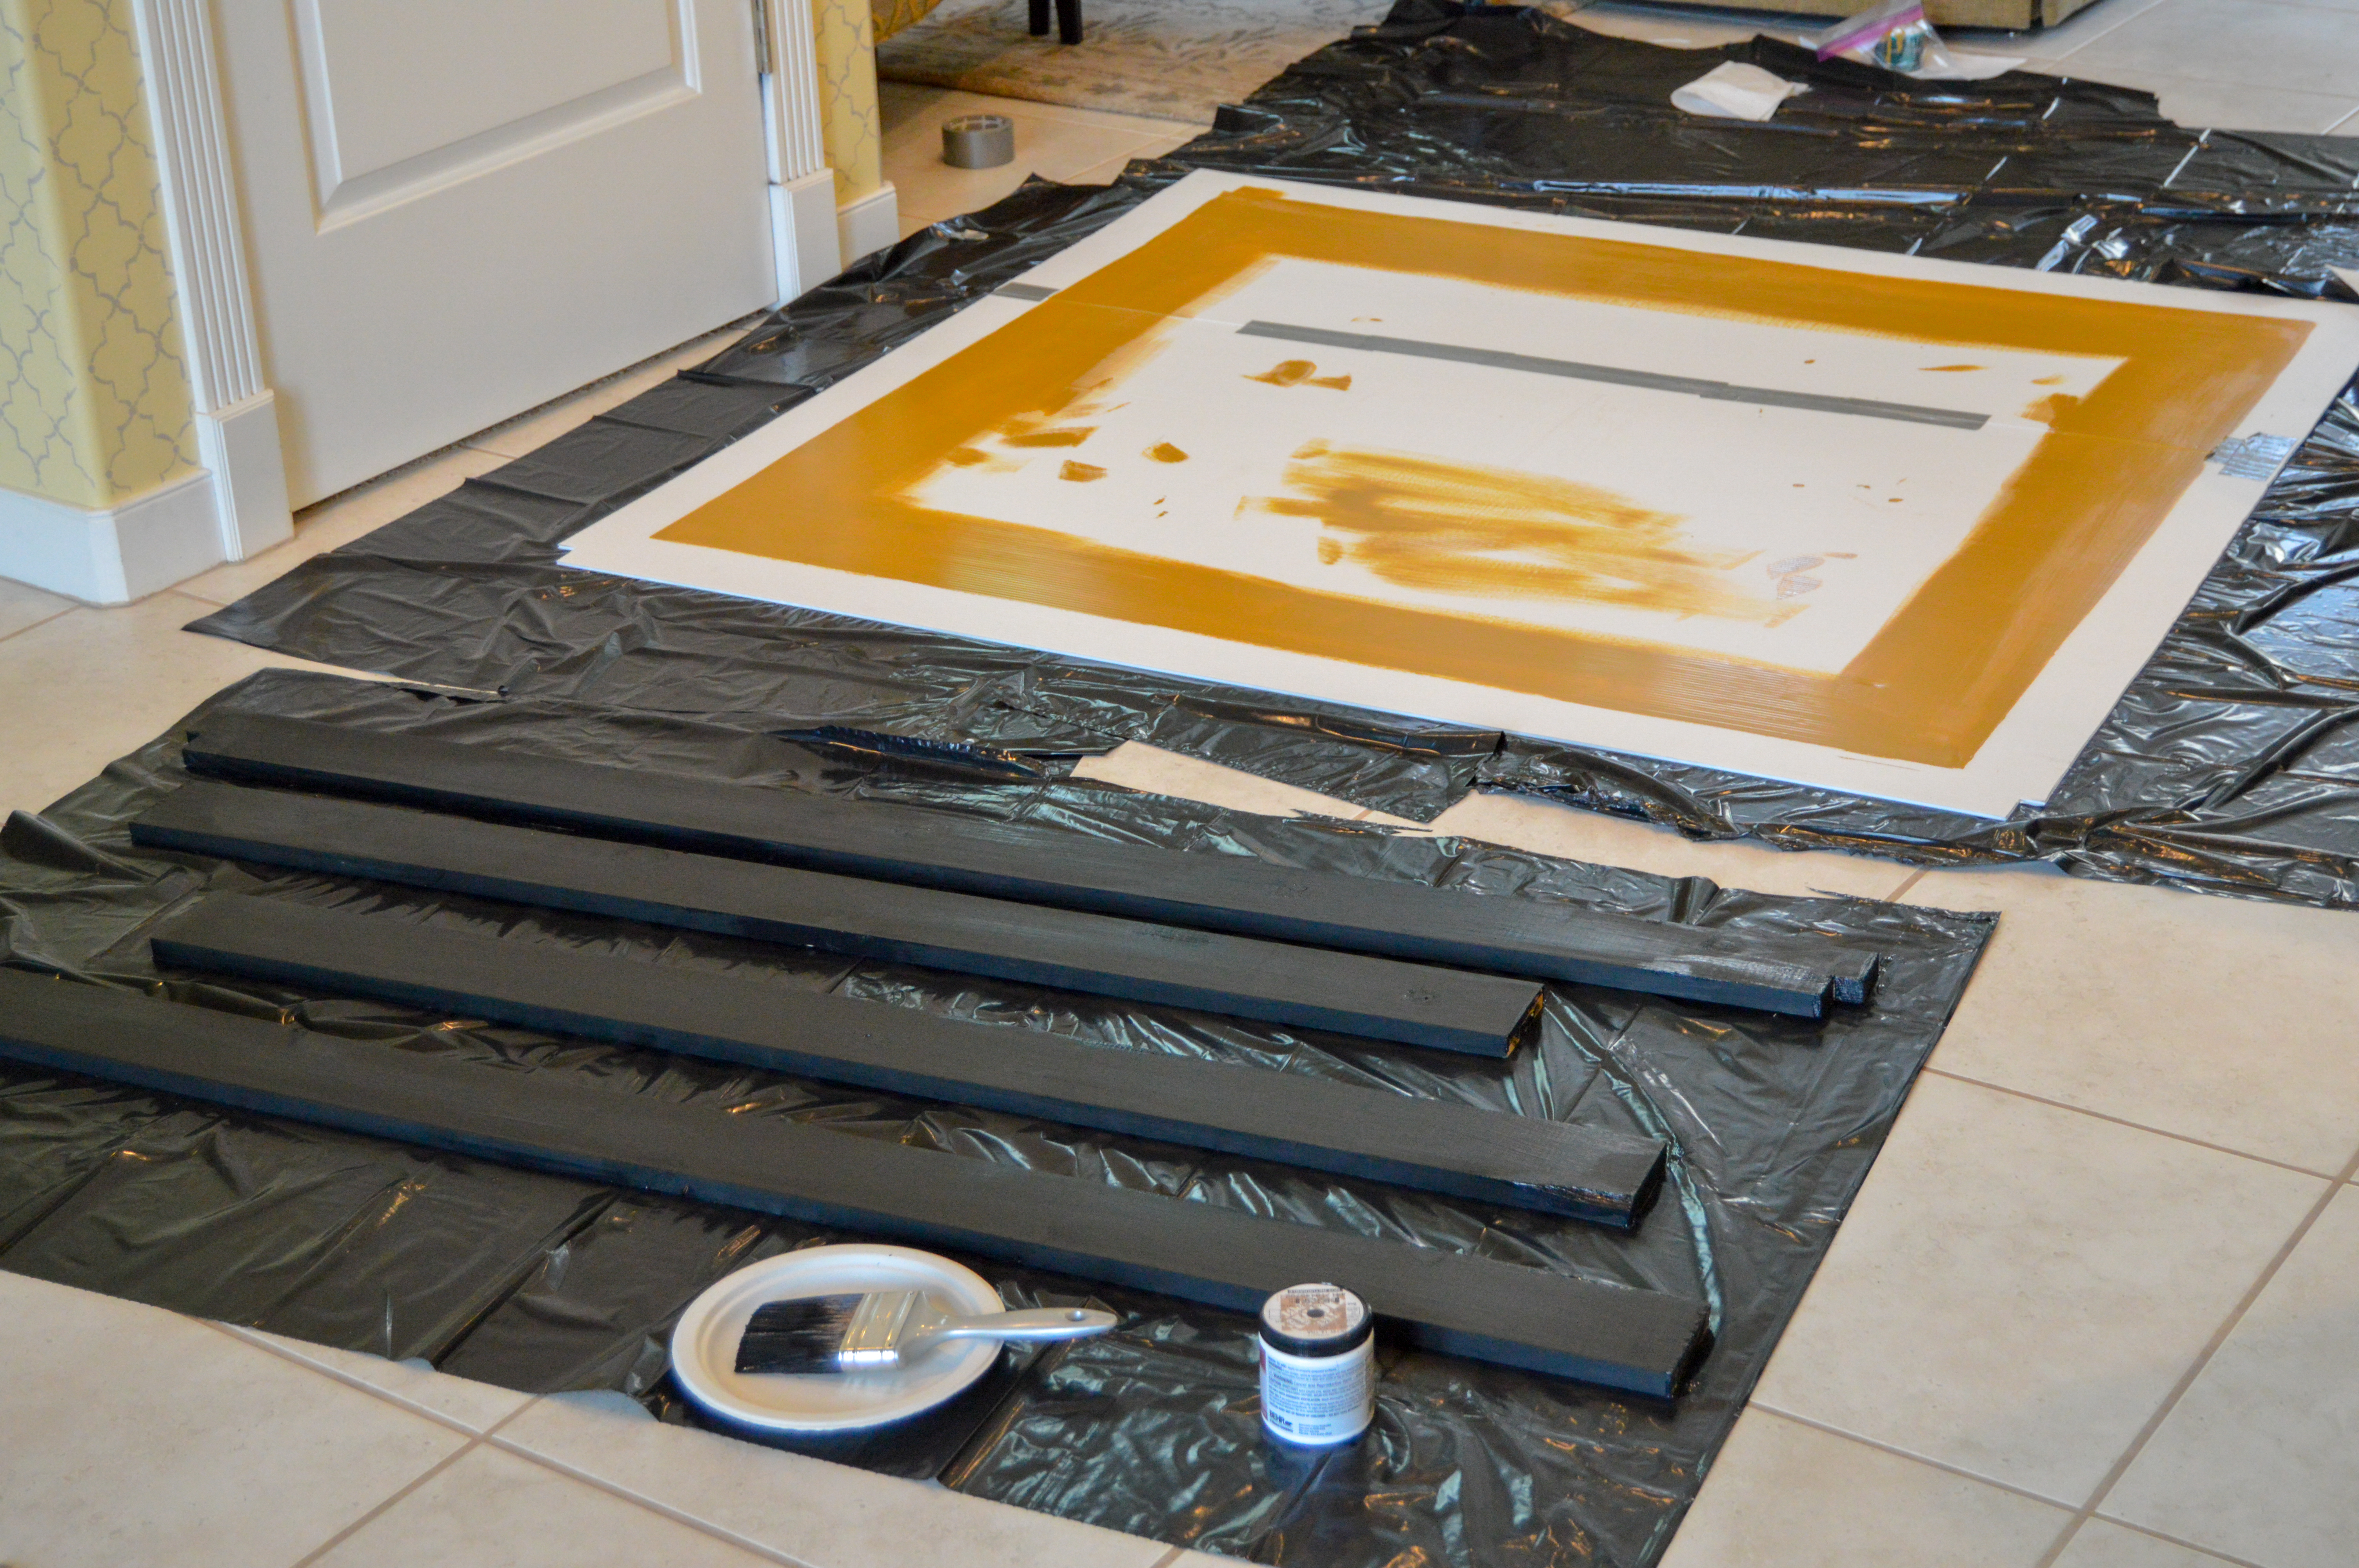
2. Paint/Prep Frame & Corrugated Plastic
If you want to go the easy route and use an existing picture frame that would definitely make this project even easier! Just remove the glass and paint your picture frame black (or whatever color you’re going for). We were making a custom size frame so we had to buy wood, cut it to size, and paint it.
I also taped two corrugated plastic sheets together (cut down to size) because our project was so big. I would recommend using corrugated plastic as your backing, even if you’re making your moss wall art in an existing picture frame, because it’s sturdy and will hold up well. FYI, I almost bought wood to put as my gold matting between the moss and the frame, but I decided just to paint the corrugated plastic instead and make that the matting. It turned out great. If I were working with a smaller piece, I wouldn’t have worried about a matting at all and just ran the moss all the way to the frame.
Here is my progress picture. Garbage bags for the win!
And these are the exact paints I used.
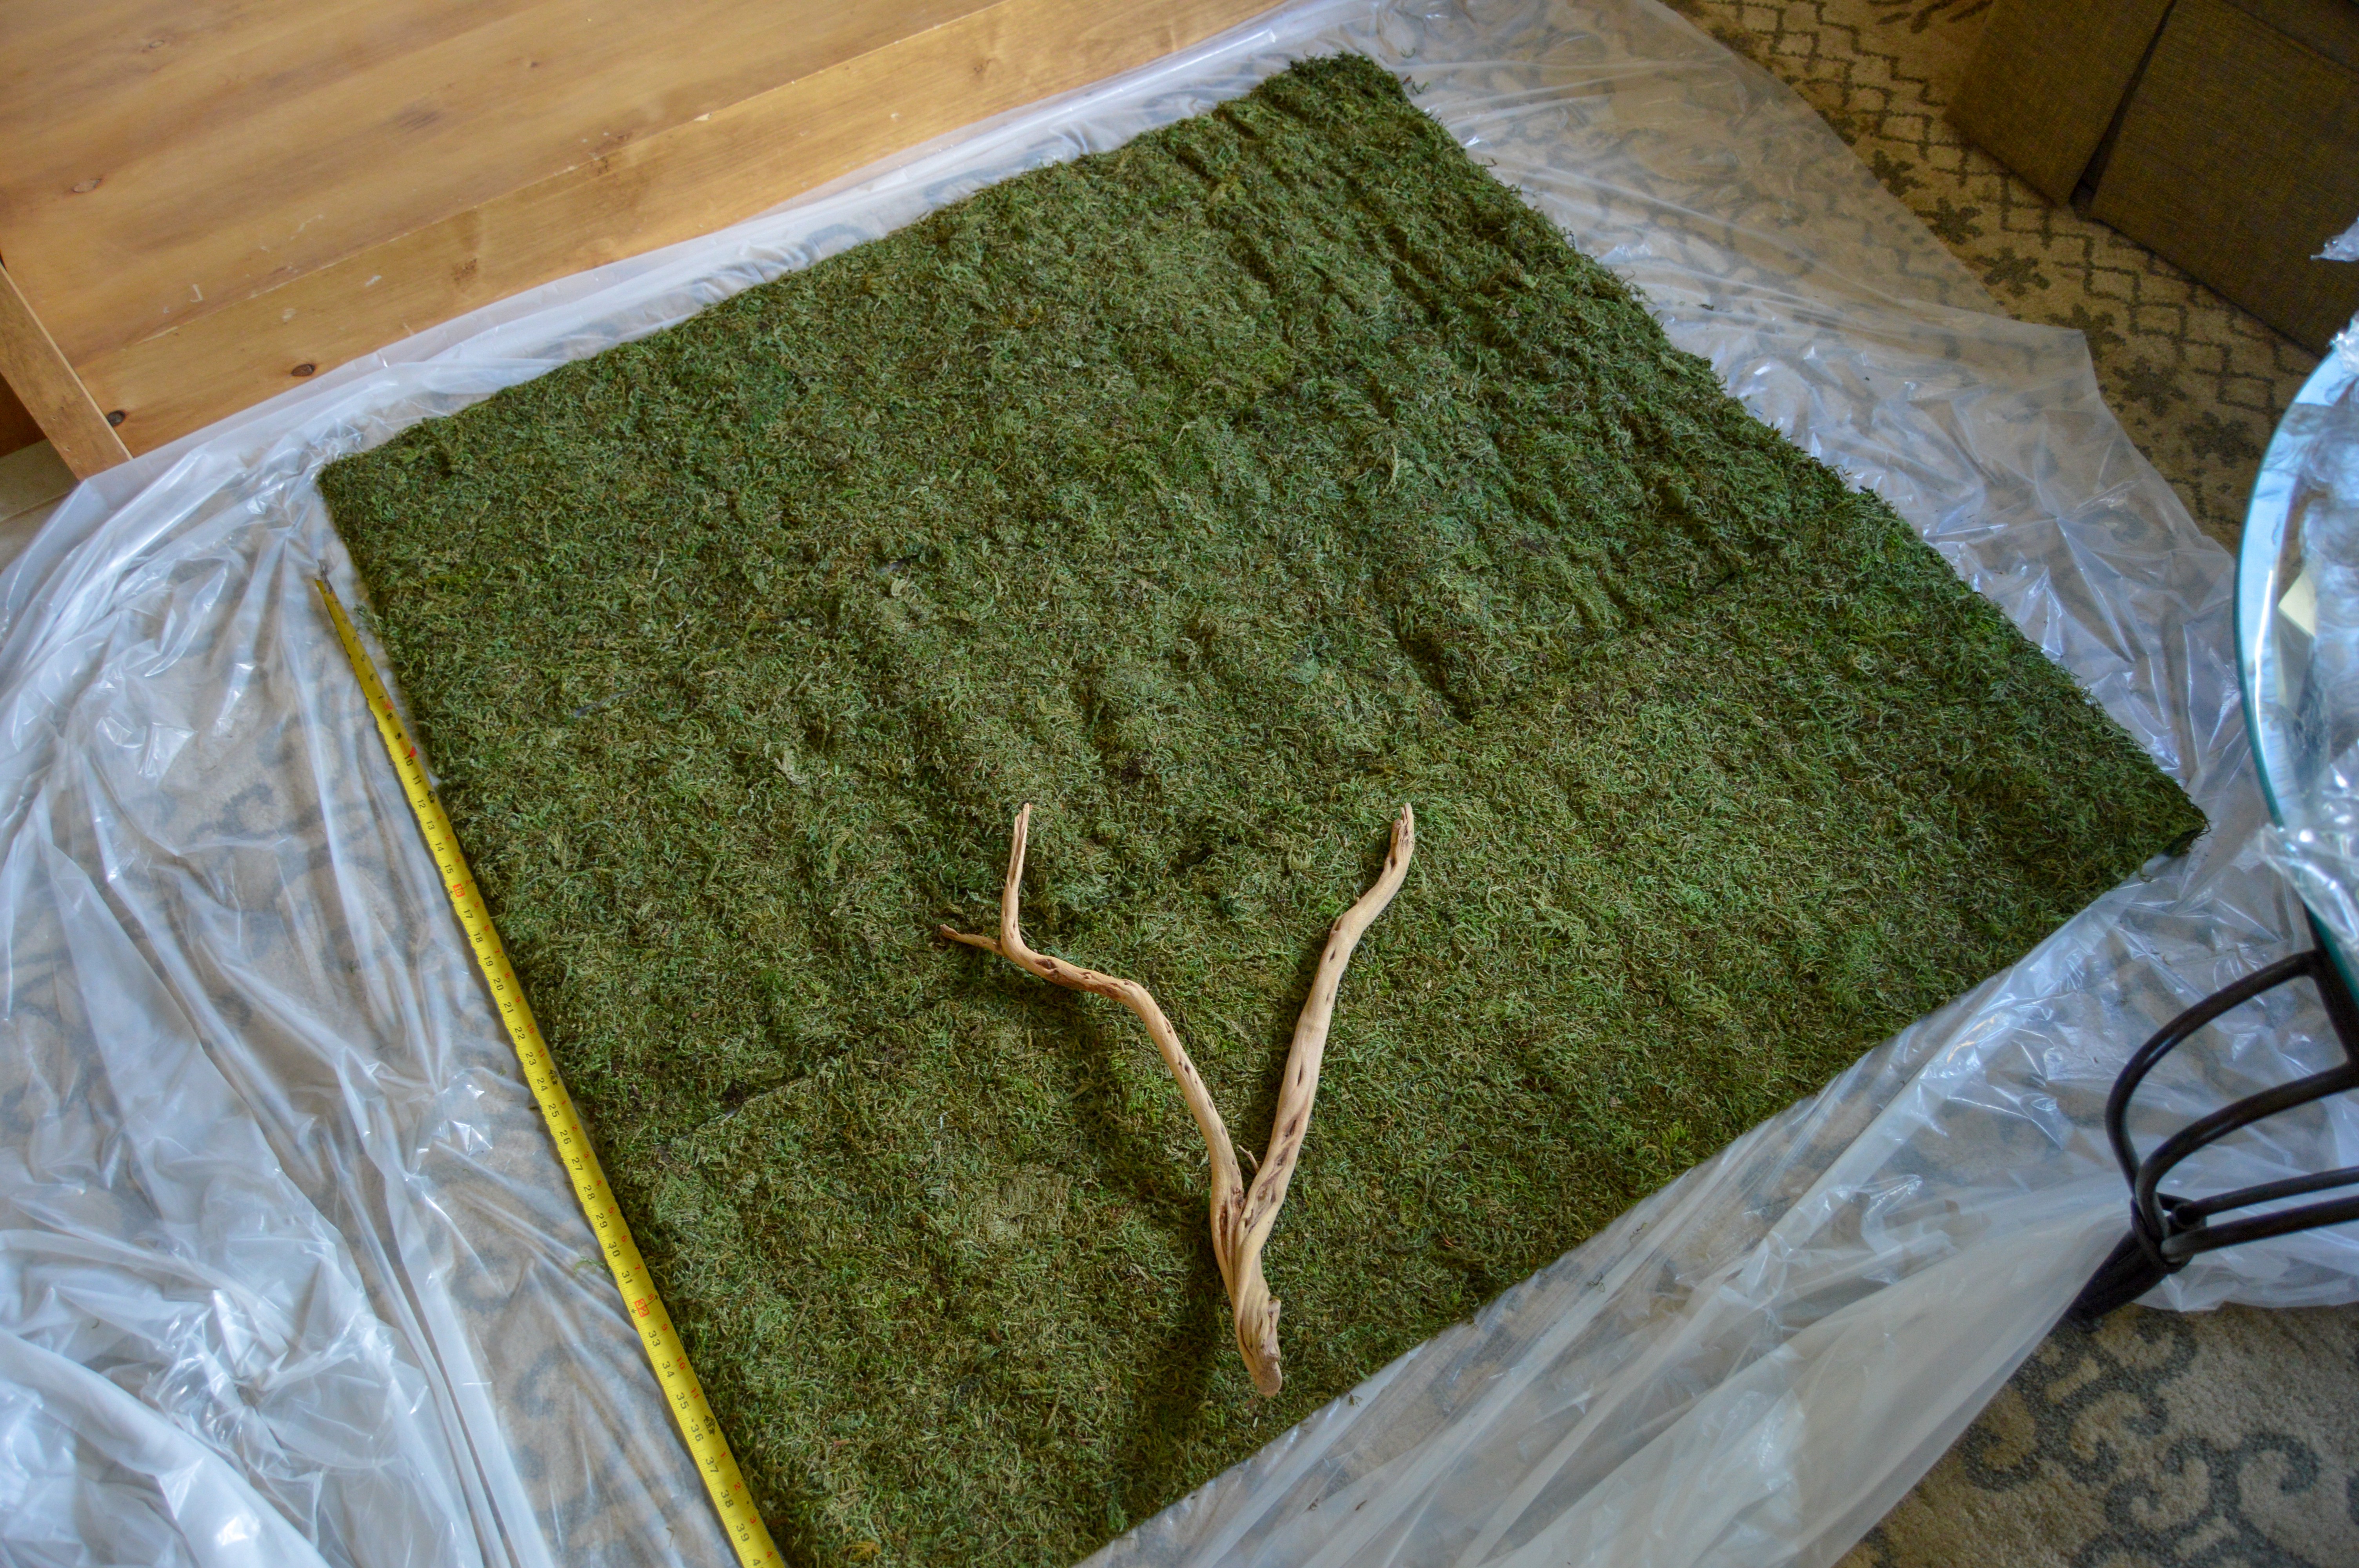
3. Lay out Sheet Moss Background
If you’ve got a big surface like us, then that means lining a few moss sheets up together. You can see the different rolls below. But don’t worry, they’ll blend together better later. We put ours on a drop cloth which I appreciated later because it made for easier cleanup. I loved this sheet moss. It was super easy to work with and gave us a cool, textured background.
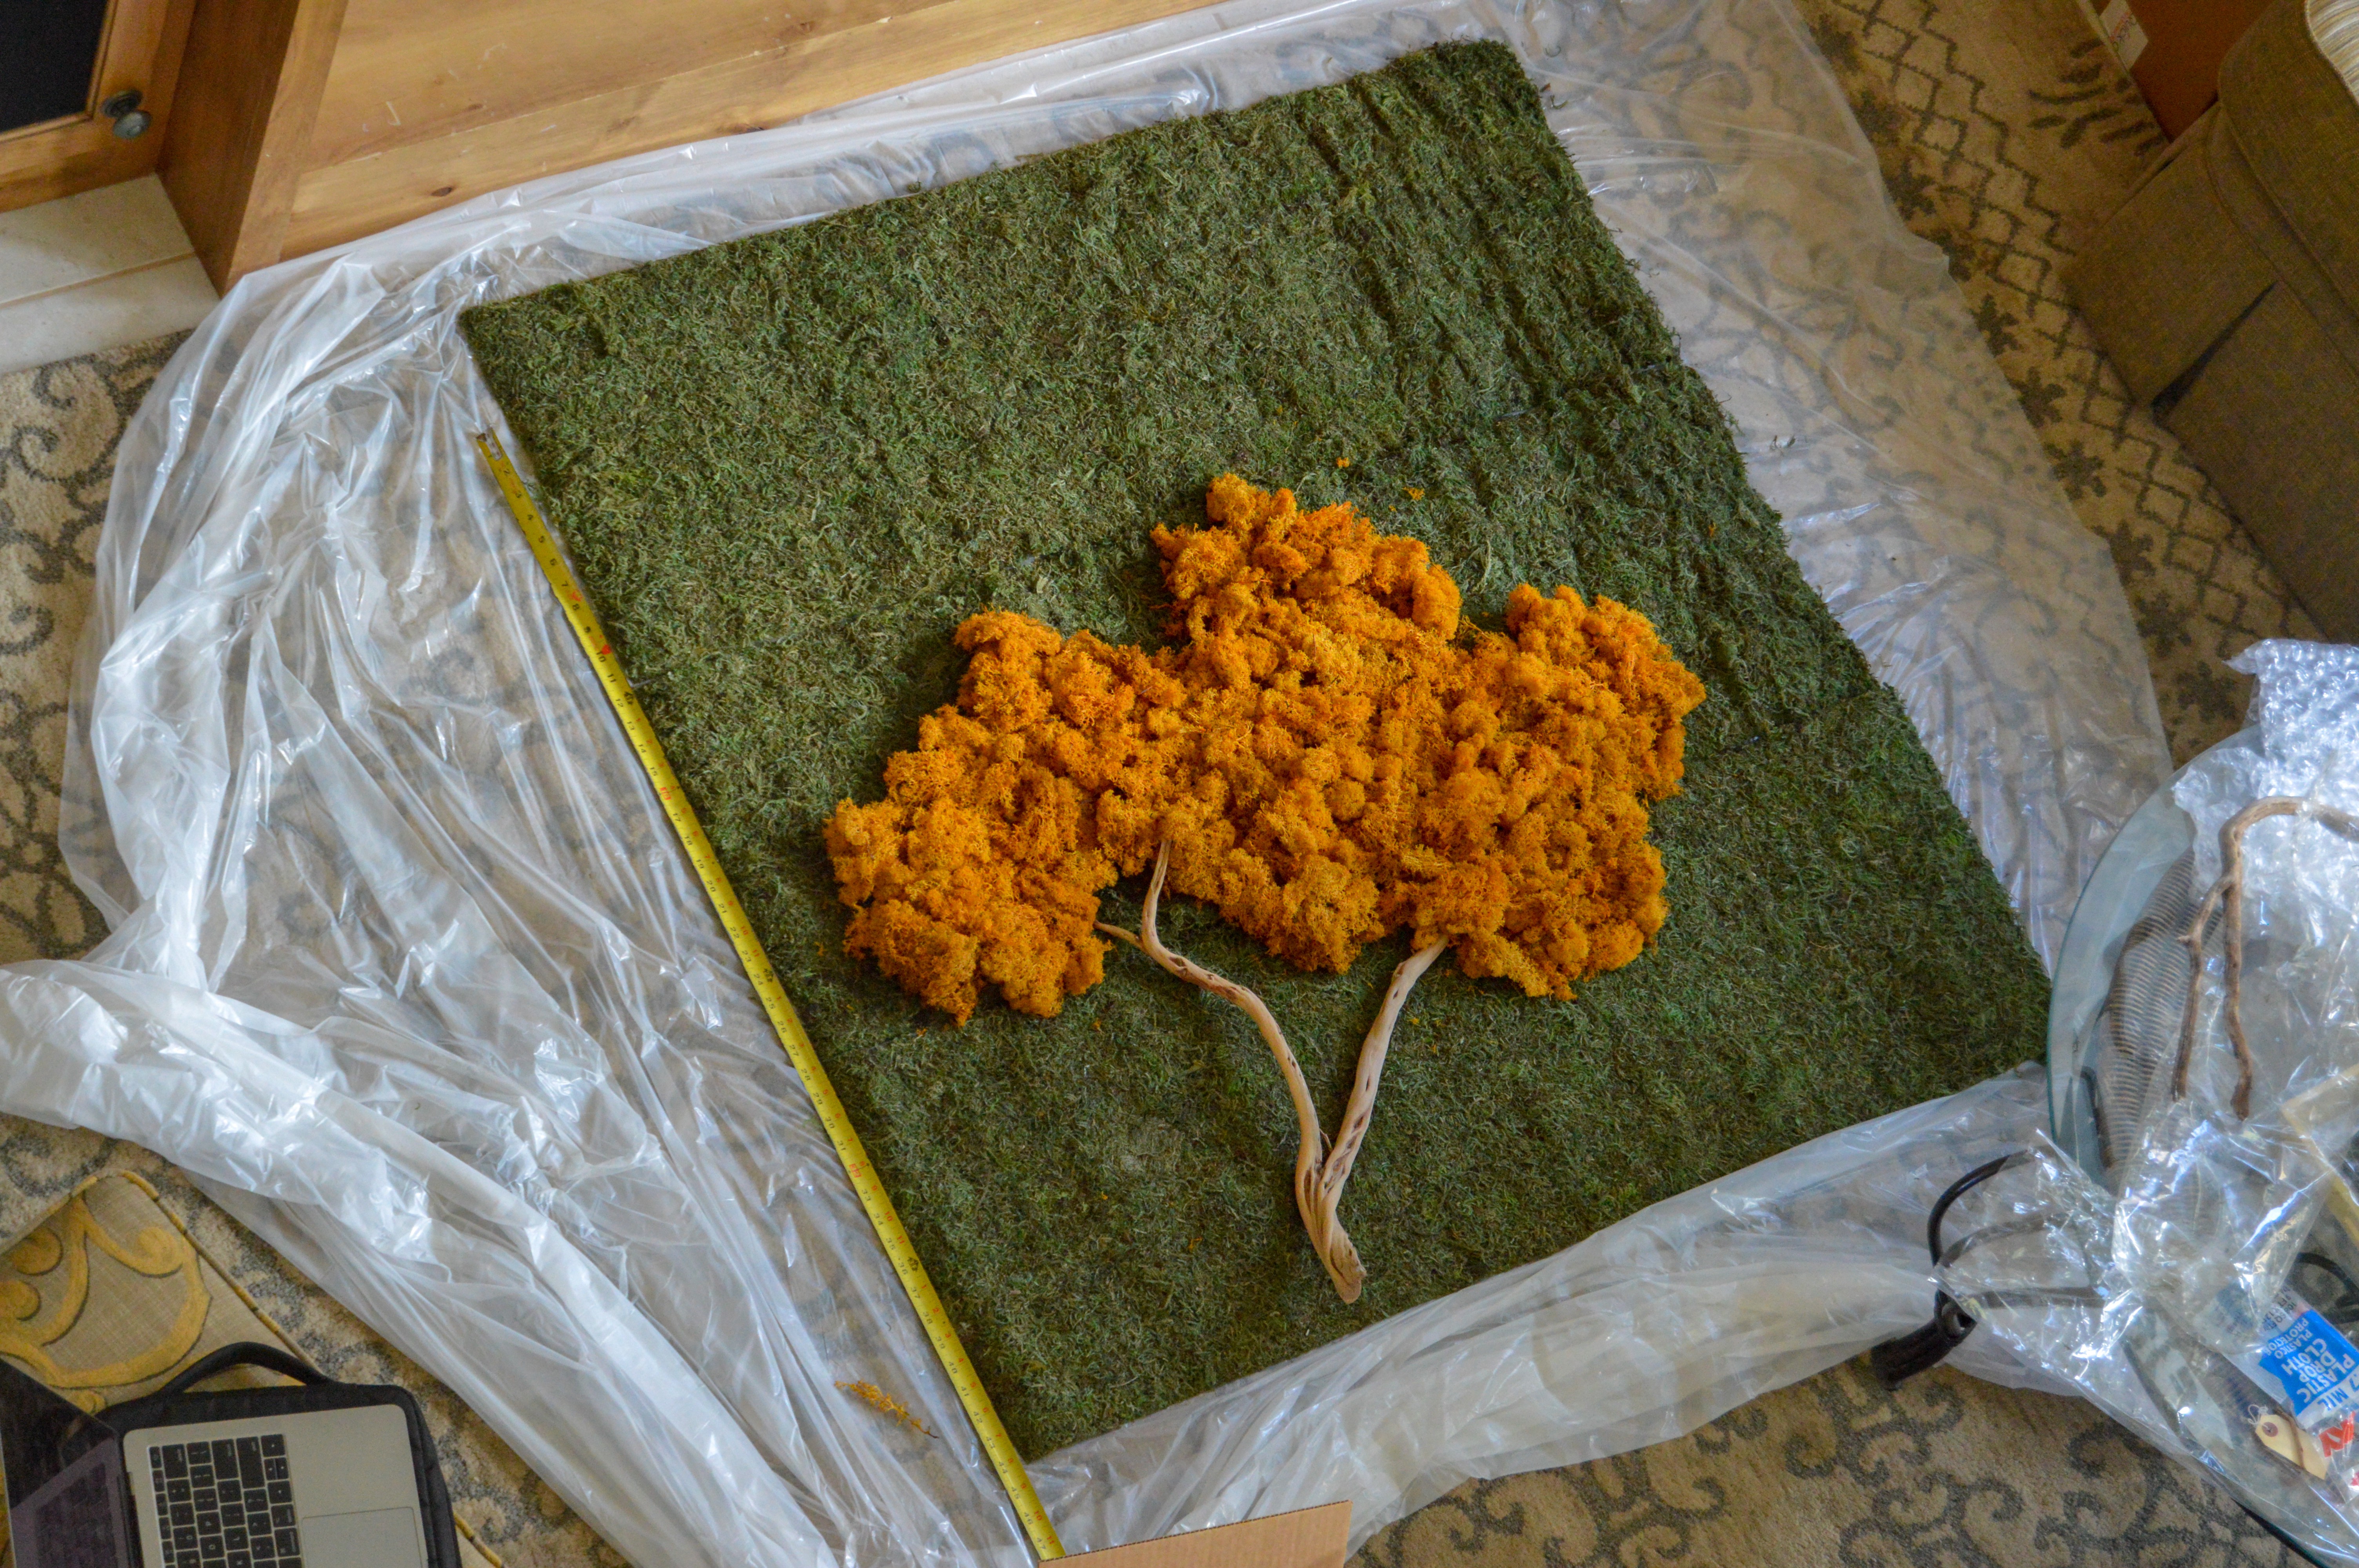
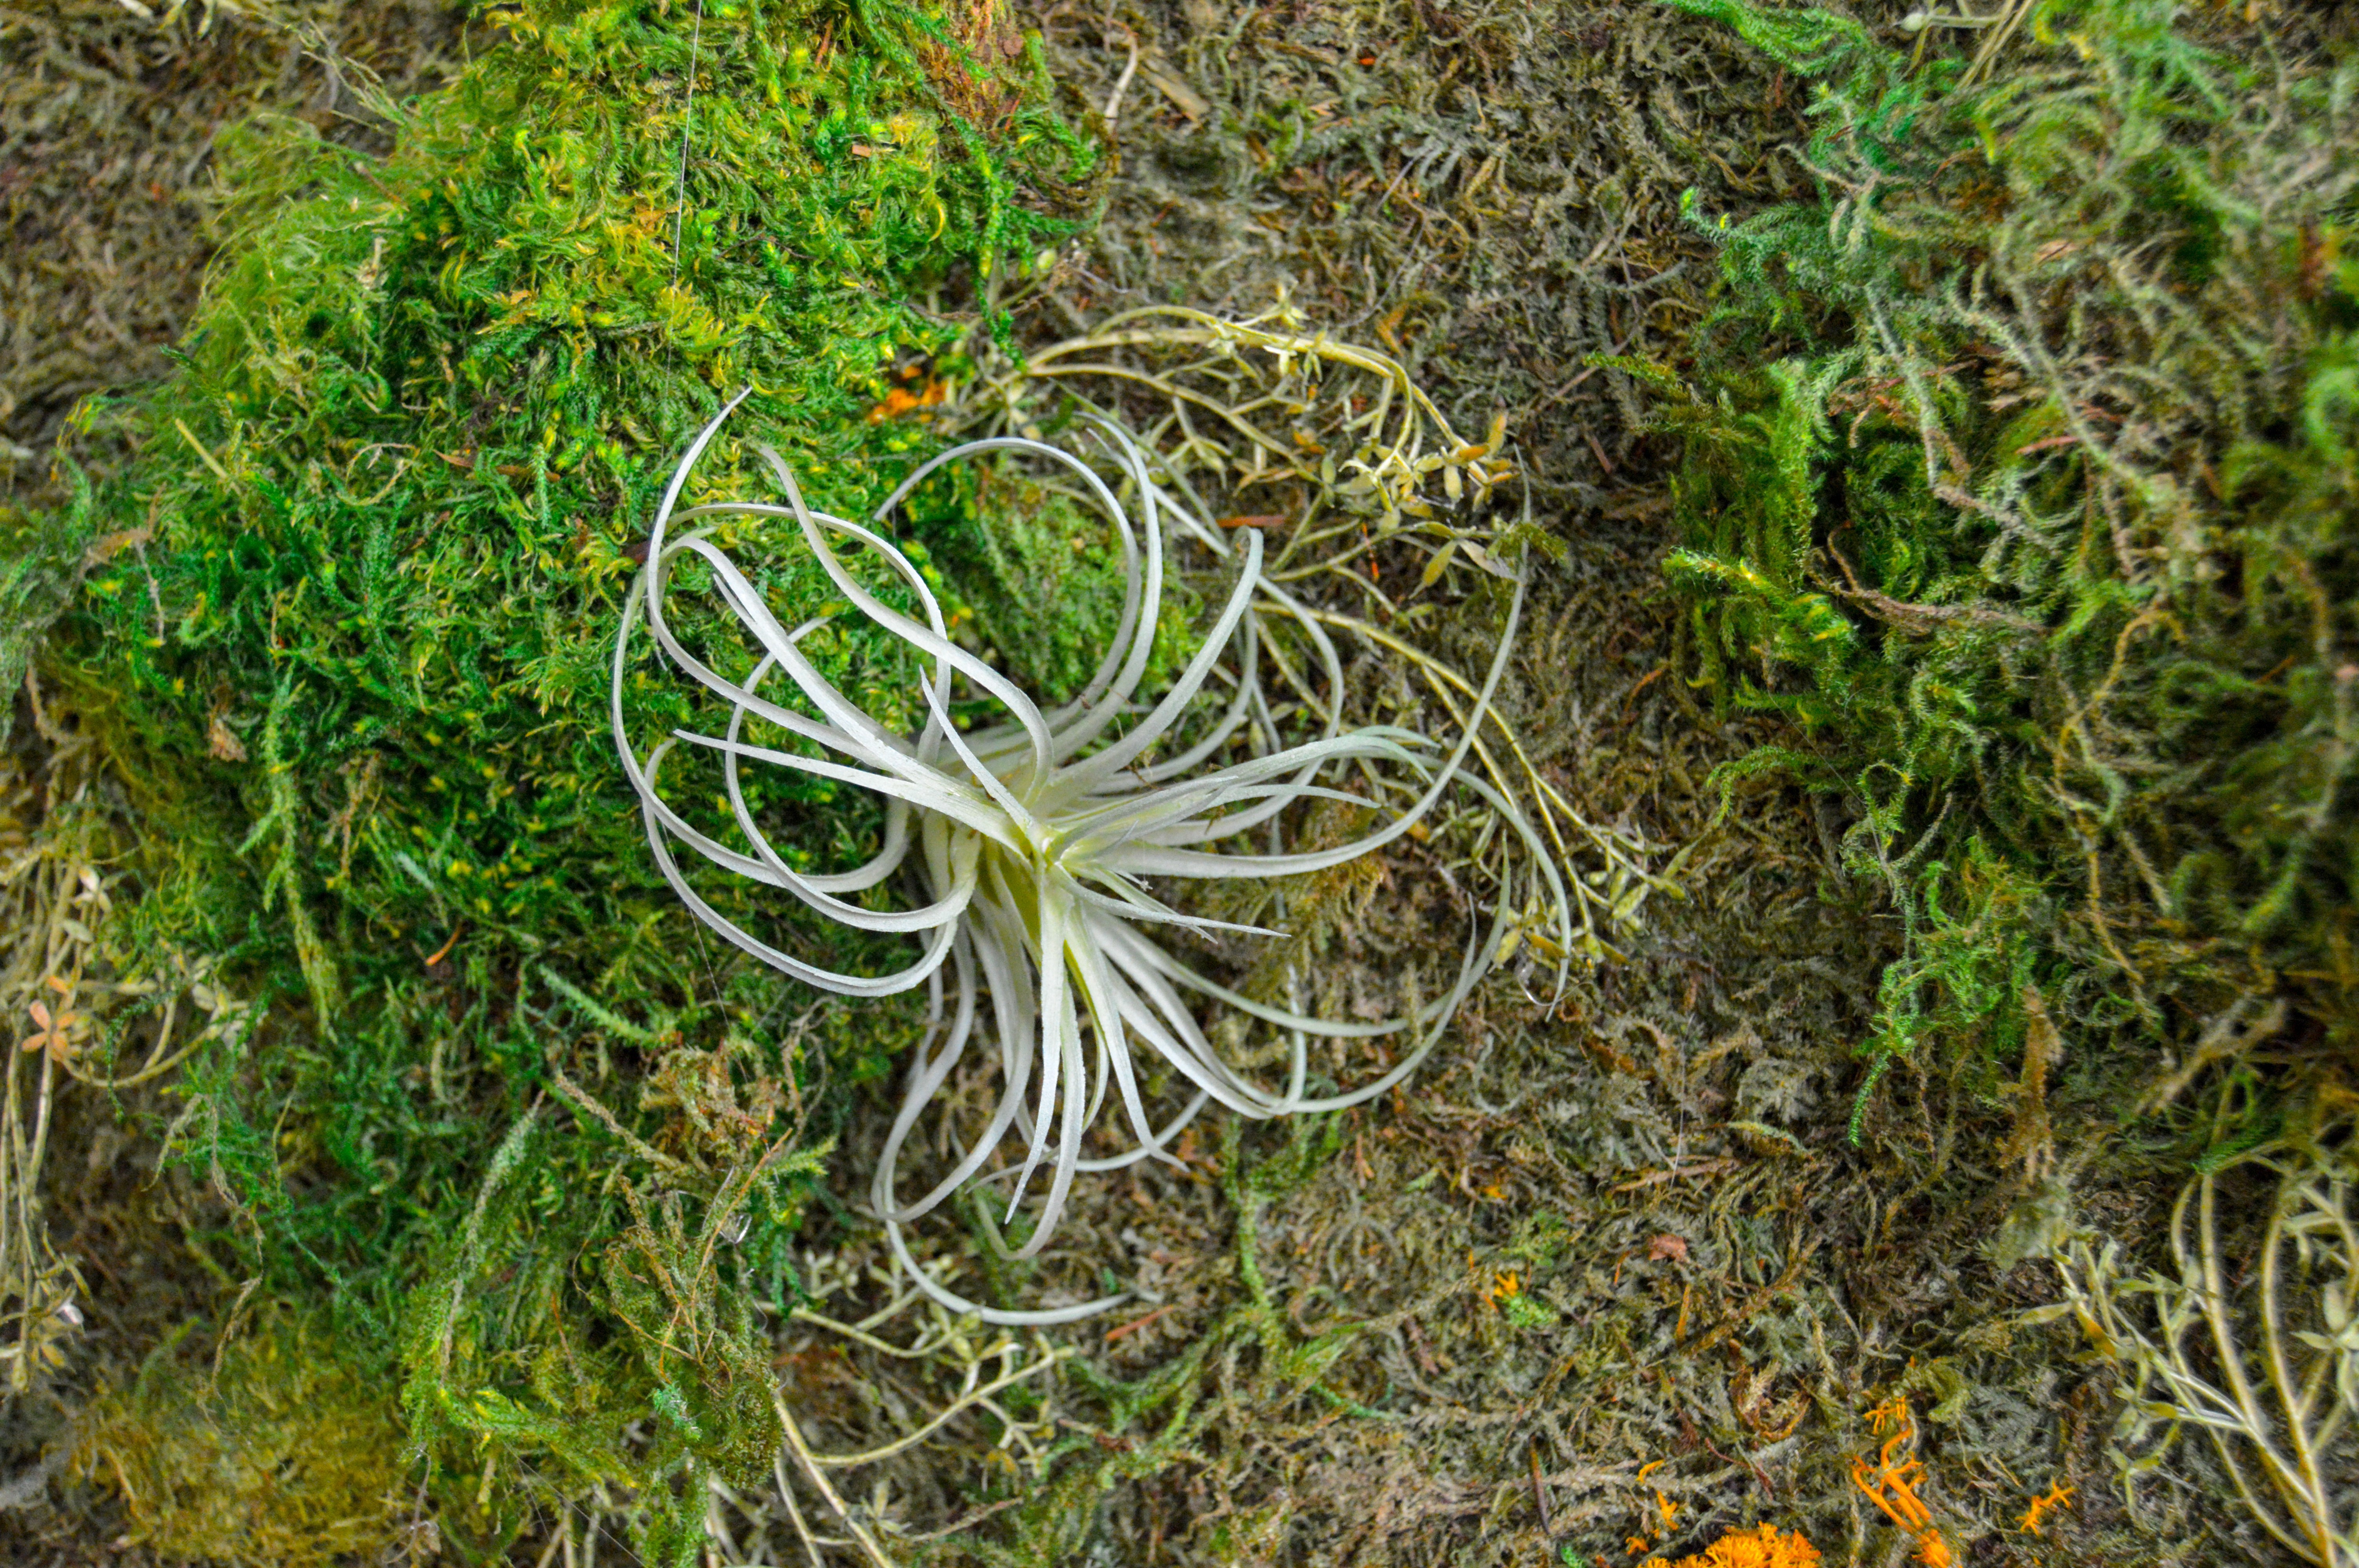
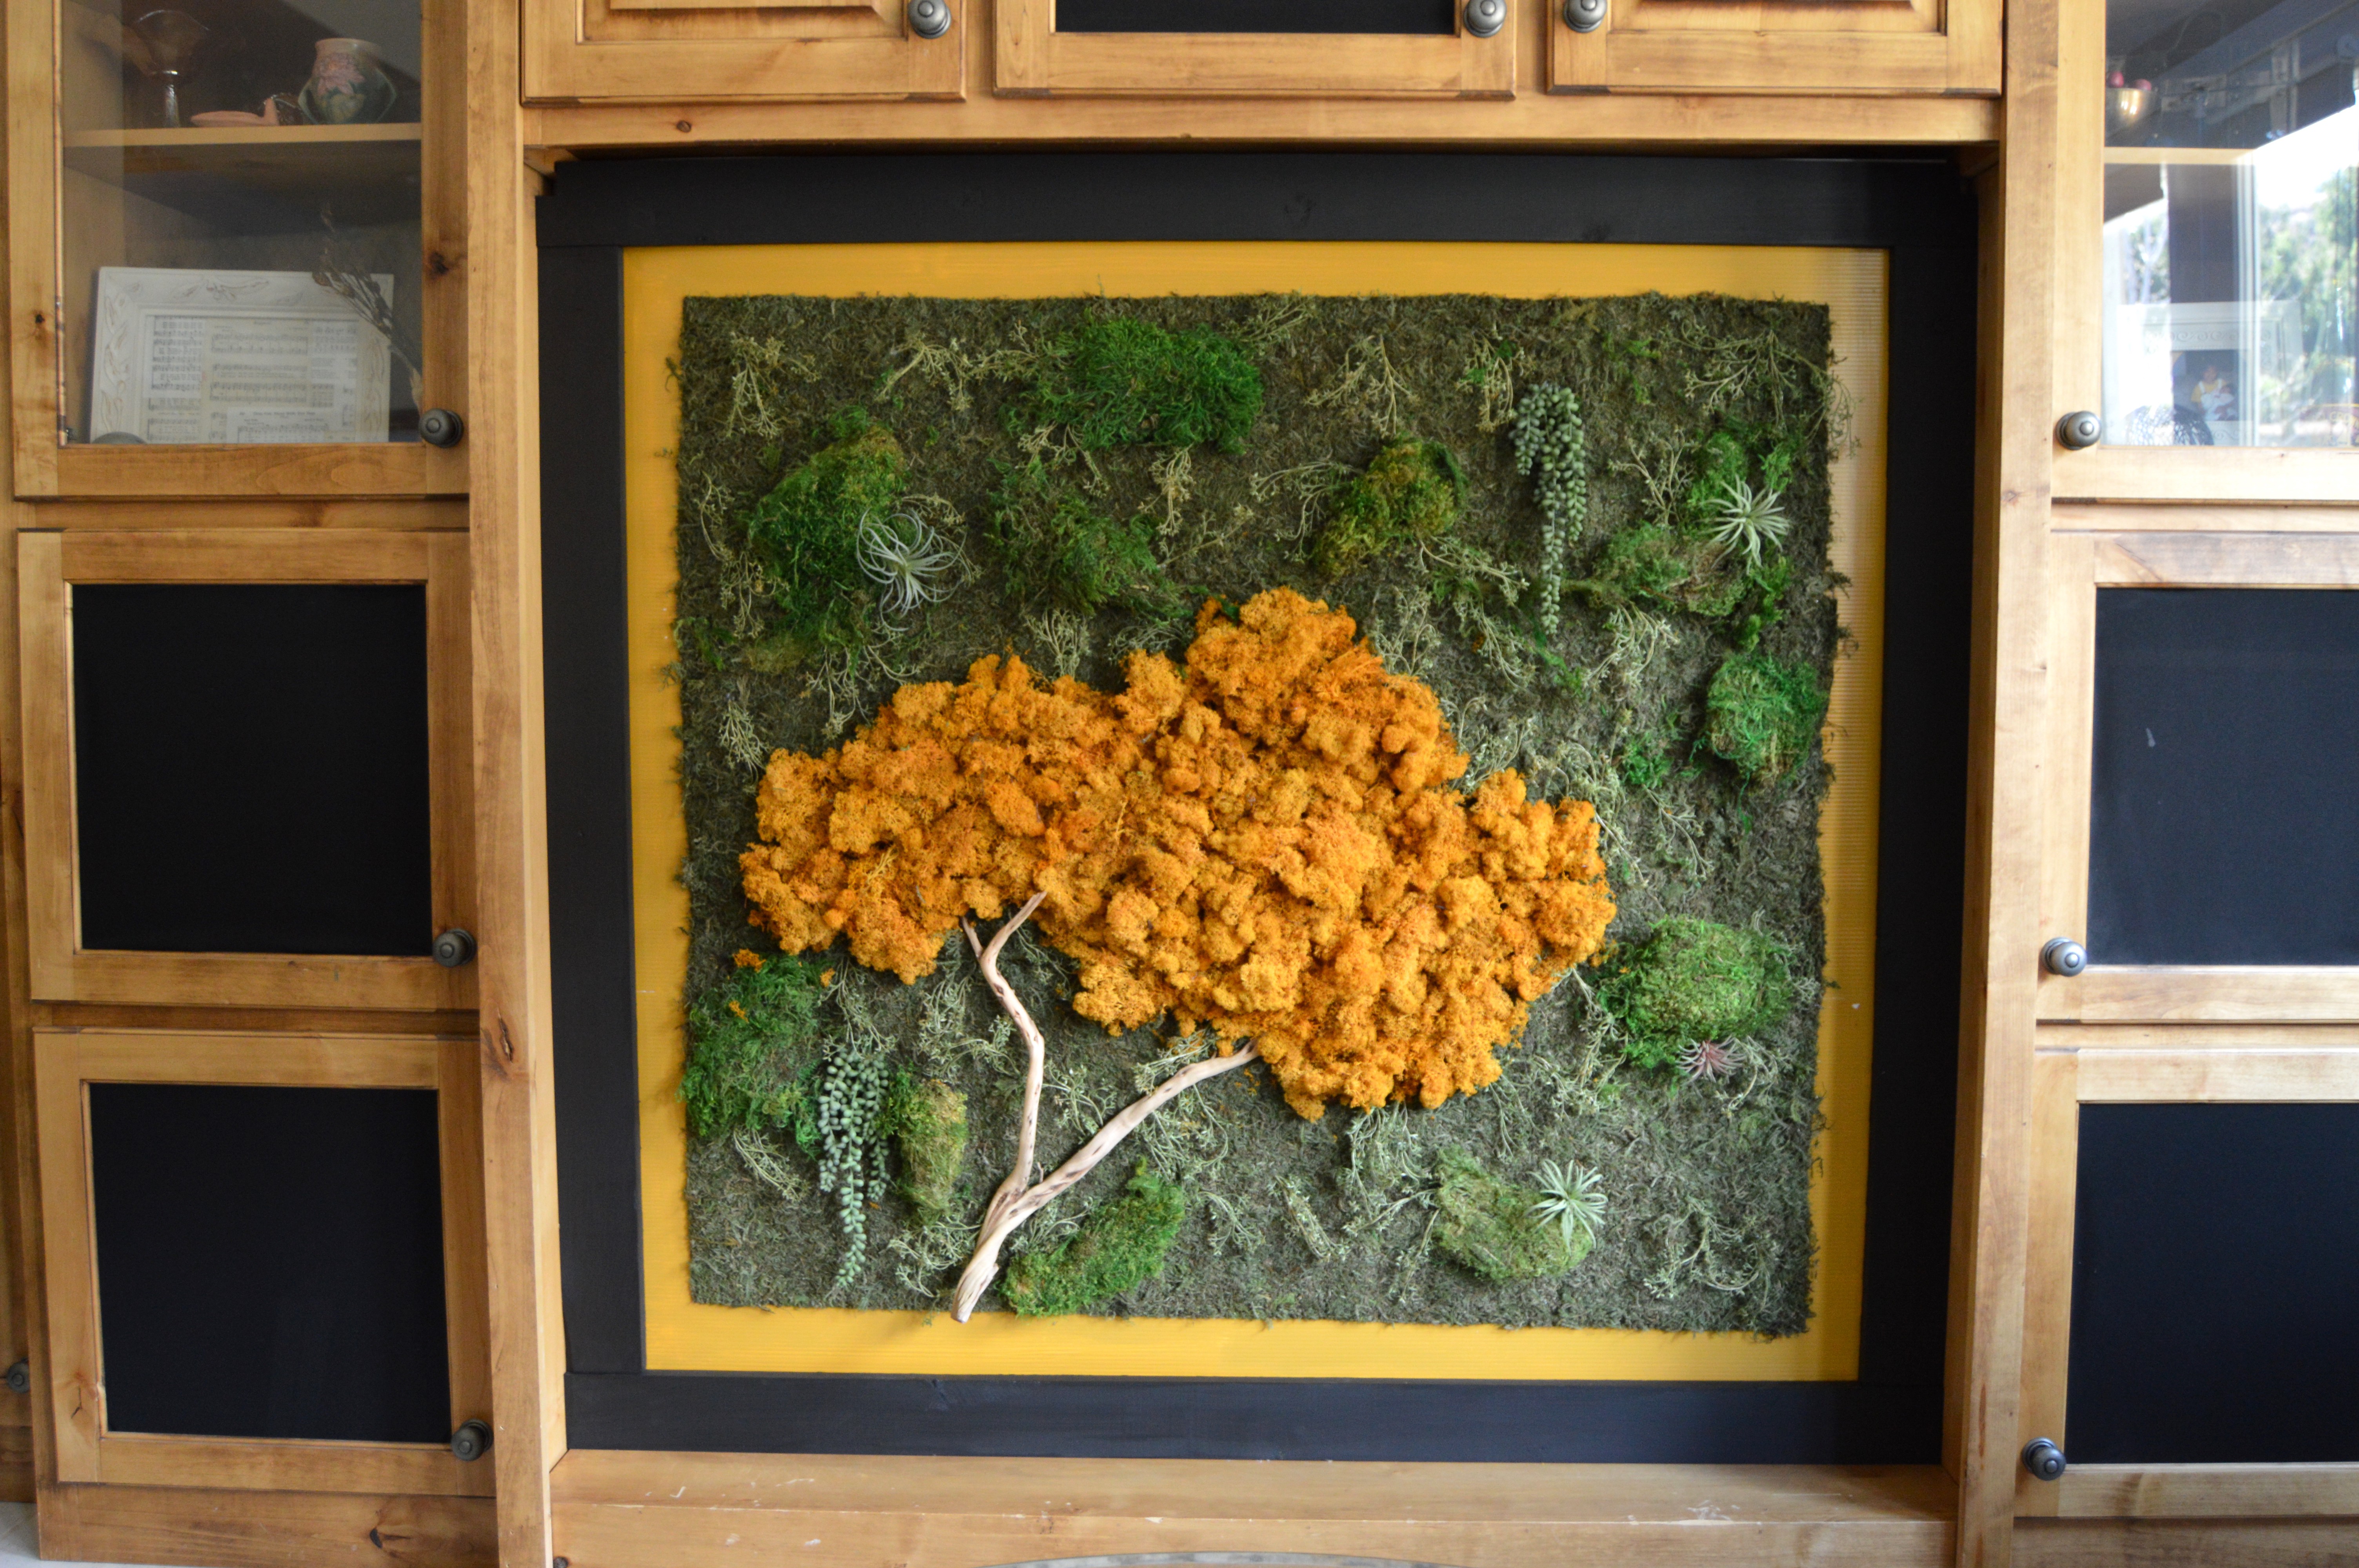
4. Arrange Moss Tree
I found a picture of a real tree I liked online and tried to mimic the overall shape of it. I just grabbed clumps of the yellow preserved reindeer moss and arranged them above the driftwood branch.
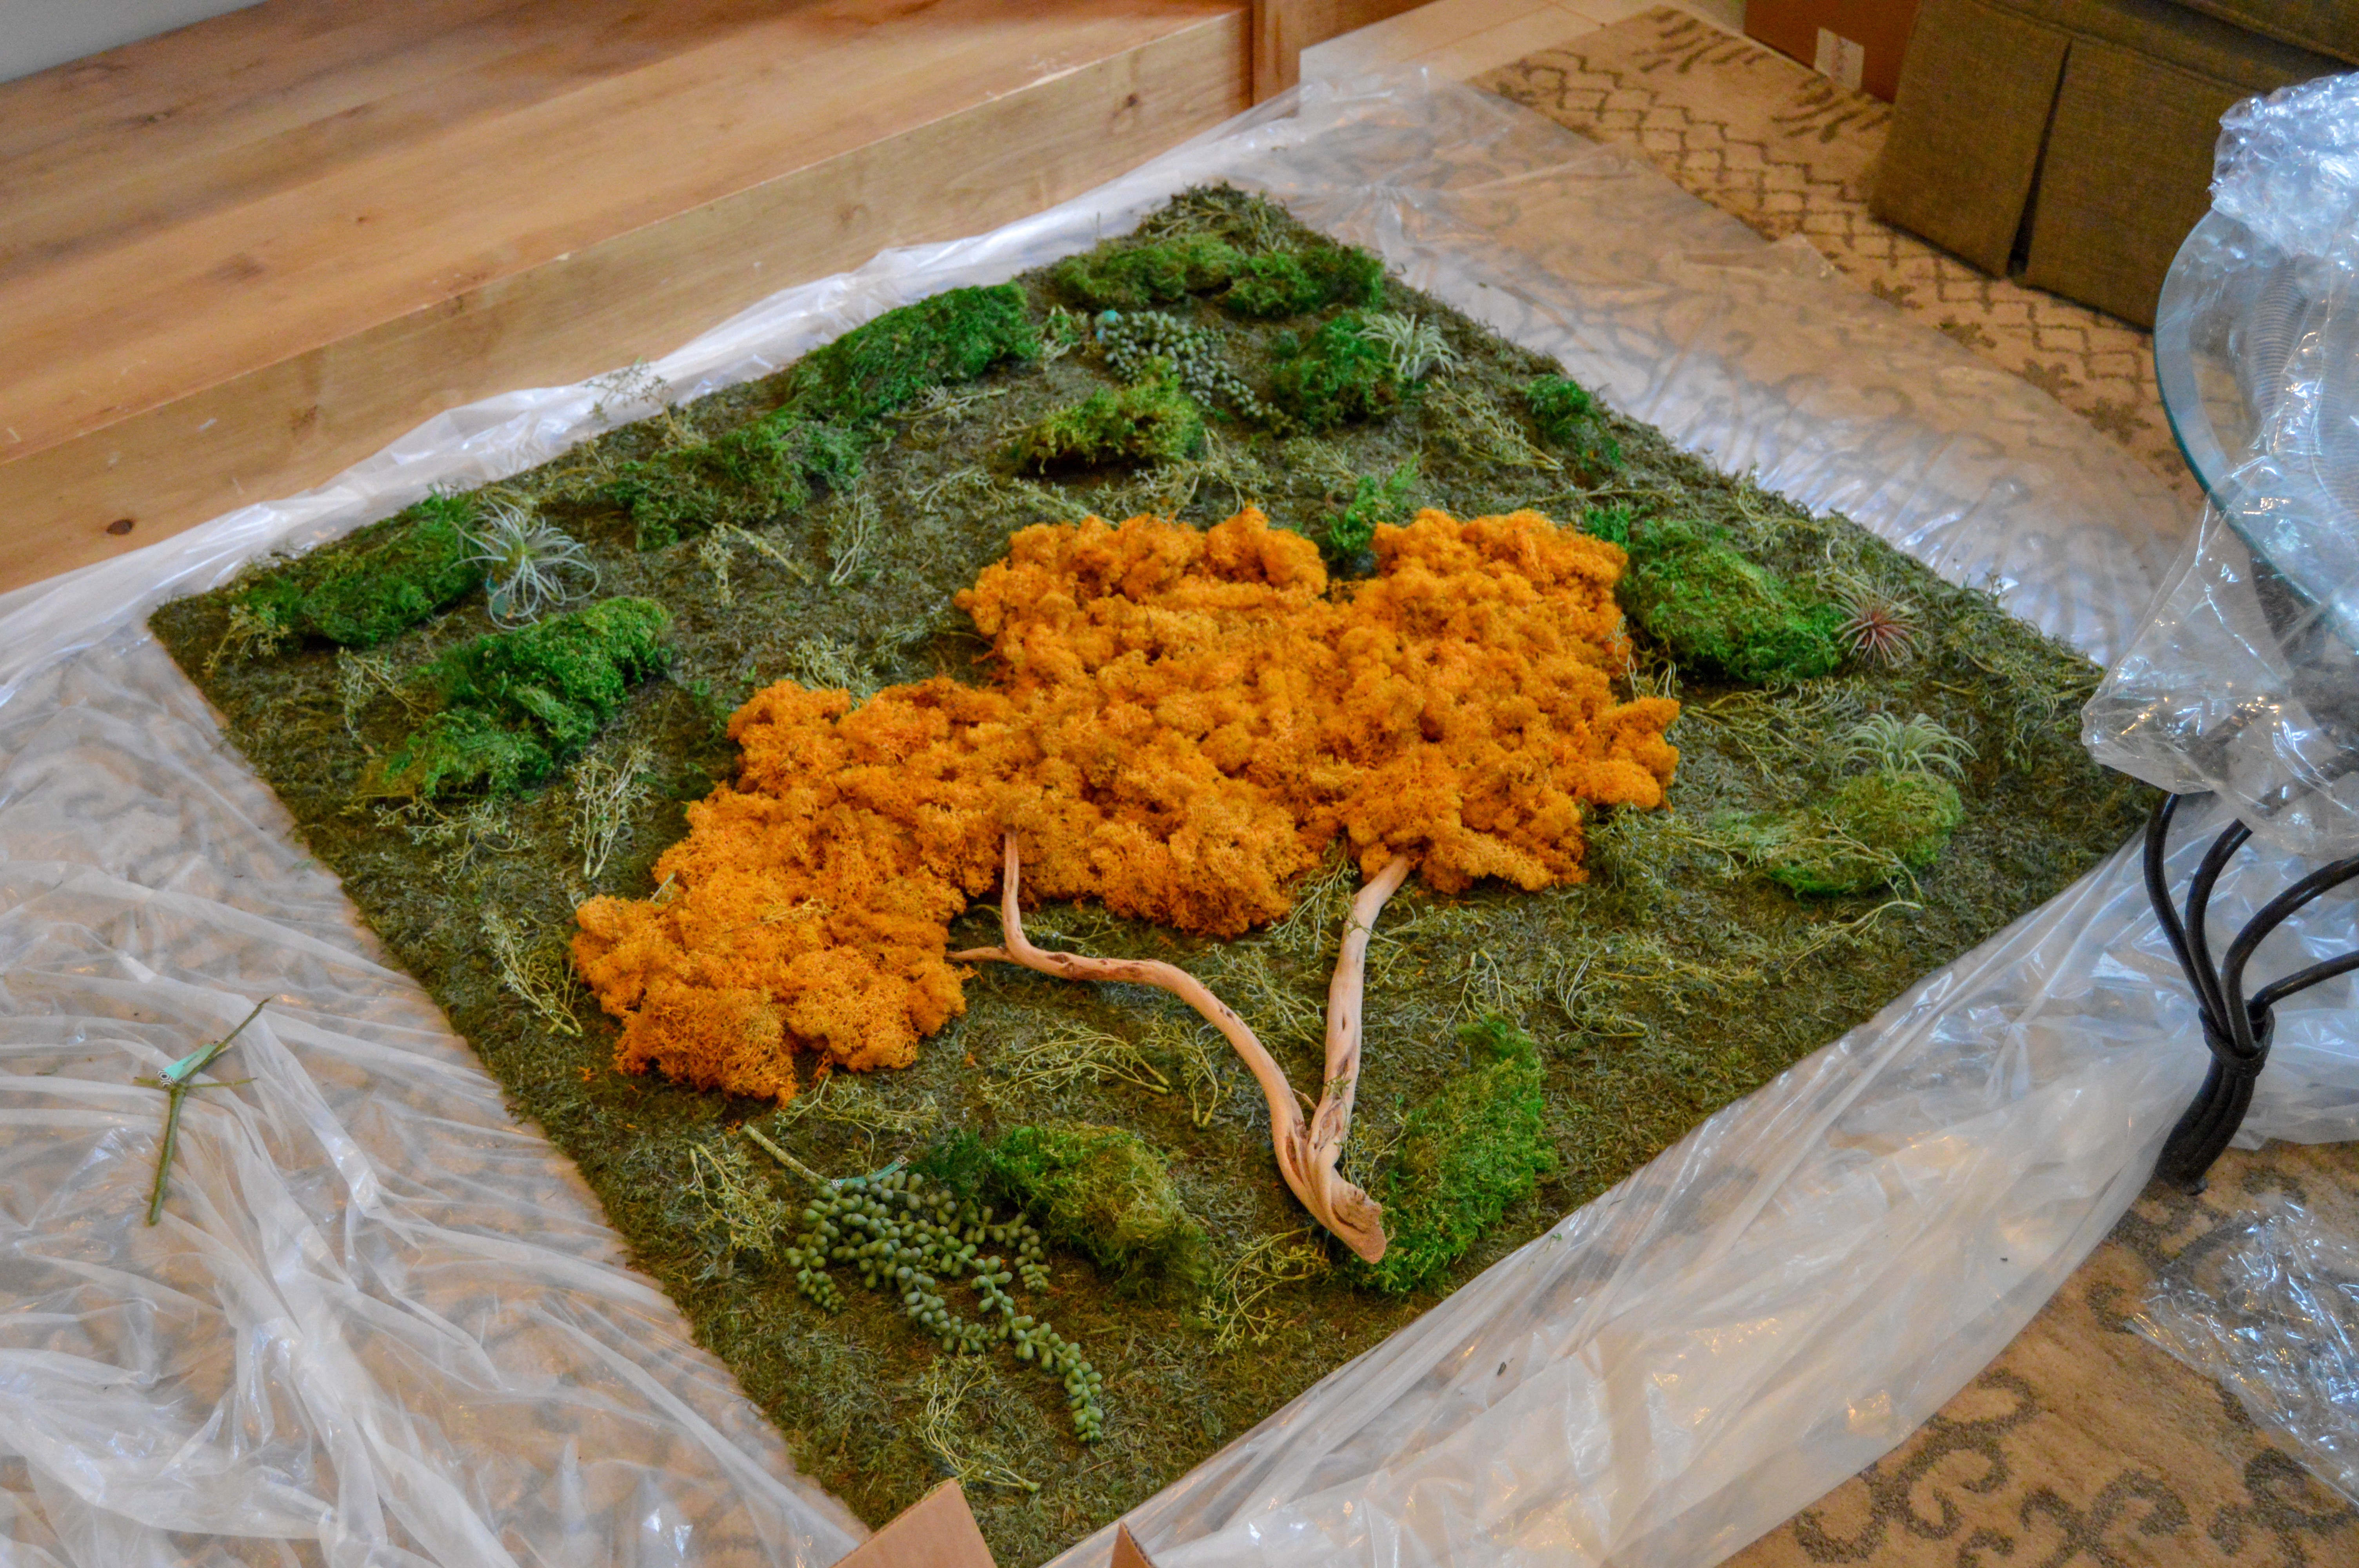
5. Add Accents
Our original plan was to just have the moss sheets and the tree, but once we had our sheets rolled out and the tree on, we realized that it was too bare. So we headed to Hobby Lobby and bought some faux plants and accent preserved moss to spice it up a bit. The difference is drastically better! Hopefully you agree… check out the difference! Way more interesting and fun to look at. The accents really took this thing to the next level. FYI, the little, wispy plants you see on there I pulled from off of a garland. I shared the link above.
6. Hot Glue the Moss Wall Art
Once you have your moss arranged how you like it, start hot gluing everything.
Tip #1: Use a popsicle stick, a pen, or something to hold the moss down when you’re hot gluing. I gave myself a couple burns trying to hold it down with my fingers because something the glue seeps through the moss a bit.
Tip #2: If you have faux plants with stems like I do, then stick those through the sheet moss and glue them in first before gluing down your moss sheets to the corrugated plastic. Otherwise, it’ll be harder to hide the stick ends once the back is all glued.
When all the moss, accents and branch are glued down, then, slide the whole thing onto your corrugated plastic background and hot glue it to the plastic.
You’ll probably go through a bunch of hot glue, but it’s better for it to be well-glued then for stuff to start falling off once your moss wall art is tilted upright.
7. Set Up Frame
If you’re using an existing frame and hanging it on the wall, then this is an easy step. Just make sure the corrugated plastic is securely fixed to the frame.
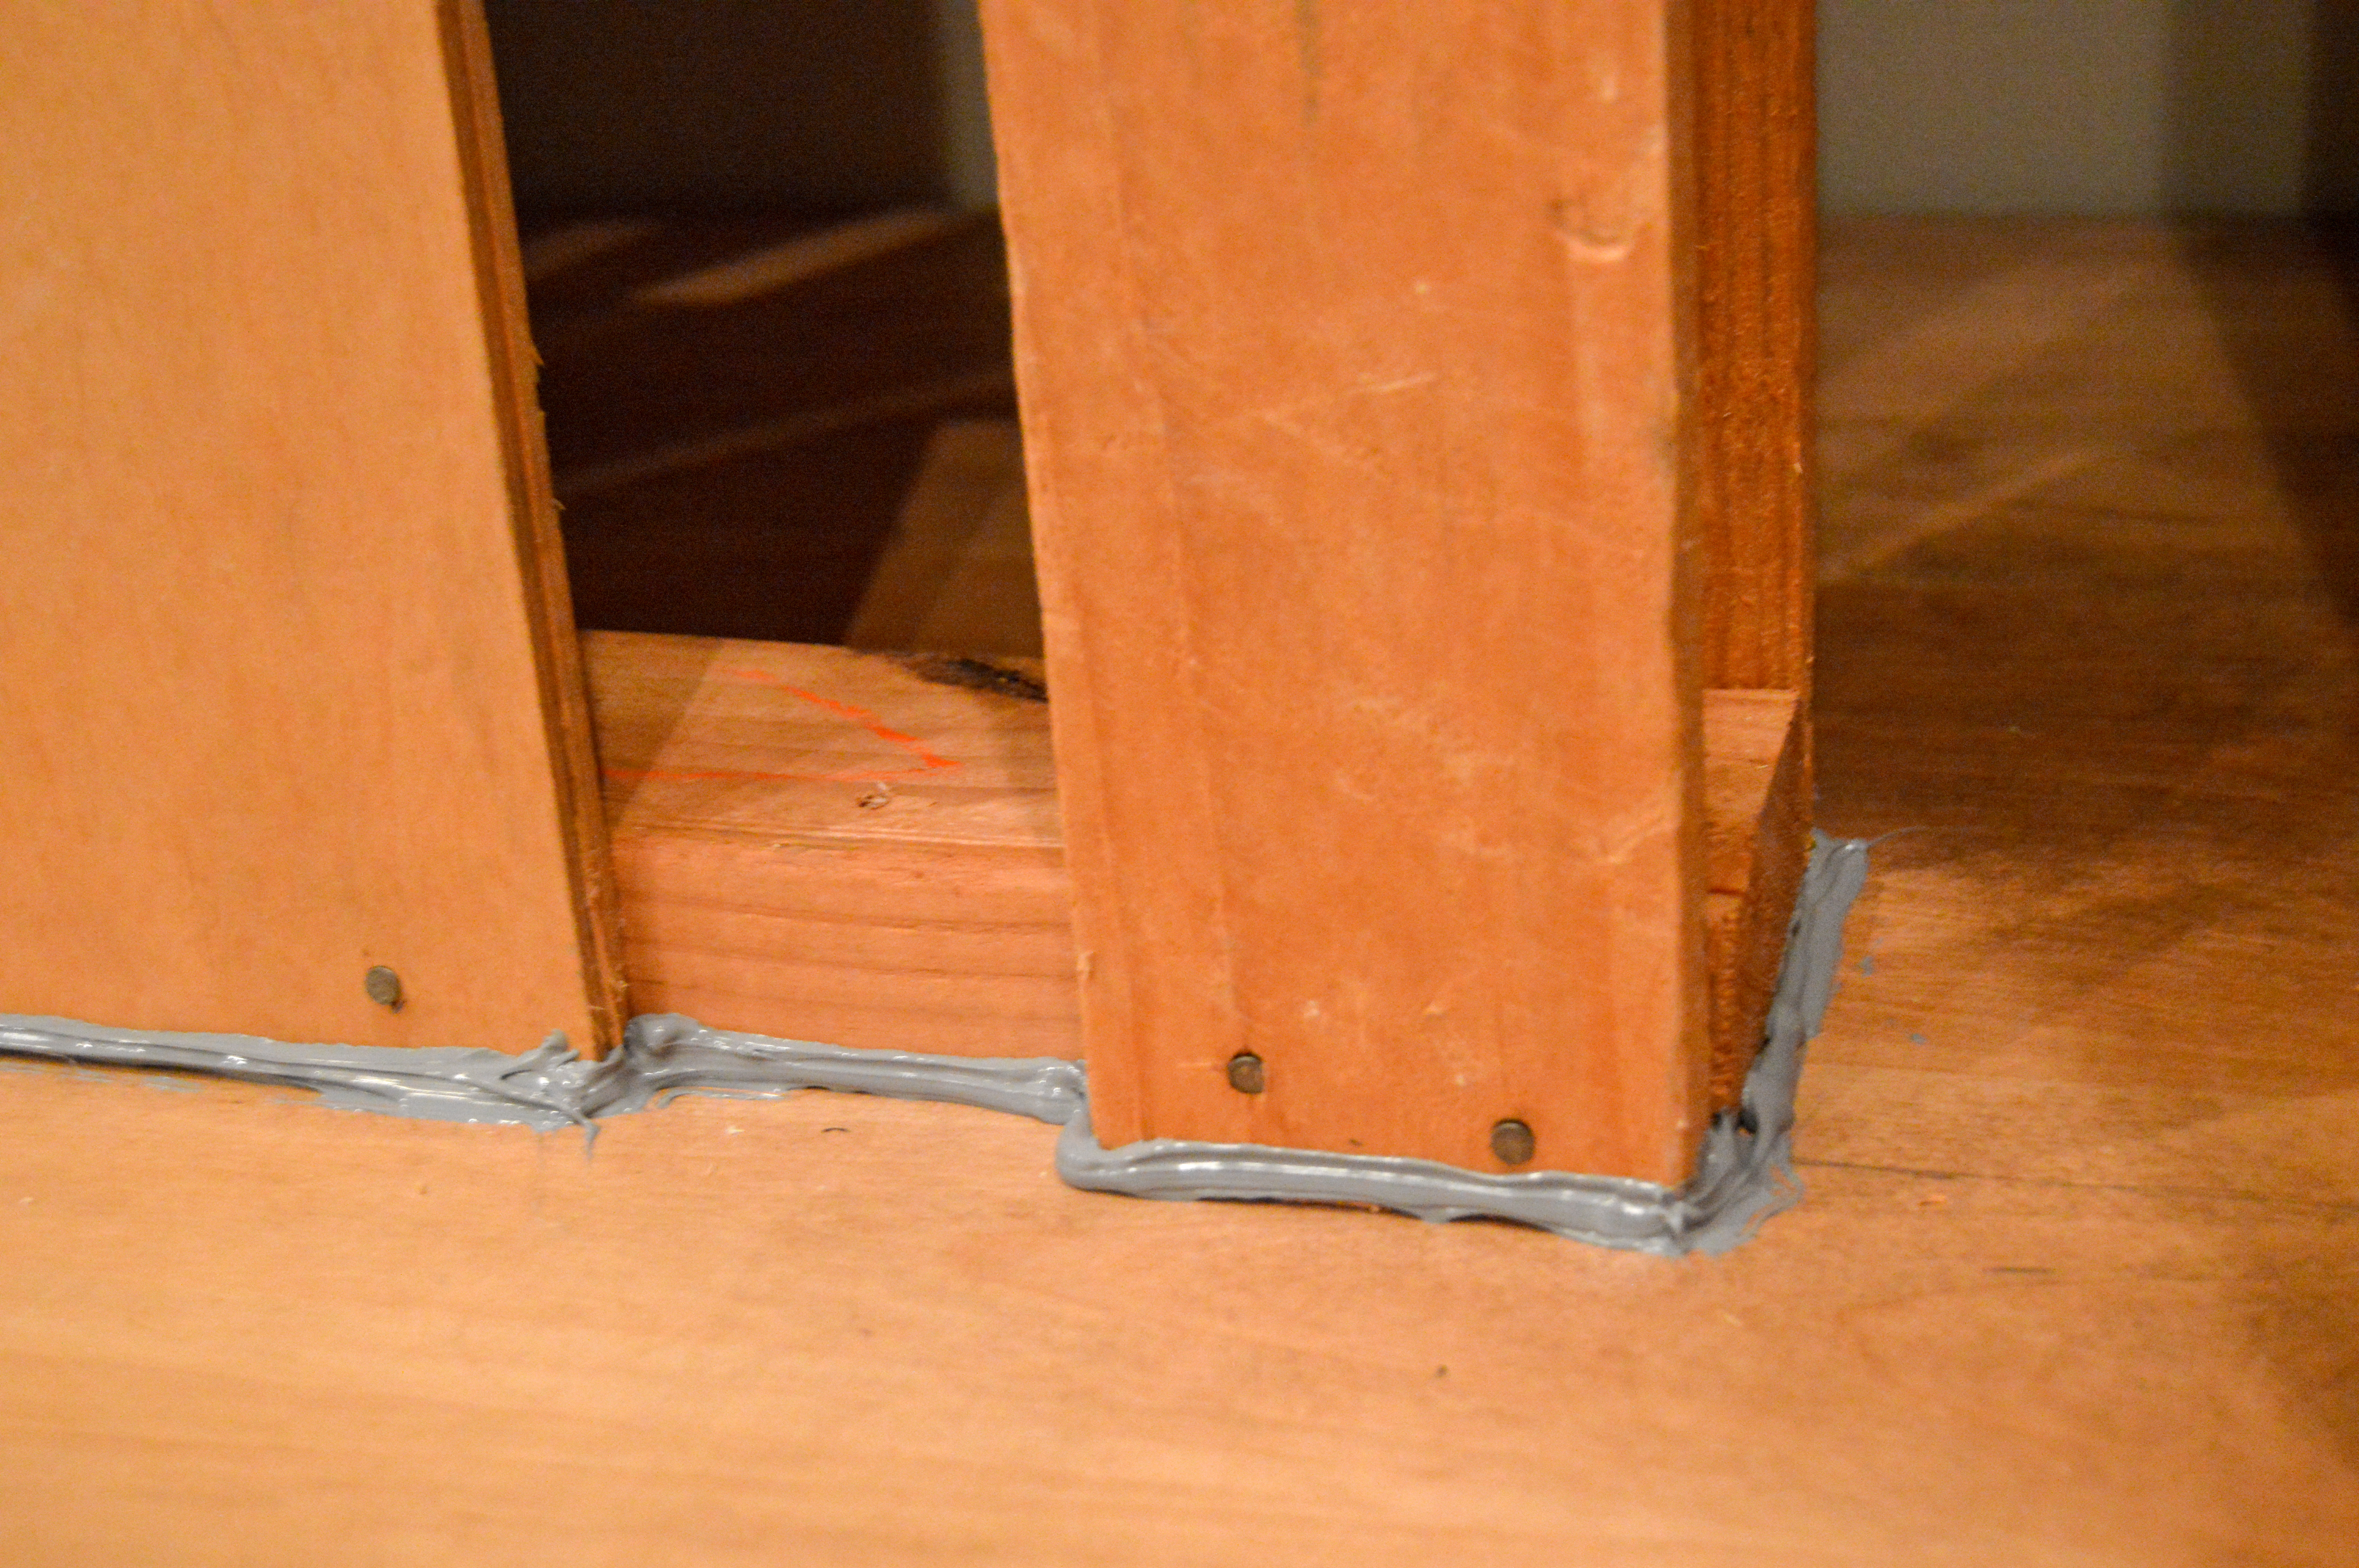
If you’re doing a custom frame like we did, then proceed with setting it up. To secure our moss wall art in the entertainment center hole, we used an old wood pallet we had lying around for support so it wouldn’t get pushed in by a grandkid. (Building it all the way against the back wall would have been too deep. We secured the pallet to the wall with 2×4 boards and added wood glue along the bottom for added stability.
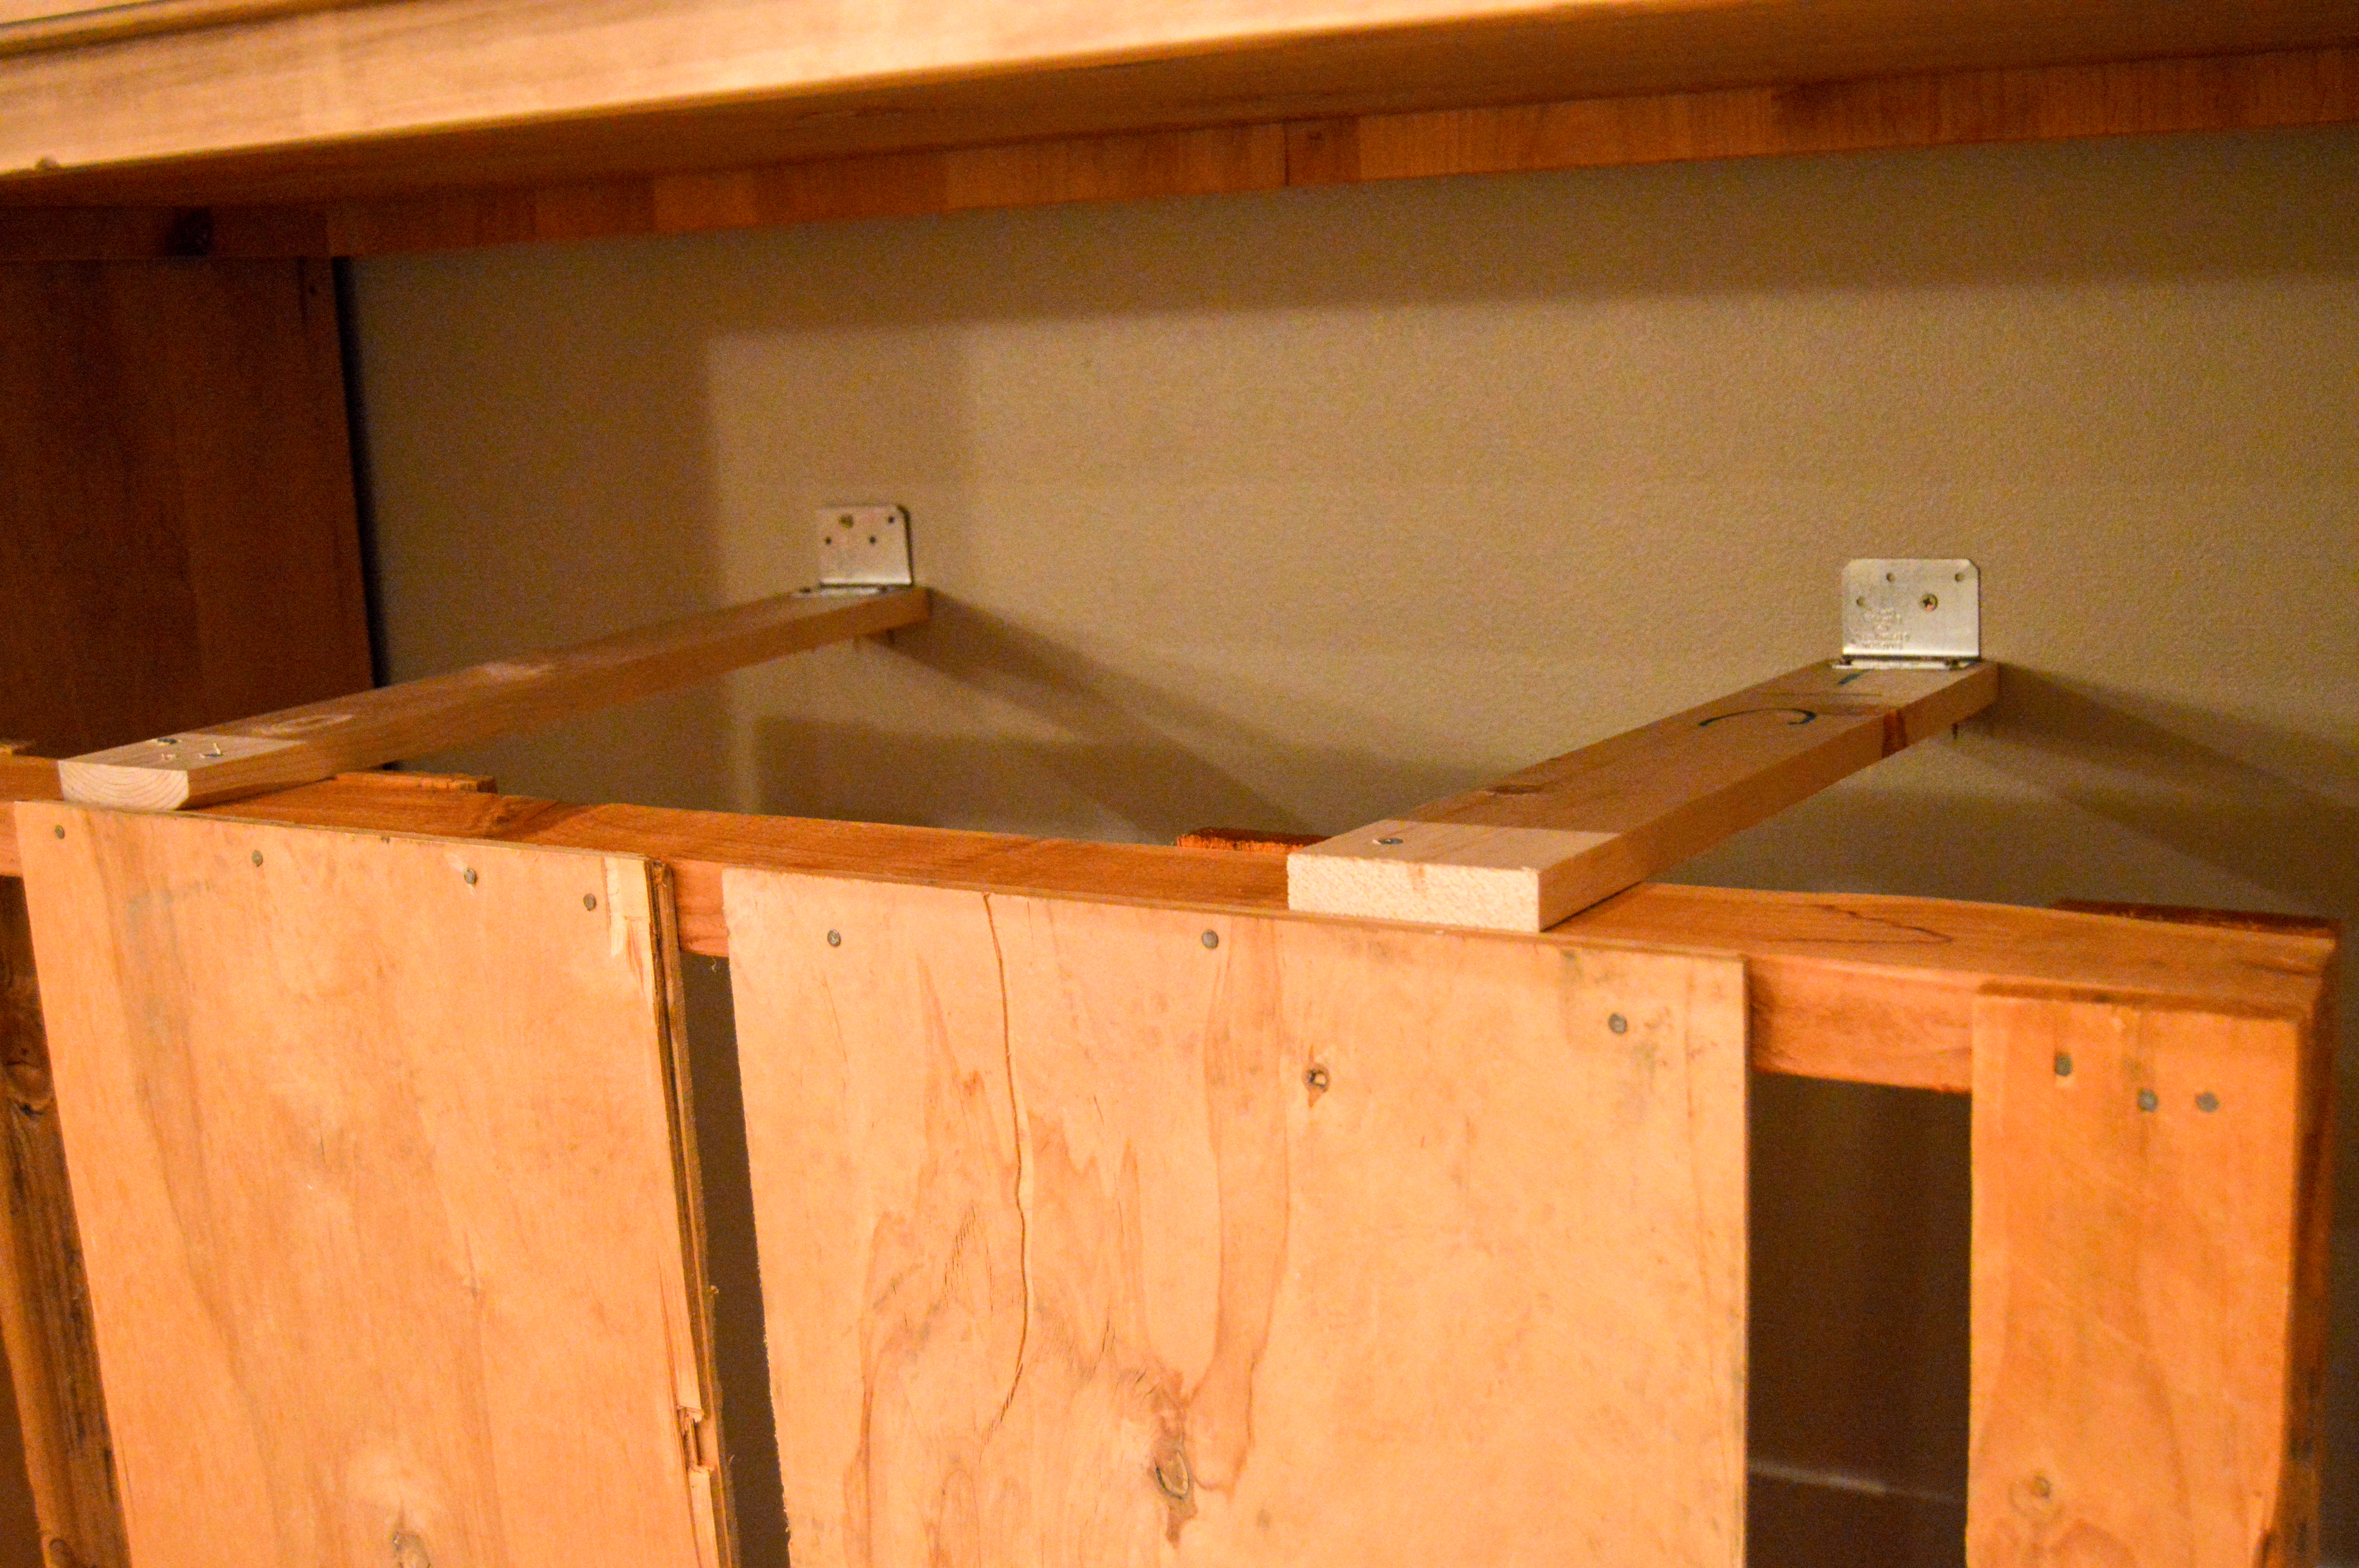
Then, we set up L shaped brackets in the corners of the hole in line with the pallet so that the edges of our corrugated plastic had something to lean on when we tipped it up in place. Ultimately, the corrugated plastic was sandwiched between the brackets and the frame. So it’s nice and secure.
Lastly, we added the black framing.
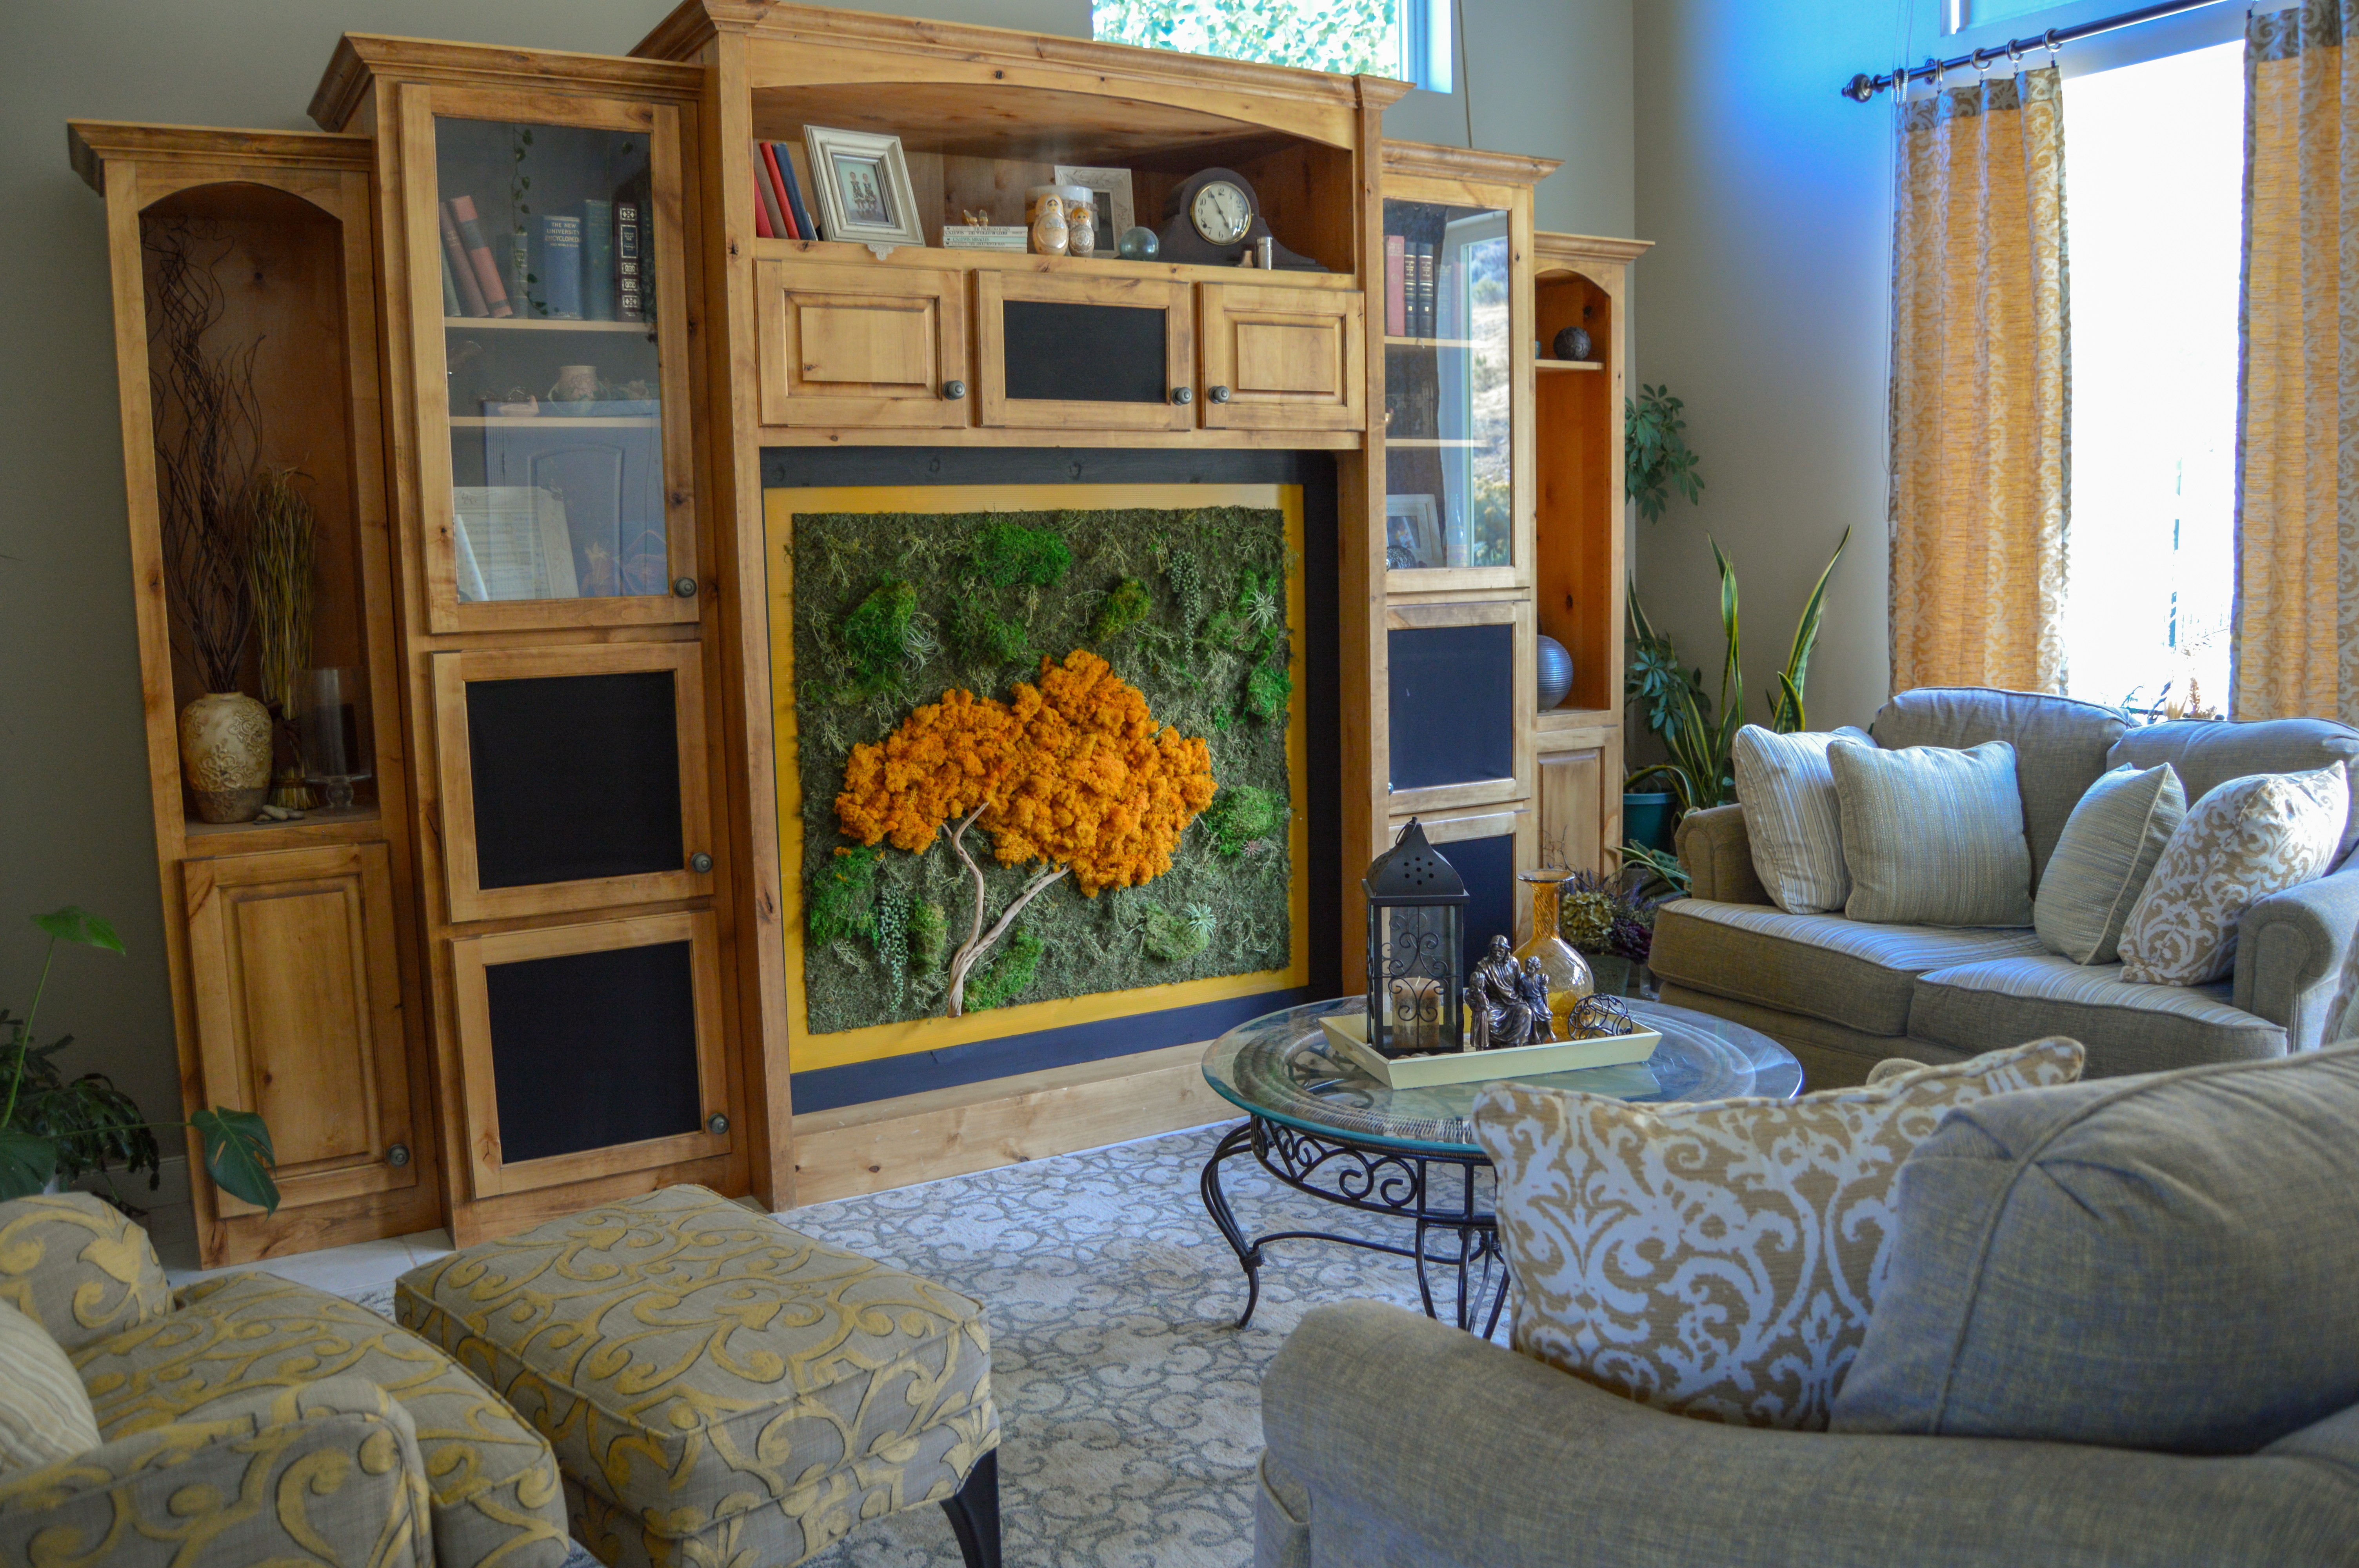
And it’s complete! (I ended up touching up the bottom edge by adding more moss on because I glued it on a little crooked. But now it looks great.) My mom loves it–thank goodness! And it is a really fun statement piece for her living room. I really like how it turned out and love that it’s something she has in her home that hardly anyone else does. Unique things are awesome!
Thanks, mom, for letting me do this project! If anyone else has questions about our process or how to do your own then comment below. And please pin this to help us share and so you can save the idea for later! 🙂
Pin it For Later
Other Posts You Might Like

DIY Old Page Wall Tutorial

How to Paint an Easy Mountain Mural
How to Stage Your Home on a Budget