When sharing pictures of our newly painted white ceilings on Instagram, I had someone comment, “Is non white ceilings a thing? I don’t think I’ve ever seen them!” The answer is yes. Just come down to southern Utah and you will find many builder-grade homes are all painted the same beige color–walls and ceilings. If you’re wanting to paint your ceiling white, or any color really, but you are inexperienced like we were, you’ve come to the right place. Here are the supplies you need and my top tips for how to paint a ceiling.
(This paint a ceiling post contains affiliate links that I may be compensated for. Your clicks and purchases help support The DIY Lighthouse at no extra charge to you.)
What You Will Need to Paint a Ceiling
Here was our shopping list:
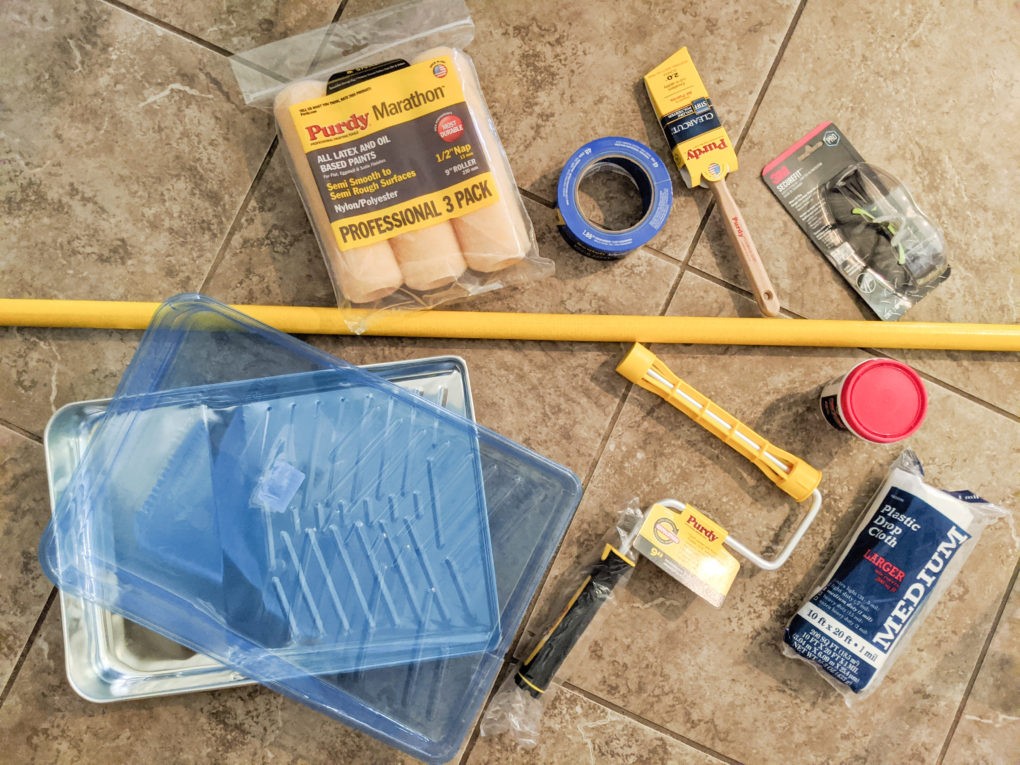
- Ceiling paint
- Ceiling paint is flat paint so it is not durable and won’t do well standing up to wear and tear that you need for walls. (But probably no one is going to be scuffing up your ceiling.) After painting our ceiling we love the look of the flat paint. It’s not shiny (like our original paint), feels more gentle, and just melts away. We got a 5 gallon bucket of this ceiling paint for our project.
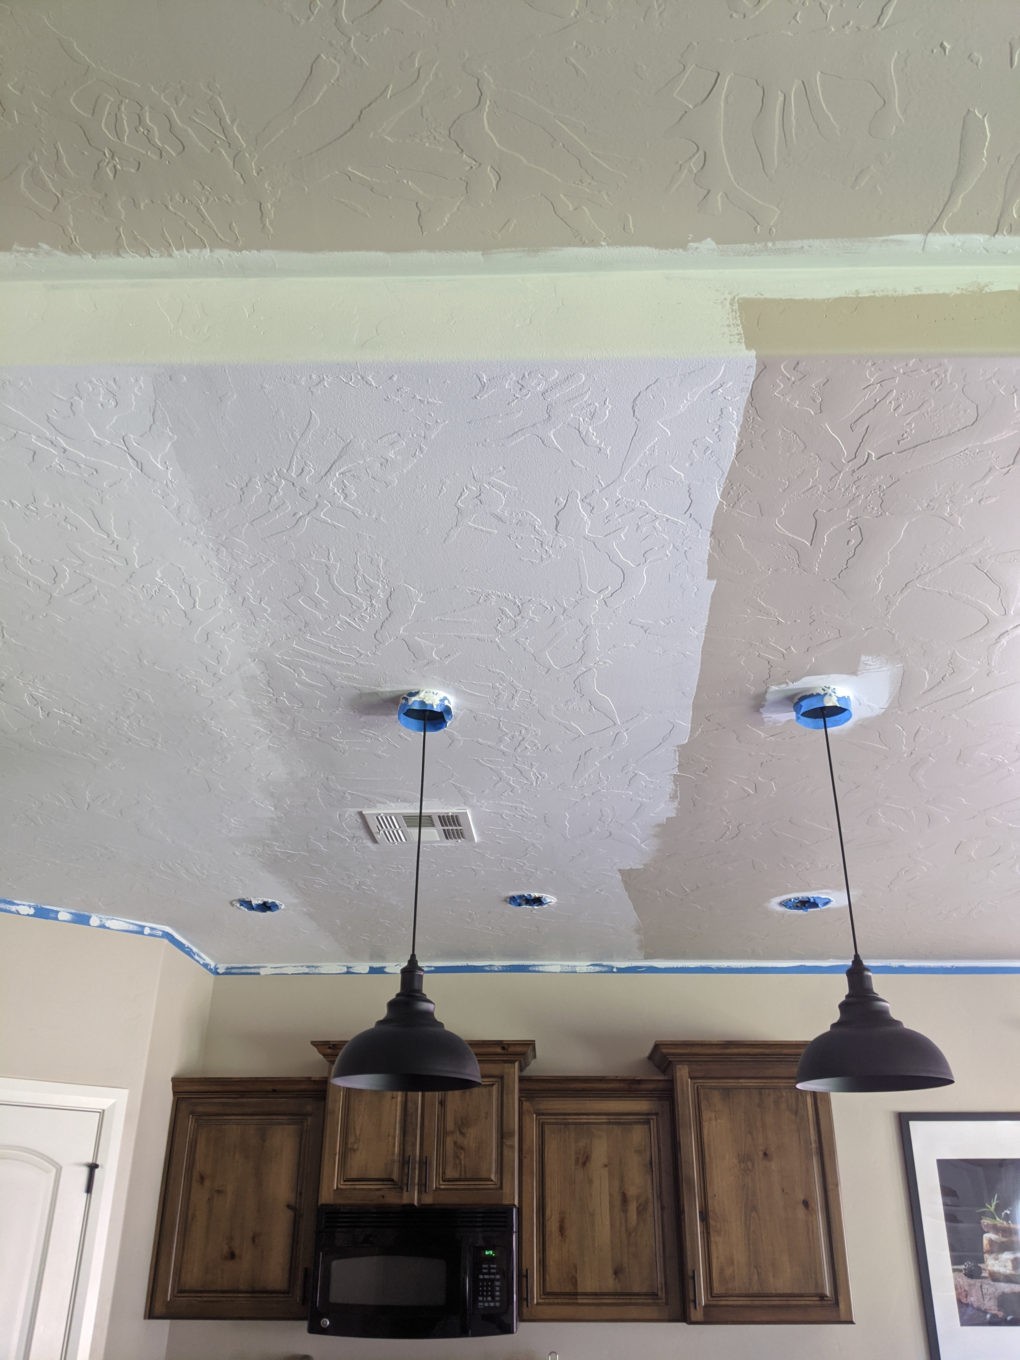
- Should you get the pink stuff? Someone invented this awesome paint that goes on pink and dries white. Sounds fancy and awesome, but we opted for the regular kind because we heard that if you are using the paint in a kitchen or bathroom then steam/mist could turn it a pinkish color again. Not sure if that is true, but we didn’t want to risk having pink ceilings after cooking spaghetti or taking a hot shower. And you can tell in the picture below that our wet paint looked more dark than the dryer paint did.
- Extension Rod
- If you room is bigger than a pantry or closet then just get the extension rod. It will save you from having to go up and down a ladder even more than you already will be. We got this one.
- 9″ Roller
- I opted for a 9″ roller frame over a larger one for two reasons:
- 1) I don’t have loads of arm muscles begging for something heavier to pick up. In prepping to paint our ceiling I read someone say they are glad they opted for the smaller roller because, after covering it in paint, it was heavy enough to roll around. I agree. My arms were sore the next day after painting our ceiling–I can’t imagine how much harder it would have been to have to lift/maneuver a heavier roller.
- 2) We wanted to be able to use a regular-sized paint tray and liner. I didn’t want to invest in a more expensive drip pan just to accommodate an over-sized roller.
- 9″ Roller Cover with a 1/2 inch or 3/4 inch Nap
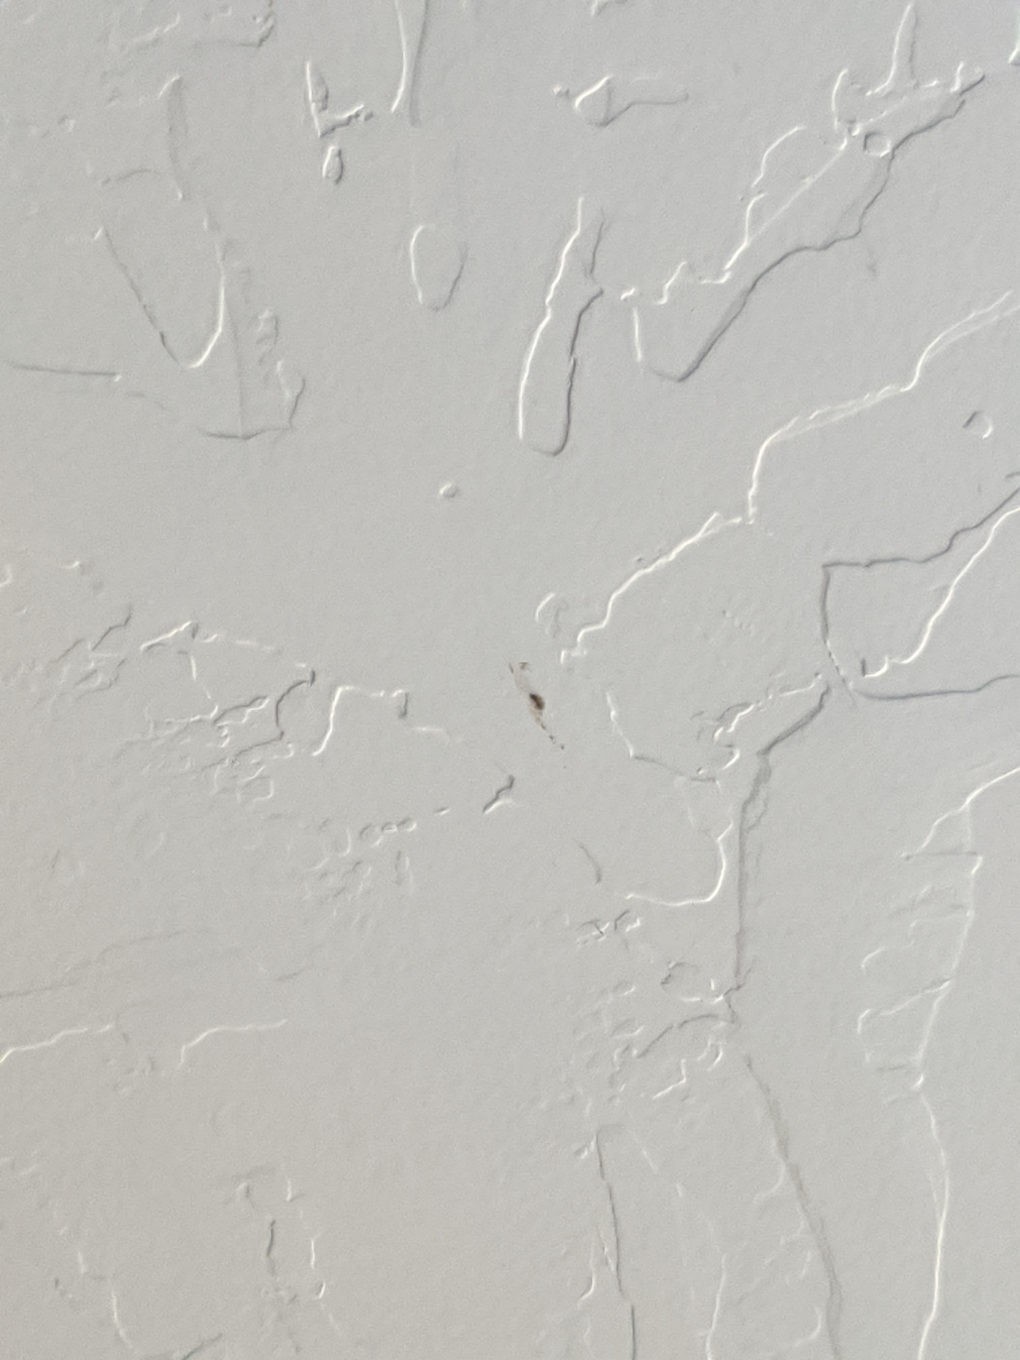
- Nap is how deep the pile is on the roller. Go with a 1/2 inch nap if you have semi-smooth ceiling or 3/4 inch nap if you have a pretty textured ceiling. (Opt for a 1 inch nap if you have a heavily textured ceiling.) We got a three pack and used a 1/2 nap and you can see we have textured ceilings but it’s nothing too crazy.
- Paint tray
- We got this standard paint tray.
- Paint tray liners
- We got two paint tray liners and used both of them. If we were only painting one room then one liner would have definitely been sufficient.
- Drop cloths
- We got two big plastic drop cloths for our project. In hind site, I wish I had bought a couple more because we were frequently moving them around to be under where we were painting. So basically, get enough to cover your painting area.
- Painters tape (1.88 inch or wider)
- I wish they sold 2-or-so inch tape because that would have made our lives easier. We got the 1.88 inch wide tape and still have multiple places to touch up from the roller hitting the walls below the tape. In the areas with higher 11ft ceilings when the extension pole was longer we felt a little less in control of the roller, we decided to double up the tape and make it wider. This did require a little more prep work but made it easier when we were painting because we got to be less careful. So definitely get tape 1.88 inches wide at least.
- We had to go back for more tape twice. (Used 3 rolls total.) We did multiple rooms though (probably about 1000 square feet) so it all depends on how much area you need to cover.
- Last tip here… just get the good stuff. Don’t try and buy cheap tape because the cheap stuff is not going to give you good, crisp lines. You’ll be doing much more touch-up work later.
- Angled brush for cutting in
- We got this brush for cutting into the edges before rolling.
- Safety glasses
- Paint drips and splatters. These are worth protecting your eyes and glasses.
- Ladder
- We own a 6 ft ladder and we borrowed an 8 ft ladder for our taller ceilings.
- Spackling for cracks
- If you have cracks in your ceiling, pick up some of this stuff.
Steps for How to Paint a Ceiling
1. Clean your ceiling
Yeah, apparently dust and other gunk can collect on your ceiling. Who knew!
We dusted our ceilings with the blue side of this flip mop. Then, we spot mopped any areas we saw needed a quick scrub with a microfiber cloth. (We love those cloths, btw. If you don’t have a set of good microfiber cloths, it’s high time you invested in some.) We taped our cloth to the handle end of the mop to reach the ceiling, or you can use a ladder to wipe by hand.

2. Prep the area
Unless you have a very steady hand and feel like you can cut in without getting paint all over your walls, then you will need to use painters tape. I tried getting away without taping and after literally 30 seconds knew that was never going to happen.
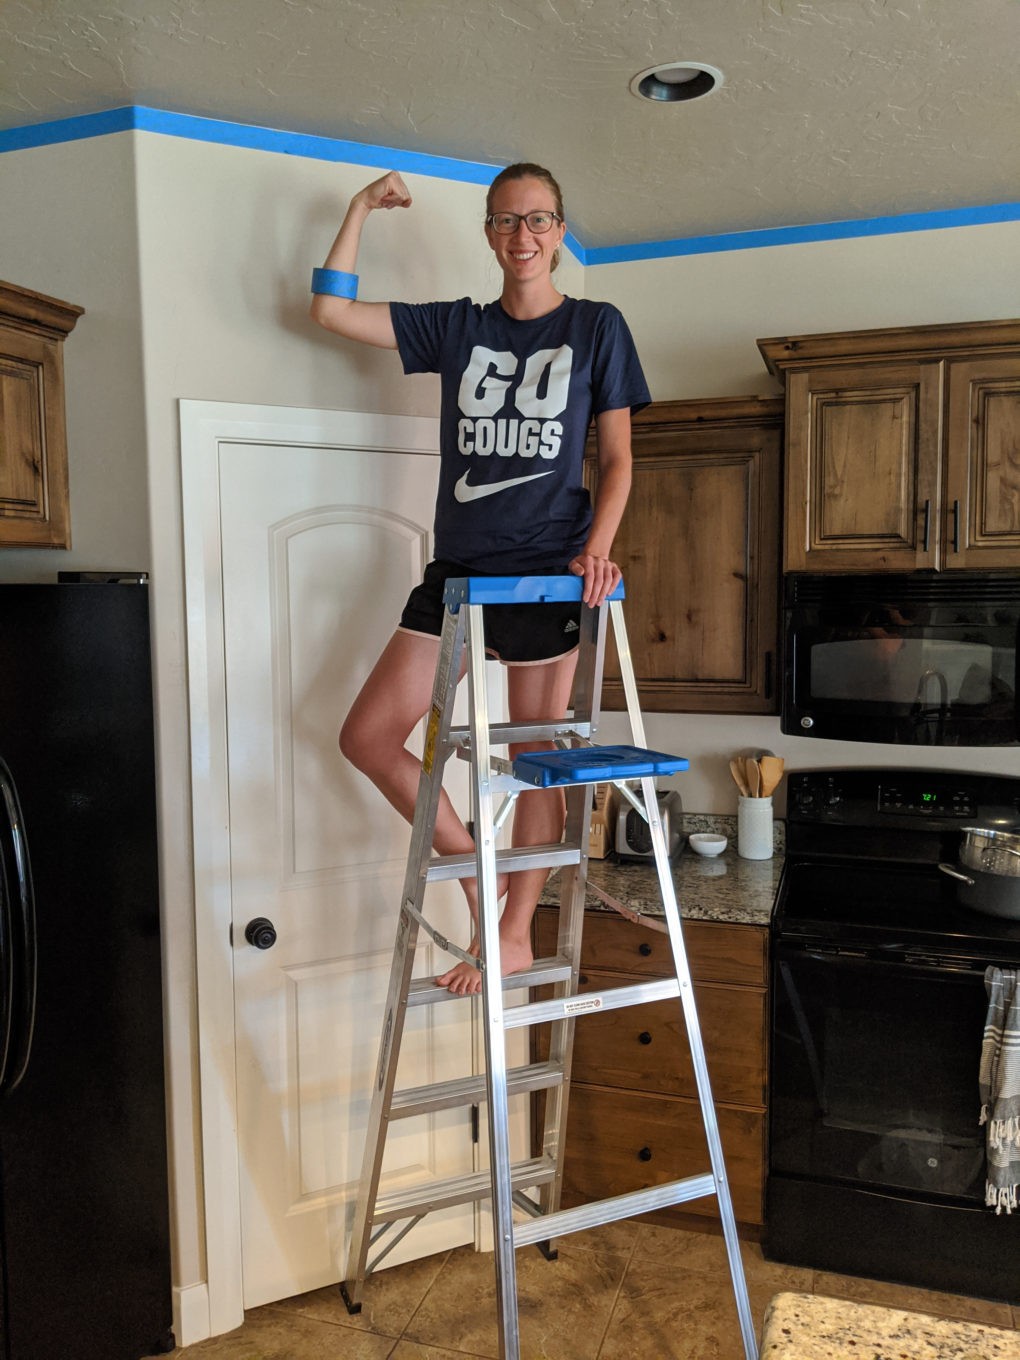
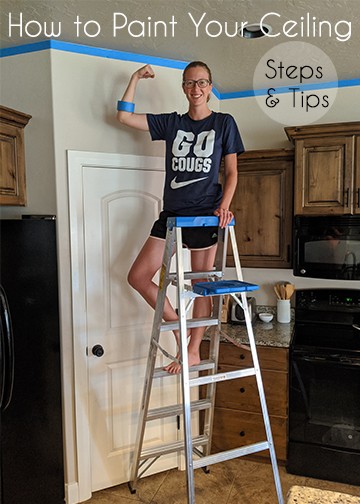
Up on a ladder, I taped along the walls where it met the ceiling. Time consuming work but unavoidable for me. We also taped around smoke alarms, ceiling lights, vents, etc. We could have taken down lights, but opted to just tape around instead. This was a multi-day project for us and we needed working lights throughout the process.
Lay down drop cloths where you need them.
3. Use spackling here if needed
Have cracks you need to fill? Use spackling to get it fixed now before you paint.
4. Cut in at the edges
The roller is not going to be able to get in all the edges and corners, but a paint brush will. Remember that angled brush I mentioned in the shopping list? Pull it out and paint along all of your taped edges. I painted about an inch or so wide.
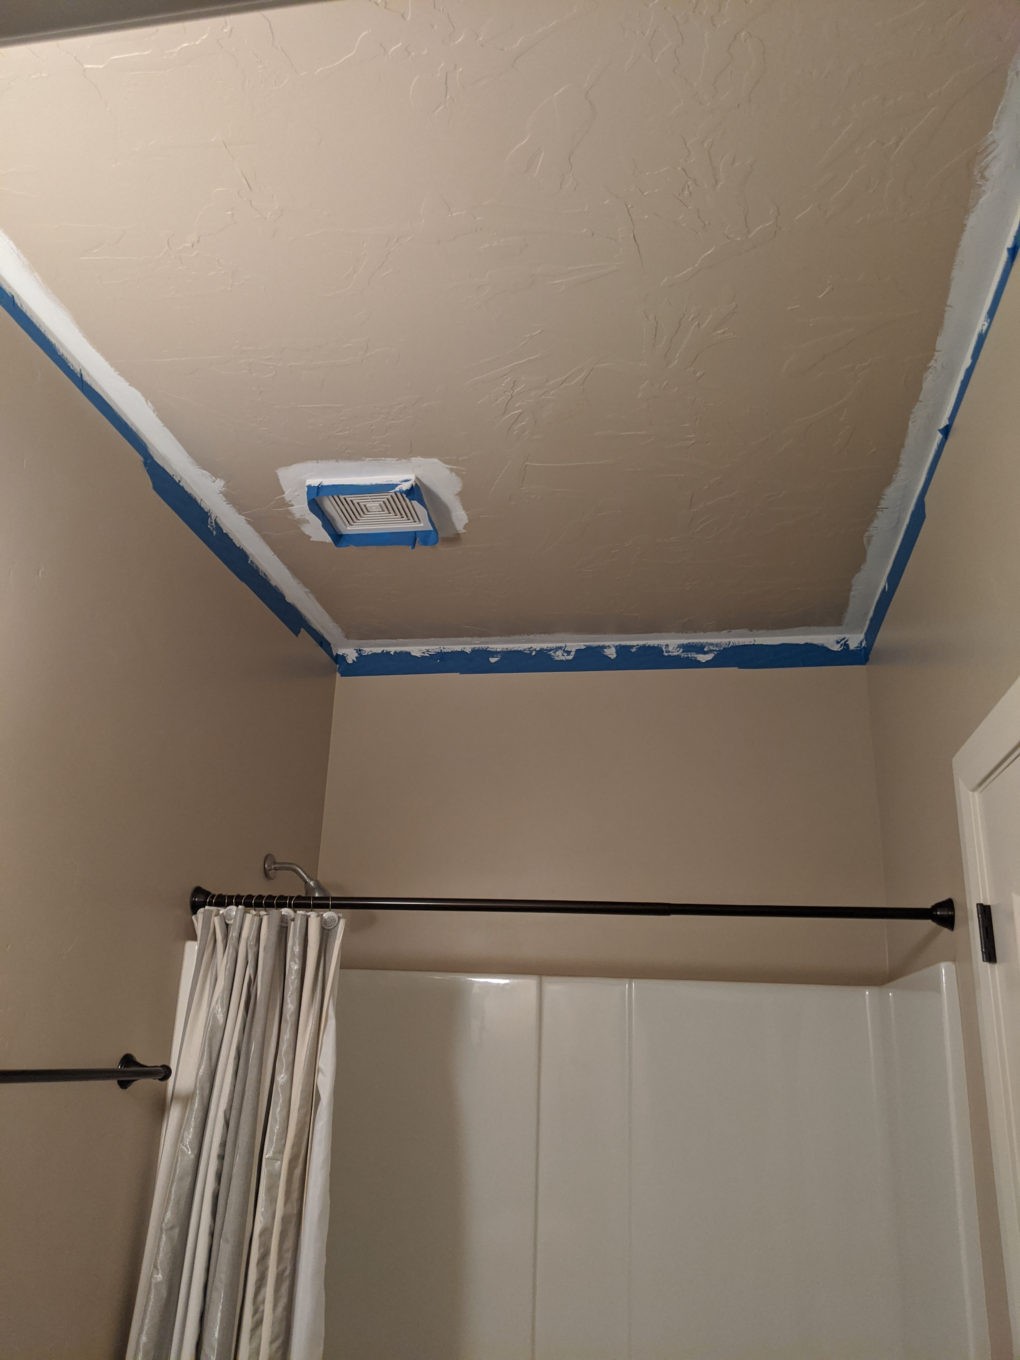
5. Roll on the paint
Now comes the fun (and labor-intensive part)! Pour paint in your tray liner and wet your roller in the paint. To make sure you don’t have too much paint on your roller, roll it along the liner a bit.
From research we did before our painting project, we learned the direction you apply the rolling matters. You want the rolls to be going perpendicular to the room’s entrance and to the windows when possible. It has something to do with how light reflects off of the ceiling. If the rolls are coming toward the entrance (usually where people will most likely to notice the ceiling) or windows, then paint streaks are more likely to show up.
Once you’ve determined which general direction you will be rolling, start rolling in a “W” motion. I found that this helps cover the surface area and does a decent job at cleaning up lines left from the little bit of excess paint at the ends of the roller. If you do notice lines from rolling, no biggie. Just roll back over them and it will even out.
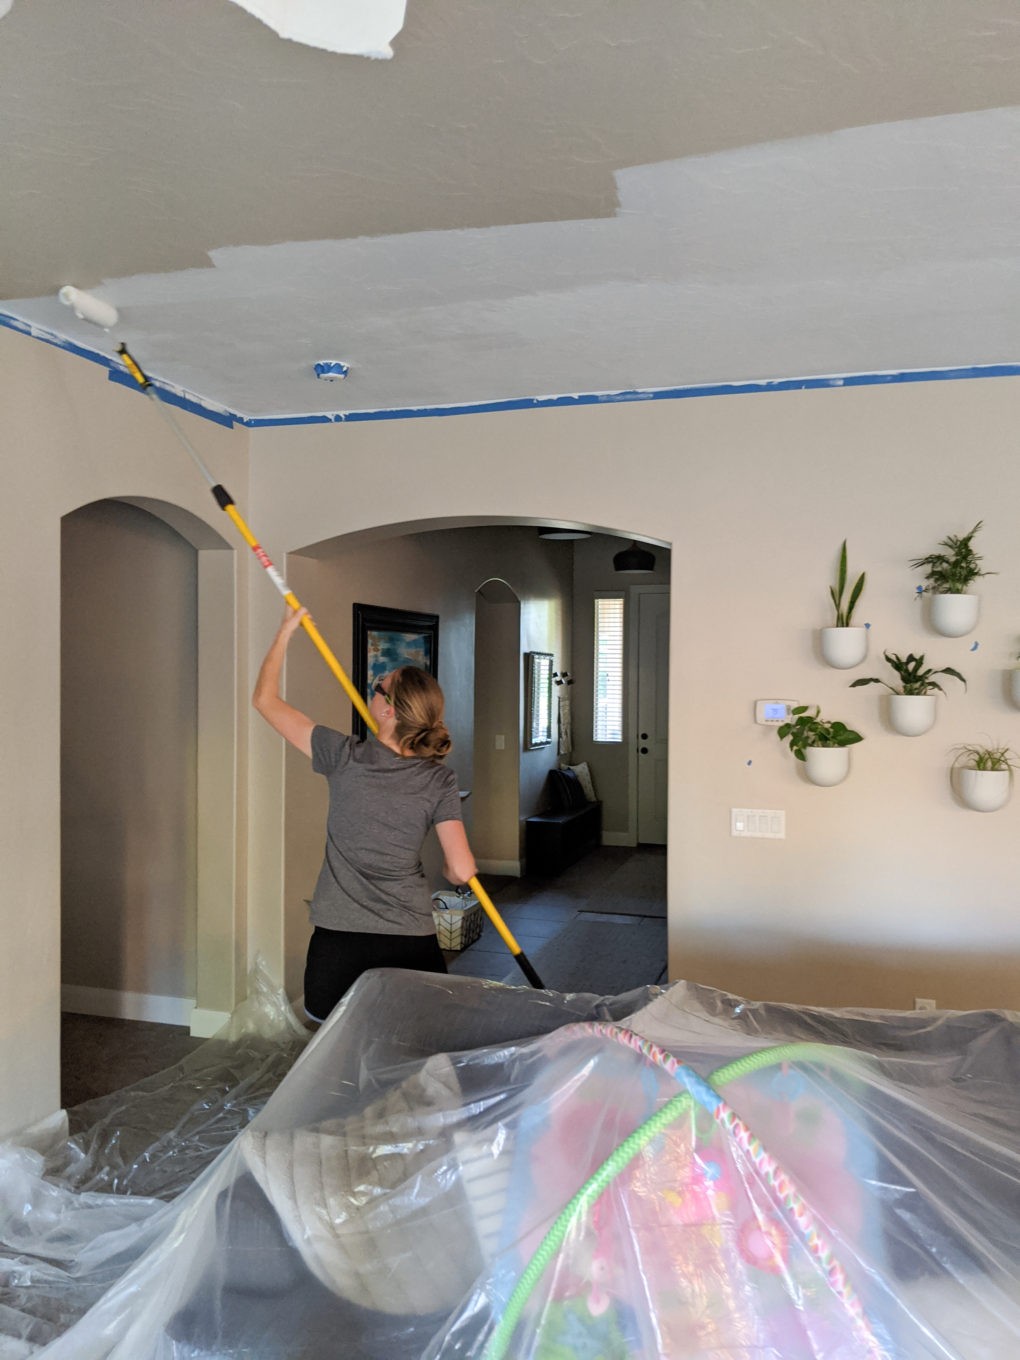
I’ll be honest, the rolling process made my neck sore (from looking up so much) and my arms were sore the next day. But it was totally worth it. Just take breaks if you need to.
6. Apply additional coats as needed
We ended up needing a second coat on everything because speckles of beige were showing through. Basically, allow the appropriate dry time to pass and repeat the rolling process.
7. Clean up & Touch up
The best part is taking down the blue tape and seeing that beautiful, clean line where wall meets ceiling! You may need to do some quick paint touch ups here and there.
More Tips for Painting a Ceiling
1. Keep your painting utensils from drying out
Cover your roller with a plastic grocery bag between uses so it doesn’t dry out. Likewise, stick your angled brush in a sandwich bag and seal it off as much as possible between uses. If you have paint left in your paint tray liner between uses, lay down a sheet of plastic wrap over it, and gently press it against the paint and liner to get out the air.
2. Use my plastic cup hack for cutting in
If you want a cheap and easy way to carry around paint while cutting in, here’s the hack I used. Stick a plastic disposable cup inside of a sturdy mug, and fill the plastic cup with paint. You can carry it around/up and down the ladder way more easily than a paint tray. The plastic cup will let you toss it out mess free when you are done. The mug will make it more sturdy and gives you a handle to hold.
3. Have a wetted paper towel or baby wipe handy
For when you accidentally get paint on the wall and mutter, “Dang it!”…. If you quickly wipe it with a wetted paper towel or a baby wipe then the wet paint should easily wipe off. I liked having a baby wipe handy and ready to go because this happened to us a handful of times.
White Painted Ceiling Before and After
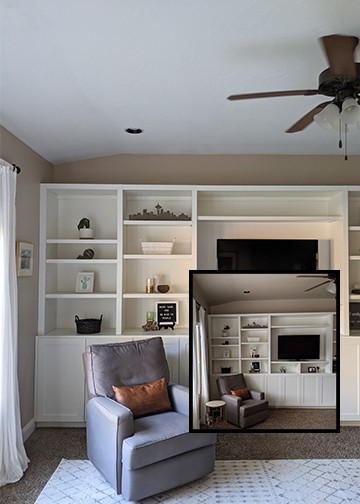
And because I can’t resist a good before and after shot…. Here are our ceilings. The white ceiling really brightened things up!
Before & After: Living Room Ceiling
Before and After: Kitchen Ceiling
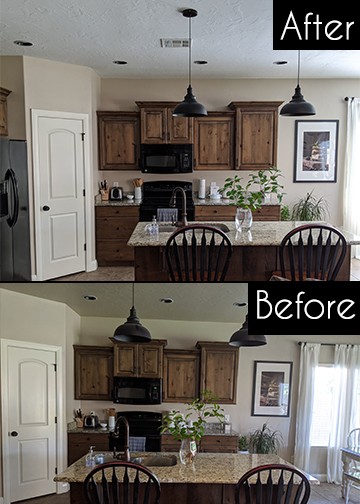
Hopefully this post was helpful! Have any questions? Leave a comment below!
Pin it for Later – Paint a Ceiling




It looks so much better! Nice work!!
Thanks, Chelsea!!
Wow! You really did an amazing job at this. Do you have professional experience already? i love how much you stressed the prep and taping off all areas necessary. I am curious as to what shade of white you used.
Hi, thank you! I do not have professional experience. I’m just a gal willing to give it a try 🙂 I was not able to choose the color of white we used for the ceiling. It is just their standard ceiling paint color.