If Thanksgiving dinner was an election, turkey would totally win, right? Stuffing would probably come in as first runner-up, with cranberry sauce and pumpkin pie trailing closely behind as finalists. So with turkey in the spotlight at this time of year, it only seems fitting to pay tribute to it via door. Hence, this super easy and colorful DIY Thanksgiving Turkey Wreath.
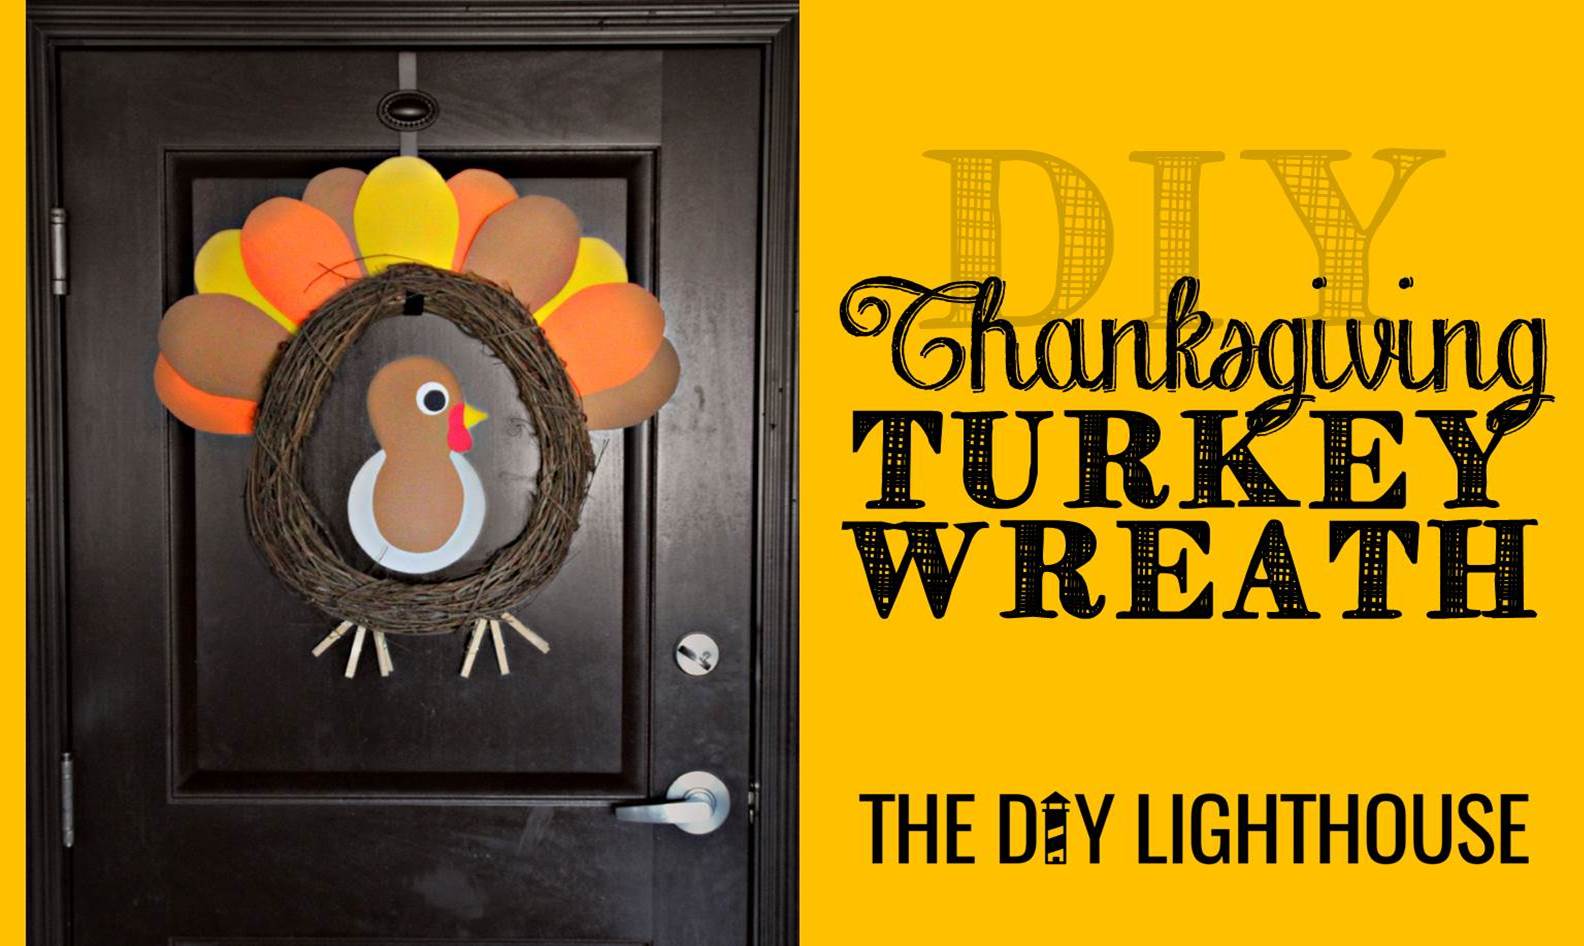
How-to DIY Thanksgiving Turkey Wreath
1. Gather the Supplies
You only need six supplies to make this fun DIY Thanksgiving Turkey Wreath: plain wreath, door hanger, colored paper, white paper, clothespins, and tape. For the paper feathers, feel free to use any colors that you like. Purple, green, and red would be fun in there too! Also, the clothespins are not necessary, but they simplify things.
2. Hang the Wreath
Decide where you think your DIY Thanksgiving Turkey Wreath would look best. I love to display holiday wreaths on my front door so that everyone passing by can also enjoy the festive decorations. Perhaps, though, you think a pantry door or hallway door would be the best place for Mr. Turkey. Whatever door you choose, center your wreath hanger on the door and hang the wreath.
3. Create the shapes
There are a few shapes you’ll need to cut out of paper to make your turkey look gooood. I started with the center of the wreath: the turkey head and neck. First cut a white circle for the base of the neck. (Trace a kitchen bowl to achieve a perfect circle.) The next part is the brown neck and head area. I traced two circles that overlapped, cut out the shape, and trimmed the sides to achieve a more peanut-like look. The beak, snood, and eye circles can be sized however you think is most handsome. When it comes to the colored turkey feathers, really any somewhat normal size and shape will do. I made one initially that I used to trace all the other ones. Let your creativity shine here as you play with color, shape, size, and number of feathers.
4. Assemble the birdie
This is your DIY Thanksgiving Turkey Wreath, so make it represent you and your style. I would recommend taping the middle of the bird first, so that you can play with arrangement of feathers and have a better sense of how the finished bird will look. When it comes to the head and neck, tape the center of the bottom half of the neck onto the center of the white circle. Position within the wreath and tape to the door. Tape all the other face pieces as desired onto the door. Just remember to tuck the beak behind the face for a smoother finish. Arrange feathers until you get the look you’re going for. To finish it off, clip two groupings of three clothespins to the bottom of the wreath to act as feet.
5. Admire the Outcome
One of the best things about this project is that it’s so easy and quick, the kids will definitely want to help. To make this DIY Thanksgiving Turkey Wreath even more family friendly, let each kiddo personalize a few turkey feathers with colors, shapes, and designs.
Let us know, by commenting below, what are some of your other favorite Thanksgiving crafts and home decor. Happy Thanksgiving!

7 Ways To Show Your Child You Are Listening

How To Feed Large Groups On A Budget

Cheap Meal Ideas For Large Groups