If your kiddo loves painting, crafts, colors, or hidden treasures, this Vinyl Name Painting Craft for Kids is just the thing! My daughter is part of a joy school rotation (aka I host these cute kids every month). I came up with this idea when brainstorming ways to keep them busy on an educational craft, and it was a bit hit. Read about how to do your very own Vinyl Name Painting Craft for Kids below.
(This page contains affiliate links that we may be compensated for. Your clicks and purchases help support The DIY Lighthouse at no extra charge to you. We only put links to products we love and would recommend anyway.)
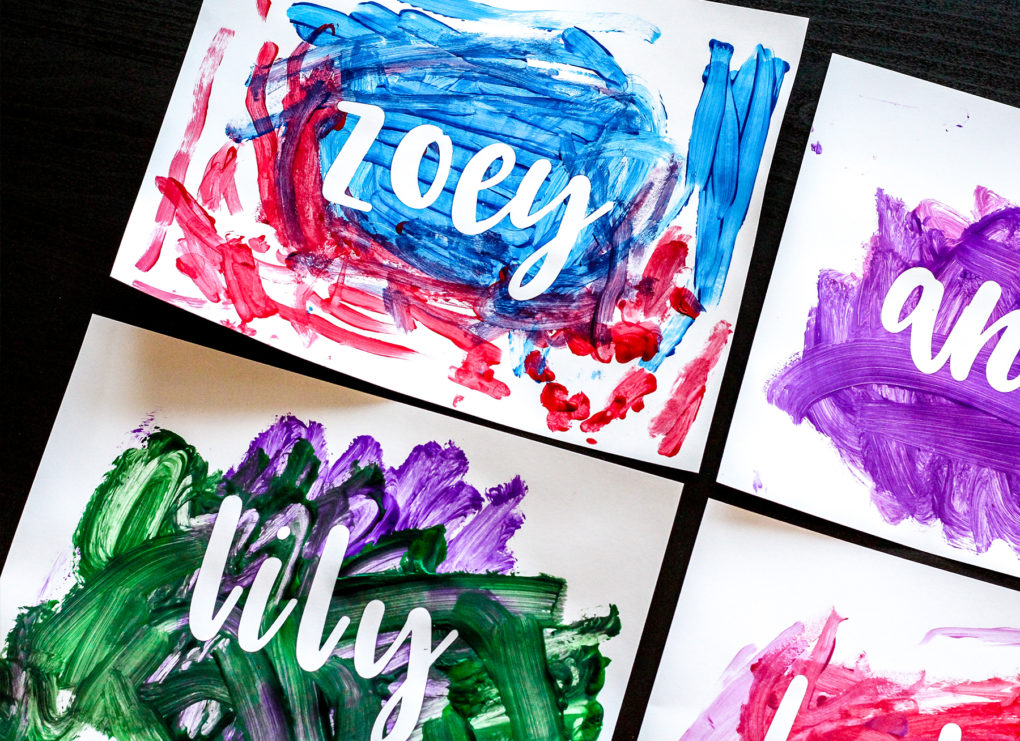
How-To Steps: Vinyl Name Painting Craft for Kids
Gather Supplies
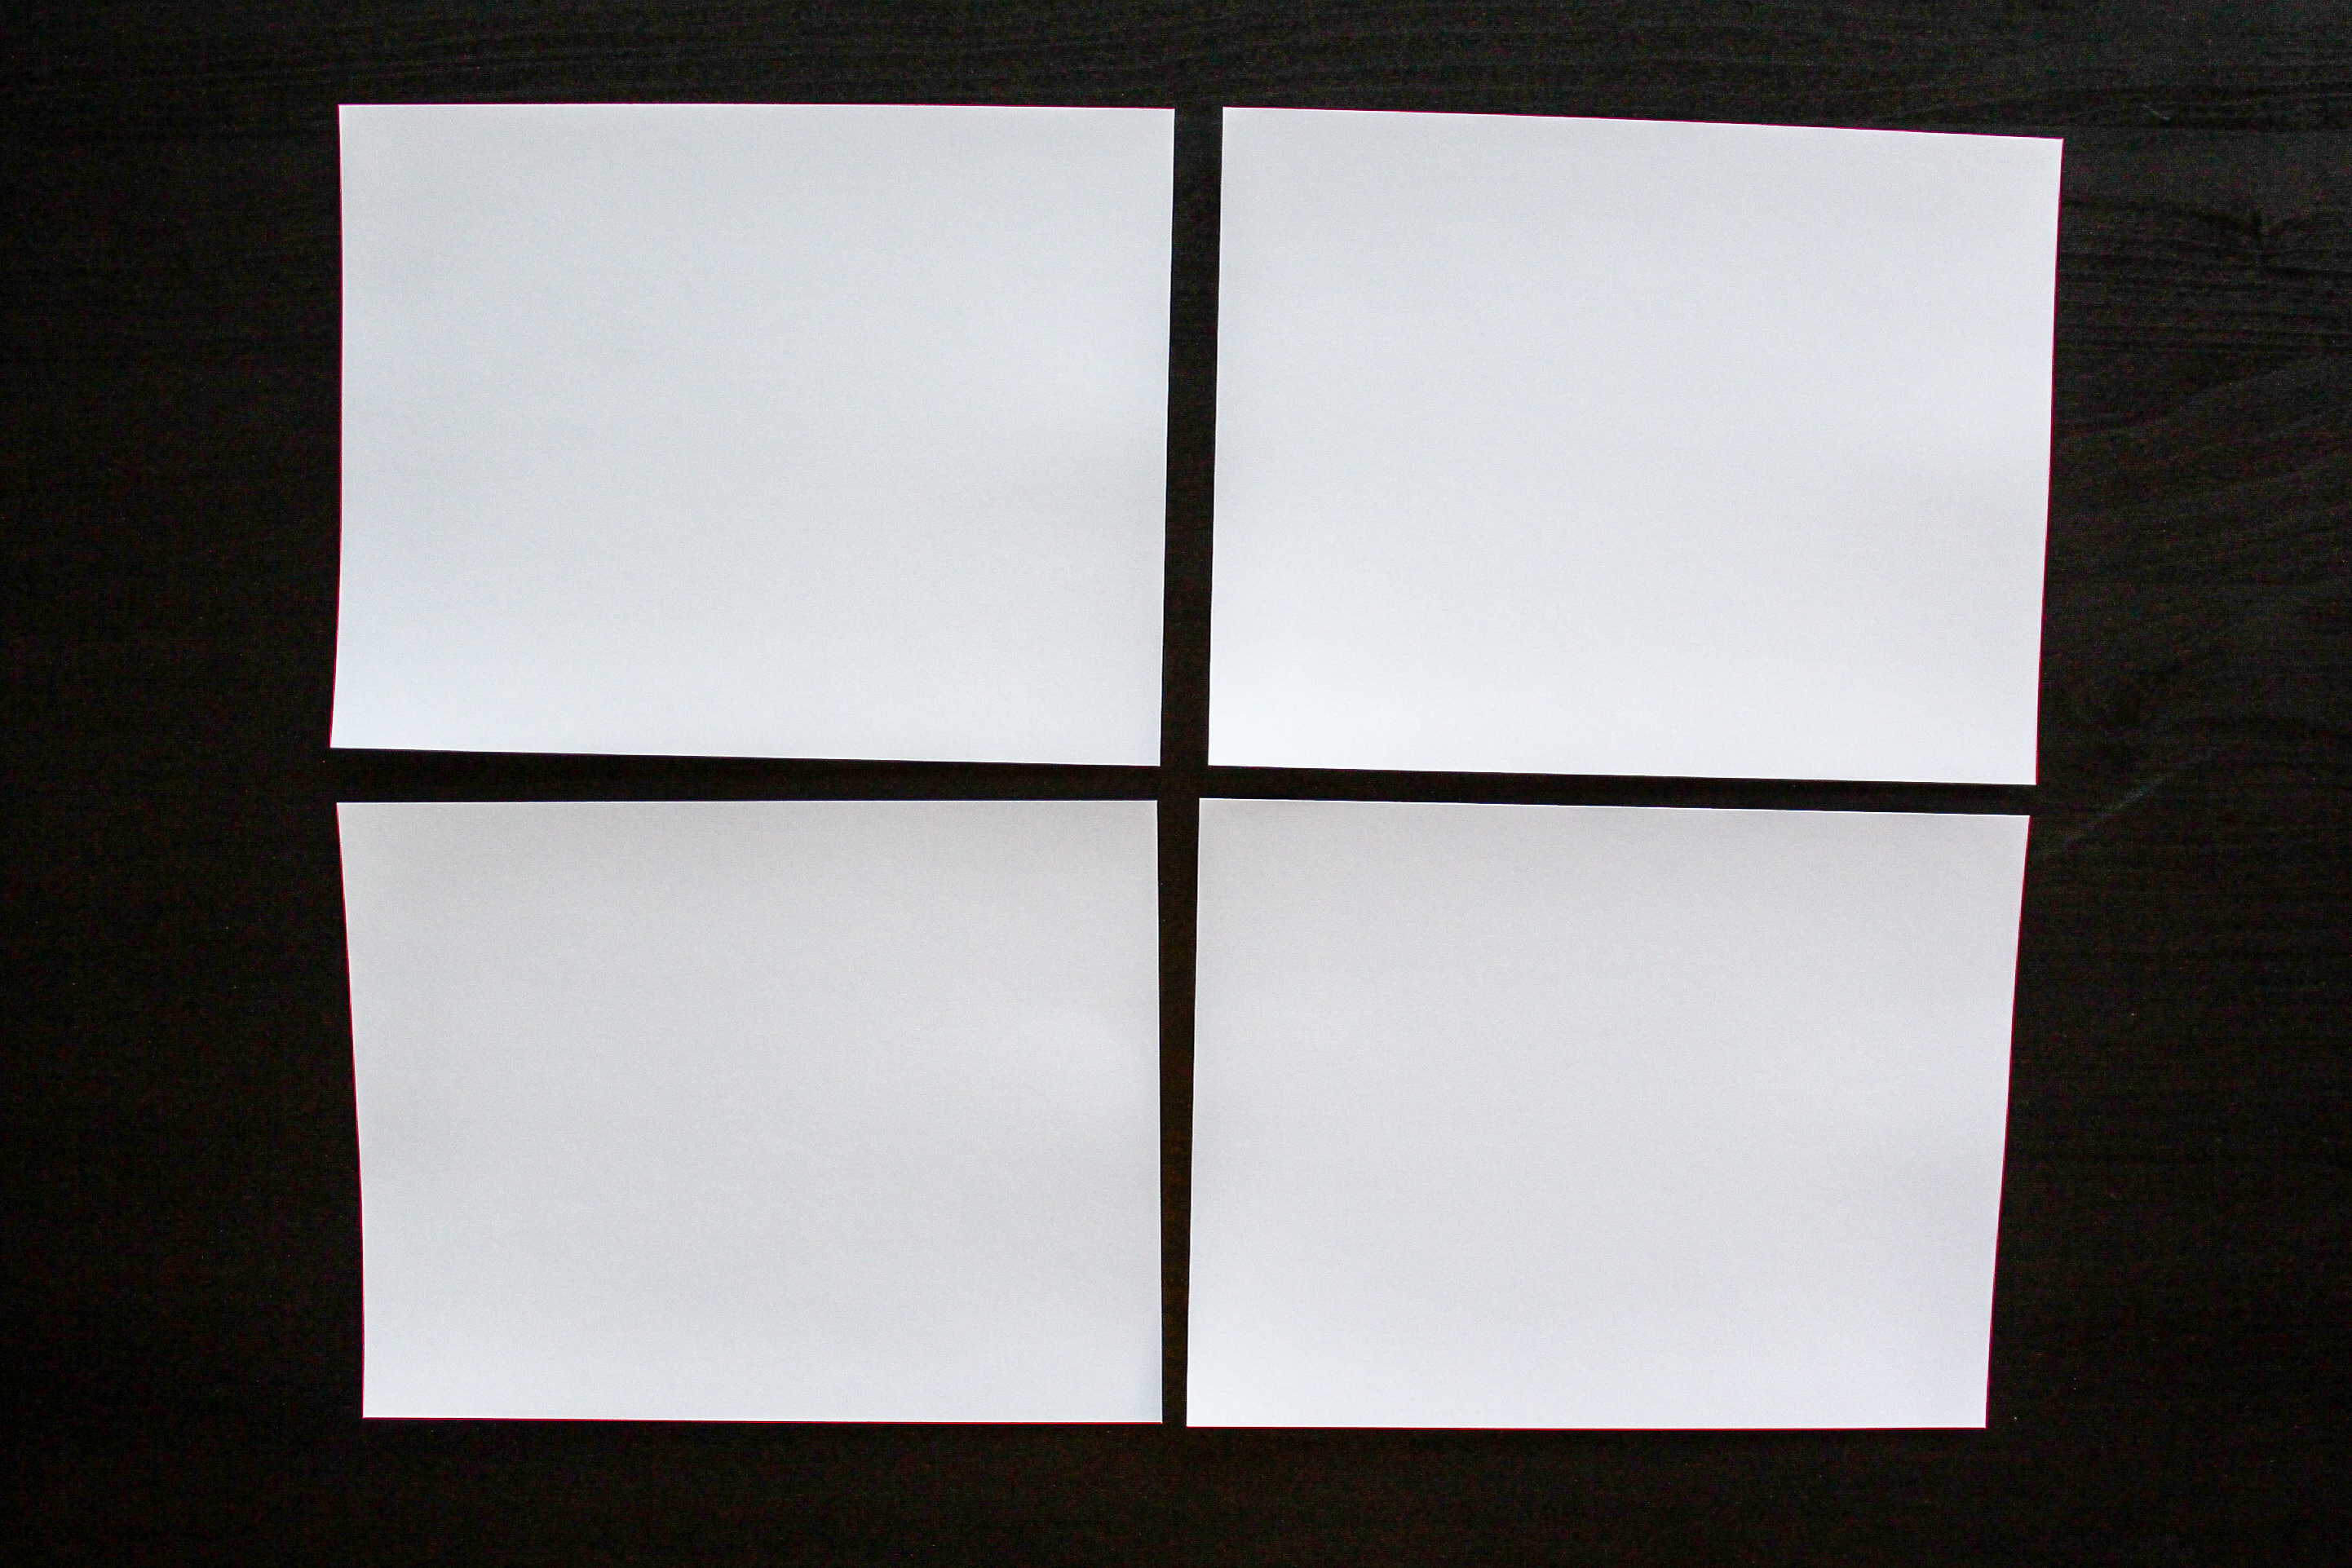
All you’ll need for your Vinyl Name Painting Craft for Kids are the following supplies:
- Thick white paper
- I personally prefer using this card stock paper when my daughter paints. It’s still fairly inexpensive but won’t become as wavy as normal printer paper does.
- Kid-friendly paint
- This washable kid’s paint is my absolute favorite. And you can get the 6 main colors for $5! It’s easy for kid’s to dip their paintbrushes into, it easily washes out of clothes, and it has vibrant and bold colors.
- Paintbrushes
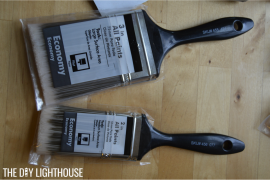
- Rather than worrying about kiddos mixing colors in the containers and altering the original color, I usually just put one paintbrush in each container. These flat tip paintbrushes for kids are ideal for small hands.
- Vinyl (or paper, scissors, and tape)
- Vinyl has an adhesive backing, so you can easily apply and remove the vinyl from card stock. (I got THIS Cameo Silhouette Vinyl starter kit and have absolutely loved it! It has a sleek touchpad and the starter kit has everything you need to get started.) If you don’t have a Cameo Silhouette, you can use paper and tape.
Create the text
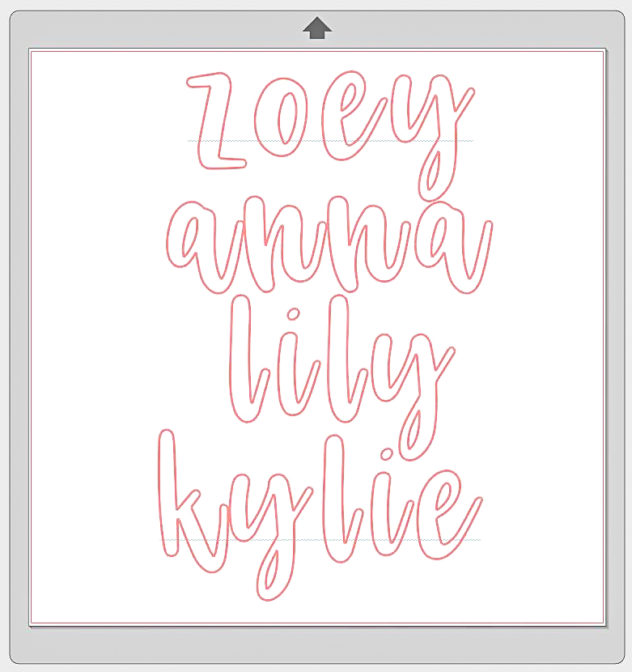
I used my Cameo Silhouette to automatically cut out the names on vinyl. Follow these steps to do likewise: set the dimension within the Cameo Silhouette program to 8.5X11, add a text box, type the name you want to use, change the font and sizing to match your style preference, trace the text, check to make sure the cut setting correlates with vinyl, and send it to the machine to cut! Then, peel off the vinyl backing and firmly press it onto the cardstock that will be painted.
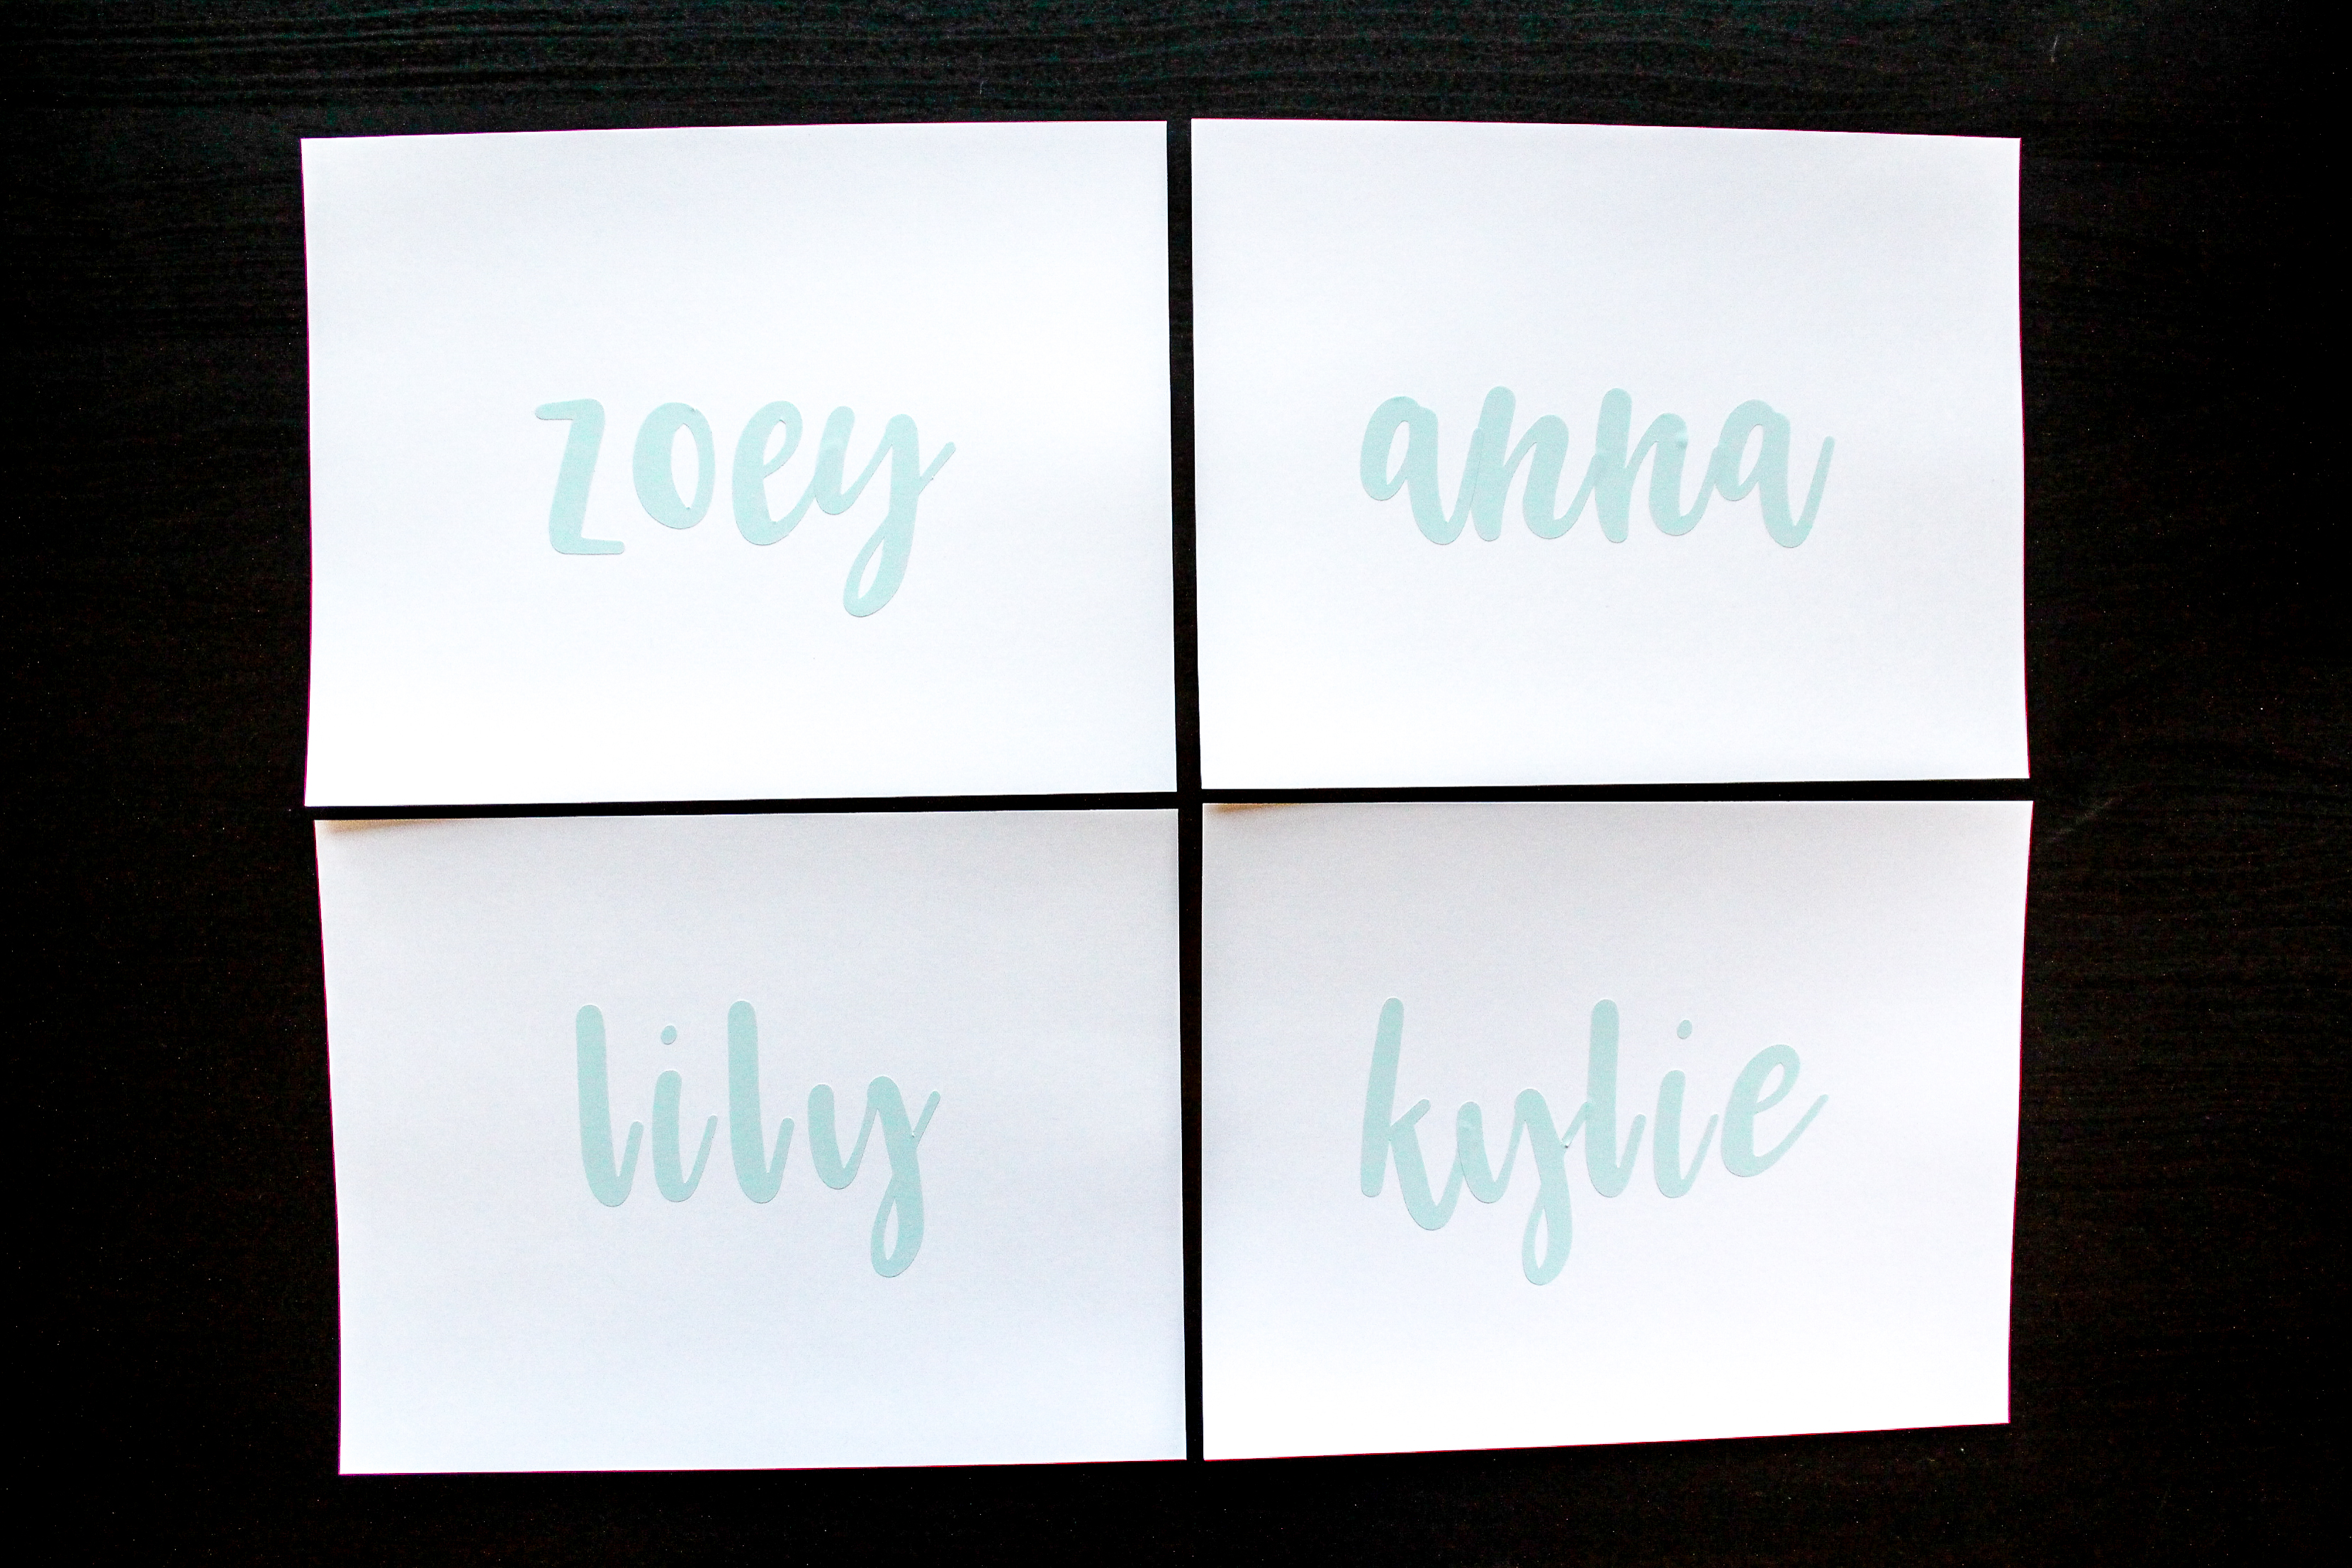
If you don’t have vinyl or a Cameo Silhouette, you can totally use paper and tape. Just be sure to secure tape ALL around the back of the letters so that it creates a sharper edge (the paint might want to leak underneath the letters. Note: printing the text on a printer and cutting them out with scissors will make your life easier, but you can always freehand the text too.
The font I used on our Vinyl Name Painting Craft for Kids is called “Dallon.”
Prevent messes
Don’t worry, if you don’t have painting aprons or clothes, I’ve got your back. My favorite way of preventing messes on clothing is having everyone involved wear a garbage bag shirt. Simply take a garbage bag and cut a small hole in the top for the head and the top of each side for the arms. Repeat for every person.
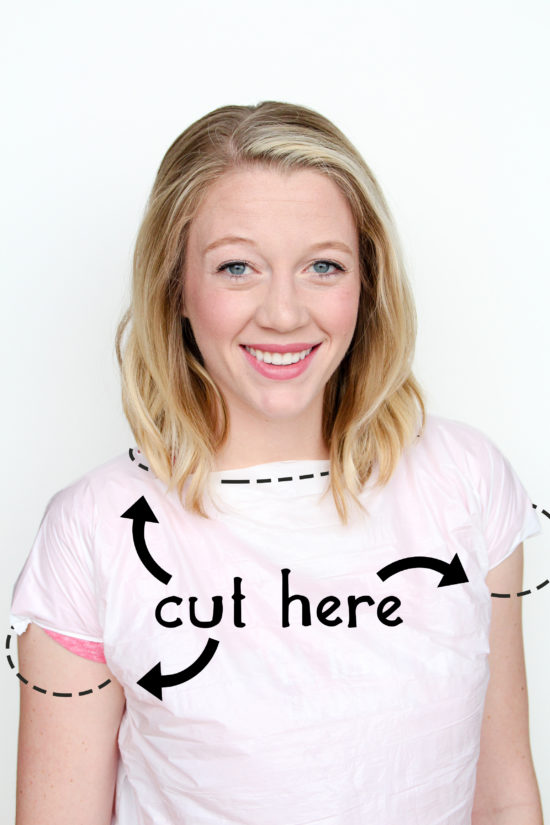
When the kiddos are done painting, carefully rip the garbage bag down the seam and dispose of it directly into a garbage can. You’ll be amazed at how protected the kids’ clothes are when you’re done. P.S. Roll up their sleeves and tie their hair back if needed!
Paint your heart out
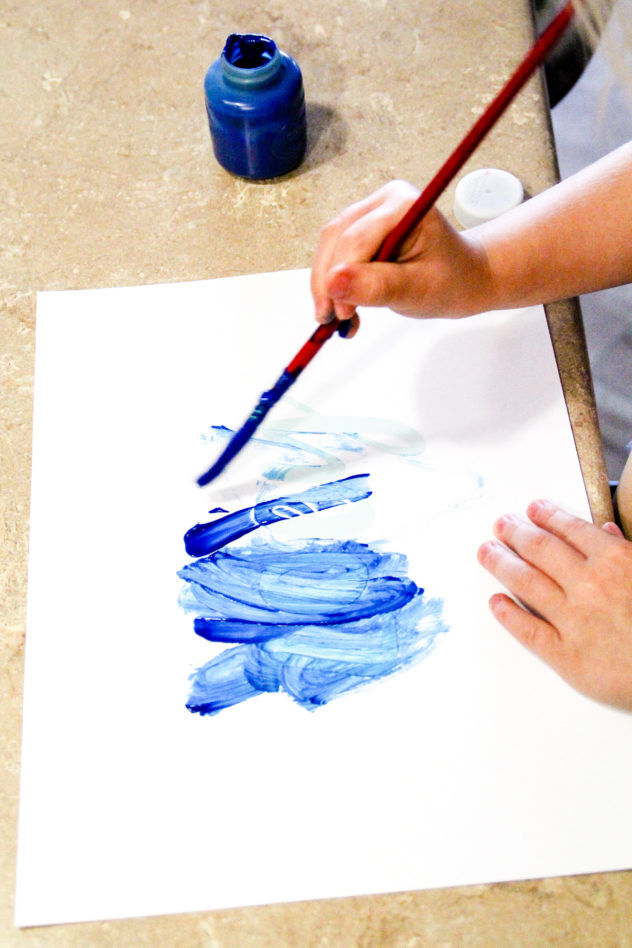
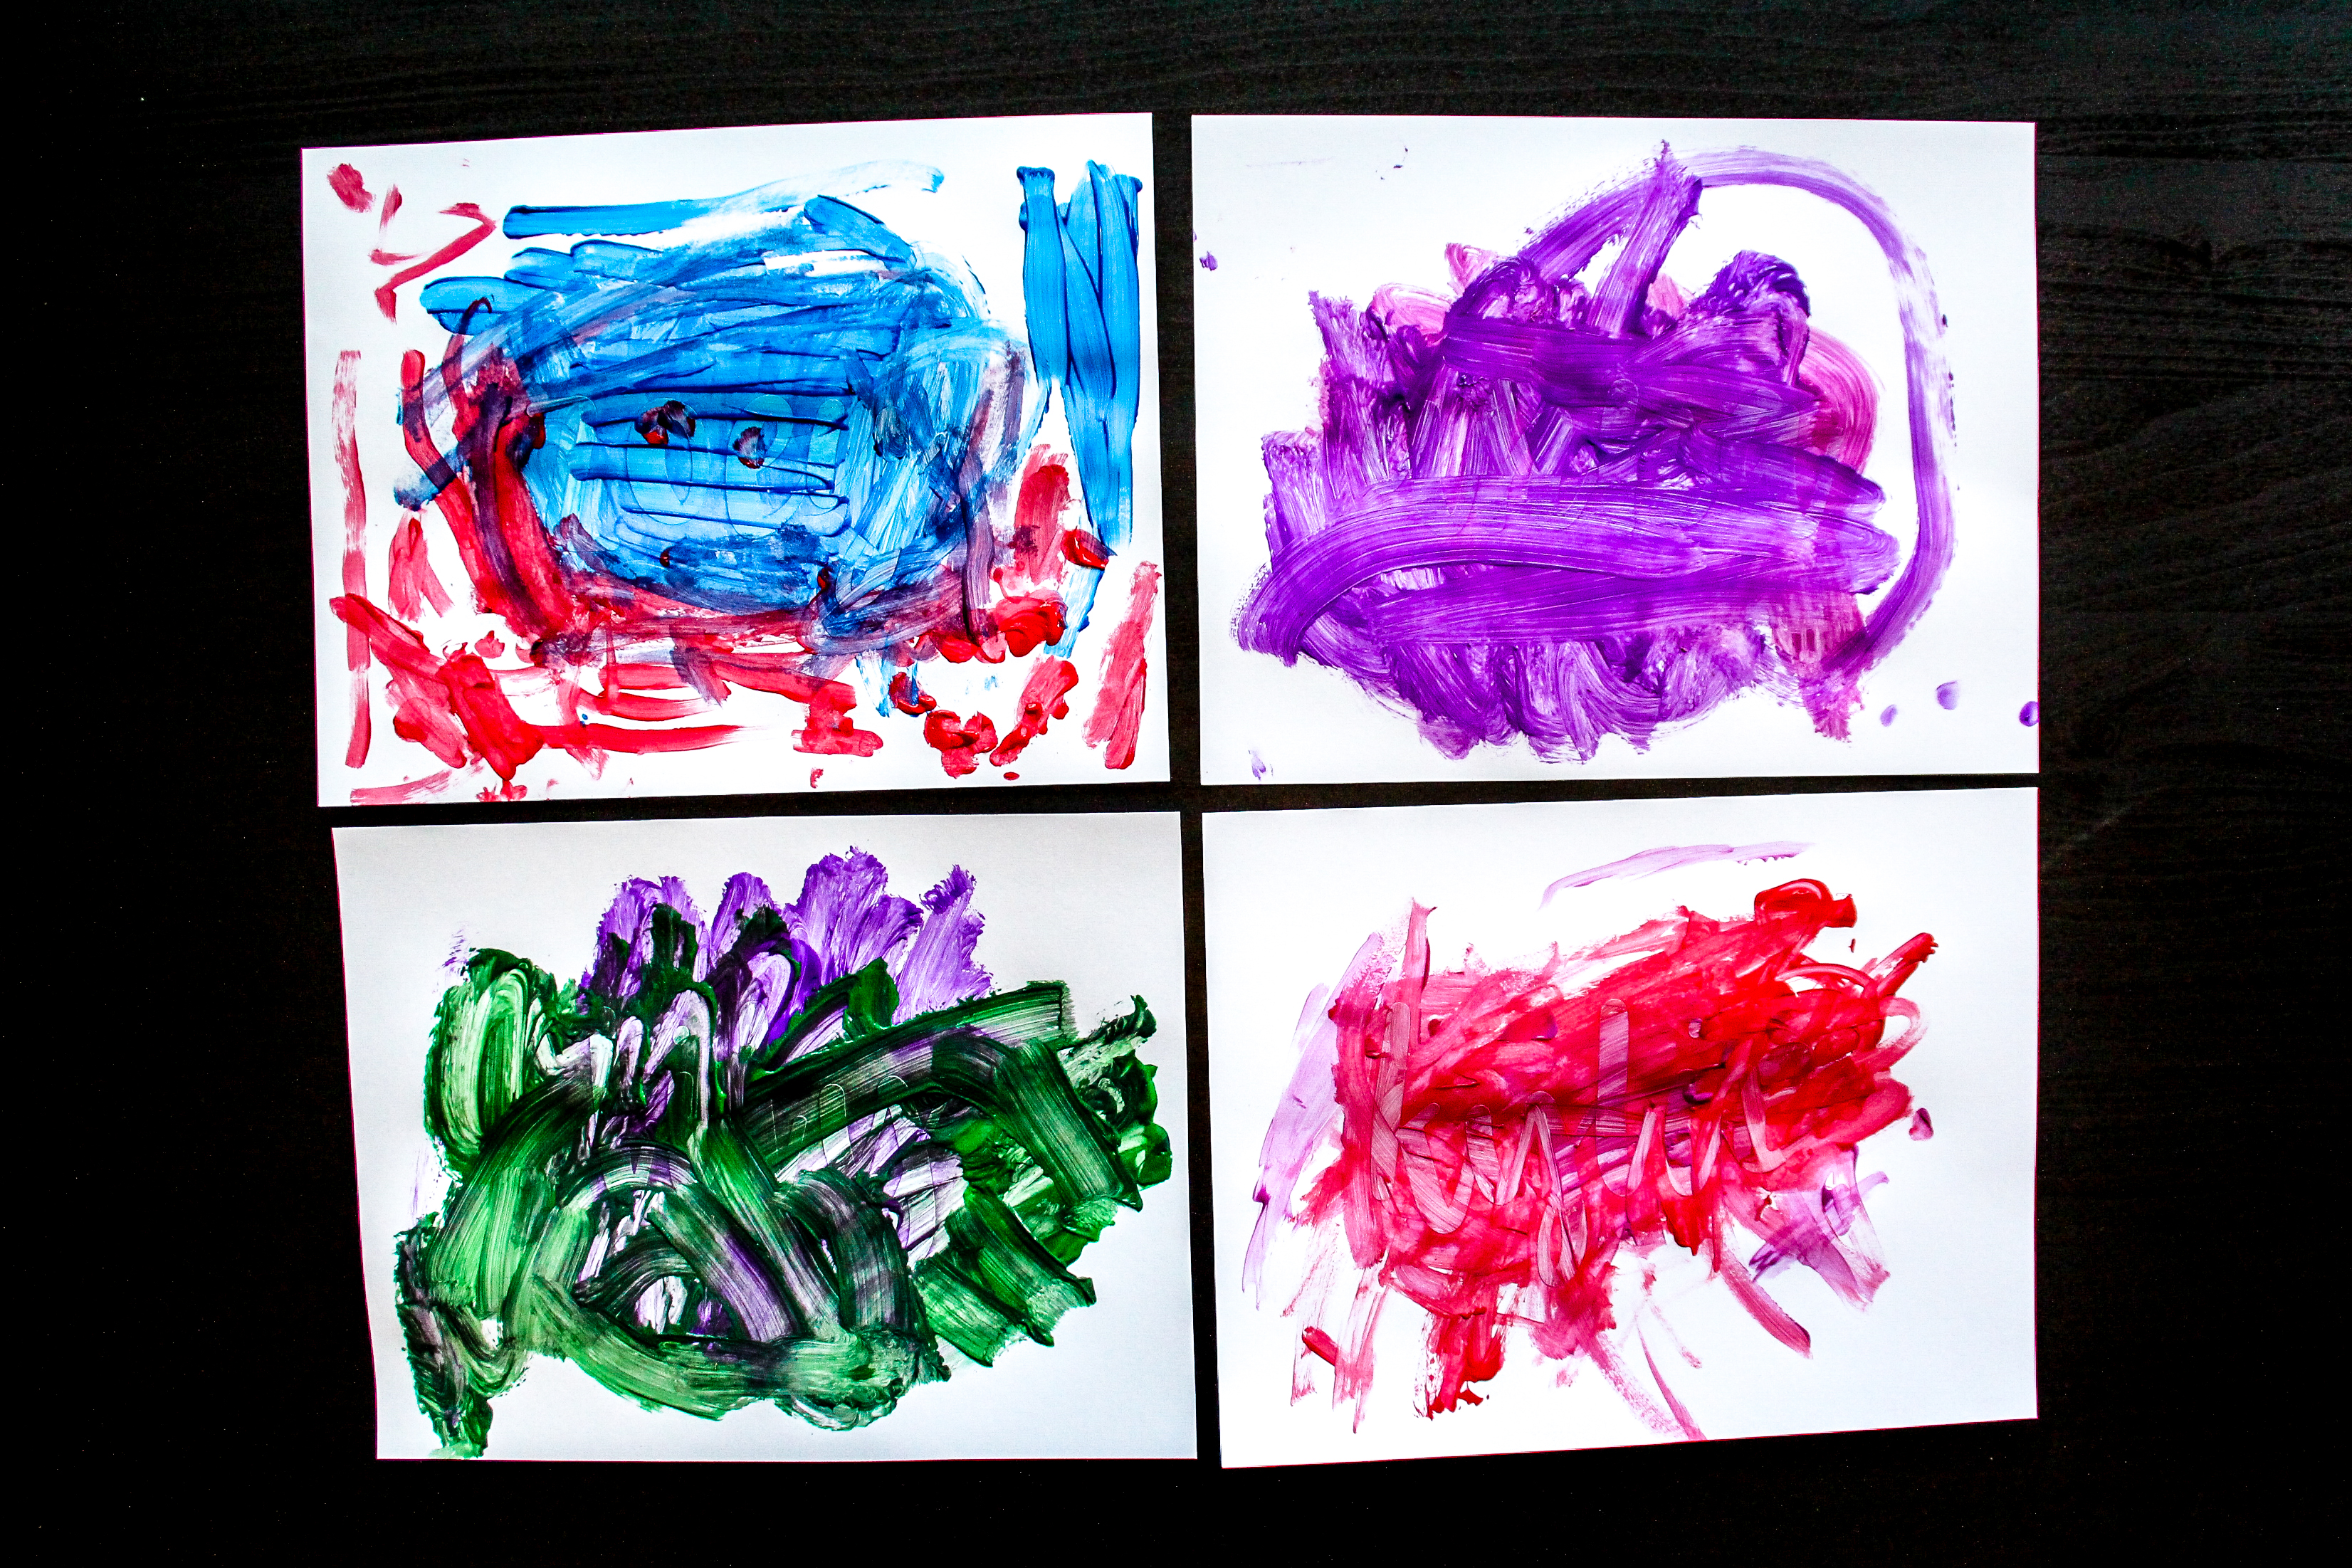
Since we had four kids participating, I let them take turns choosing two colors each. I removed the lids from the paint bottles and handed each kid two paintbrushes. Each child will move at their own pace. Some will zip through the craft and others will methodically and carefully apply paint.
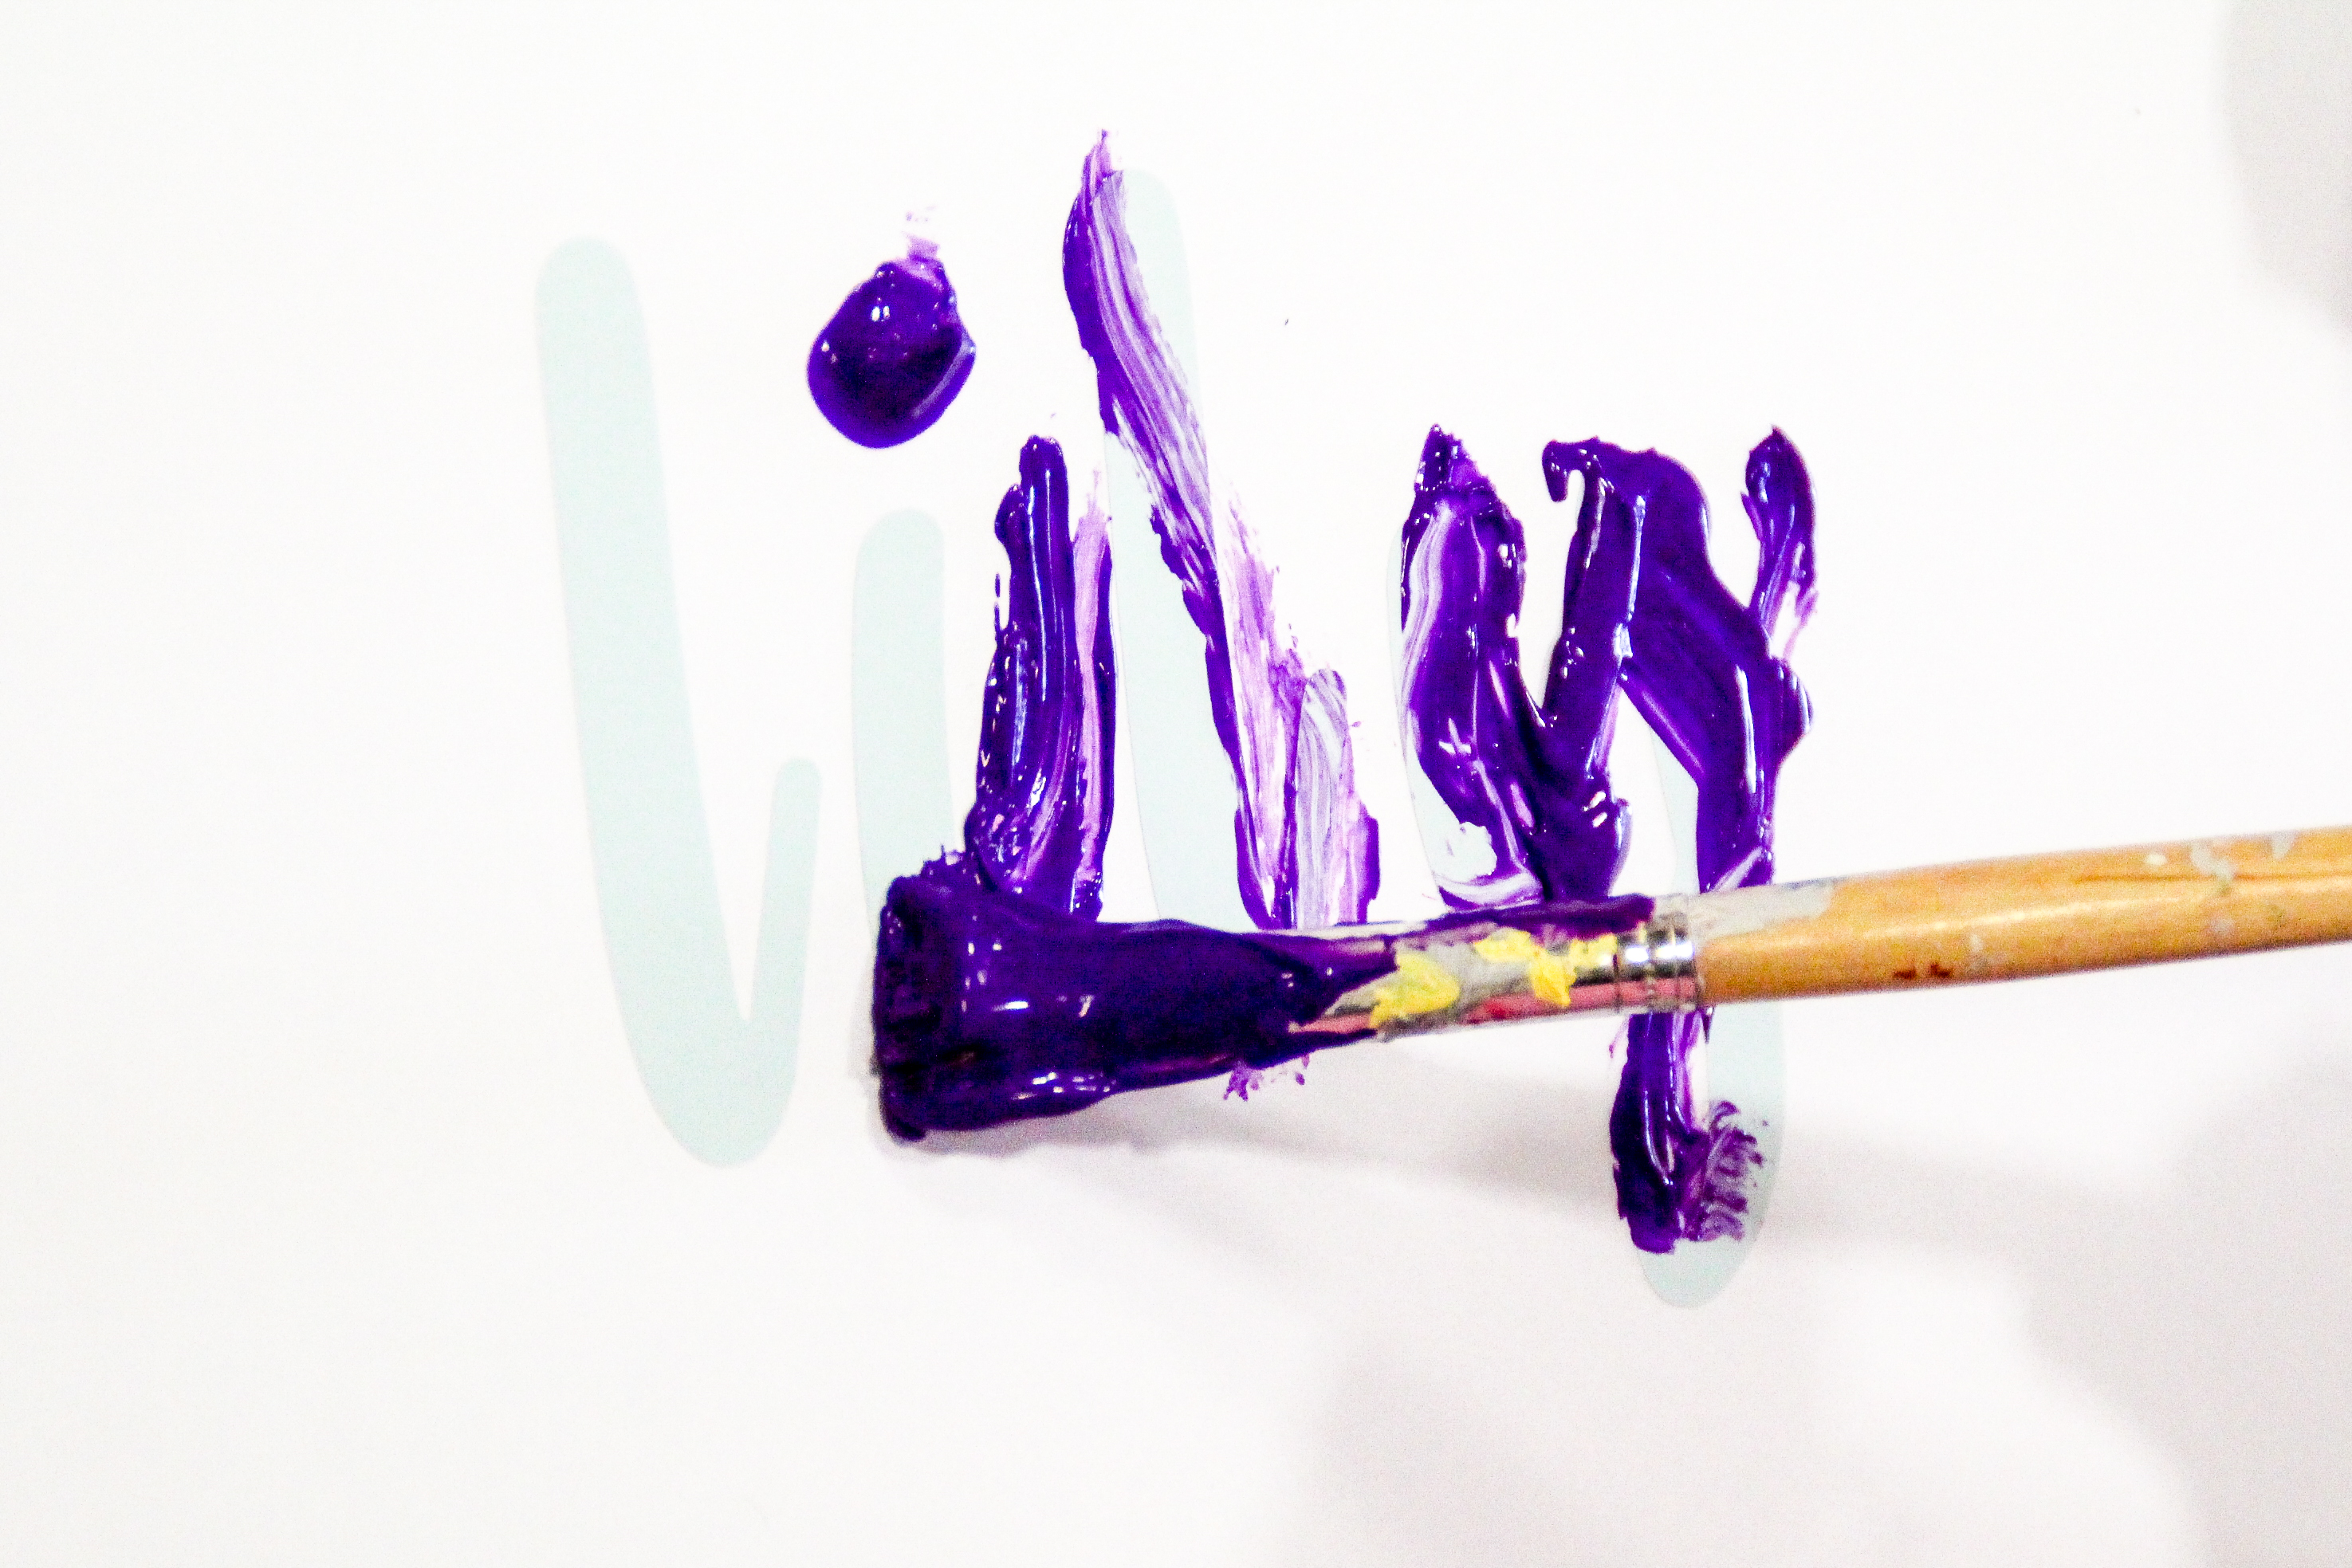
One important thing to monitor is whether more paint needs to be applied. The letters need to be completely covered and surrounded by paint to get the full effect. If needed, just prompt them to add more color and fill up the whitespace.
Watch paint dry
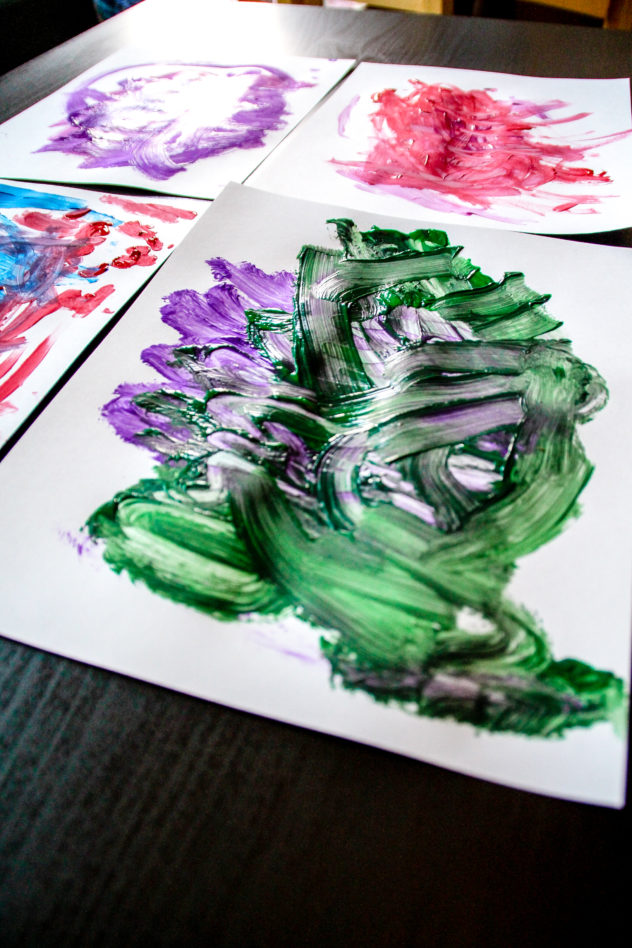
Please don’t actually watch the paint dry. Let the kids have free play, eat a snack, watch a movie, or learn more about colors as you allow enough time for the paint to fully dry. (Check out this post: 10 Idea for Teaching Kids Colors!)
Remove Lettering
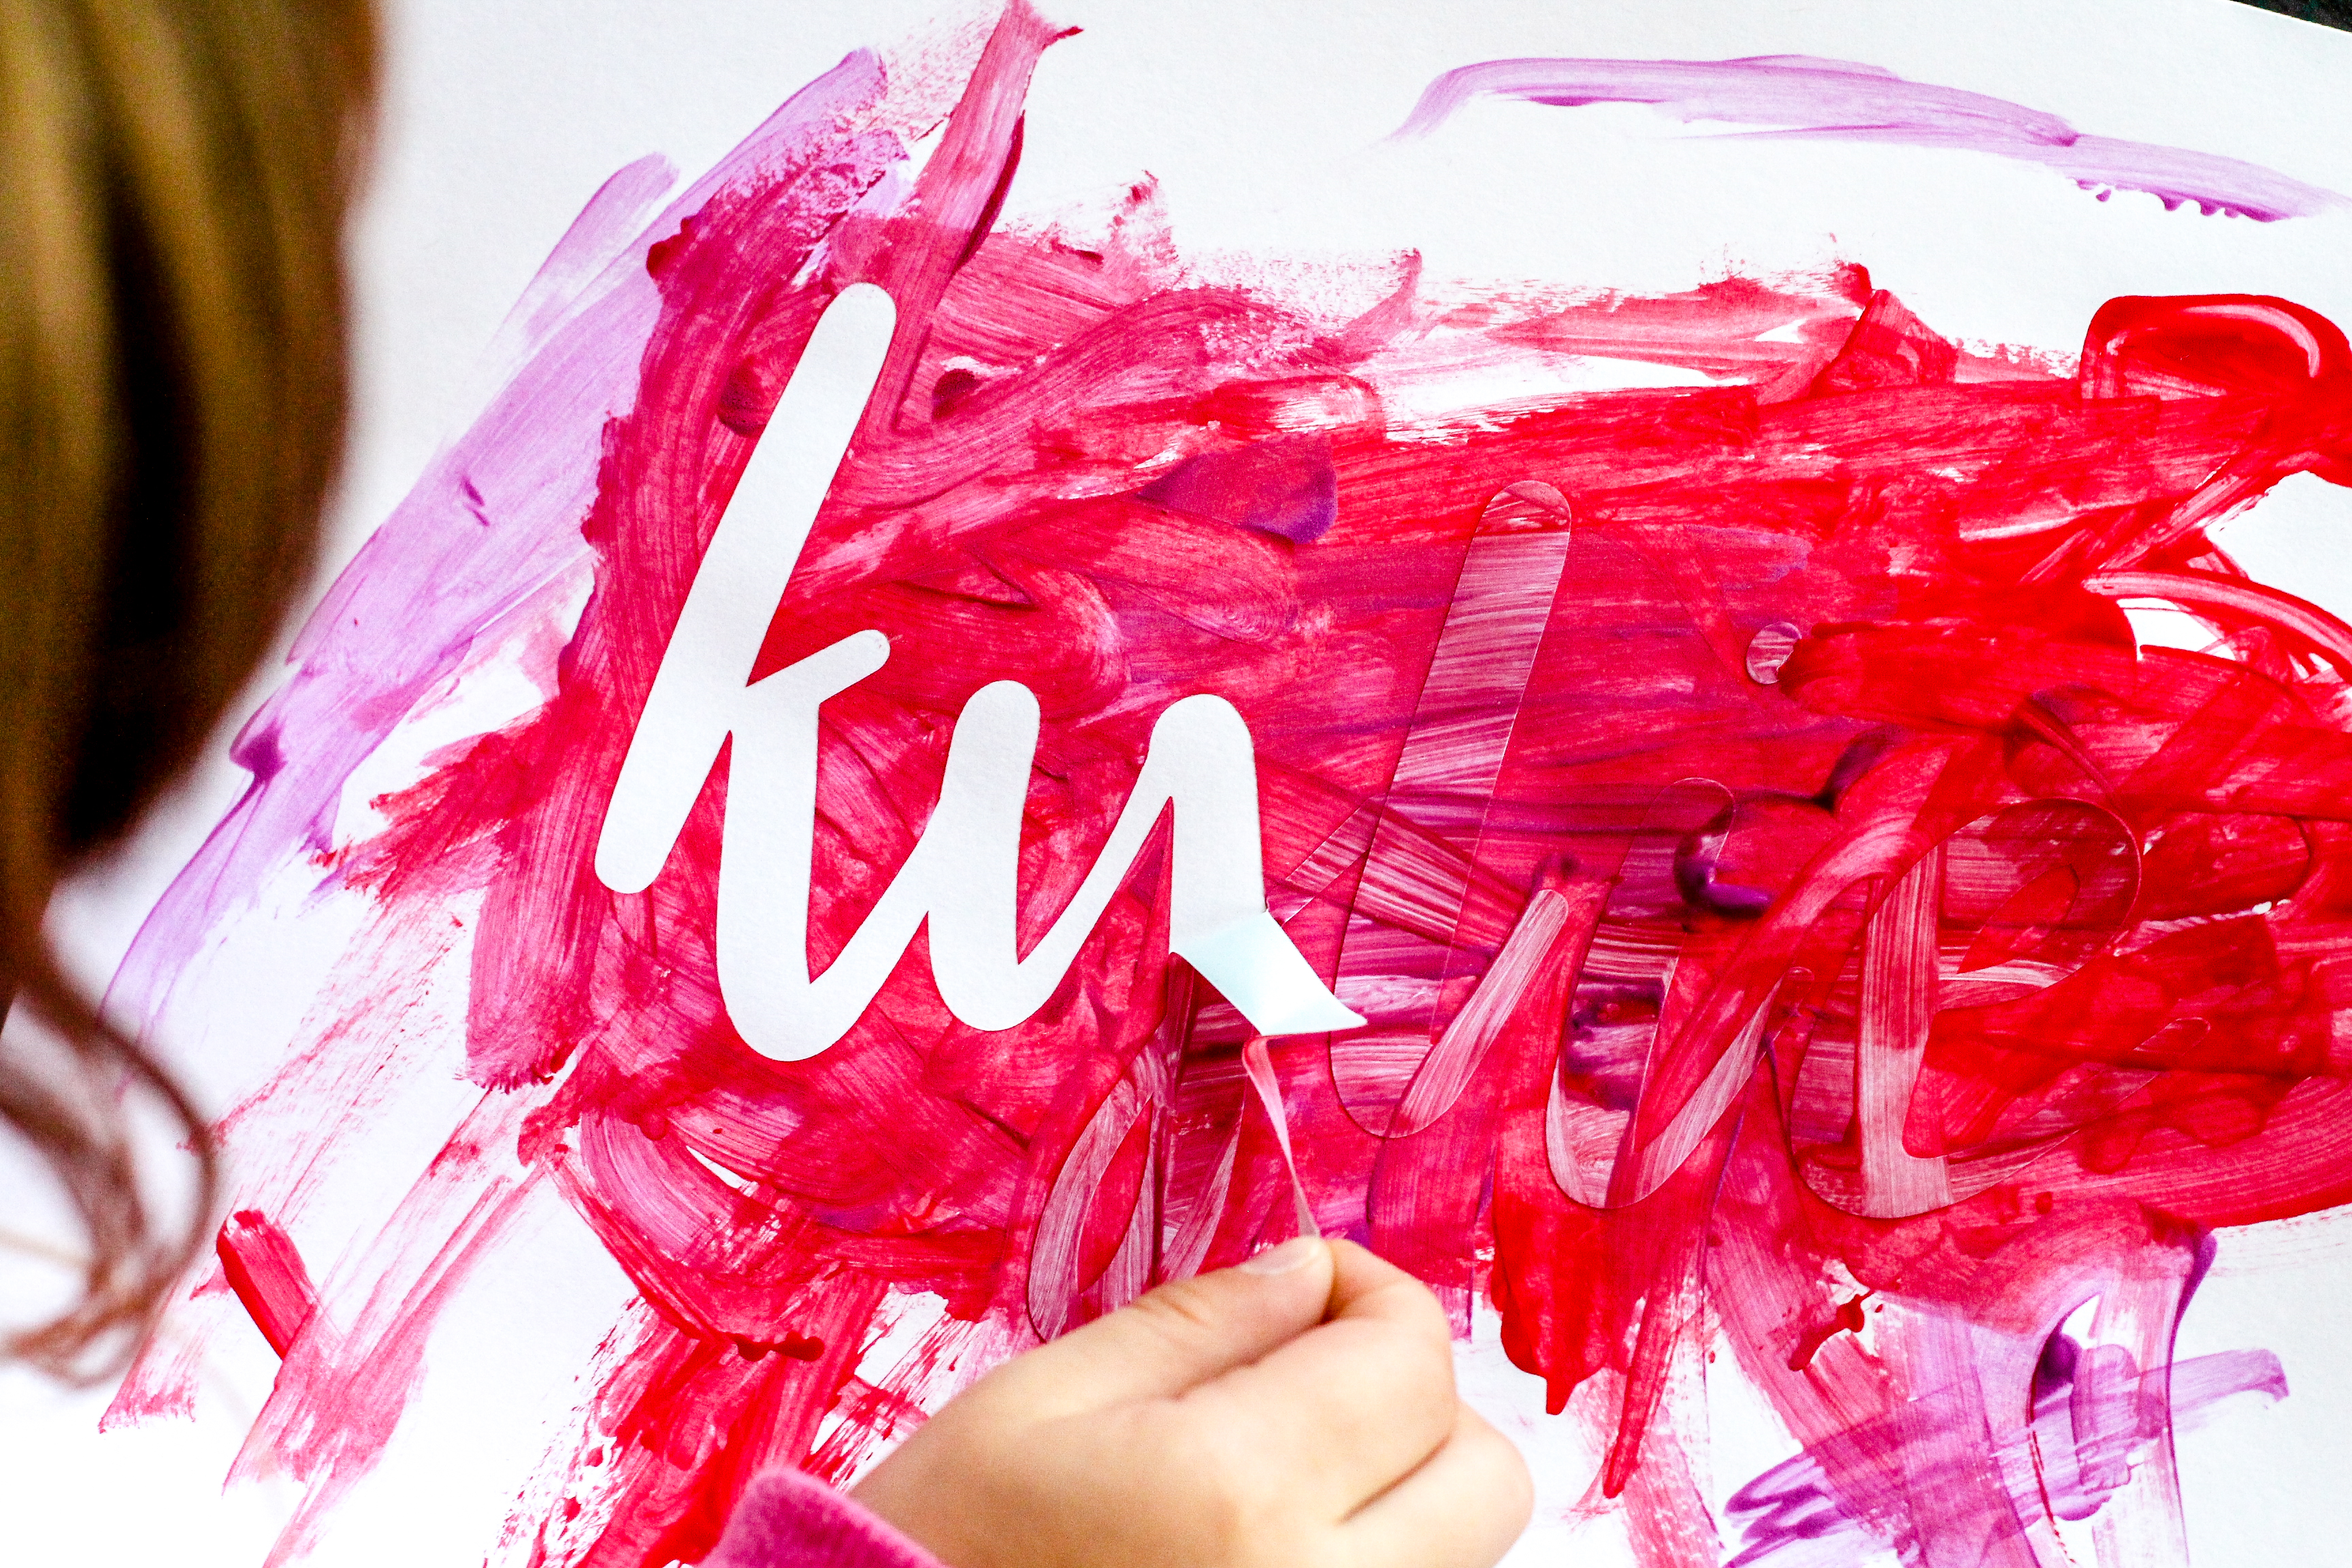
The is the coolest part! You can either remove the text for the kids or just start it for them. The hardest part of this step is just getting the first edge off the paper. As you pull the text, move slowly so the dried paint tears along with the shape of the text.
Strut your stuff
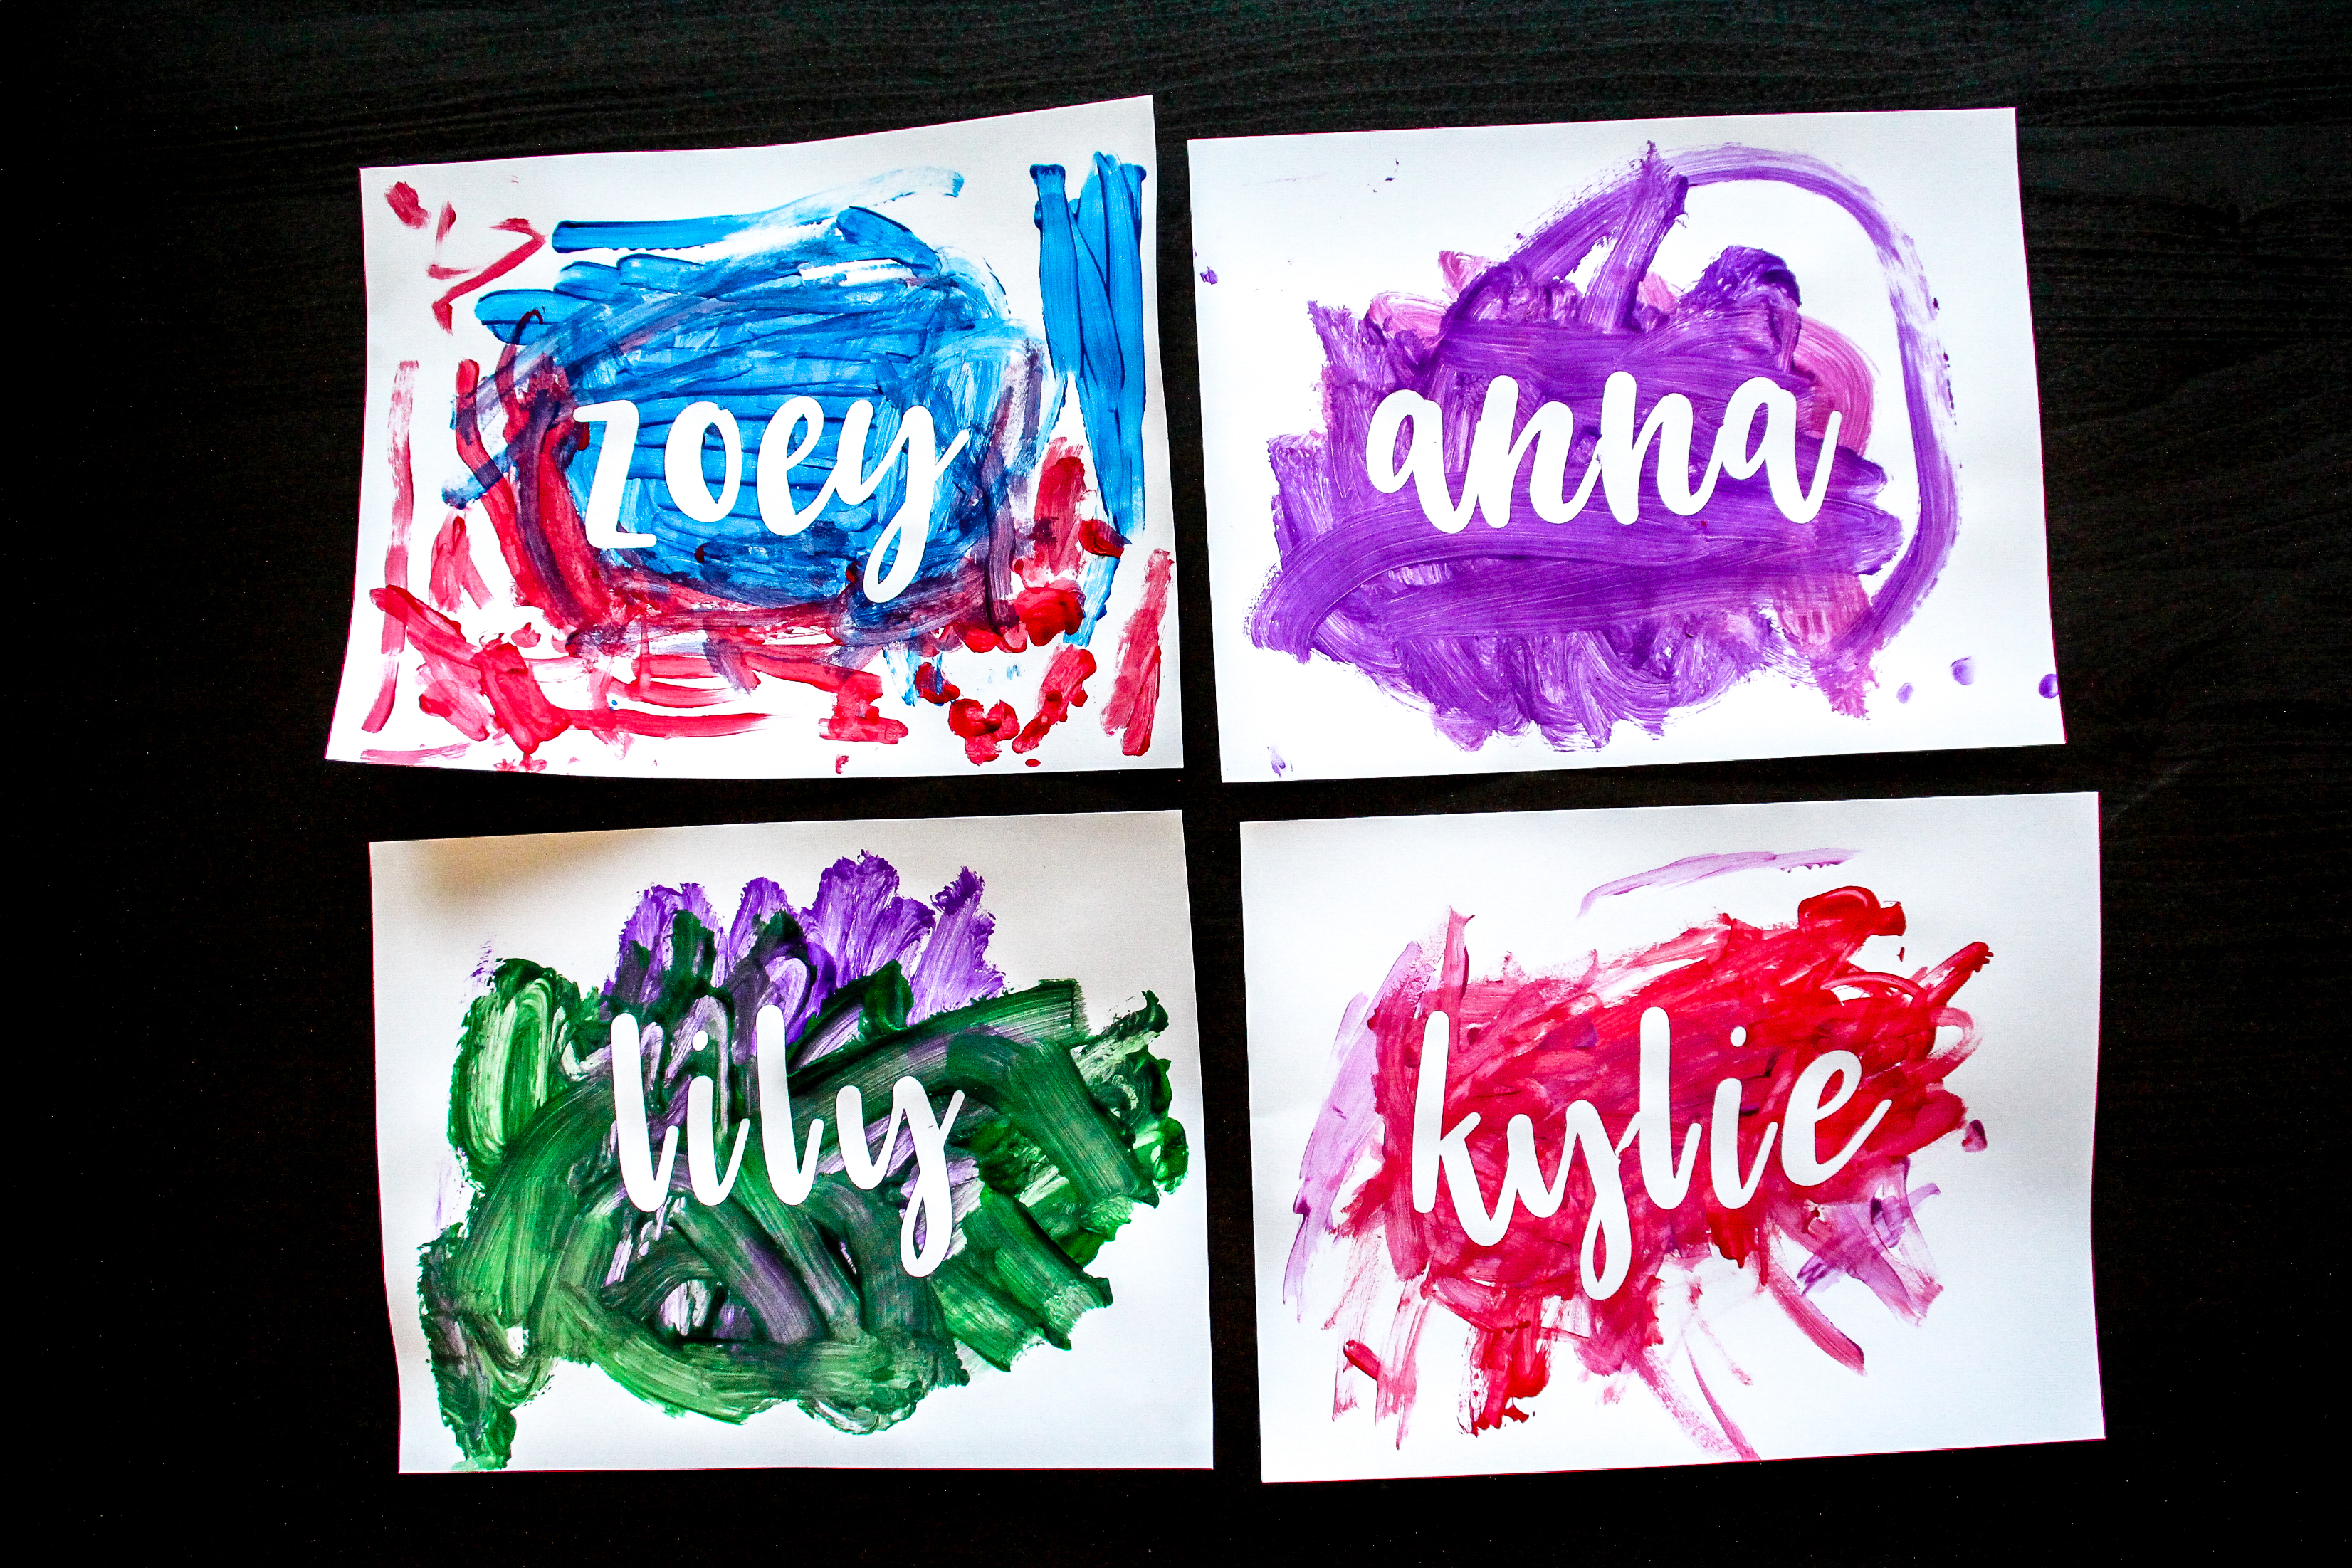
Display their artwork for everyone to see!
Pin it for later!

Do you have other fun crafts for kids that involves paint? Let us know by commenting below!
Other posts you might like:
How to Let Your Kid Choose Their Outfit & Have It Match

