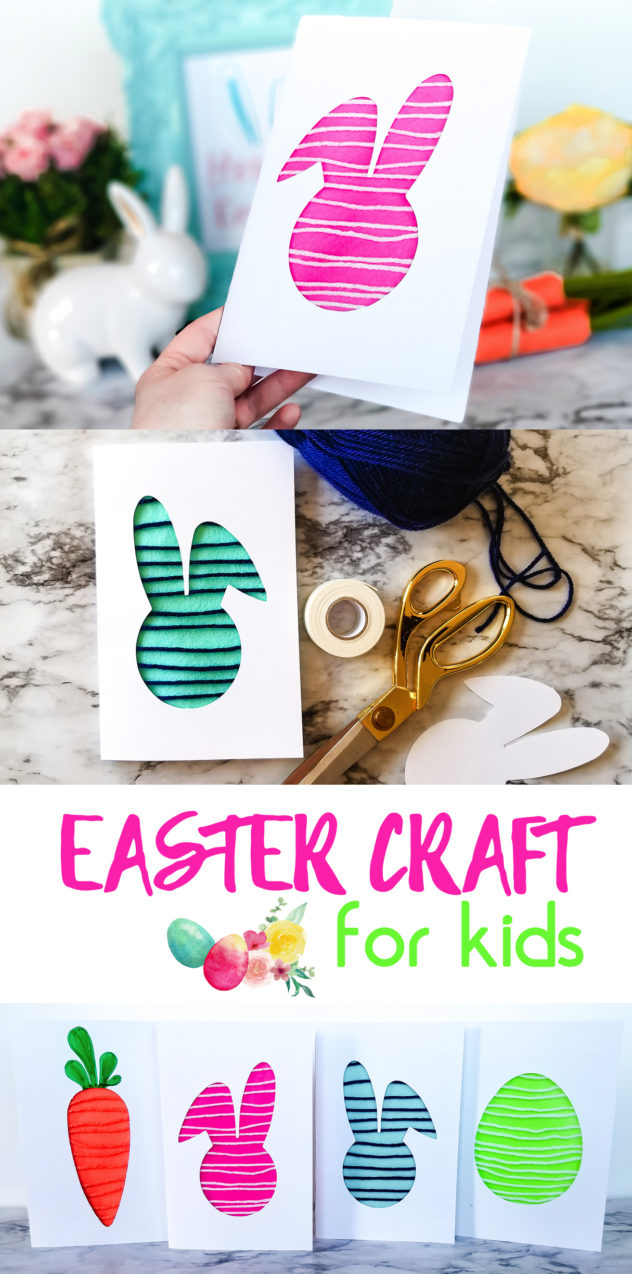
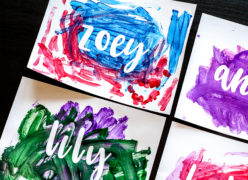
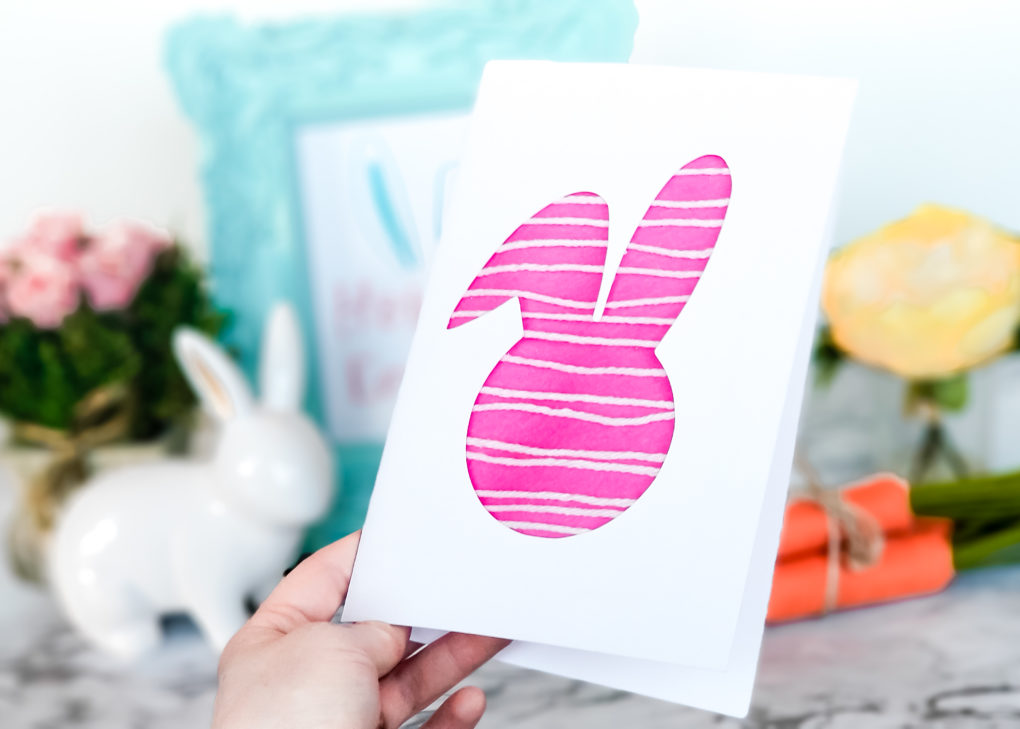
If your child is looking for an eggs-cellent craft idea for Easter, this colorful Spring Felt & Yarn Card Easter Craft for Kids is a no-brainer! It’s simple, unique, and inexpensive. But the best part? It can be personalized to fit your kid and their creative potential! Once they’re done creating, they can give their card away as a gift, put it on the counter as Easter decor, or frame it and hang it on the wall.
(This page contains affiliate links that we may be compensated for. Your clicks and purchases help support The DIY Lighthouse at no extra charge to you. We only put links to products we love and would recommend anyway.)
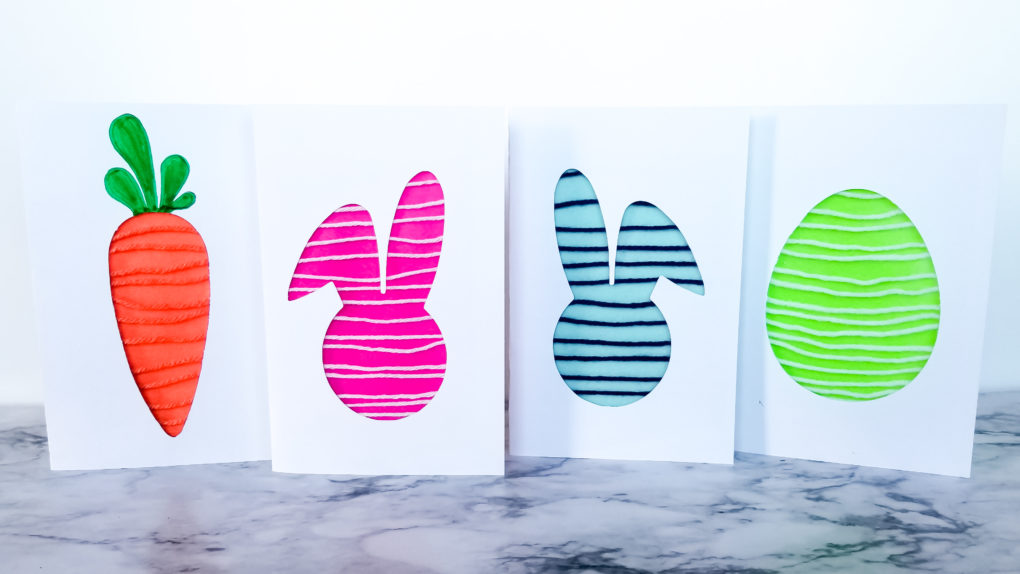
Step 1: Create card shape
I used Adobe Photoshop and Silhouette Studio to design and create my card shapes. If you don’t have this software on your computer, I have good news: good ol’ fashioned scissors will also do the trick.
For this craft, you will need thick white paper. I personally prefer using this card stock paper when making cards. It’s fairly inexpensive for the sturdy product you’ll end up with.
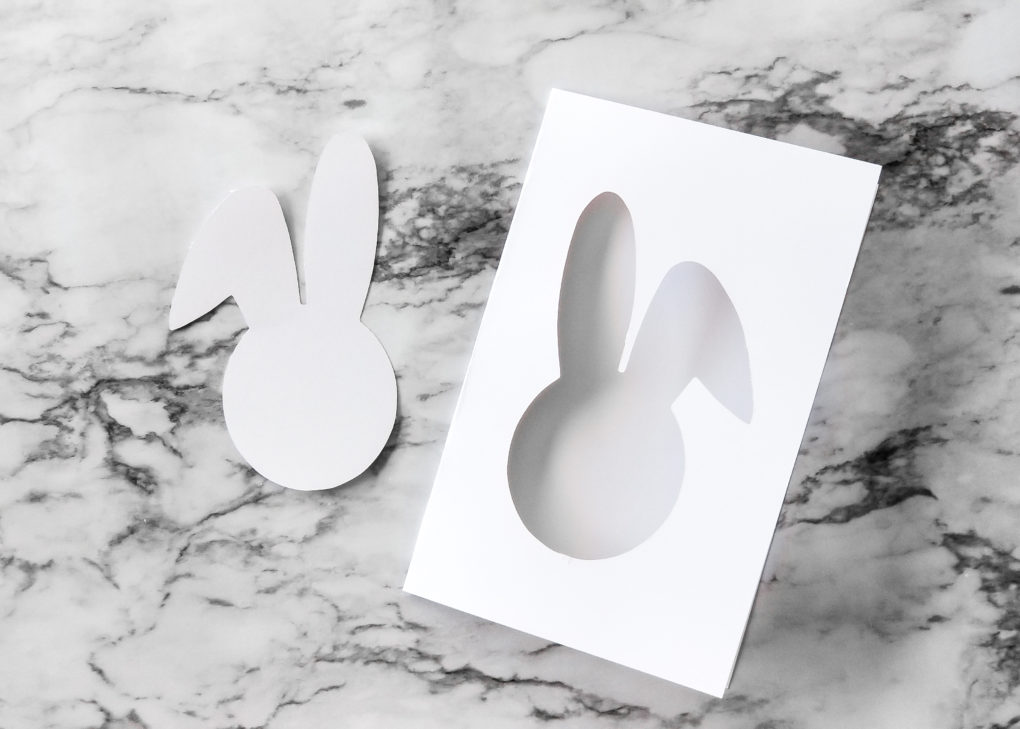
Using Photoshop and Silhouette Studio
As you design, keep in mind how a card folds. If your design is on the left-hand side, then the shape will be flipped once the card is folded down the middle. In Photoshop, divide your 8.5″ x 11″ canvas in two. Then place or design the shape in the middle of the left side, like my bunny below.
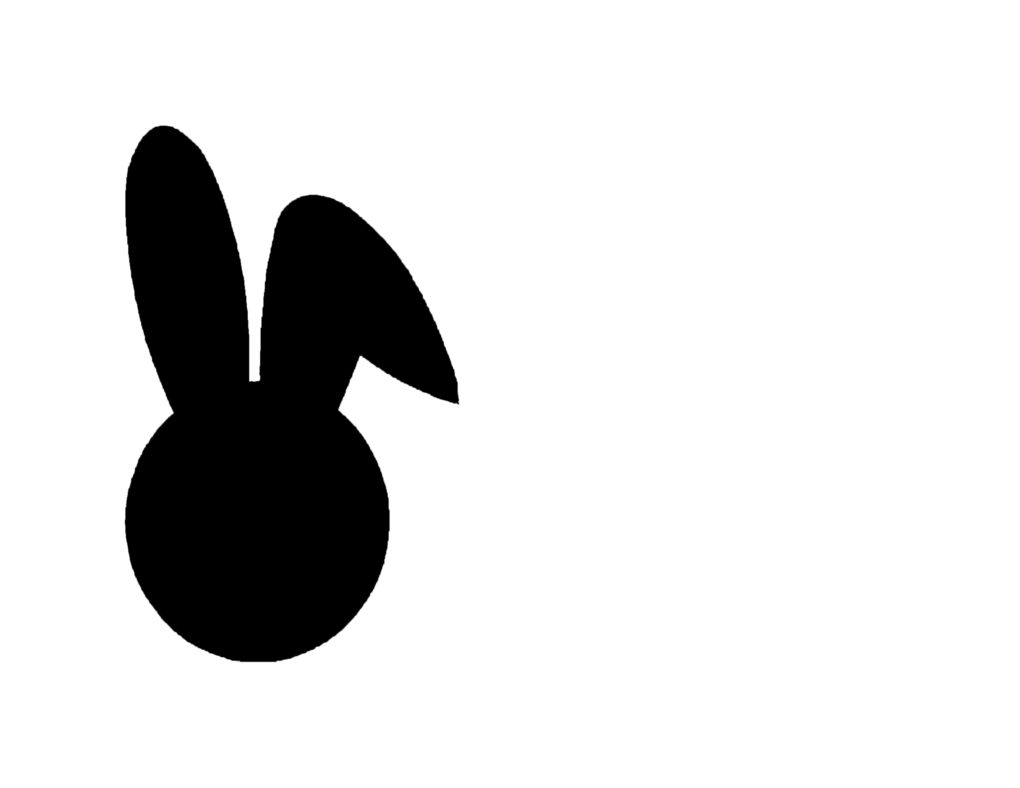
Save your image and open it in Silhouette Studio. Trace and cut the image. Then send it to your Silhouette machine and use card stock for paper. You’ll end up with a very neat cut out, perfect for making your Spring Felt & Yarn Card Easter Craft for Kids.
Using just scissors
Again, as you design, keep in mind how a card folds. If your design is on the left-hand side, then the shape will be flipped once the card is folded down the middle. You can achieve the silhouette two ways: (1) Lightly freehand your design onto the card stock using pencil before cutting with scissors. (2) Print out your design on regular printer paper, cut it out, and trace the design onto the card stock before cutting with scissors.
Step 2: Prepare Felt
Felt is so inexpensive! (You can get bulk pricing on 42 pieces of colorful felt here.) Originally I was going to have just a wall of yarn behind the design cutout until I found felt for 19 cents a piece! Having felt as a backdrop to the yarn not only adds texture and depth, it keeps the card from becoming too heavy and structurally helps hold the yarn on.
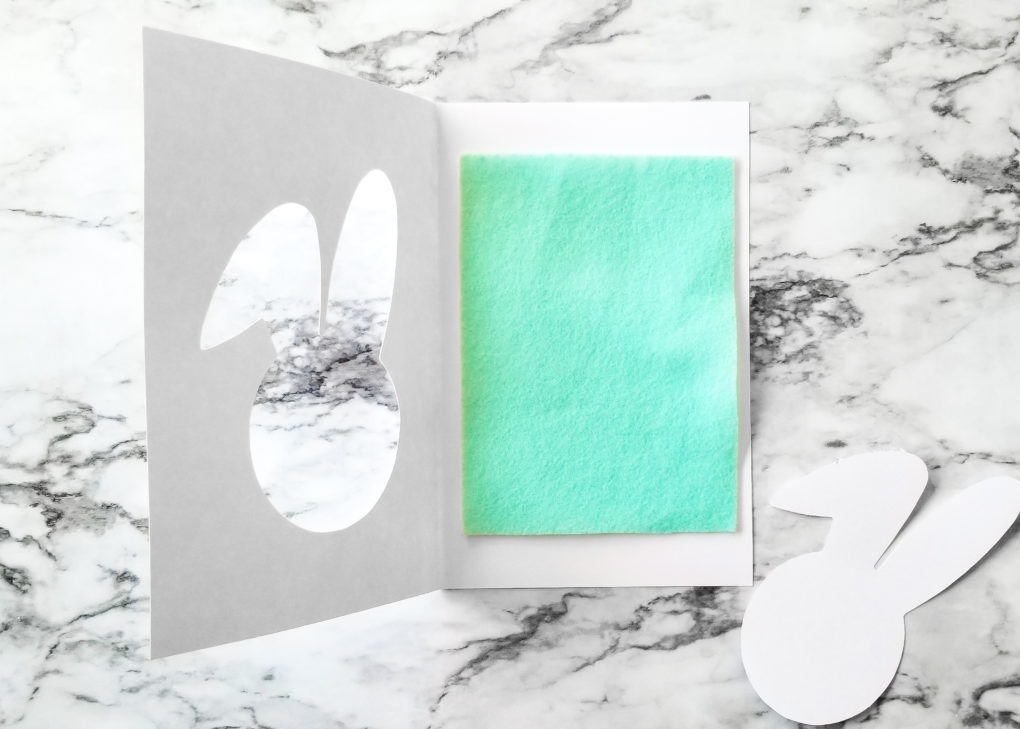
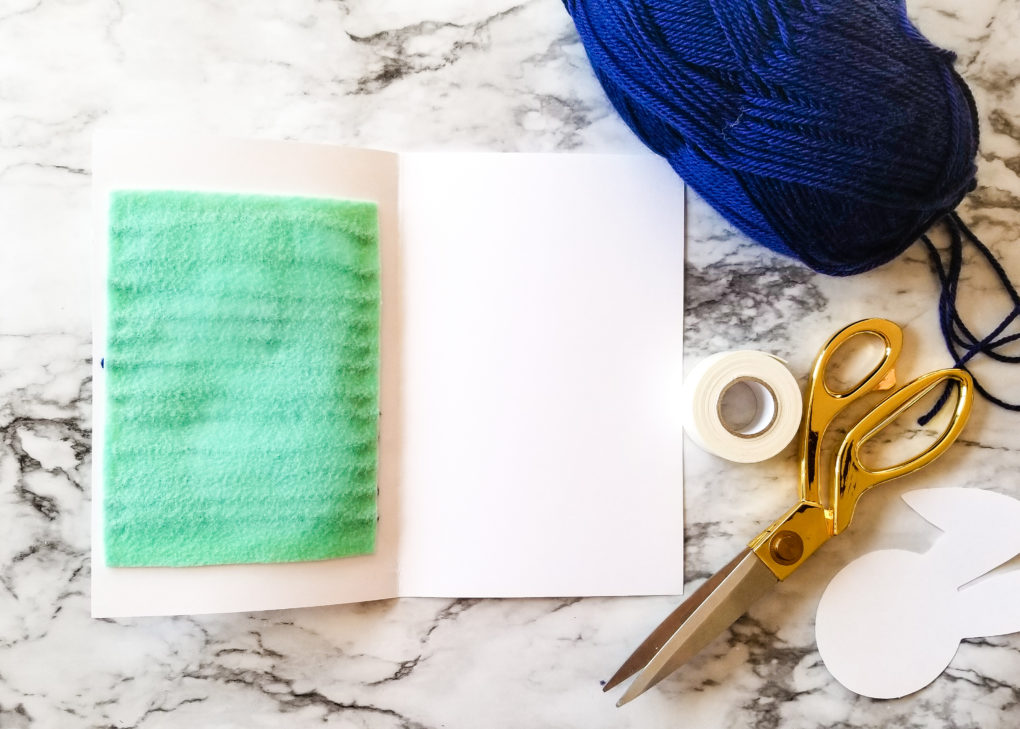
Simply cut your felt square to the right size. Make sure that the felt is about an inch wider than the cutout shape. You don’t want white space to show through your shape when it’s folded!
Step 3: Layer yarn
Get a color of yarn that coordinates well with your felt. You can buy yarn for cheap too! (Here are 40 assorted colors of yarn for an amazing price.)
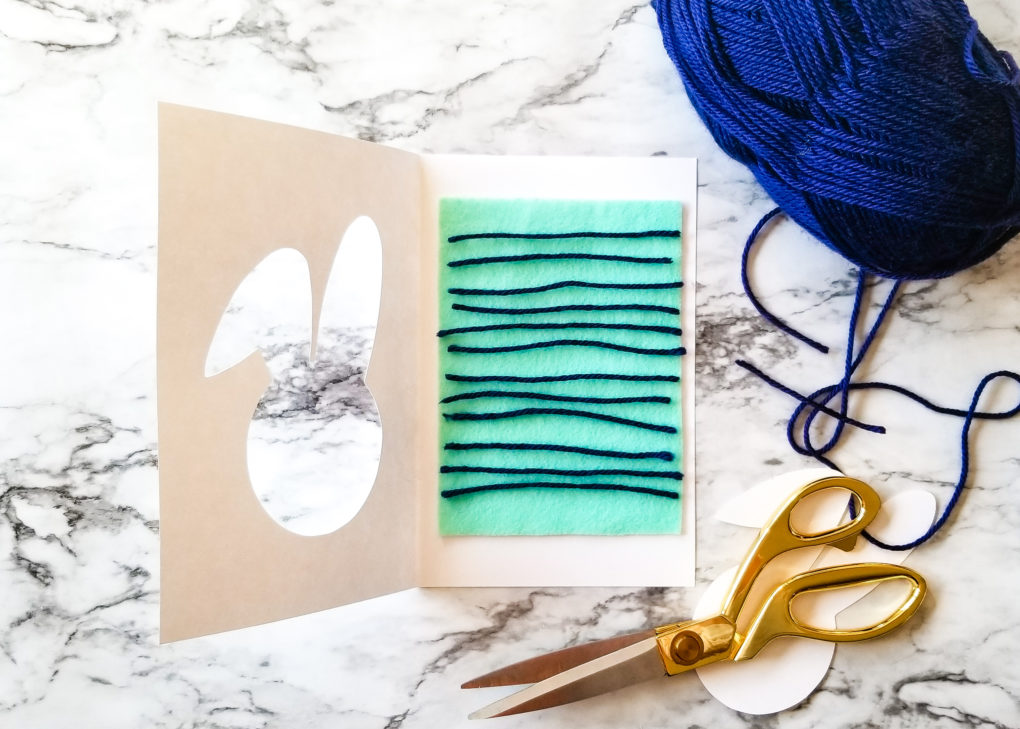
Cut strips of yarn just shorter than the width of your felt. If it’s longer than the felt, you will see yarn pieces popping out and it looks messy. Keep applying strips of yarn until you achieve the look you want.
Step 4: Apply tape
Here is one tip that will make your life so much easier: invest in double-sided tape. This foam tape will give the felt and yarn a little bit of depth. Just about any double-sided crafting tape will do the trick though!
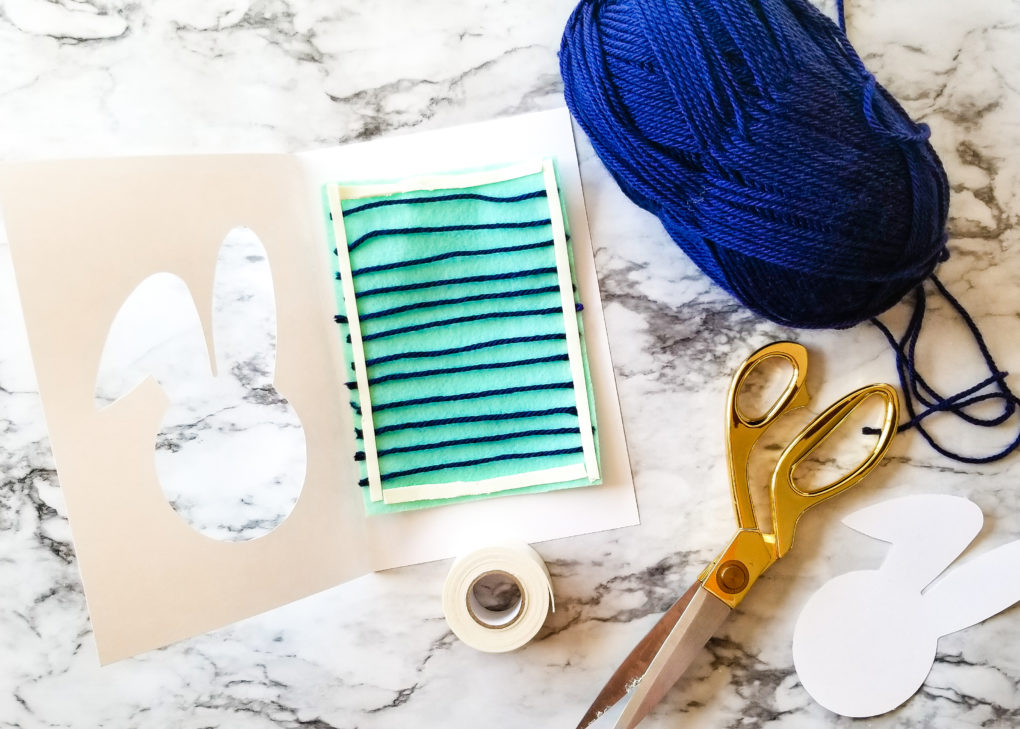
Cut and place the double-sided tape all around the perimeter of the felt. Make sure that all the yarn ends are attached to the tape as well to hold them in place. Remove the tape backing, center the felt on the paper (making sure that when the card is folded, the shape cutout shows only felt and yarn), fold the card, and firmly push down where the tape meets the paper.
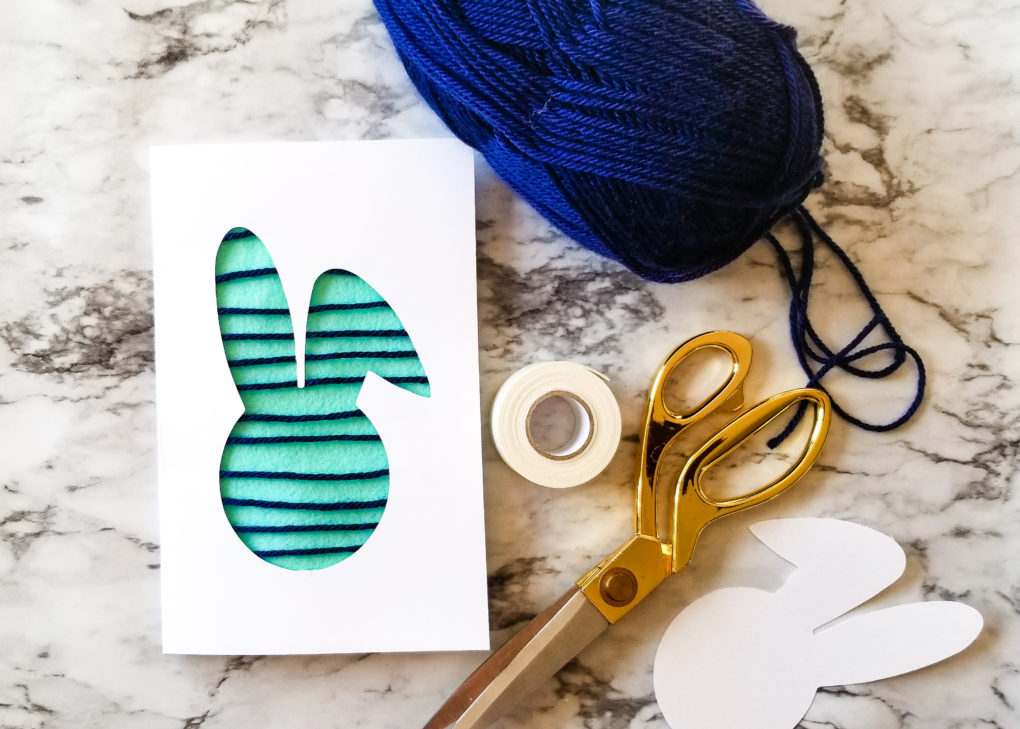
This will secure the felt to the cutout side of the card. When the card is opened, you will see the backside of the felt. It adds a fun pop of color on the inside of the card!
Step 5: Add words
Personalize your Spring Felt & Yarn Card Easter Craft for Kids further by adding any thoughtful or fun words to your card. Here are some ideas of ways you can make your card extra special:
- Help your child tape a picture of themselves inside
- Use fun Easter puns (e.g., “Hoppy” Easter!)
- Add a handprint, footprint, or thumbprint to the inside using paint or dye
Enjoy!
What are some of your favorite Spring or Easter traditions you do with your kids? Big or small, let us know by commenting below!
Pin this: Spring Felt & Yarn Card Easter Craft for Kids!
