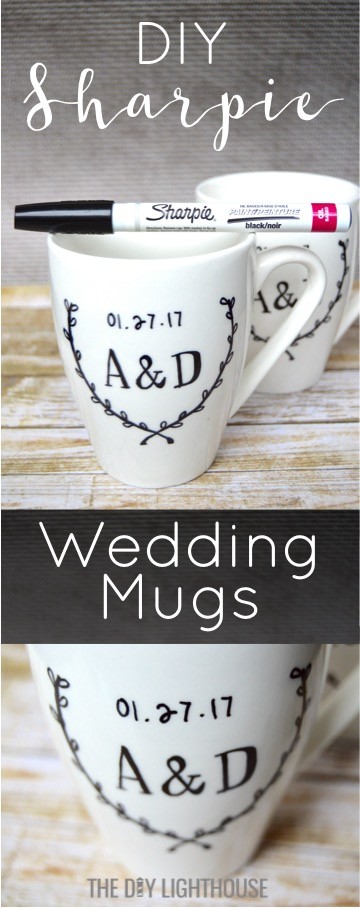
If you’ve got a wedding coming up for a special friend or loved one, forget boring baking pans and totally obvious towels, try making DIY Sharpie mugs with the bride’s and groom’s initials and wedding date on them. Matching and personalized wedding mugs would make a thoughtful, handmade wedding gift!
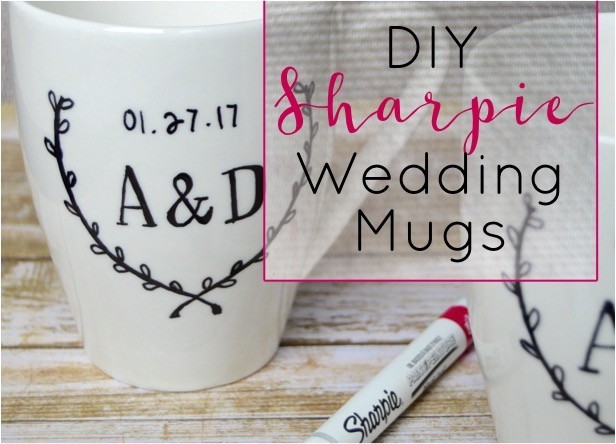
I’m always looking for new DIY projects to try, so when I saw Popsugar’s post about decorating a mug with a Sharpie I wanted in! One of my good friends from high school, Annie, got married last month and I wanted to make her a wedding gift instead of buying one. Boom! I’ll make her DIY Sharpie mugs as a wedding gift. I love how the DIY Sharpie mugs I made turned out, so I’m sharing my process with you in case you want to give it a try.
(This page contains affiliate links that we may be compensated for. Your clicks and purchases help support The DIY Lighthouse at no extra charge to you. We only put links to products we love and would recommend anyway.)
Mugs in our Gift Shop
If you don’t want to have to make your own, these custom Sharpie mugs are available through our Gift Shop. Click here for details on how we can make your wedding gift for you!
How to Make DIY Sharpie Mugs for a Wedding Gift
Here is a step-by-step tutorial for how to make DIY Sharpie mugs as a wedding gift for a lucky couple 😉
1) Collect supplies
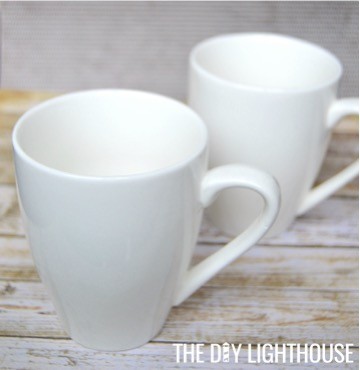
To make this wedding craft, you will need two matching mugs and an oil based paint Sharpie marker. I bought two matching mugs at Goodwill for rather cheap. Amazon also sells lovely, white mugs. (Here are a couple of options: Francois et Mimi Large Ceramic Coffee Mugs and Oxford Gourmet Mugs.)
A Sharpie is available at most craft stores or on Amazon. (Here is a classic option: black ultra fine point Sharpie, and here is an option if you want to do a multi-colored design: assorted colors ultra fine point Sharpie pack.) I recommend getting an ultra fine point Sharpie pen if you want some detail or small writing in your mug design. I used a black ultra fine point Sharpie and it worked great!
2) Clean the mugs
Make sure the mugs are clean, dry, and ready for you to paint on. Even if your mugs came out of a box, be sure to wipe them down so there is no dust or dirt on your mugs.
3) Sketch your design
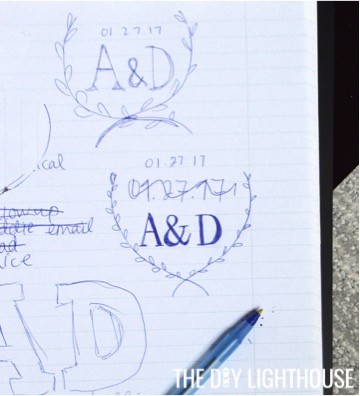
I saw a mug design by Evermine and wanted to take a similar approach. I copied a font on my computer and drew a few sketches before attempting to paint on my mugs.
4) Paint your mugs
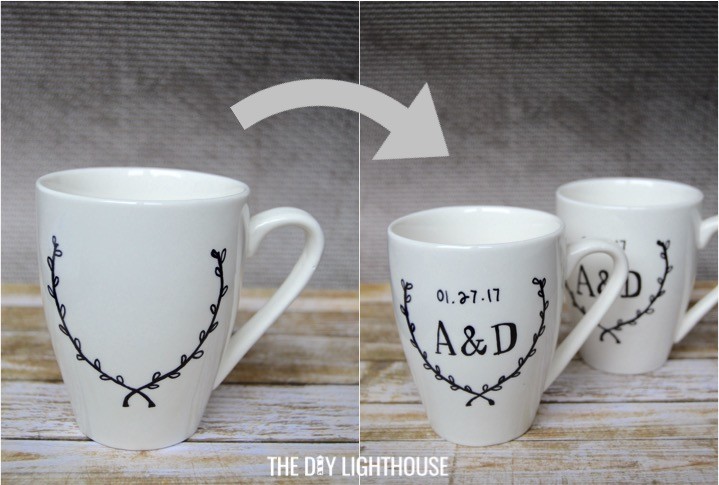
Follow the instructions on your Sharpie oil-based paint marker and draw your design onto the mugs. When writing the text, I recommend starting with the “&” or whatever is in the center so that you can more easily space out the rest of the letters.
Tip: During my sketching I kept getting my branches lopsided, so I ended up cutting out a piece of paper that I could trace around while drawing on my mug. I taped the top of the paper to the mugs and traced the branches and it helped a lot!
5) Let it dry
Make sure your paint has time to dry. The instructions I used recommended letting it dry for at least 3 hours before baking. I let mine dry overnight to be safe.
6) Bake your mugs
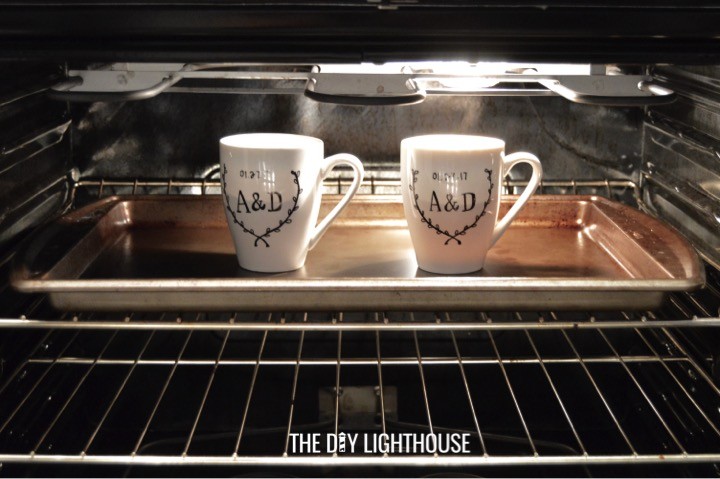
To help the paint set, bake your mugs at 350°F for 30 minutes. Let your mugs cool before handling.
7) Add a “hand wash” tag
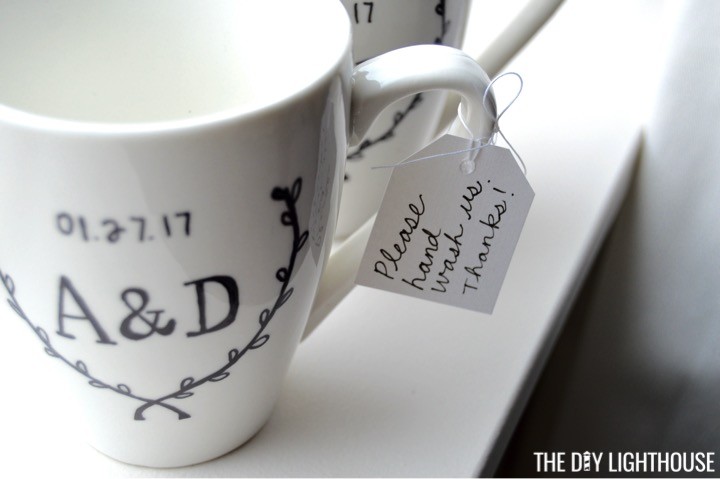
Because you are giving this as a wedding gift, you need to make sure your recipient knows that the mugs should be hand washed only. A dishwasher may wreck the painted design. I made a little tag out of card stock paper and thread that I tied to one mug’s handle.
8) Pack & ship to the wedding couple
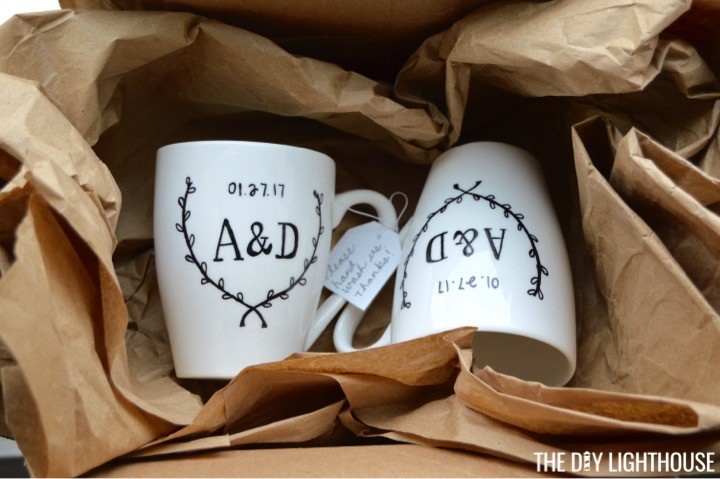
Once your DIY Sharpie mugs are ready to go you’ll want to ship (or deliver) them to the bride and groom. So they don’t crack, chip, or knock against each other, be sure to package them liberally with paper or bubble wrap. (After taking the picture below I added much more brown paper.) Pack paper into the cup of the mug as well as around the sides and handle. If you’re shipping a box, it doesn’t hurt to write “Fragile” on the outside.
Hopefully this DIY wedding craft project is as fun for you as it was for me! Leave any cute design ideas or other Sharpie mug uses in the comments section below!
Pin It For Later
Watch the YouTube Tutorial Video
[embedyt] http://www.youtube.com/watch?v=kZaue_ro3yg[/embedyt]Other Posts You Might Like

