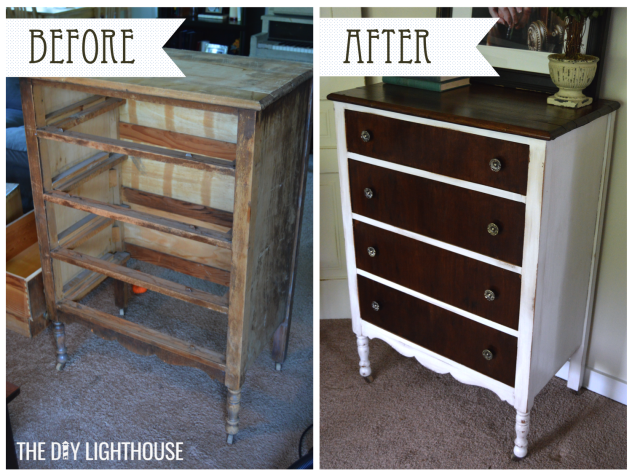
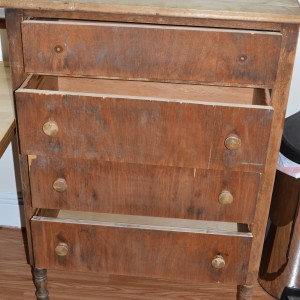
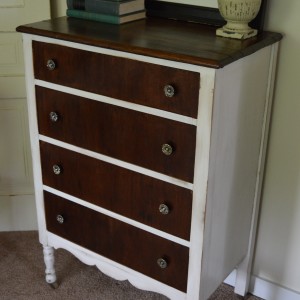
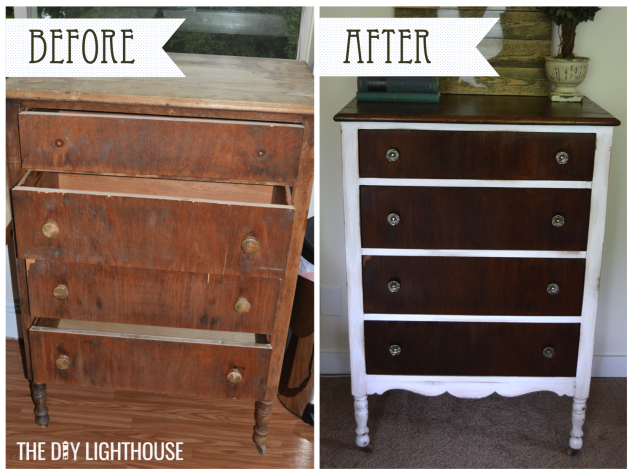
Follow these step-by-step directions on how to stain, paint, and distress dresser. I will also be taking you through my DIY project where I turned an ugly 1930’s dresser with a lot of potential into a beautiful, white distressed antique dresser.
Step 1) Prep & Disassemble
Prep your area by laying down your drop cloth and prep your furniture by removing any hardware (like knobs) and drawers.
Tip: Pregnant? I was while doing this project. Click here to see the safety precautions I took.
Step 2) Sand & Clean
If your dresser has paint or finish on it, remove this by either stripping the finish or sanding it down to the bare wood.
Click here for directions on how to strip furniture.
And click here for directions on how to sand furniture.
Be sure the dresser is free from any dust or dirt by wiping it down with a cloth.
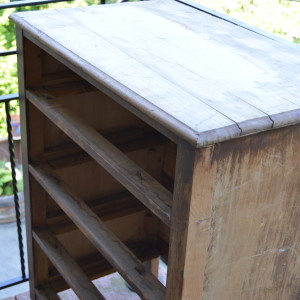
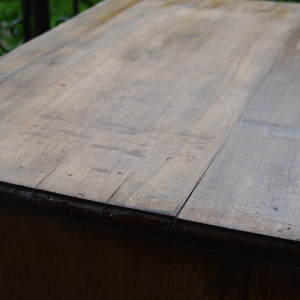
Thankfully, I bought my dresser off of craigslist and the previous owner had already sanded away any coatings from the wood. All I had to do was give it a quick wipe down before starting.
Step 3) Stain
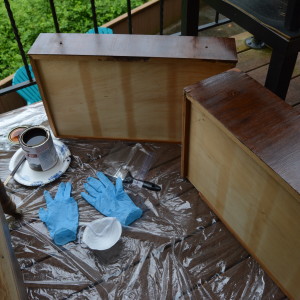
Following the instructions on your stain can, brush the wood stain onto the desired areas of your dresser using a normal paint brush. Apply as many coats as needed allowing appropriate dry time.
Tip: Be sure to wear disposable gloves for protection as this will stain your skin.
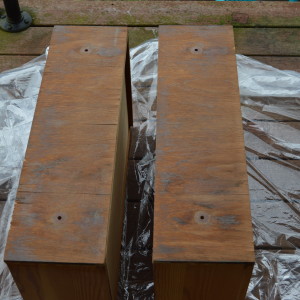
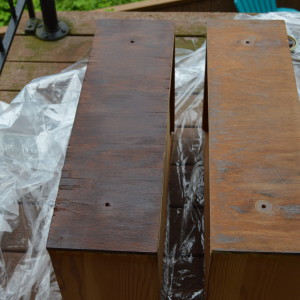
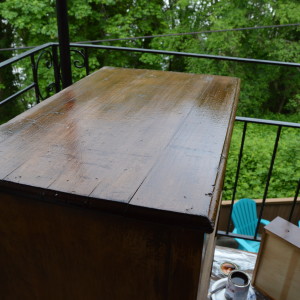
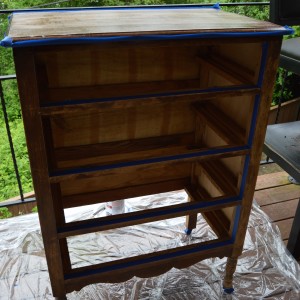
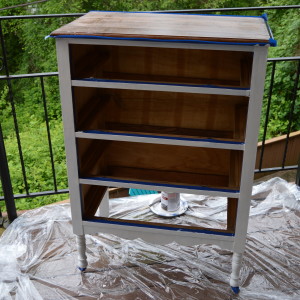
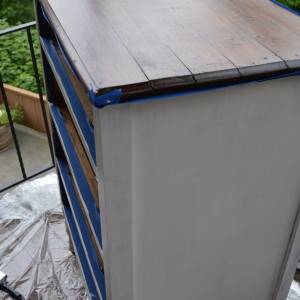
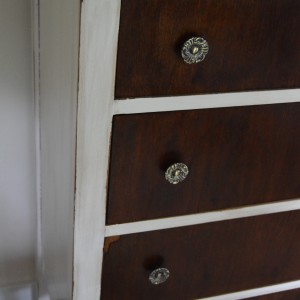
I used Varathane Stain & Poly Semi-Gloss in Dark Walnut to stain my dresser drawer faces and dresser top. The stain took an hour to dry between coats, and I applied two coats to the drawers and three coats to the dresser top. You can see from the pictures that the dark walnut gives this wood a deep, rich color.
Note: Be sure to pick up a couple of stirring sticks (free) from wherever you get your stain and paint. I forgot to but found some wooden chopsticks in my kitchen drawer to use instead.
Step 4) Tape
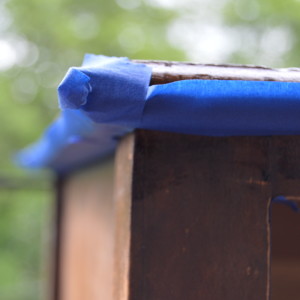
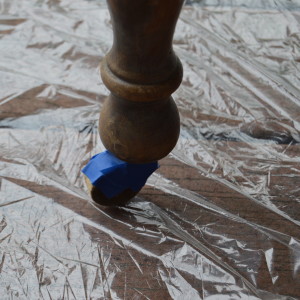
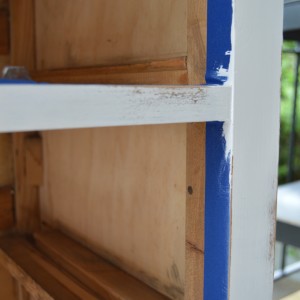
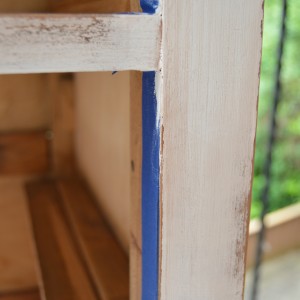
After the stain has dried, tape off the stained portions of your dresser from the rest using painter’s masking tape. Also, be sure to tape off any hardware you were unable to remove or the inside of the dresser if you don’t want it to be painted.
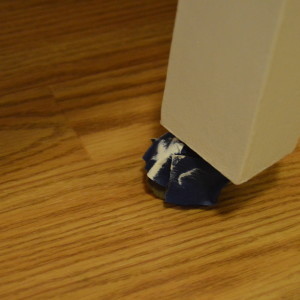
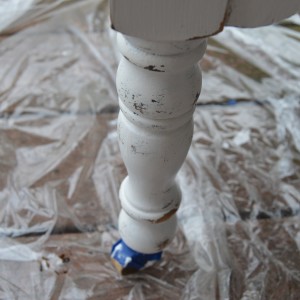
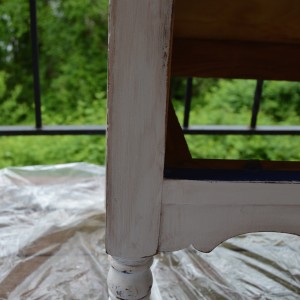
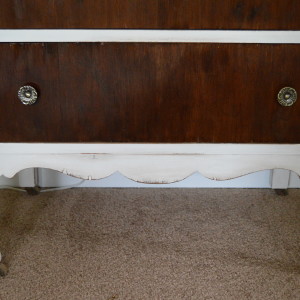
You can see in the picture below that I’m glad I covered my wheels in tape because my brush slipped when I was painting and I ended up giving the tape a nice touch of white.
Step 5) Paint
Following the instructions on your paint can, paint your dresser and apply multiple coats as needed.
Tip: Use a paint and primer in one if possible. That way, you won’t need to use a separate primer for a top coat.
I used Behr Marquee Paint & Primer Semi-Gloss in Cameo White base 3450 and applied two coats of paint to get a nice, even look. See my tip here on how to keep your paint brush from drying out between uses.
Step 6) Distress
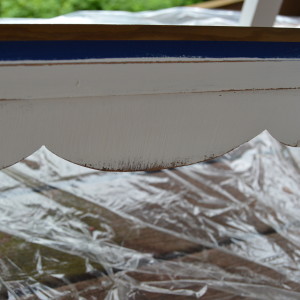
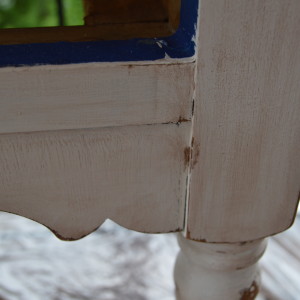
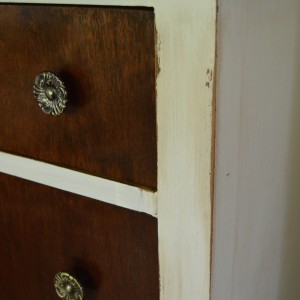
Use a sanding block to distress the painted areas. Be sure to target edges and areas that would naturally get wear-and-tear. Sand away as much paint as you like to create your desired look.
Tip: You can always sand more away, but it’s harder to put paint back on; therefore, start conservative and work your way up.
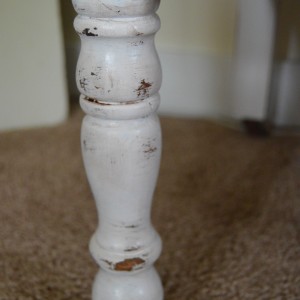
I also used a putty knife to scrape the edges of the dresser which was really quick and easy. I mostly stayed away from large surface areas and focused my distressing on edges and the curved legs.
Step 7) Stain Over Paint
Dip a rag into the wood stainer and wipe it onto your dresser. After a couple of seconds, using a different rag, wipe off the stain you just applied. This step will darken your distressed areas as well as add an antique character to your still-painted areas. You will want to do this over your whole dresser.
Tip: Be sure to work in small areas! The longer you leave the stain on the paint, the more it will soak in. You can easily apply more stain, but much more difficult to undo.
Step 8) Reassemble
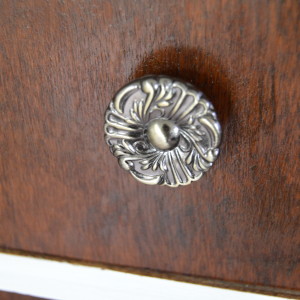
After your stain has dried, feel free to remove the masking tape, attached new knobs, and put your drawers back into your dresser.
Congratulations! You’re done! See my before and after picture below of this DIY project. I love the outcome especially the contrast between the dark walnut stain and the white distressed paint. With an initial investment of $60 for the dresser and about $40 worth of materials, I made a $50 profit when my dresser sold on Craigslist for $150. I had a blast and made some money!
Feel free to send me questions on how to distress an antique dresser or projects you’ve accomplished. Also, please comment below with any additional tips you want to share!
