When my not-so-baby girl turned two this week (where does the time go?!) I made this silhouette profile portrait to capture her darling features before she grows up too fast. It turned out sooo cute, I just had to make a tutorial post on this in case other mommies wanted to DIY their own!
These silhouette profile portraits are a great way to celebrate your love for your child, and unlike digital prints, each piece is created by hand. The special details of your little one’s profile captured in a memento is the perfect way to mark a childhood milestone, including birthdays and graduations. Dress up your nursery or display your cute bunch in your family room! They are just the right size to adorn any room of your home and will be a lasting reminder of the beauty, perfection, and innocence of childhood.
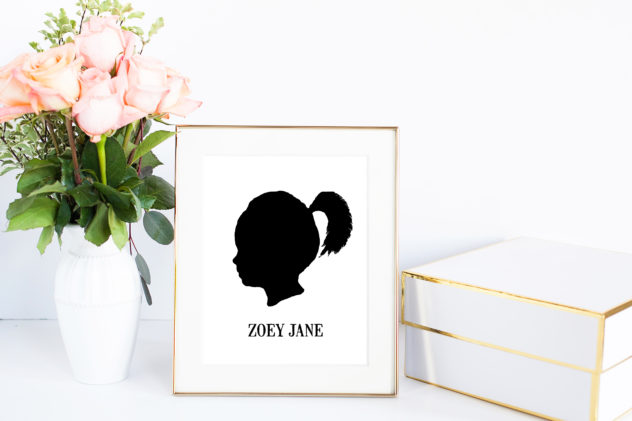
Silhouette Profile Portrait Tutorial
Take a side profile
In order to create the silhouette version of your project, you will need to start with a sharp, clean picture of your child’s profile. This can be tricky to do if they are little and wiggly. To make it easier on you, either snap their profile picture while they watch their favorite TV show or have a family member hold their attention while you sneak a picture from the side. Don’t worry about the background of the photo being cute and tidy…we will edit all of that out! It is important to make sure the image isn’t blurry or it will make it more difficult later.
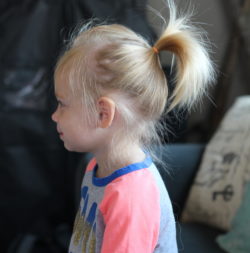
Edit the contrast and sharpness
Upload your photo into Photoshop or an online free editing website (like PicMonkey). Then, dramatically increase the sharpness and play around with the contrast of the photo until you have an outline of your child’s profile that is easier to identify. You can see by my picture below that this version is way more dramatic than the original photo above. That is what you want! It helps to trace the outline of the face.
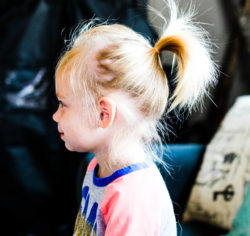
Trace the profile
Now that the sharpness and contrast is perfect, you can easily trace the face. Use the quick selection or magnetic lasso tool in Photoshop and carefully go around the outline of your child’s profile. Once you have completed the outline and have the “moving ants”, click on the mask layer, if needed, and use the brush tool to add and subtract traced portions. (This video is a great resource if you need help knowing how to do this.)
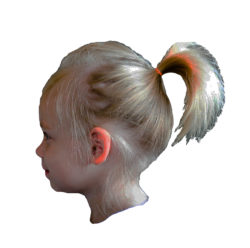
Create the silhouette effect
This part is very easy. Simply edit the traced profile by dragging the exposure settings all the way down. This will eliminate all light from the photo, creating the silhouette effect you want. The outcome is pretty awesome!

Finish the silhouette profile portrait
You can either (1) print the silhouette on white paper OR (2) use a Cameo Silhouette to automatically cut out the image on black cardstock. I used my Cameo Silhouette for the silhouette profile portrait but my printer for the text beneath her name. I got THIS Cameo Silhouette start kit off Amazon and have absolutely loved it! It has a sleek touch pad and the starter kit has everything you need to get started. (This is an affiliate link that we may be compensated for, but we only put links to products we love and would recommend to family and friends.) The font I used below is Mailart Rubberstamp in all caps. Text is totally optional! I think either way is cute.
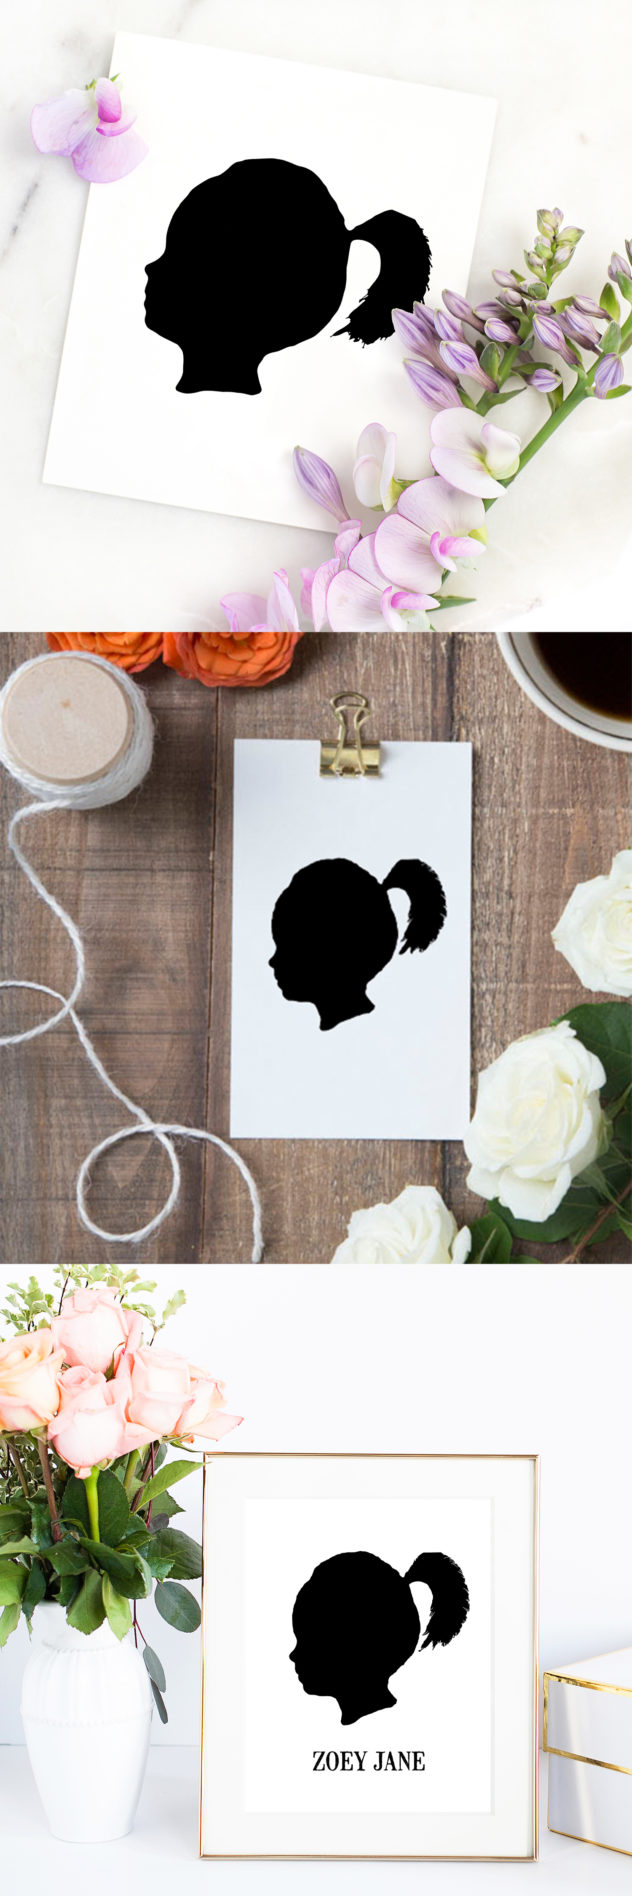
Right?!! The other amazing thing about this DIY silhouette profile portrait project (that’s a tongue-twister!) is that you spin it to do whatever you want (e.g., pets, couples, friends, grandparents). You can even create a silhouette for every member of your family!
If you love this idea but don’t see yourself DIYing it, we have them available in our shop! Click this link to get your own breathtaking silhouette profile portrait mailed straight to your door.
Other posts you might like:


