This shop has been compensated by Collective Bias, Inc. and its advertiser. All opinions for this practical diaper changing station are mine alone and 100% true. #FirstMomentsMadeSimple #ForBetterBeginnings #MomsFirsts #CollectiveBias
We all love cute baby stuff, but leave the cuteness to the tiny clothes. When it comes to creating a diaper changing station, I promise that the more practical you make it, the more you will love it. I’m a diaper guru… an “experienced” mom if you will. I have a 17-month-old boy, and he is definitely still in diapers and will be for the foreseeable future. However, changing diapers has been less stressful for me because of some simple but important things I’ve done to make my diaper changing station more practical. If you’re a mom-to-be or a mom looking to make a practical diaper changing station then read on because I’ve got 6 useful tips for you!
How to Create a Practical Diaper Changing Station
This tutorial will include 6 simple but important tips for how to make a practical diaper changing station that will make changing diapers a lot less crappy. Pun intended 🙂
Tip #1- Utilize a dresser
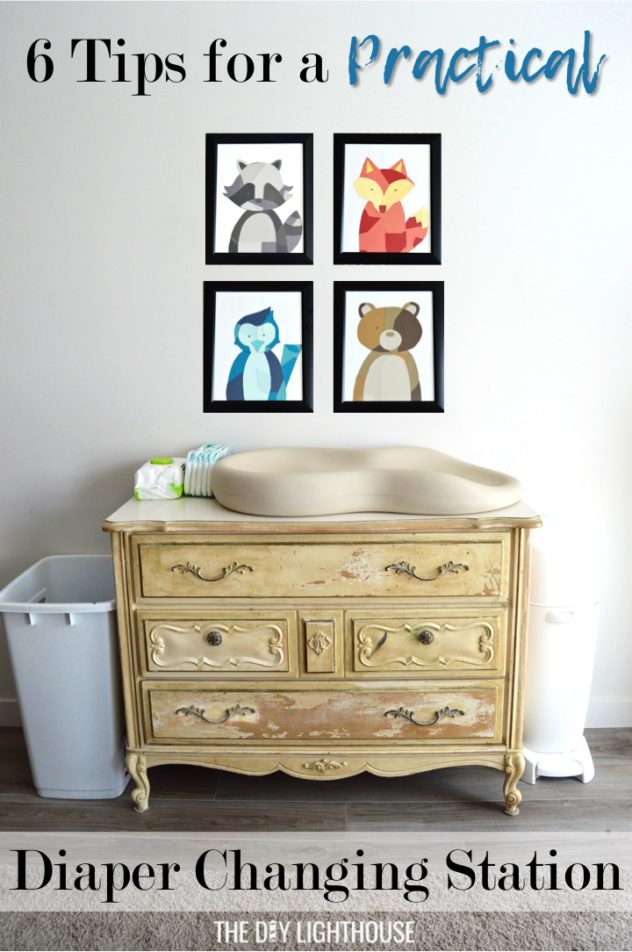
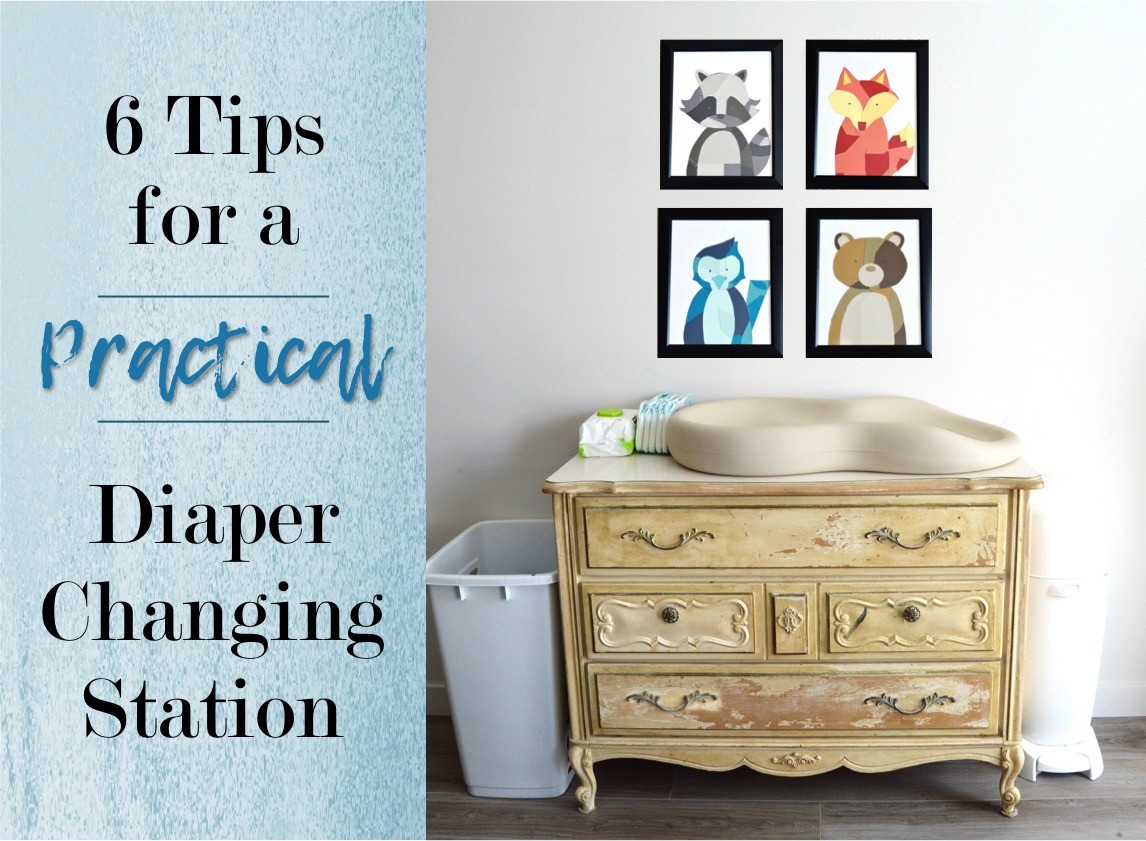
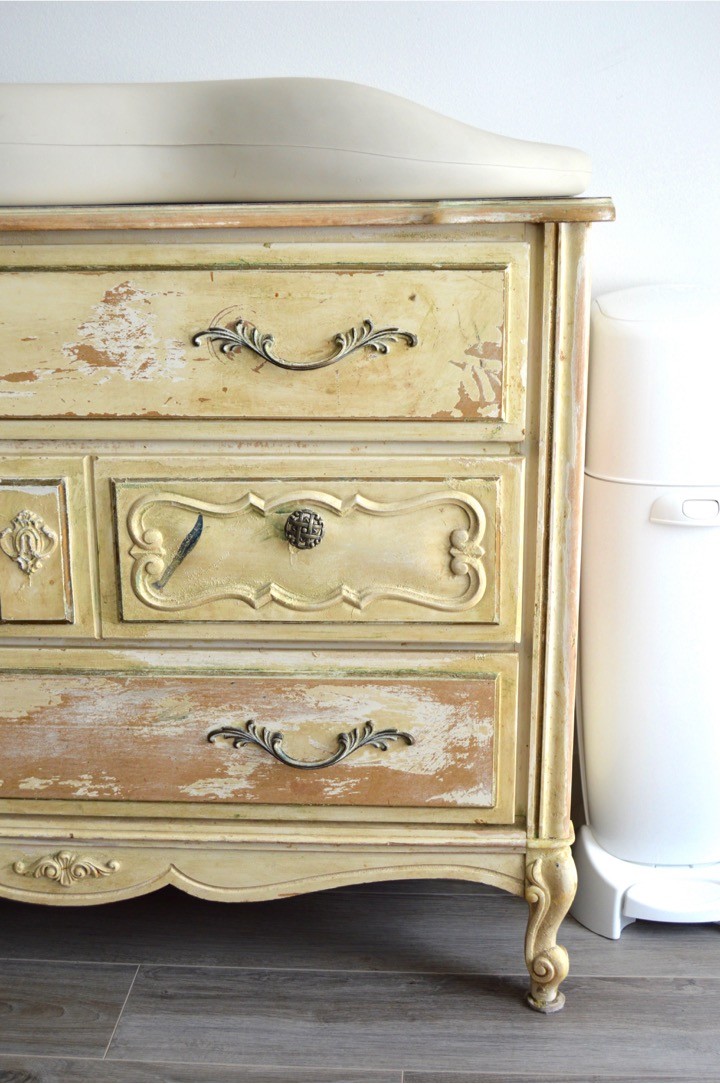
Instead of buying a new changing table, transform an old (or new), waist-high dresser into a practical diaper changing station. Drawers allow you to have more storage space than shelves. You can fill your drawers with diapers, wipes, and other diaper changing necessities. If you have leftover space, you can add clothes, blankets, or other baby items. Having a changing table with open shelving is fine in the beginning, but once baby starts crawling, walking around, and getting into stuff, everything in your diaper changing station will end up all over the floor. To keep things neat and organized, use drawers. As an added bonus, using a dresser instead of a regular changing table will allow you to still use it once your child outgrows the diaper stage.
Tip #2- Invest in a good diaper disposal pail
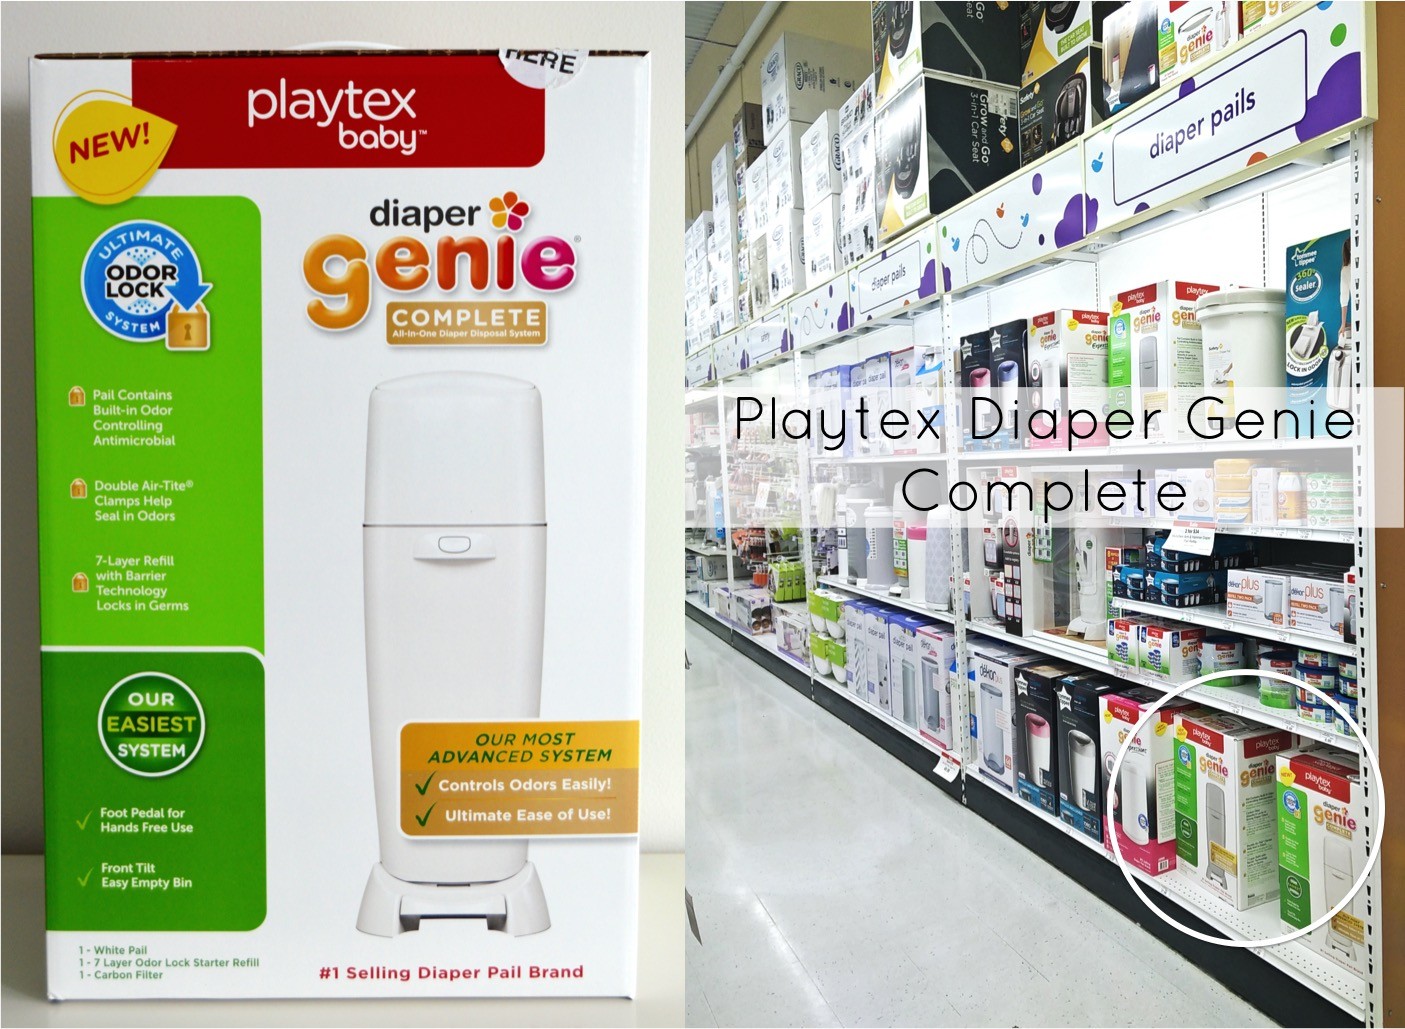
This is one of the best purchases you will make as a new mom-to-be and important for a practical diaper changing station. I love the Playtex Diaper Genie® Complete. Especially living in a condo where there isn’t a lot of space, I definitely appreciate the odor-sealing technology of my Diaper Genie. It uses a double Odor Lock System (Built-In Odor Controlling Antimicrobial and double-air tight clamps) to seal in germs and odors. Once your baby starts eating solids… and pooping solids… you will thank me for this tip because man, poop sure does stink! If you’re a practical mom like me, then you don’t want to waste time carrying the poopy diaper outside every. single. time. just so your nursery doesn’t smell like dirty diapers. (We’ve got more important things to do than carry poop.) Instead, step on the foot pedal and throw that diaper where it belongs.
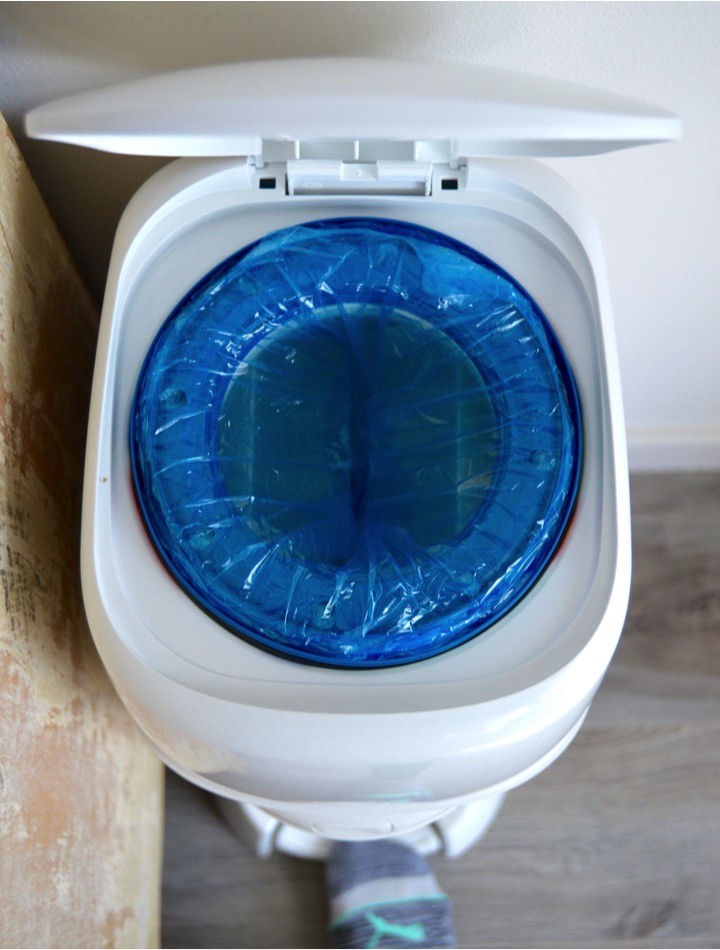
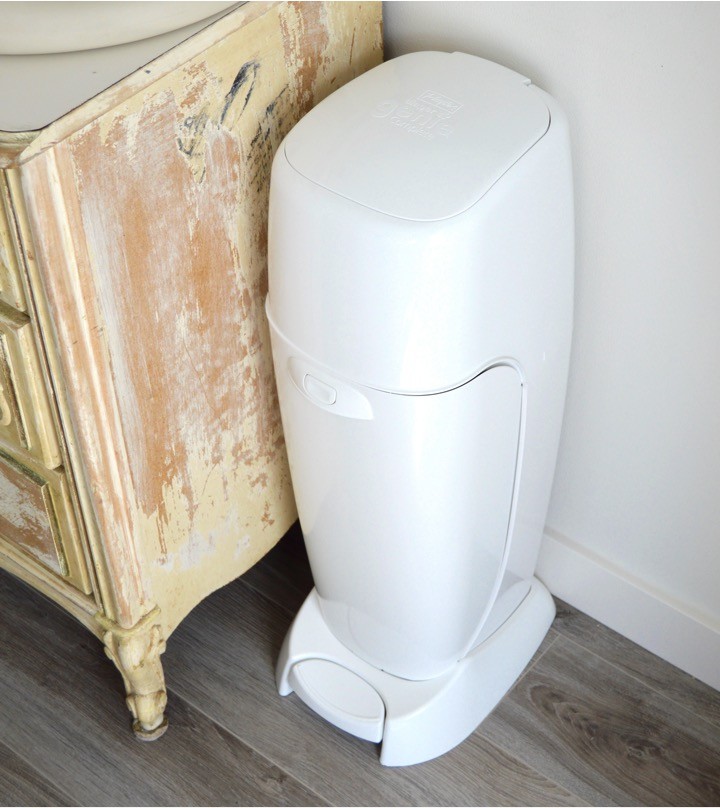
Babies “R” Us has a nice selection of Playtex Baby products, but my favorite is the Diaper Genie. I got this Playtex Diaper Genie Complete from the “diaper pails” aisle in the “diapers & bath” section. (FYI, I like white, but it comes in blue, pink, green, and gray too.) They also carry the Playtex Diaper Genie Refills.
Babies “R” Us is a great place to start a baby registry as a new mom. To make registering easy on you, they have two different events you can attend. 1) Their Registry 101 Event is for expecting mothers who are setting up a registry or exploring the registry process. It’s held on the first Saturday of the month and registry experts will help guide you through the registry process. 2) Their Registry Completion Event is to close out a registry after you’ve had your baby. It’s held on the third Tuesday of the month and they offer discounts for all items on your registry that haven’t been purchased. A nice way to save some money while getting the remaining items you need for baby. Start a baby registry by clicking here.
Tip #3- Keep a laundry basket close by
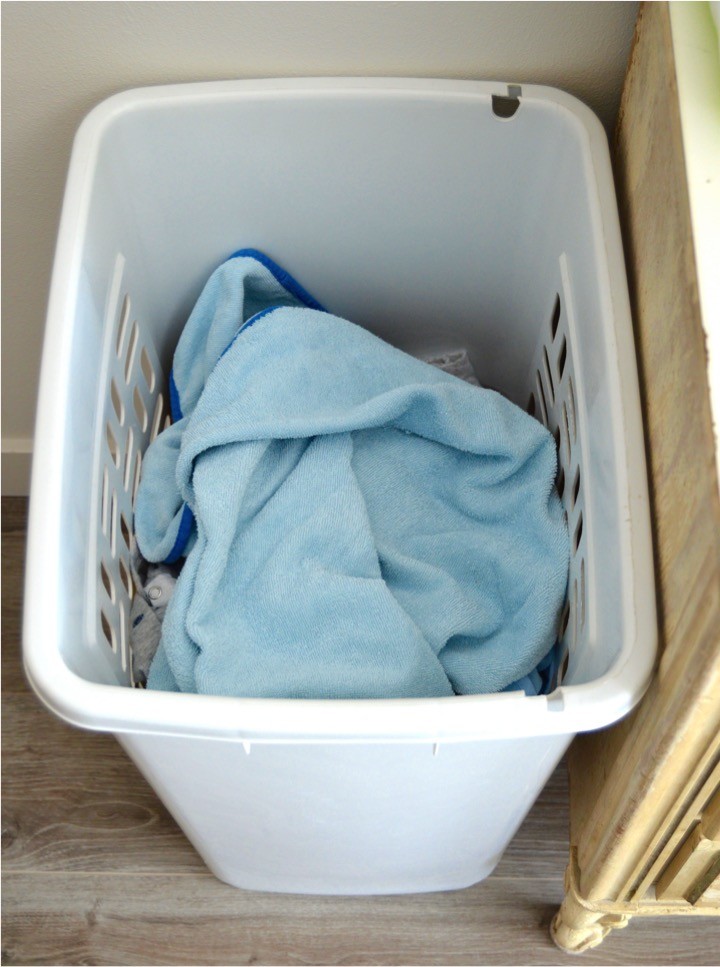
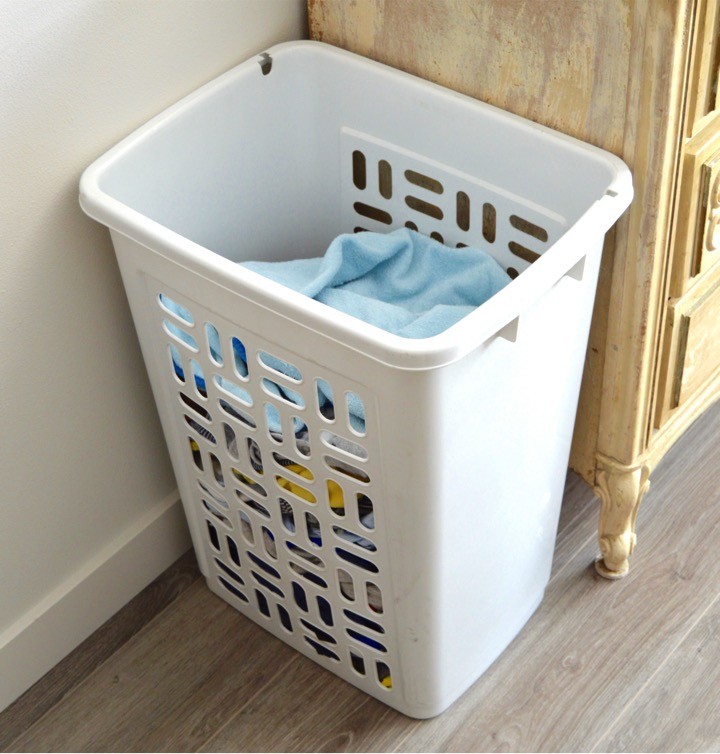
With a newborn, you go through outfits like nobody’s business. Nobody tells you this, but the diaper changing station is also the clothes changing station because you basically never change clothes without also changing your baby’s diaper. Having a laundry basket near will allow you to throw the dirty clothes into the basket without having to aim and throw clothes across the room (and miss half the time if you’re human).
Tip #4- Have diapers and wipes easily accessible
Forget the cute little baskets that you can slide your wipes into or hiding them in the drawer for “aesthetic reasons.” When you need a wipe, you need a wipe stat. Save yourself a million moments of stress and just put your wipes and diapers out where they can be easily reached at all times on your practical diaper changing station. You can store most of them in the drawers, but leave some out for easy access.
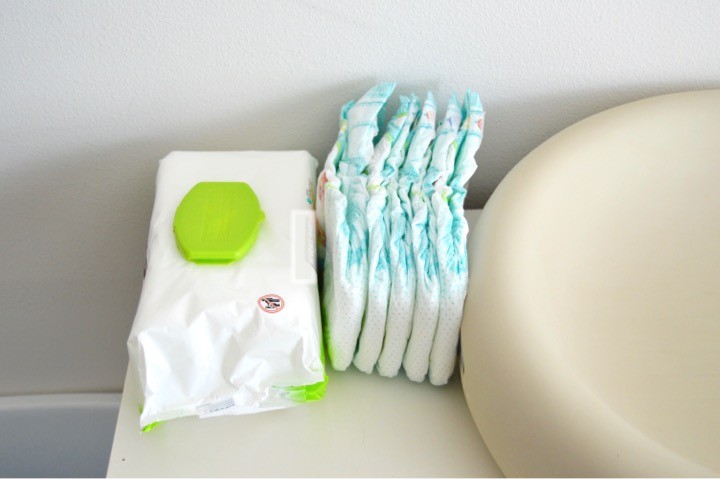
Tip #5- Buy diapers and wipes in bulk
You don’t want to have to make a frantic trip to the store because the diapers ran out before you could blink. Buying in bulk will save you time and money. And following tip #1 (using an old dresser) will ensure you have plenty of space to store them all.
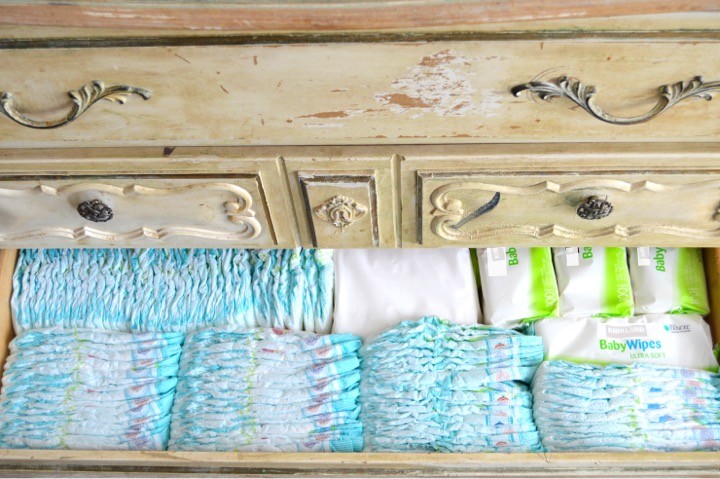
Tip #6- Use a changing pad that doesn’t need liners or covers
There will be blowouts and leeks and sprays and squirts (of both the pee and poo variety). Do yourself a favor and get a changing pad that you can clean without running another load of laundry. The changing pad I have wipes down quickly and easily with a baby wipe. Sure, liners can be cute, but this isn’t a post about cute diaper changing stations. We’re keeping it practical around here.
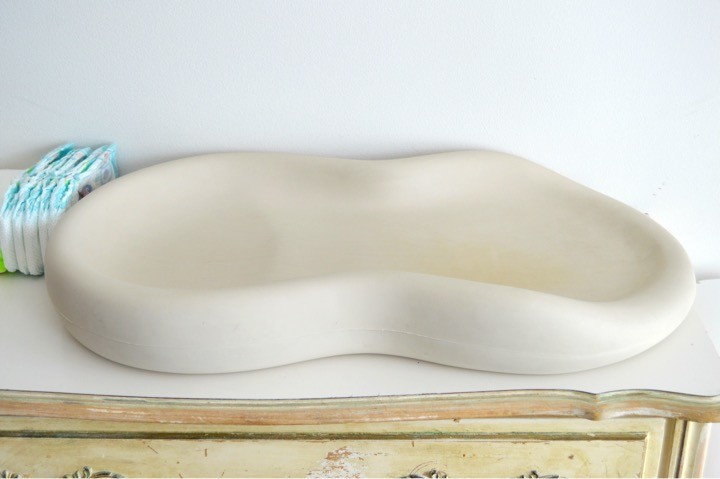
What do you think?
Have these practical diaper changing station tips been helpful? Are there other practical tips you feel passionate about? Please share in the comments section below! And click here for more information about Playtex Baby products.
Pin it for later
If you liked this post, please pin the image below to save it for later and share with friends.
