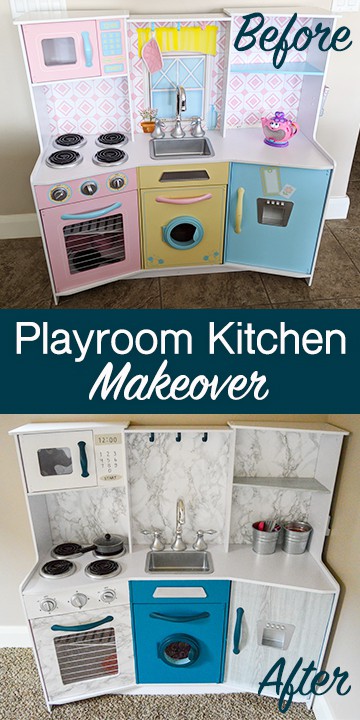
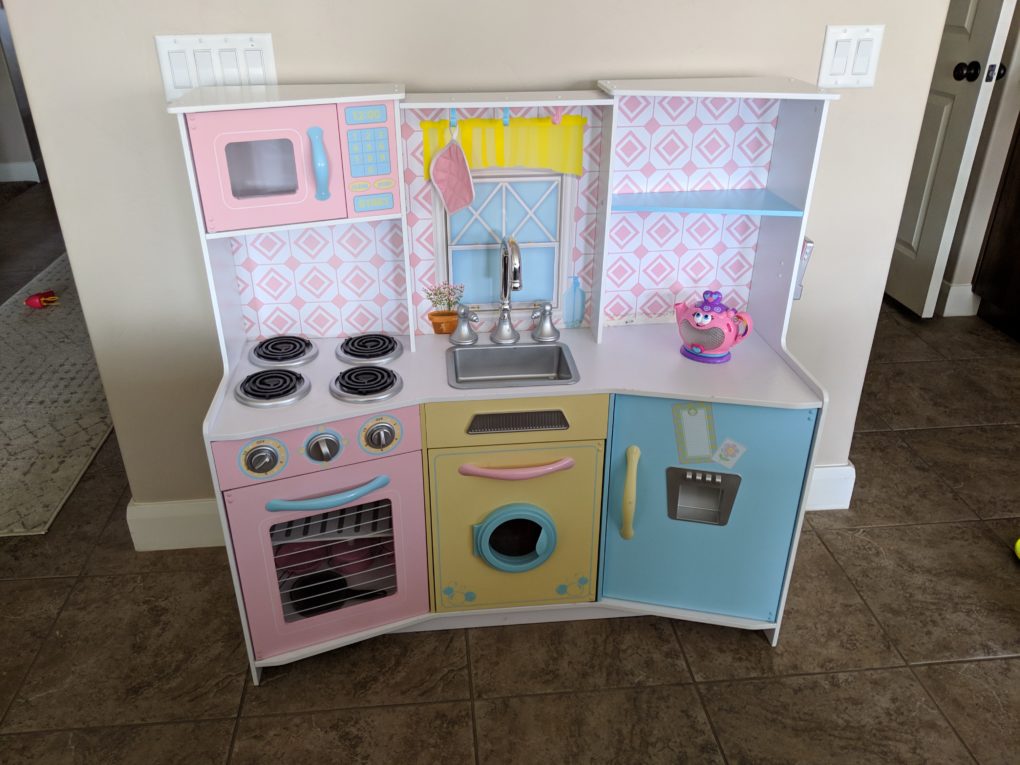
Our play kitchen makeover story all started when our sweet next-door neighbors popped over one night to ask if we wanted their daughter’s old play kitchen. “Yes!” I shouted immediately before even considering where it would go. I knew my kids would love one. So they brought it over that night along with some play food, plates, cups, etc. Apparently their daughter hadn’t used the play kitchen very much so things were still in pretty good shape, although there was some wear showing.
(This page contains affiliate links that we may be compensated for. Your clicks and purchases help support The DIY Lighthouse at no extra charge to you. We only put links to products we love and would recommend anyway.)
I was so grateful the neighbors thought of us before donating it. And I was really excited to see my kids’ reaction the next morning. But secretly I was a little worried after staring at the thing for a few seconds because it was definitely not my style. I know, I know… major first world problems. I 100% admit how ridiculous the following is going to sound: I decided to give our play kitchen a makeover.
My mom and sister laughed when I told them, and I don’t blame them. But here’s the deal… I am really impacted by my environment, and I feel so much joy and peace when my home feels peaceful. Our play kitchen was not giving me the right vibe, so I decided to change it and I’m so glad I did. Now I love their play kitchen as much as they do.
Play Kitchen Makeover
To start, I gave the play kitchen a quick wipe-down just to clean up any dust or sticky spots. Then I started disassembling it (but not all at once so I could keep track of how to put it all together again).
Wallpapering the Play Kitchen
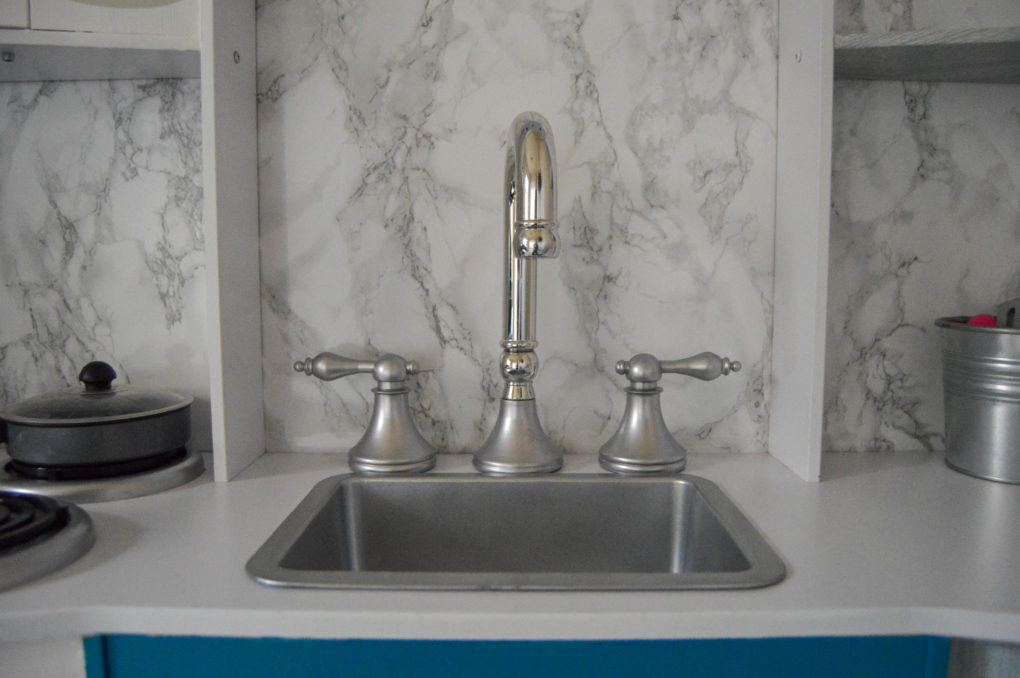
I removed the top right “roof” piece and slide out the back board. Then I covered it in a marble decorative adhesive film that I got off of Amazon a while ago for photo backgrounds. It worked great! And it was super easy to apply. If I put it on crooked, I could easily pull it back up and reapply.
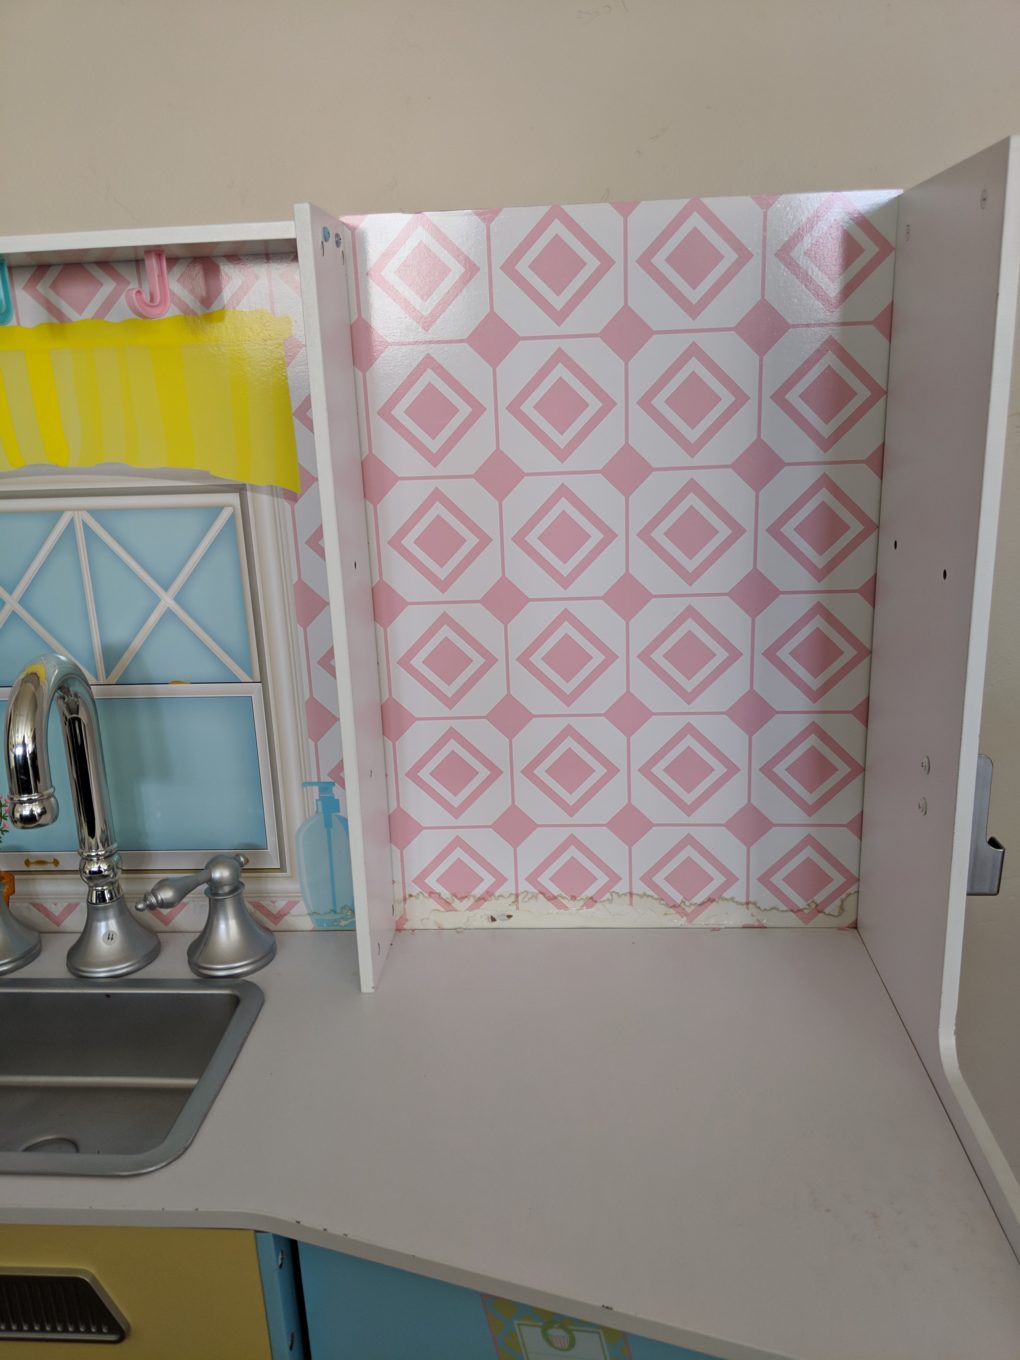
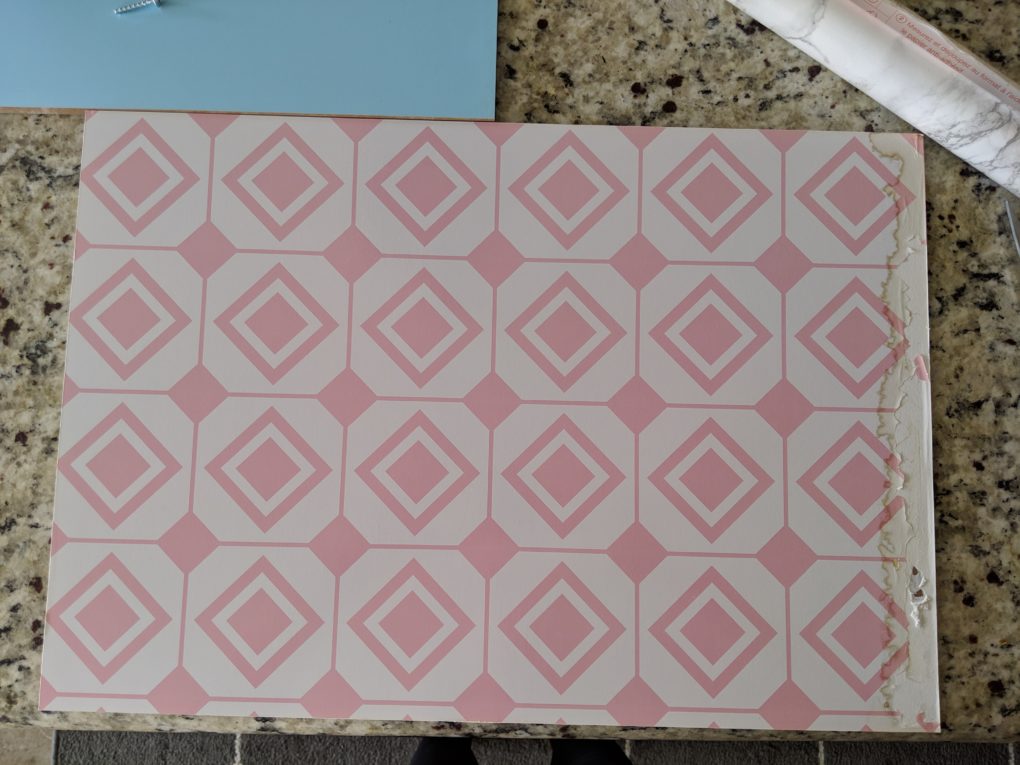
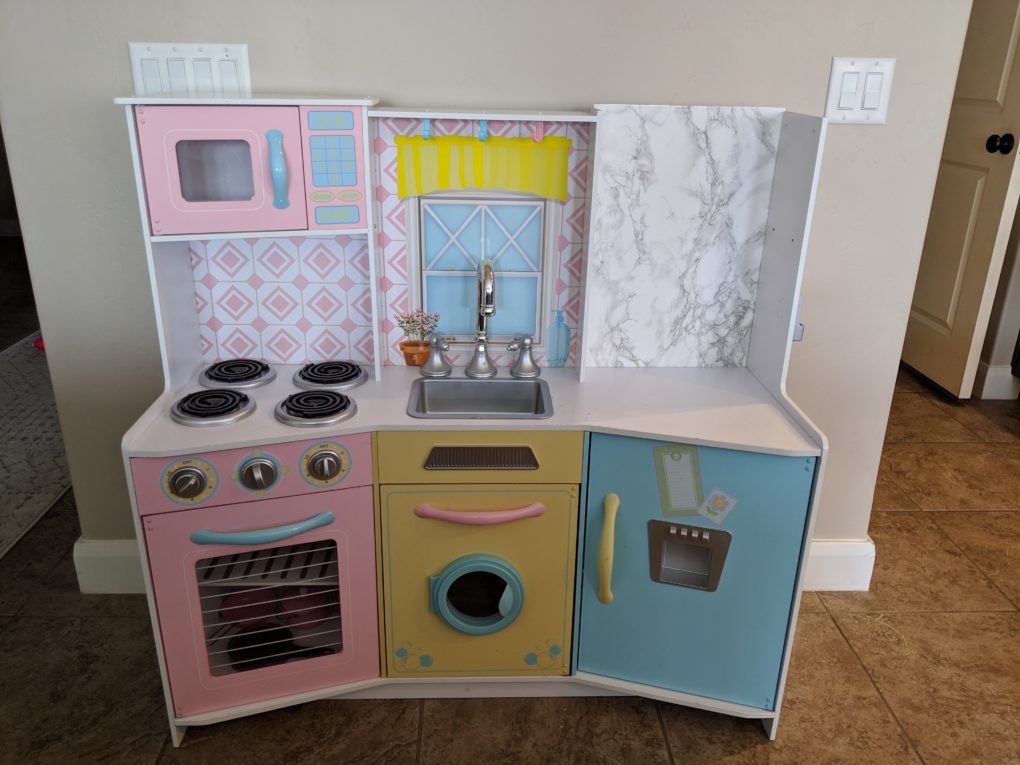
I repeated this marble adhesive process for all of the back boards. Already, the play kitchen was looking a lot better!
Painting the Play Kitchen
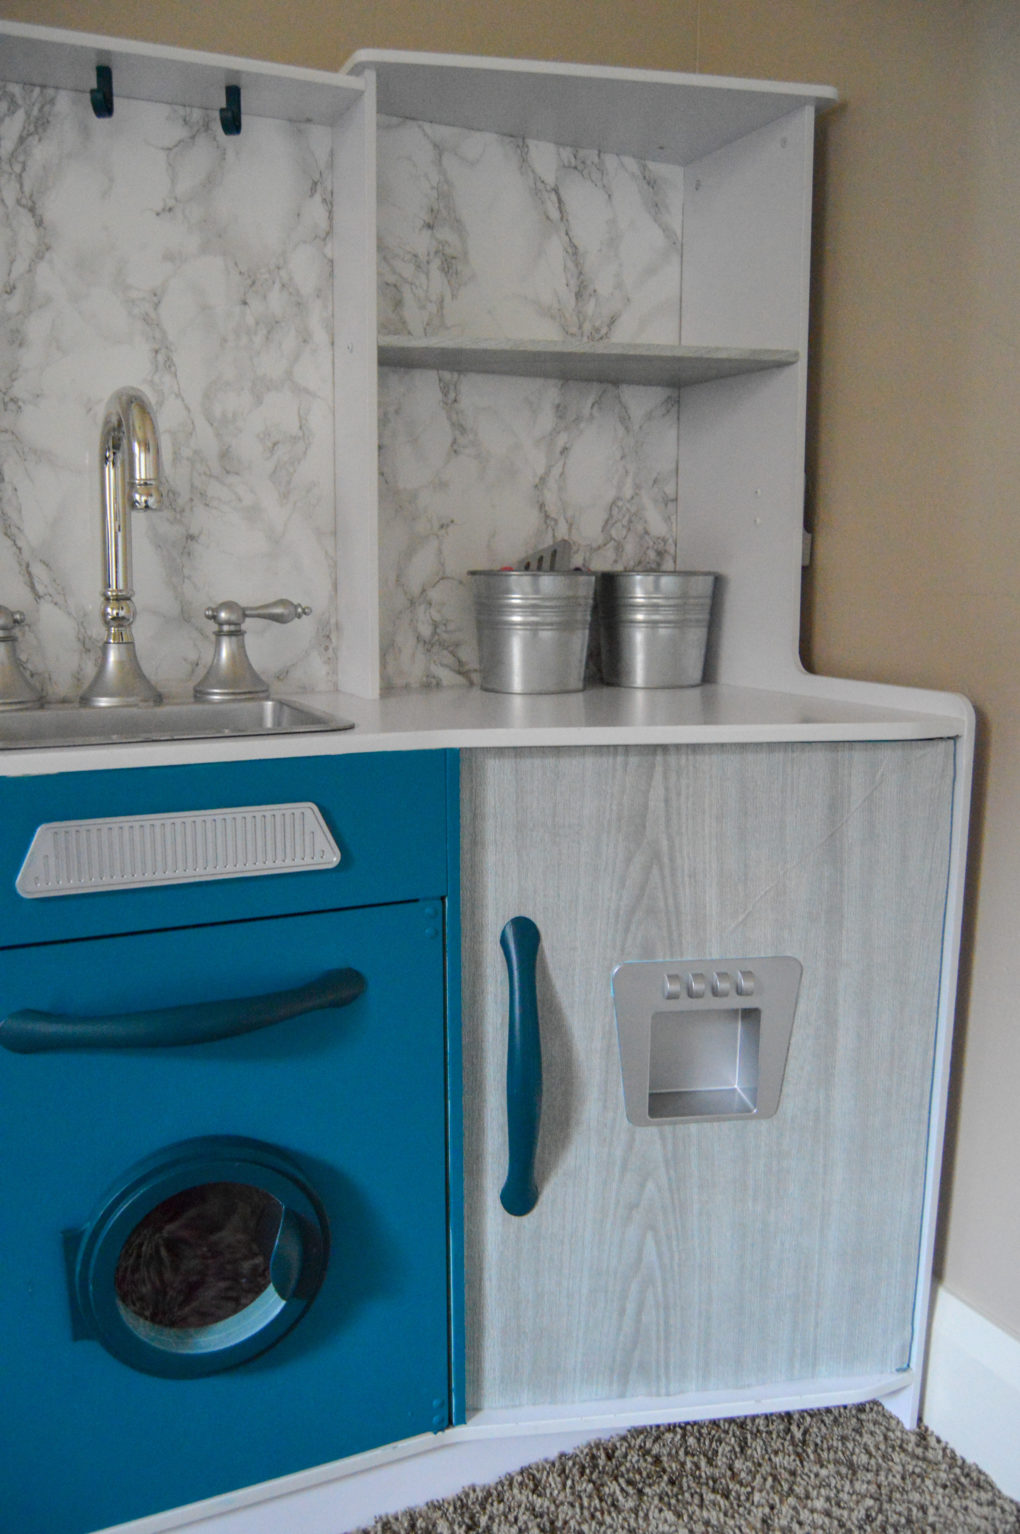
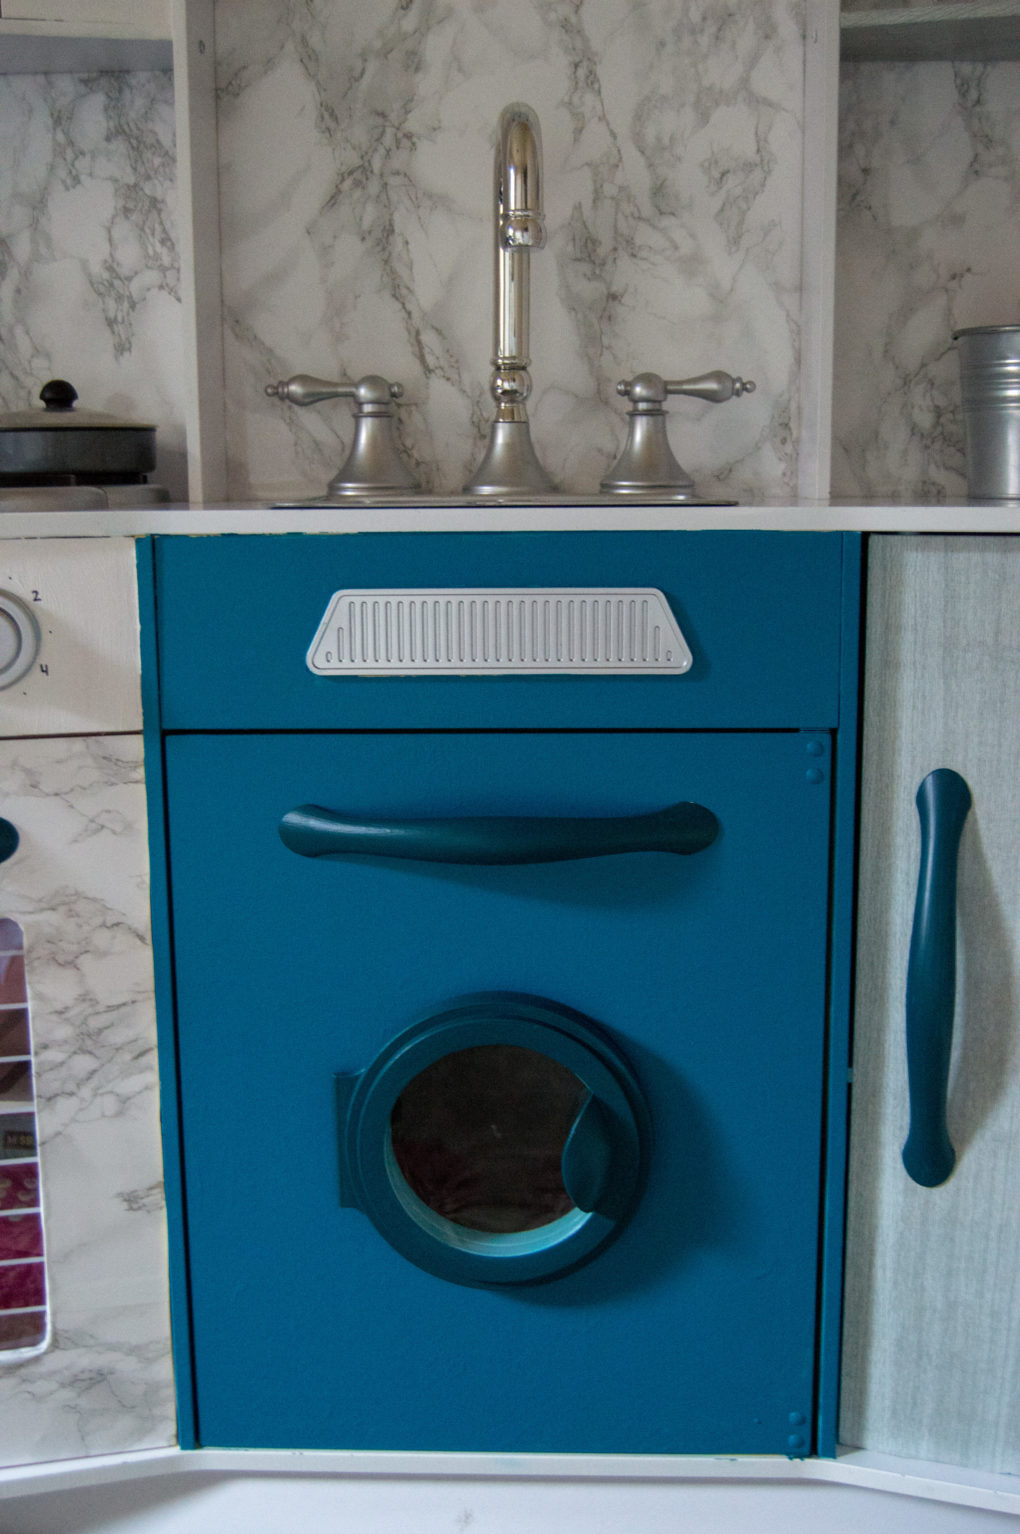
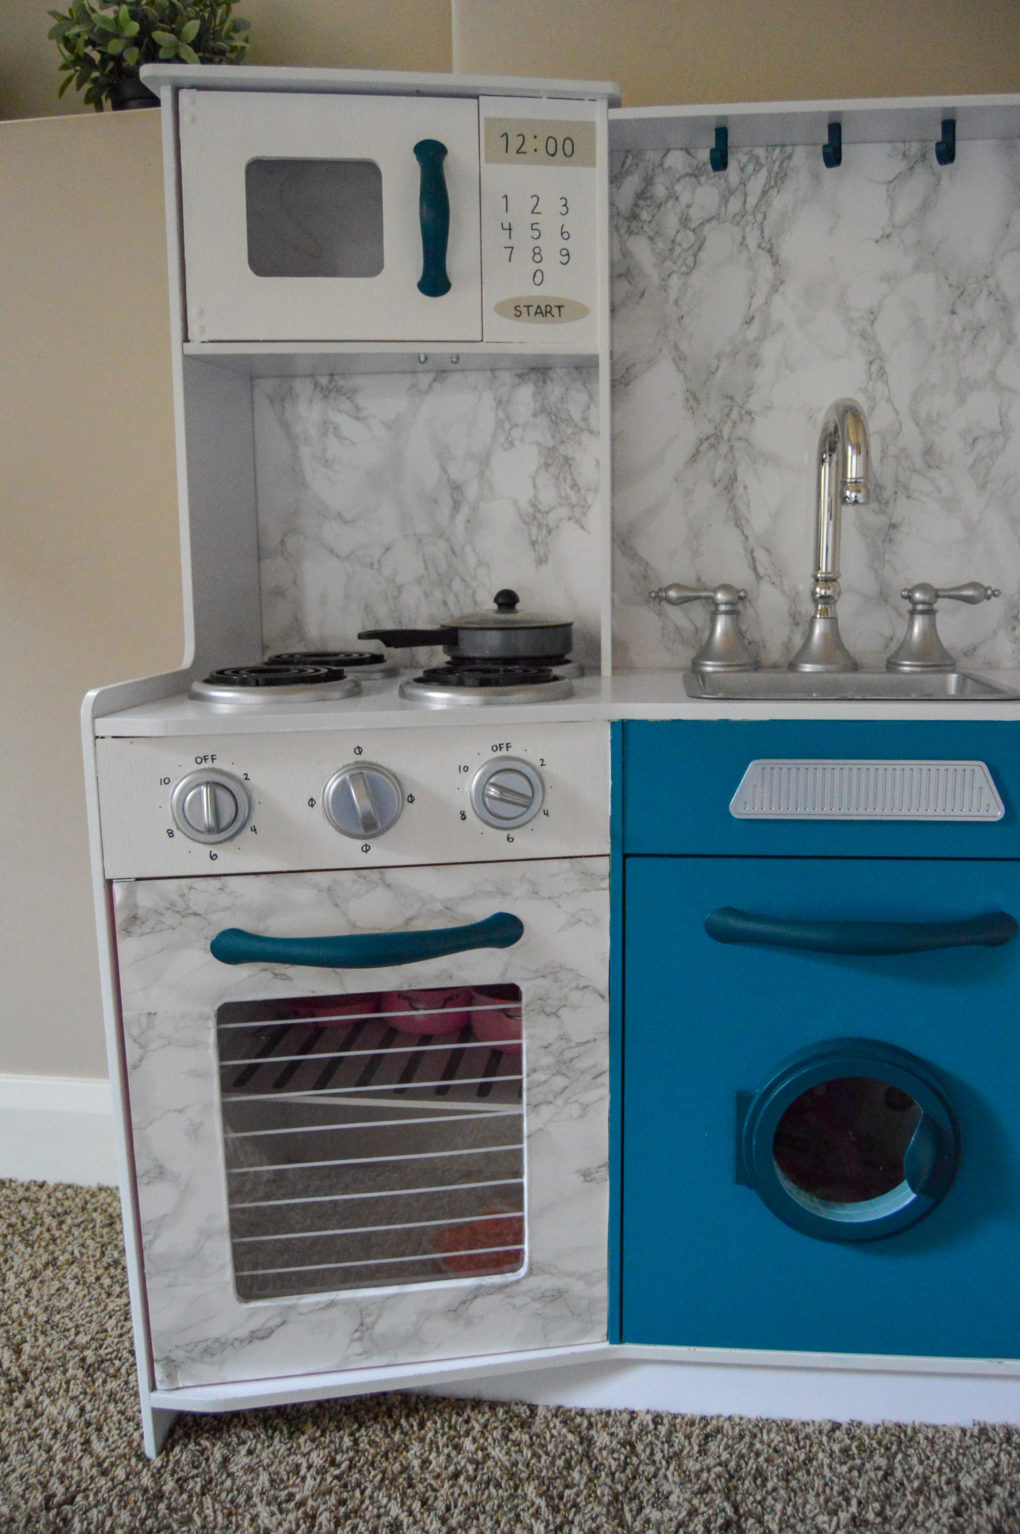
I decided to paint as little as possible, because I figured those areas would be the first to fail at withstanding beatings from the kids. But I ended painting the handles, microwave, and dishwasher to bring in some color and because I had some paint on-hand from previous projects. I painted the handles, hooks, and dishwasher window with Behr Marqee Ocean Abyss.
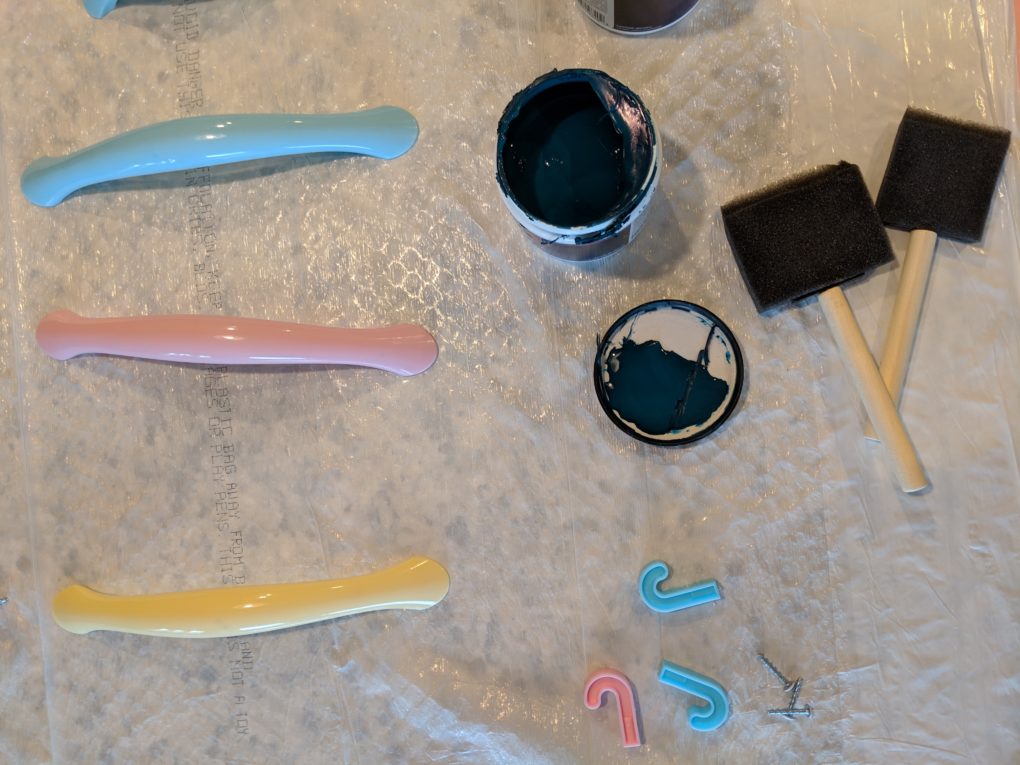
The dishwasher was painted in a slightly lighter color–Behr Marquee The Real Teal. I quickly tapped off where I didn’t want paint to go so it would be an easy application. The microwave I painted in white Americana Decor chalky finish paint only because that’s what I had on hand.
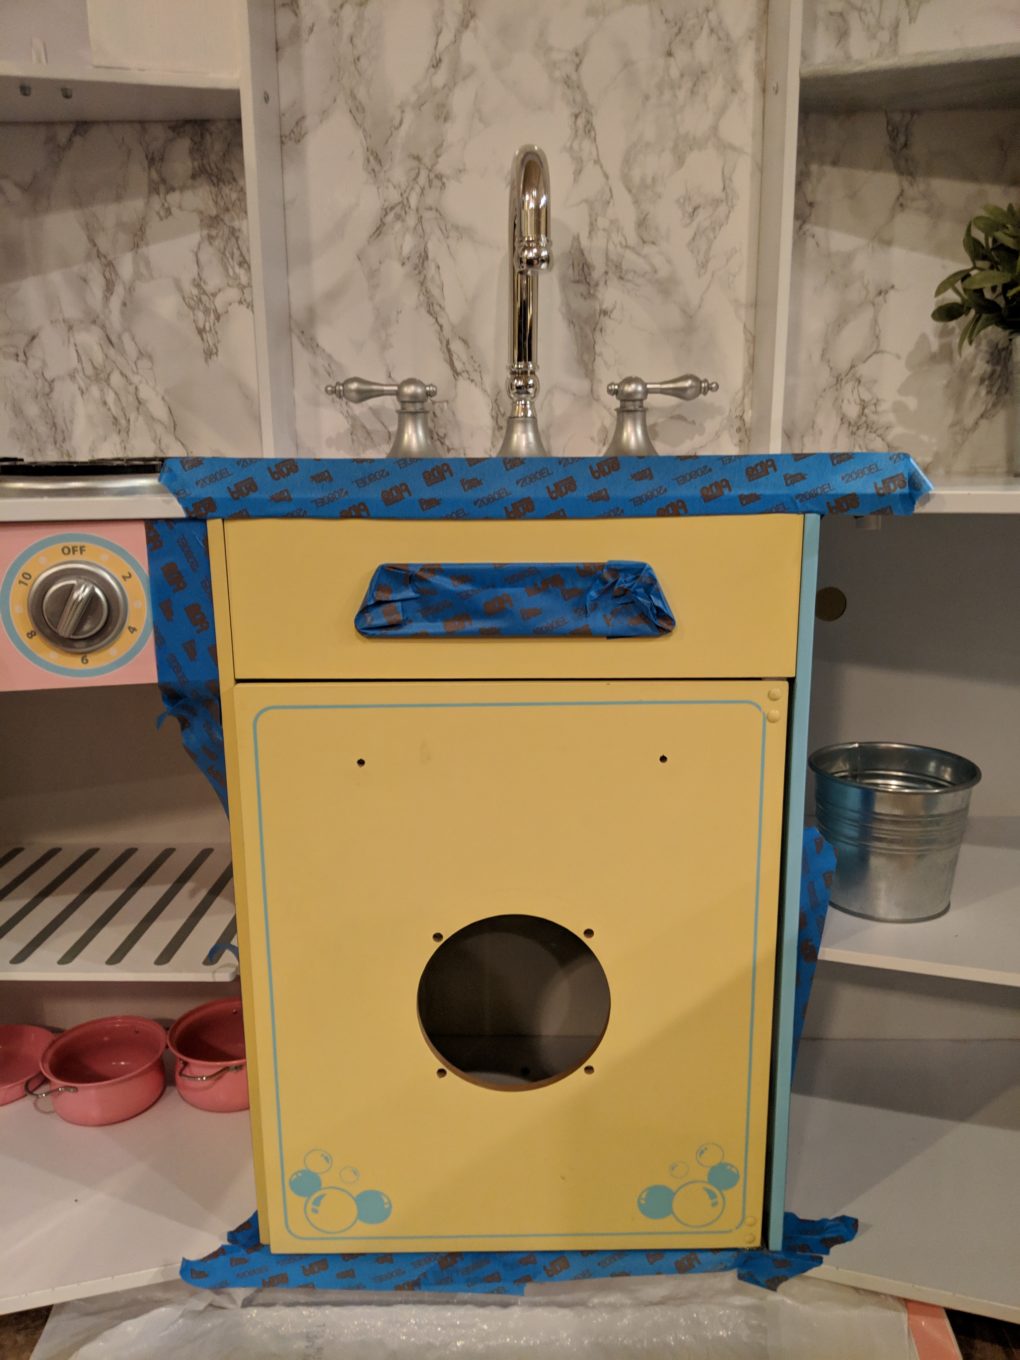
I decided to cover the fridge and shelf in a light grey wood adhesive wallpaper because I also had it on hand for a photography backdrop. Just like the marble wallpaper, this went on very easily too.
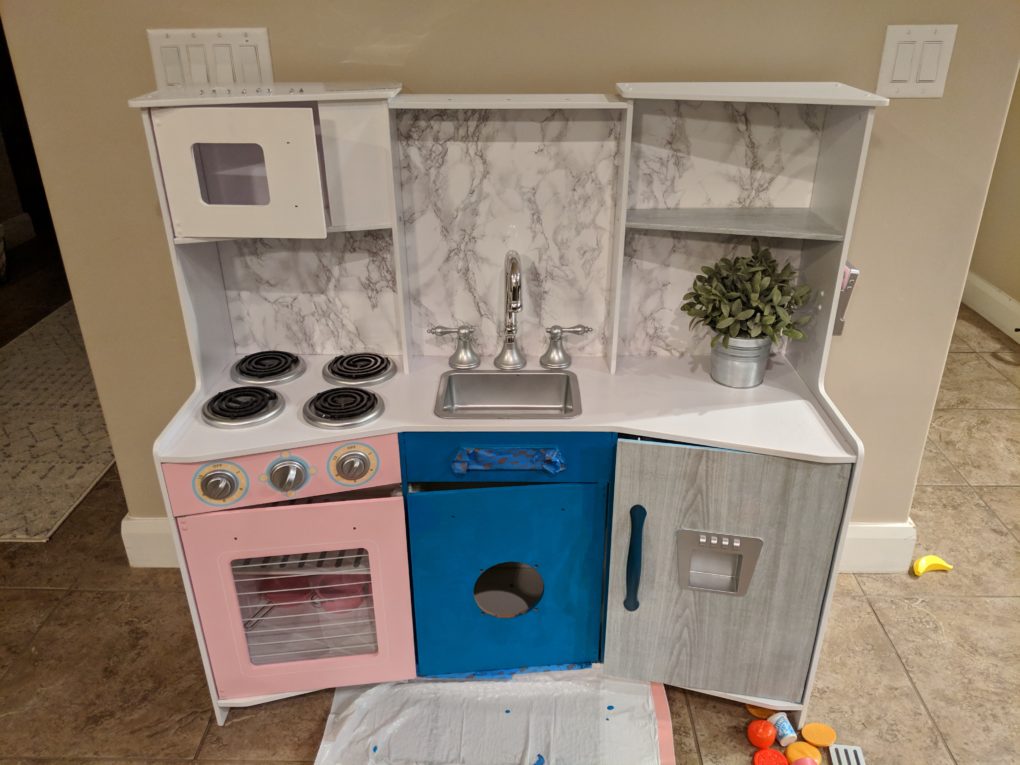
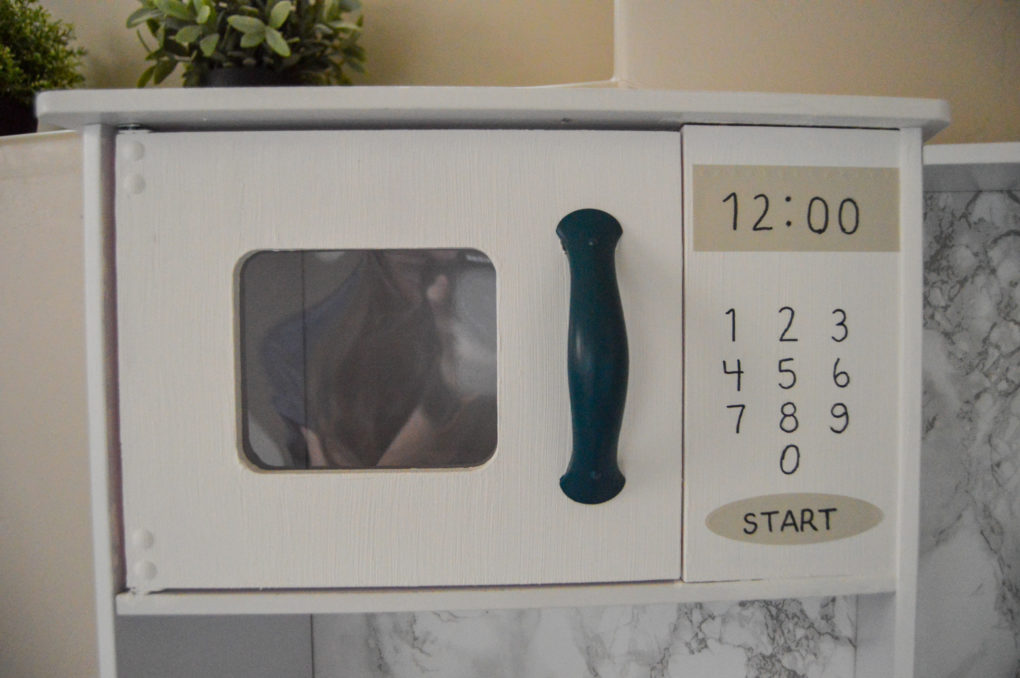
Lastly, I decided to paint the oven handle surface white like the microwave and apply the marble adhesive wallpaper to the door. Then, after letting the paint dry, I put the handles back on and (using a sharpie pen) wrote on the microwave and oven knob numbers.
Play Kitchen Makeover Before/After Pictures
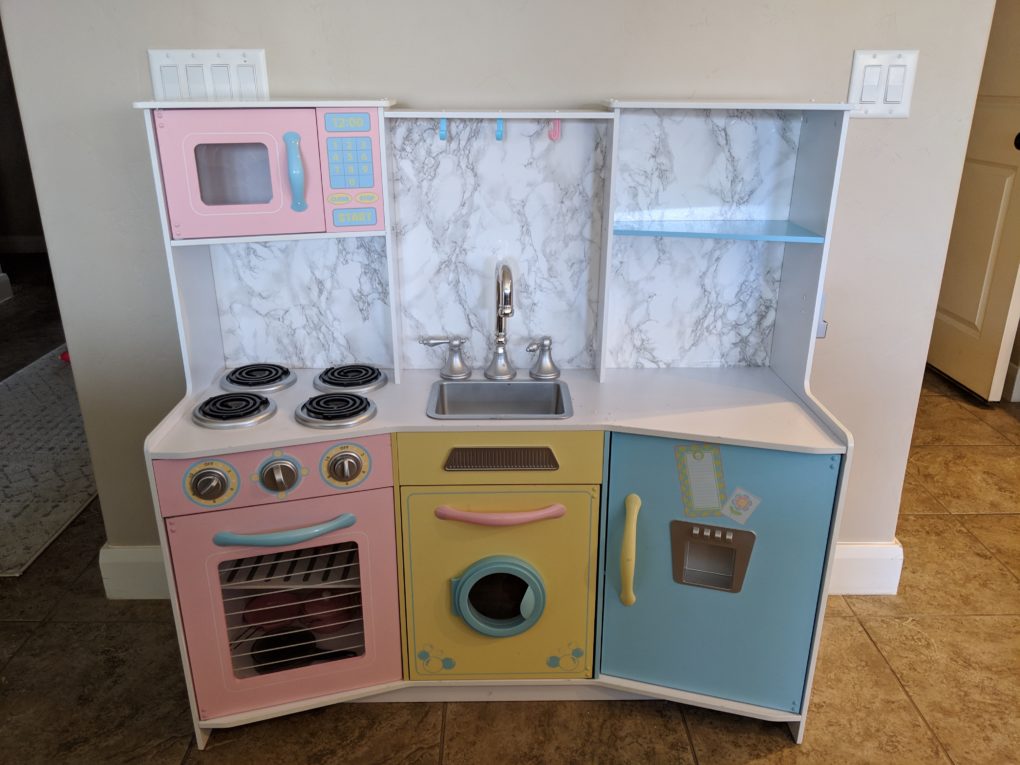
And I was done! Here is are the before and after of the play kitchen so you can see them together.

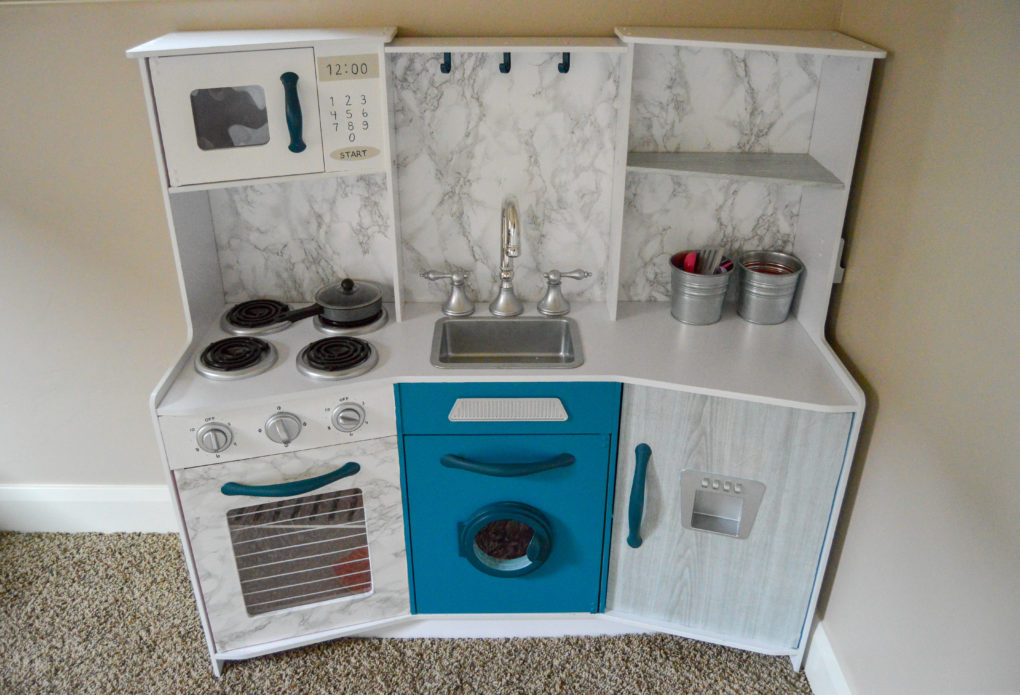
I started this project late afternoon/evening while juggling kids and was able to finish it that night. Not bad. Here are some closeups of the finished product. It’s totally not perfect (and I didn’t bother touching the insides), but I like it. Sorry that my “after” lighting isn’t the greatest ever, but I hope it gives you the right idea.
Kids Playroom Reveal
So that you can see where the play kitchen is going, I’m revealing our playroom. I’ve been slowly working on the playroom. Is it done? Definitely not. I’m still wanting to add some “magicalness” to the space by putting up some paint, laying down a rug, and adding some other fun bits. But it’s currently a lot better than a bare room which is what I started with.
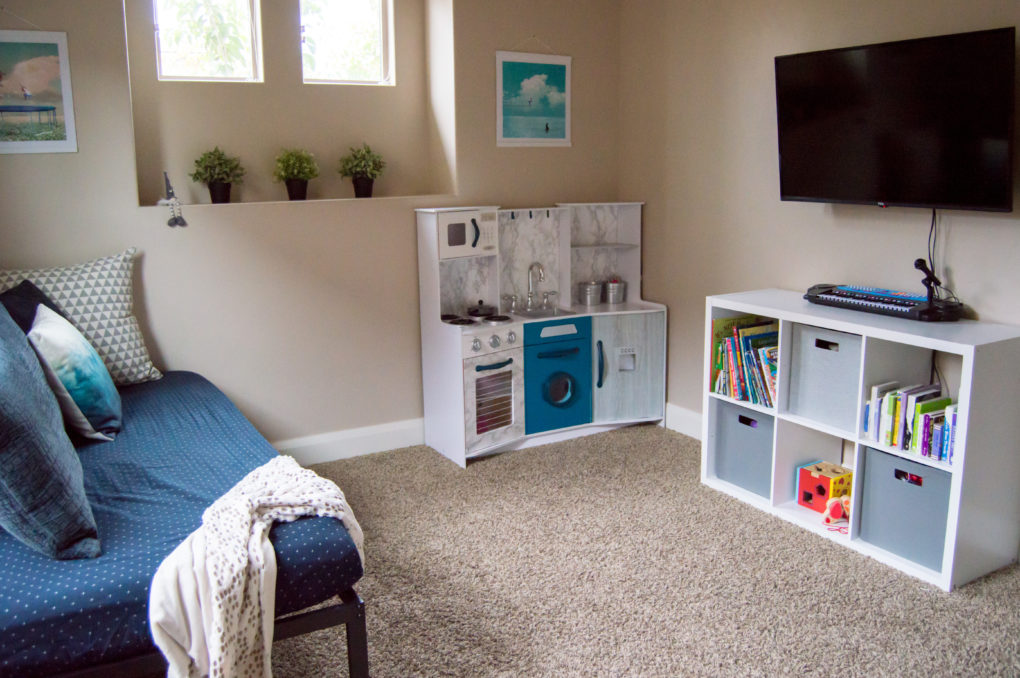
I thought I needed to show you pictures of the playroom to help you understand why I gave our play kitchen the makeover I did. To fit in the play kitchen, I had to swing the bed/couch around to the other wall, but I think I like it better in that spot anyway. Doesn’t the play kitchen just work in the space now that it had its makeover? Instead of clashing with what we had going on, it just glides into the corner of the playroom seamlessly. It’s like a decor piece and a play piece. That’s a win-win for us!
Playroom Furniture
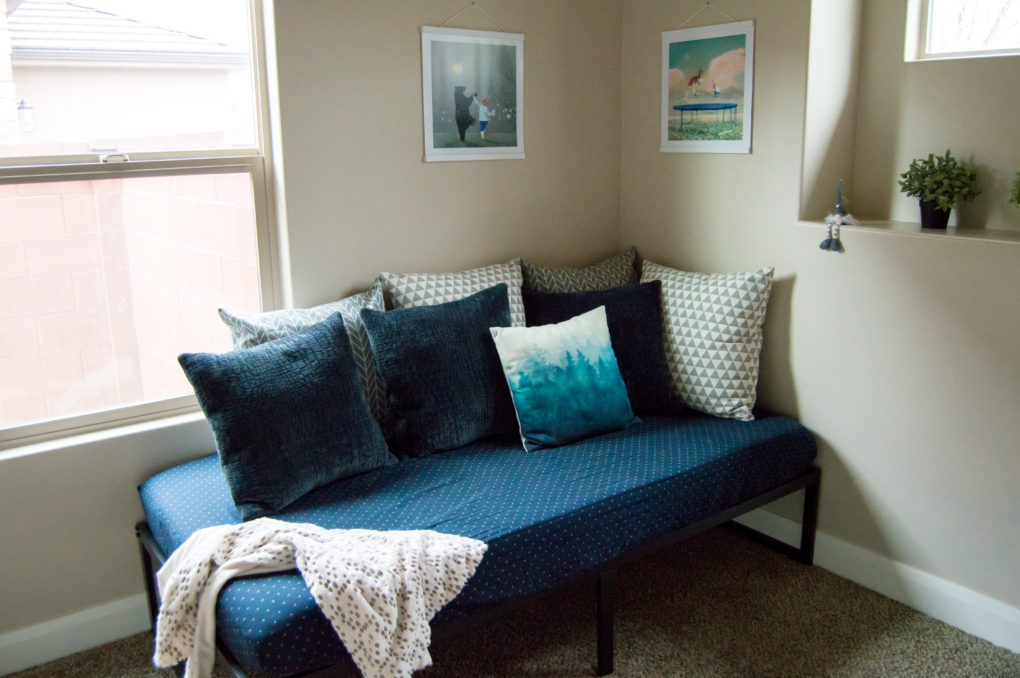
We went with a bed in the playroom so it can function as a guest room when people are visiting. With all of the big pillows tossed on, this bed quickly turns into a comfy couch for our day-to-day needs.
(Product Links: modern back steel metal bed frame, 6 inch memory foam mattress–it is super comfy!, navy blue cross pattern modern fitted sheet.)
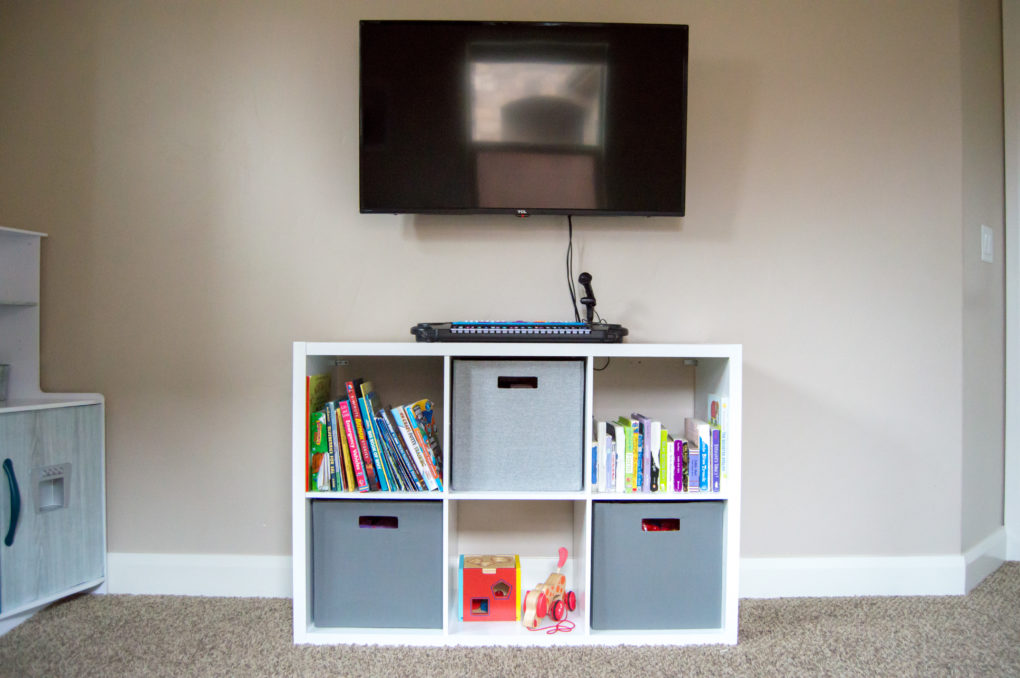
This cube storage shelf is great for keeping some of kids’ books and toys within their reach but also organized.
(Product Links: white cubby storage cube organizer shelves, light grey storage bin, dark grey storage bins, tv + Fire tv Stick + tv wall mount)
Playroom Closeups & Details
Here are some closeups of things so you can see how the colors of the play kitchen work with the space. Plus, I just love these little details. P.S. I’ll include links to show you where I got them. Most are from Amazon!
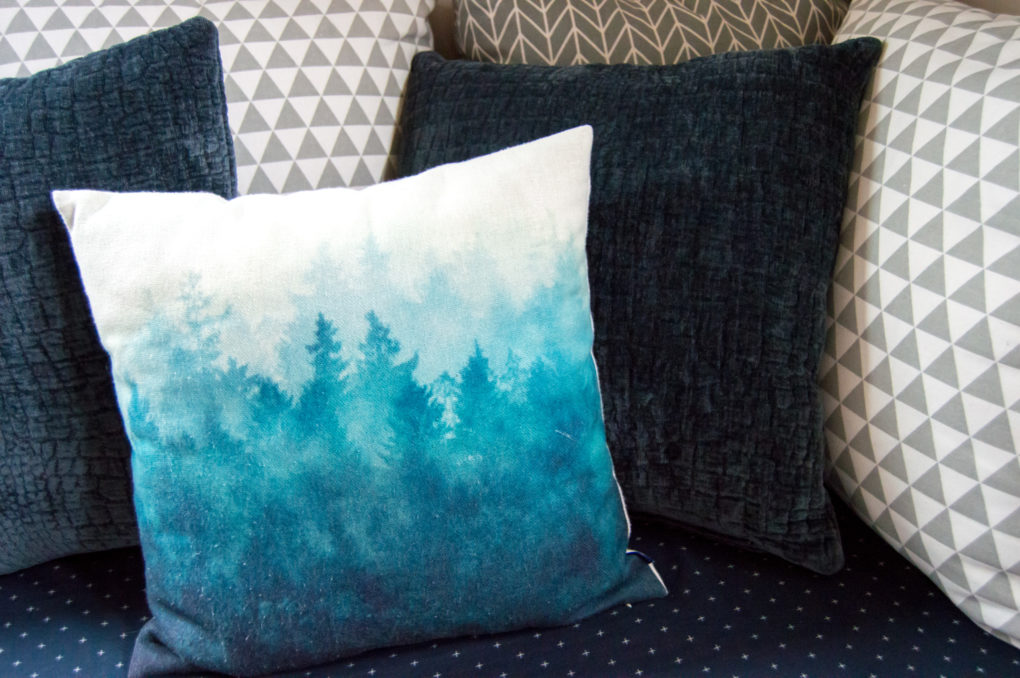
(Product Links: The forest pillow + pillow insert, grey geometric triangle pillow + pillow insert, grey chevron arrow pillow + pillow insert)
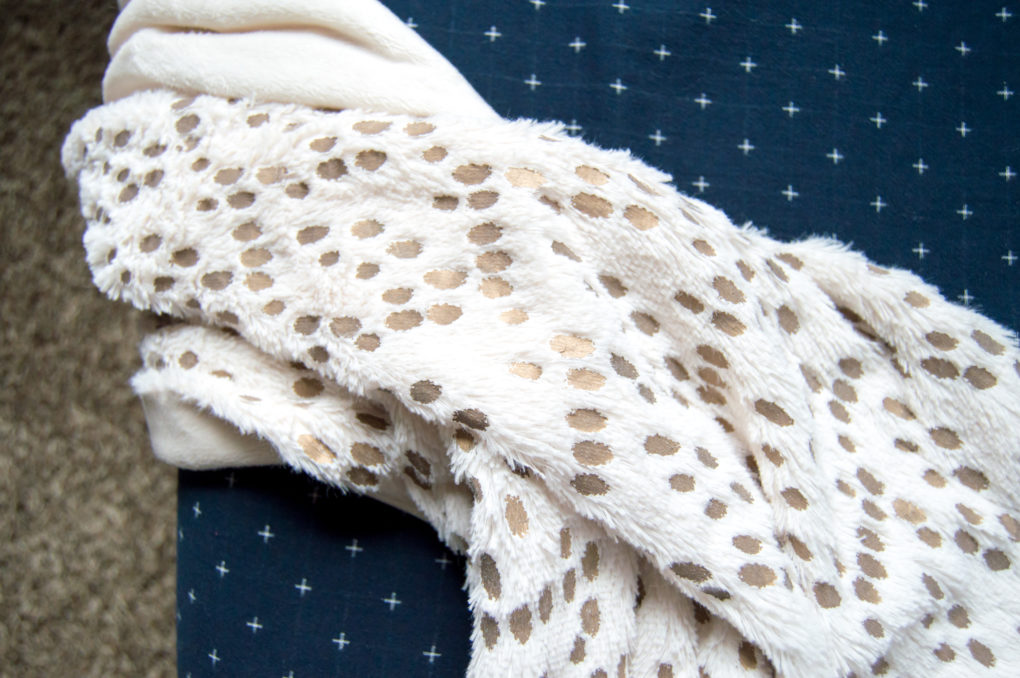
(These Product Links: throw blanket is from Target but I can’t find the link anymore, navy blue cross pattern modern fitted sheet.)
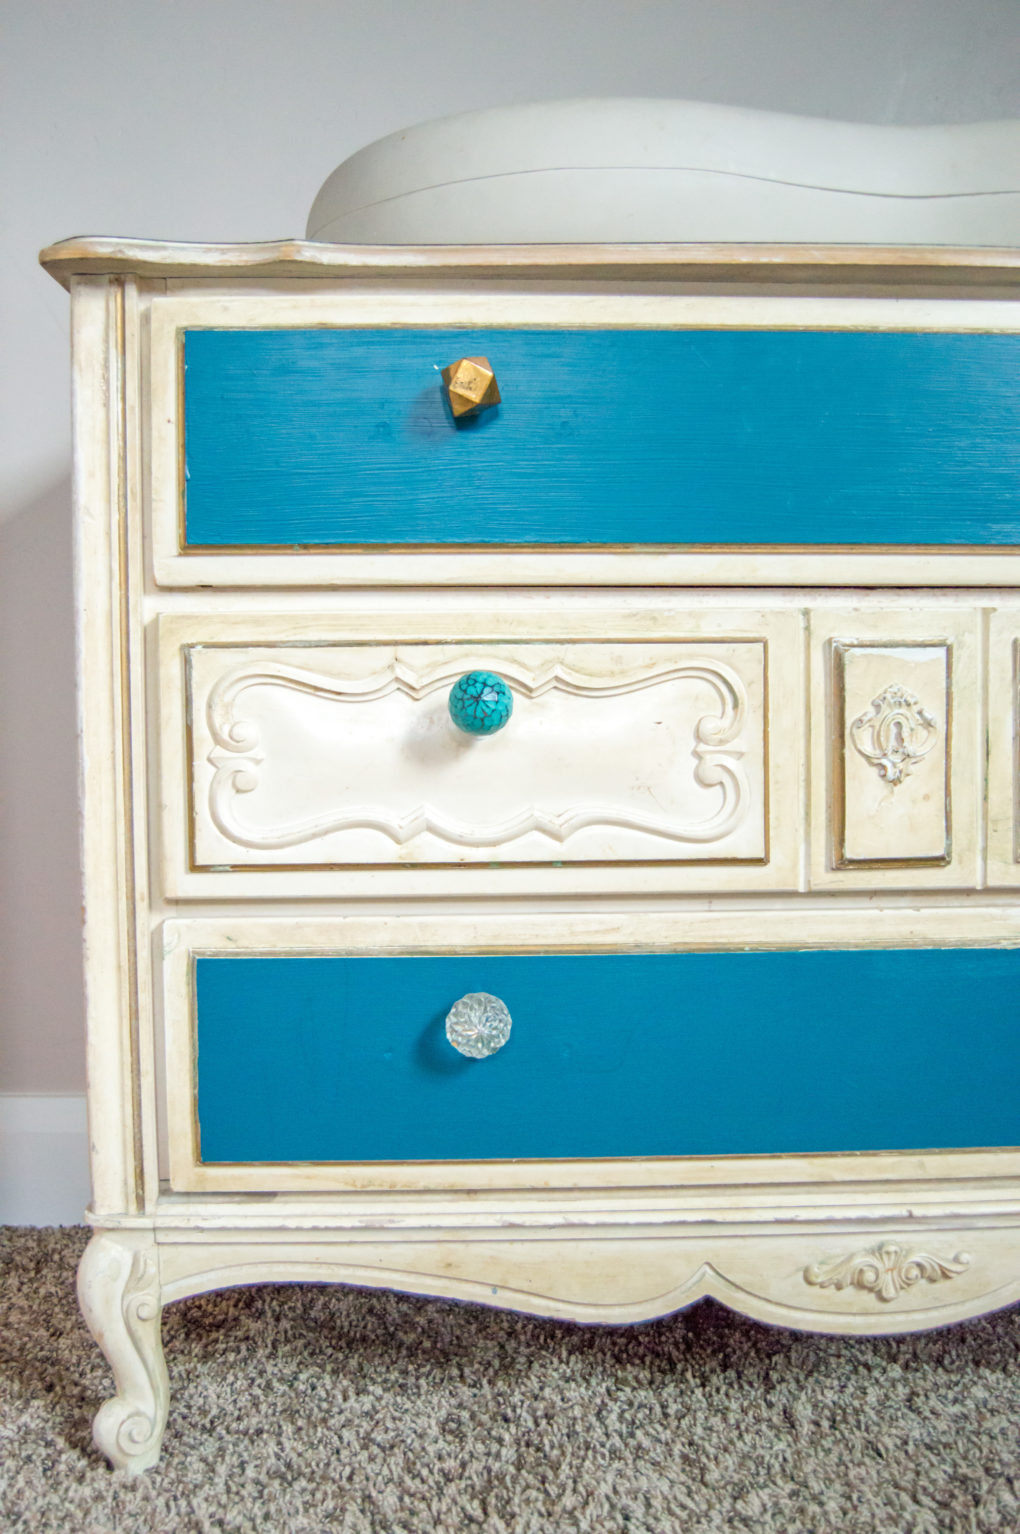
(And These Product Links: Sleek diaper changer–my favorite baby purchase!, dresser is a Craigslist find, paint color: Behr Marquee The Real Teal, gold geometric metal knob, can’t find the teal knob on hobby lobby anymore, glass cut knob.)
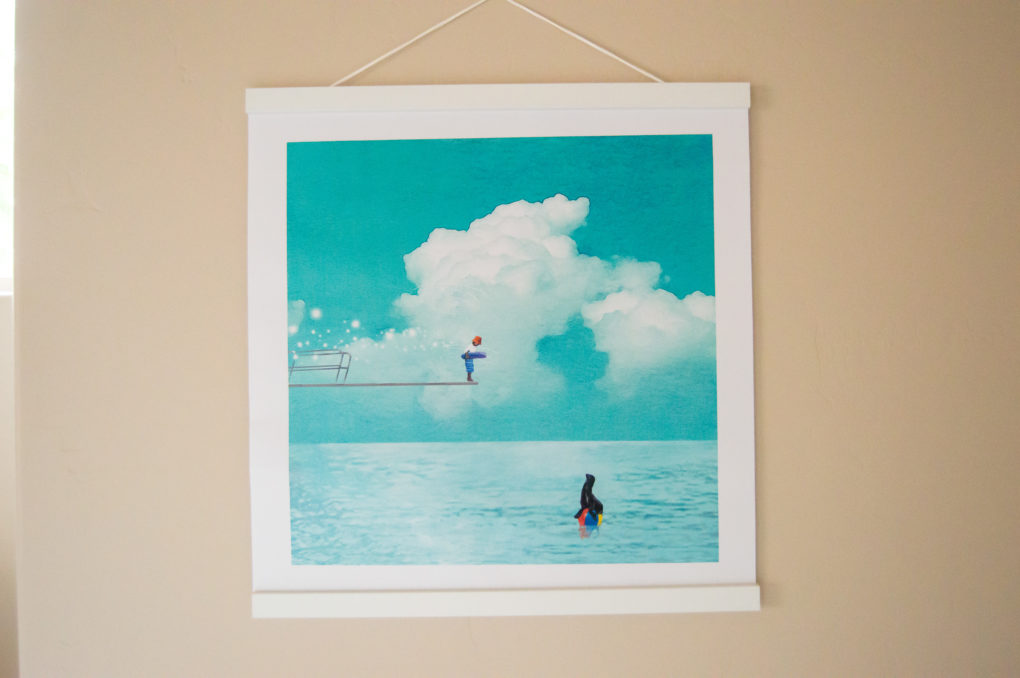
(Product Link: Go to Art.com and search for “High Dive” by Nancy Tillman, white magnetic wooden frame hanger)
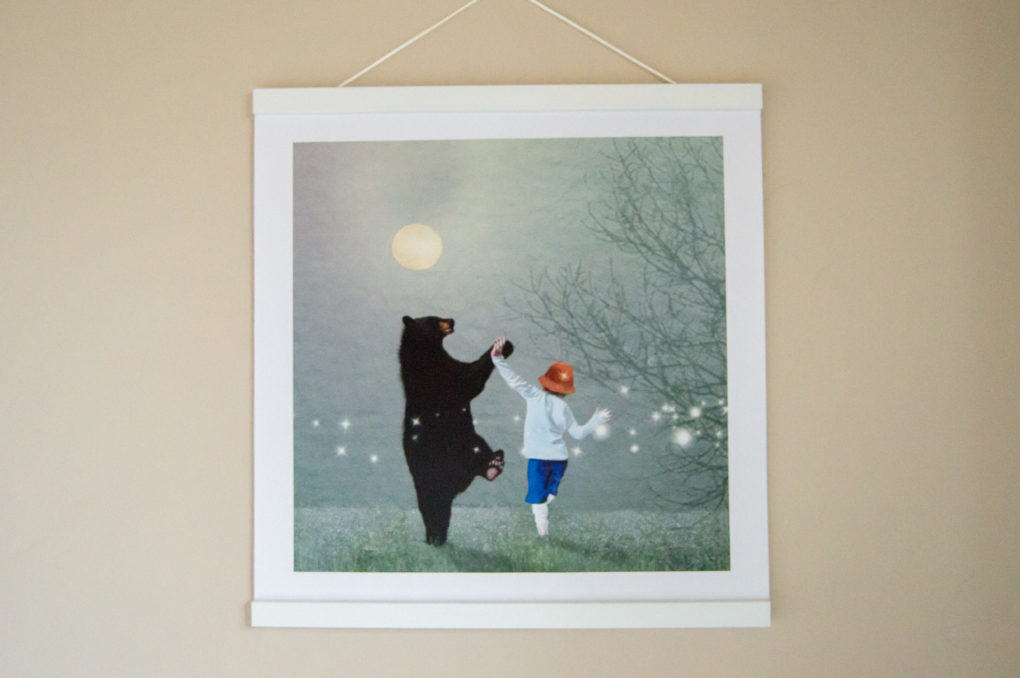
(This Product Link: Go to Art.com and search for “Moonlight Dance” by Nancy Tillman, white magnetic wooden frame hanger)
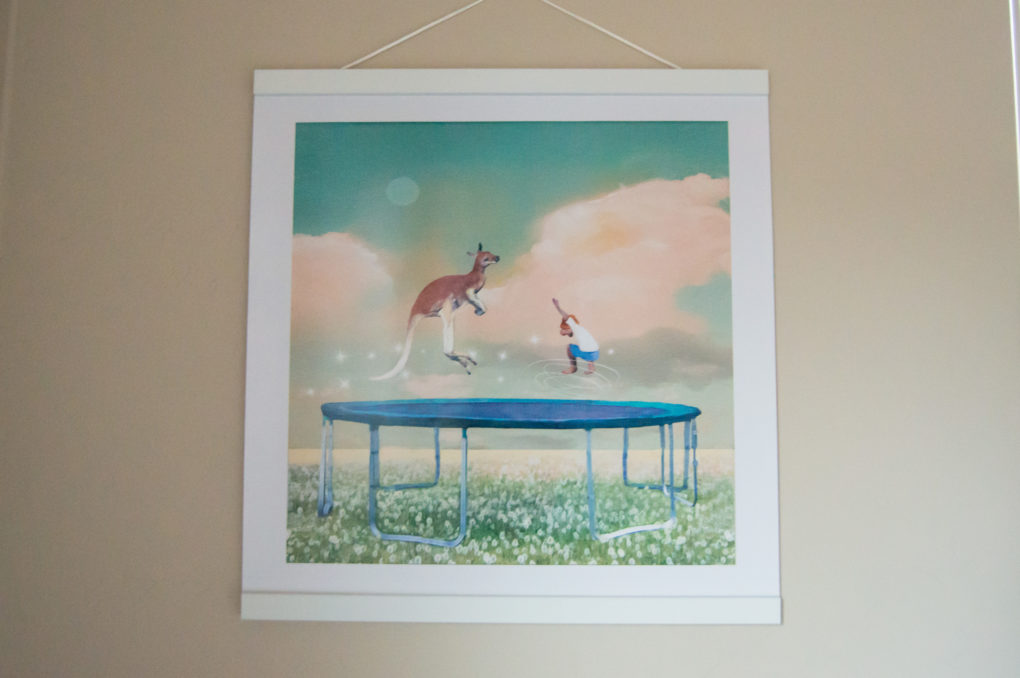
(And This Product Link: Go to Art.com and search for “Jumping with Kangaroo” by Nancy Tillman, white magnetic wooden frame hanger)
Those art prints are in one of our favorite board books– Wherever You Are My Love Will Find You. The story is so sweet, and the illustrations are so whimsical and fun so I knew I wanted them hanging in our play room.
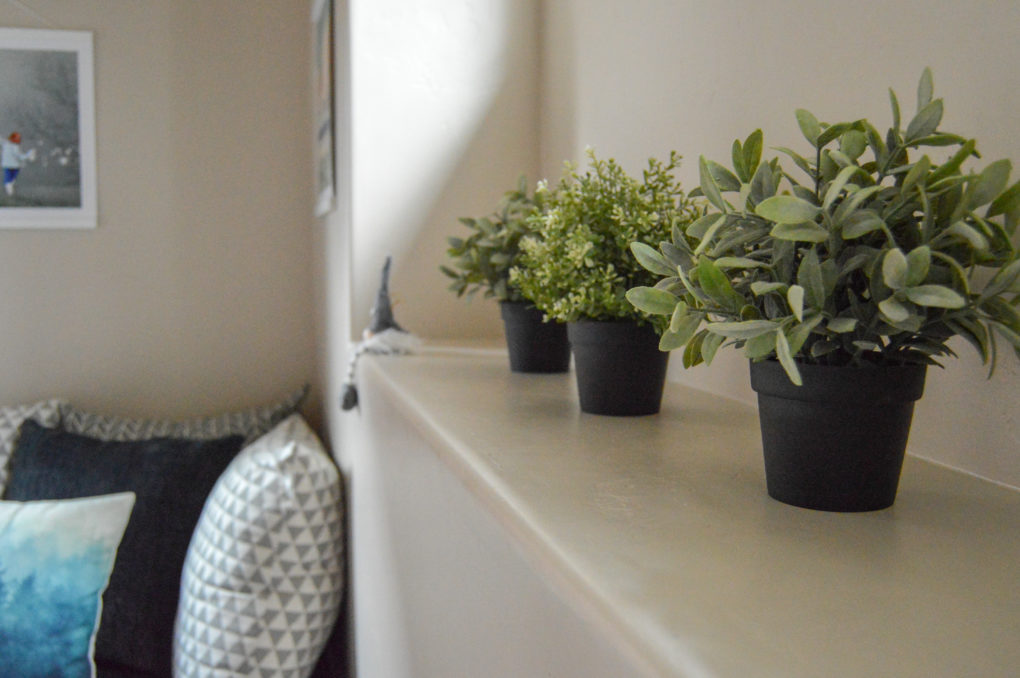
(Product Links: artificial potted plants from IKEA, little gnome was a gift from Germany.)
Play Kitchen Makeover Questions?
I get if you don’t want to give your play kitchen a makeover. And there are a bunch of cute, new, well-reviewed play kitchens on Amazon. But since we got ours for free, why not give ours a makeover?!
We are just a couple weeks into using our play kitchen, but so far things are holding up fine. If you have any questions about my makeover process, leave a comment below!
Pin It For Later — Play Kitchen Makeover
