Welcome to Part 2 of my mini series How to Purge & Organize Your Home Like a Pro! If you missed Part 1: Purging, CLICK HERE to get caught up to speed. Organizing should not be done without first purging so definitely read that post before you jump into this one. Seriously, stop reading and go read Part 1: Purging. Unless you already have and then by all means continue 🙂
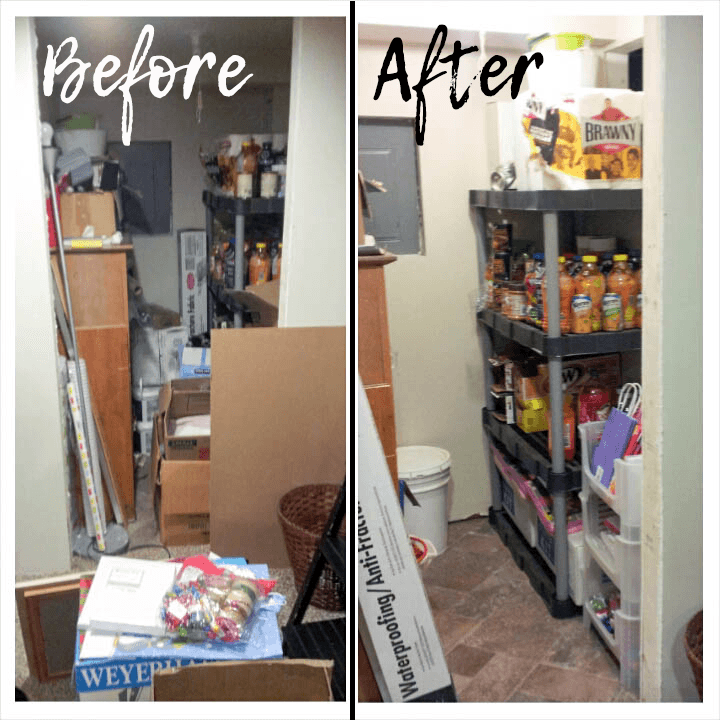
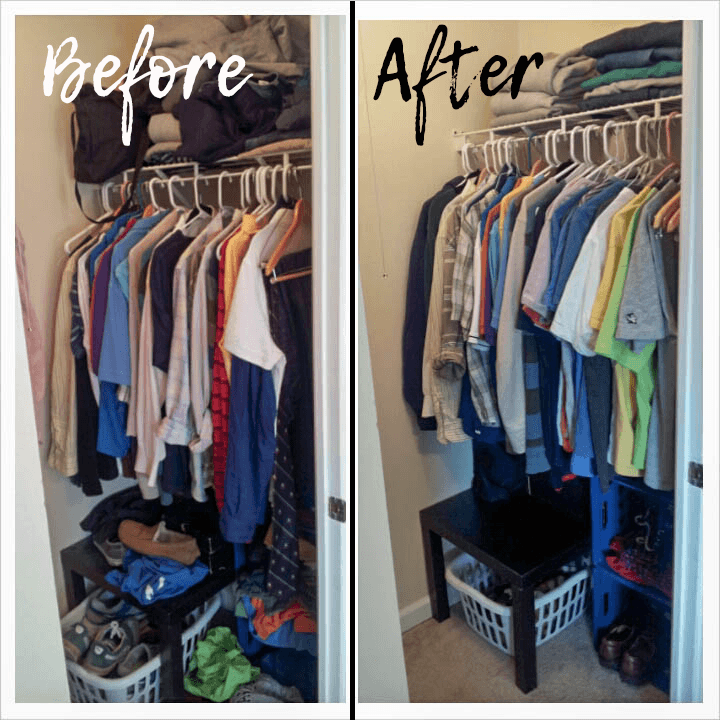
Like I said in my purging post, I used to work as a professional organizer and learned some things that I found very helpful when organizing clients’ homes. (The before/after pictures are bad quality photos from some organizing gigs.) To help you on your organization journey, I’m sharing my tips and secrets with you!
(This page contains affiliate links that we may be compensated for. Your clicks and purchases help support The DIY Lighthouse at no extra charge to you. We only put links to products we love and would recommend anyway.)
Organize Like a Pro
Because you’ve purged, you know everything left in your “Keep Pile” is staying. You’ve thrown out, recycled, or donated the unwanted/unused items and now you only have the keepers. There are a couple of steps in the organization process, but begin by first categorizing.
Step 1) Categorize
Categorize your things into piles of what makes sense in your head. I say “in your head” because you’re the one that is going to be looking for things in your home. (If most people would put the scissors with office supplies, but you naturally think to group them with the art supplies, then absolutely put them with the art supplies.) I’ll explain this in more detail later, but categorizing really sets us up for step 2 of organizing.
When organizing a closet of clothes this can be pretty straightforward. You can categorize by clothing type: your shoes, your pants, your belts, your socks, etc. You’ll likely want to take it a step further by also seasonally categorizing your clothes (winter jackets, fall/spring jackets, etc.).
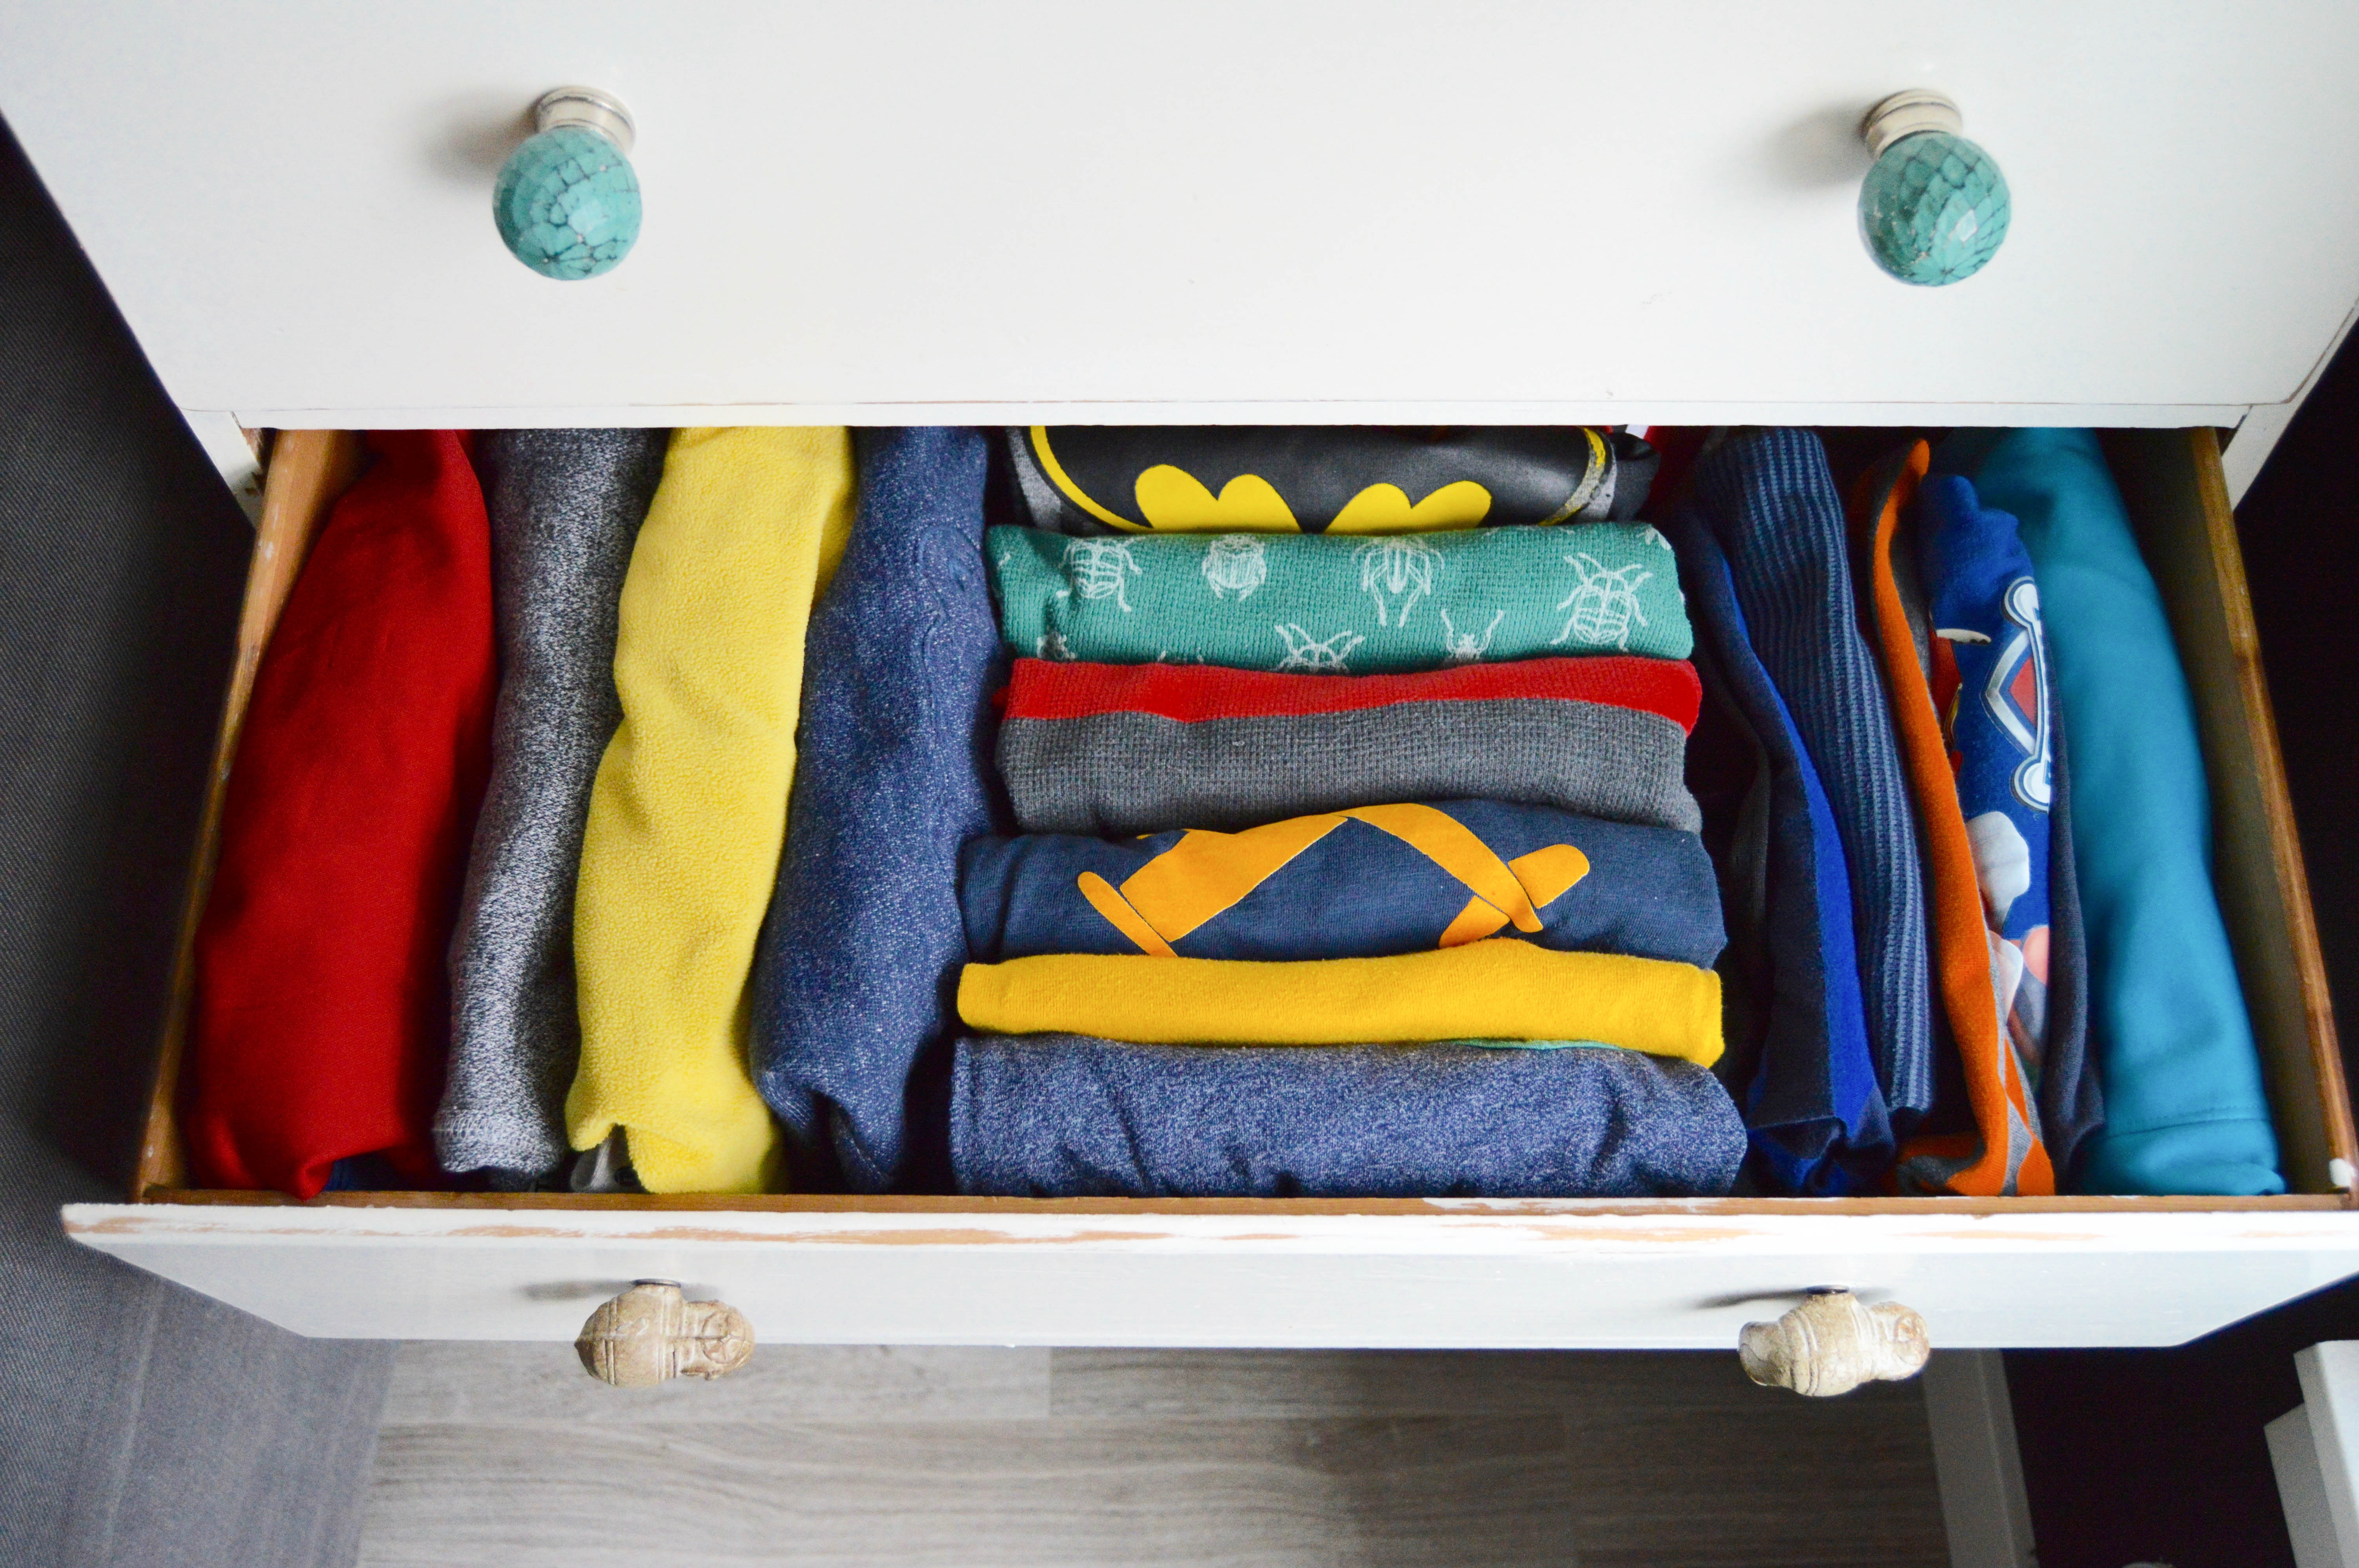
When organizing a toy room, the categories may not be quite so obvious. Here are some ideas to get you started: books, musical instruments, dress ups, dolls, blocks, stuffed animals, arts/crafts. But remember to categorize by what makes sense to you! If your child is really into art and craft projects you may need to subdivide further (like paint crafts, paper crafts, coloring books, etc.).
Step 2) Find or Create Homes
Once you’ve categorized then you can begin to find homes for your things. Homes let you know exactly where things belong which makes it easier for you to clean up and easier for you to find things. As you’re putting things in their new homes, double check that the homes make sense. See rule #1 below to make sure.
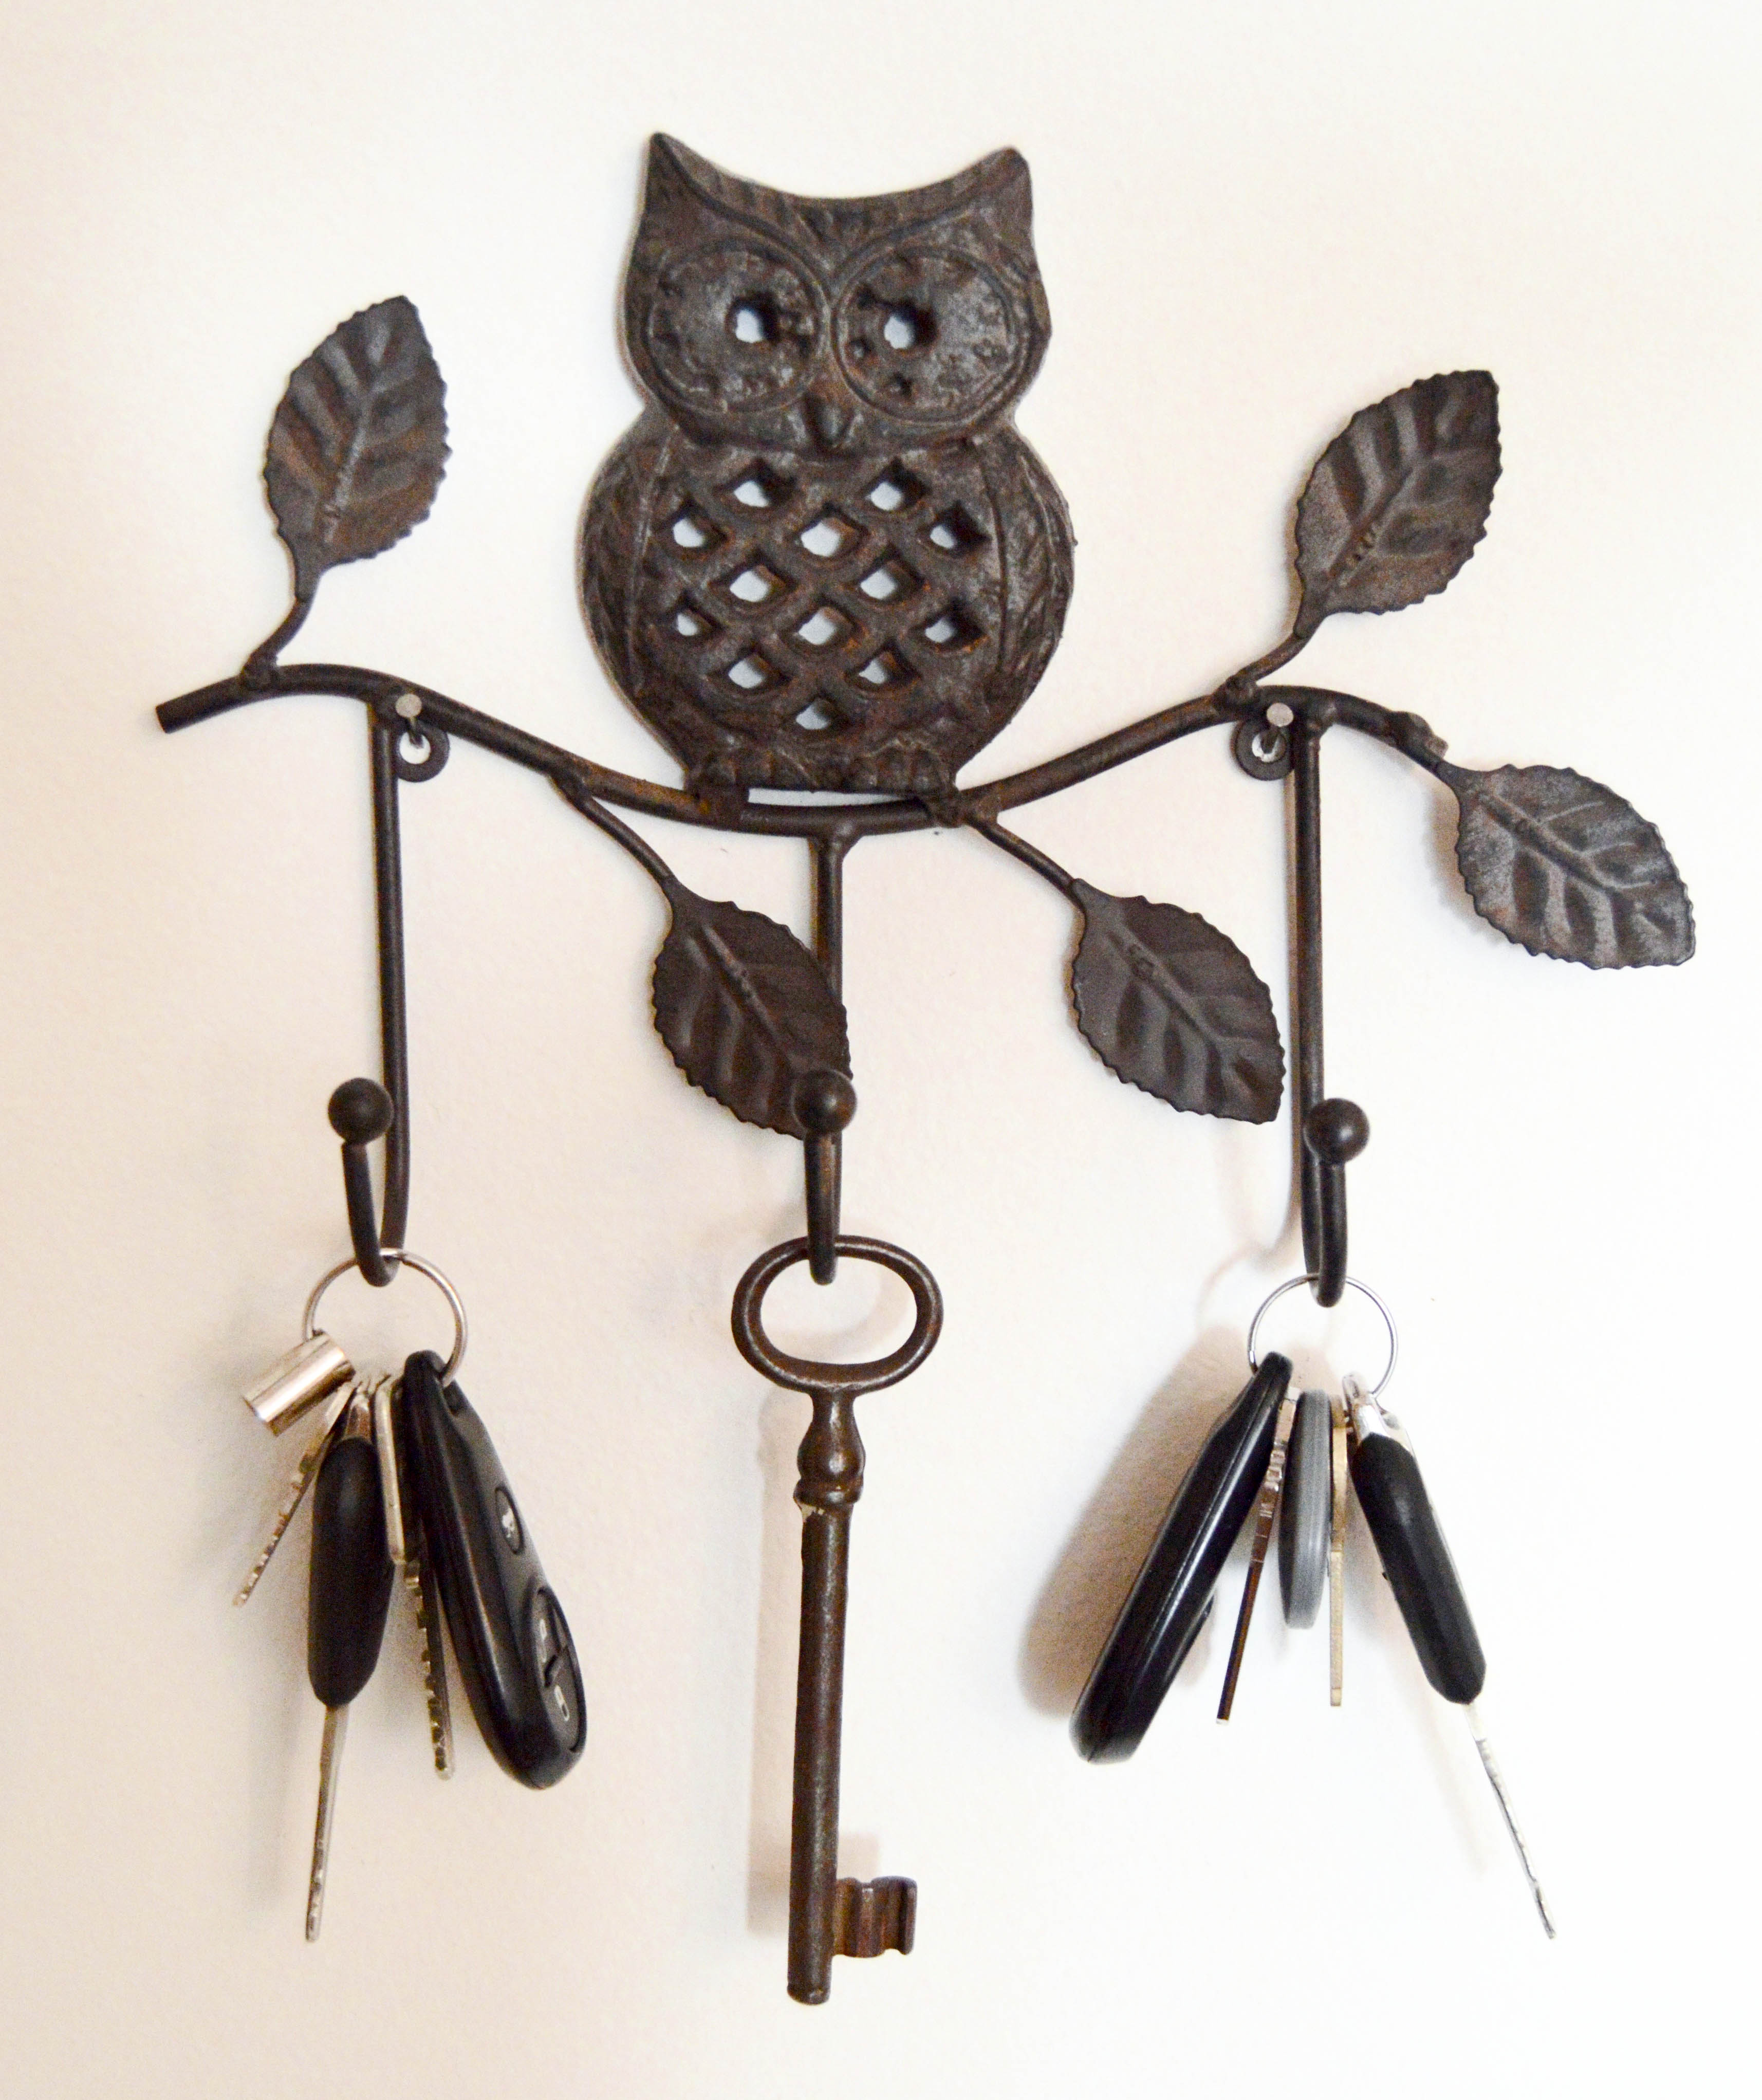
If something doesn’t already have a home, then create a home. If you’re always losing your keys (Are they on the counter? In my purse? On the nightstand?), chances are your keys don’t have a home. In this case, you want to create a home for your keys–a place that you know your keys need to land and a place you know where to look.
Organizing Questions
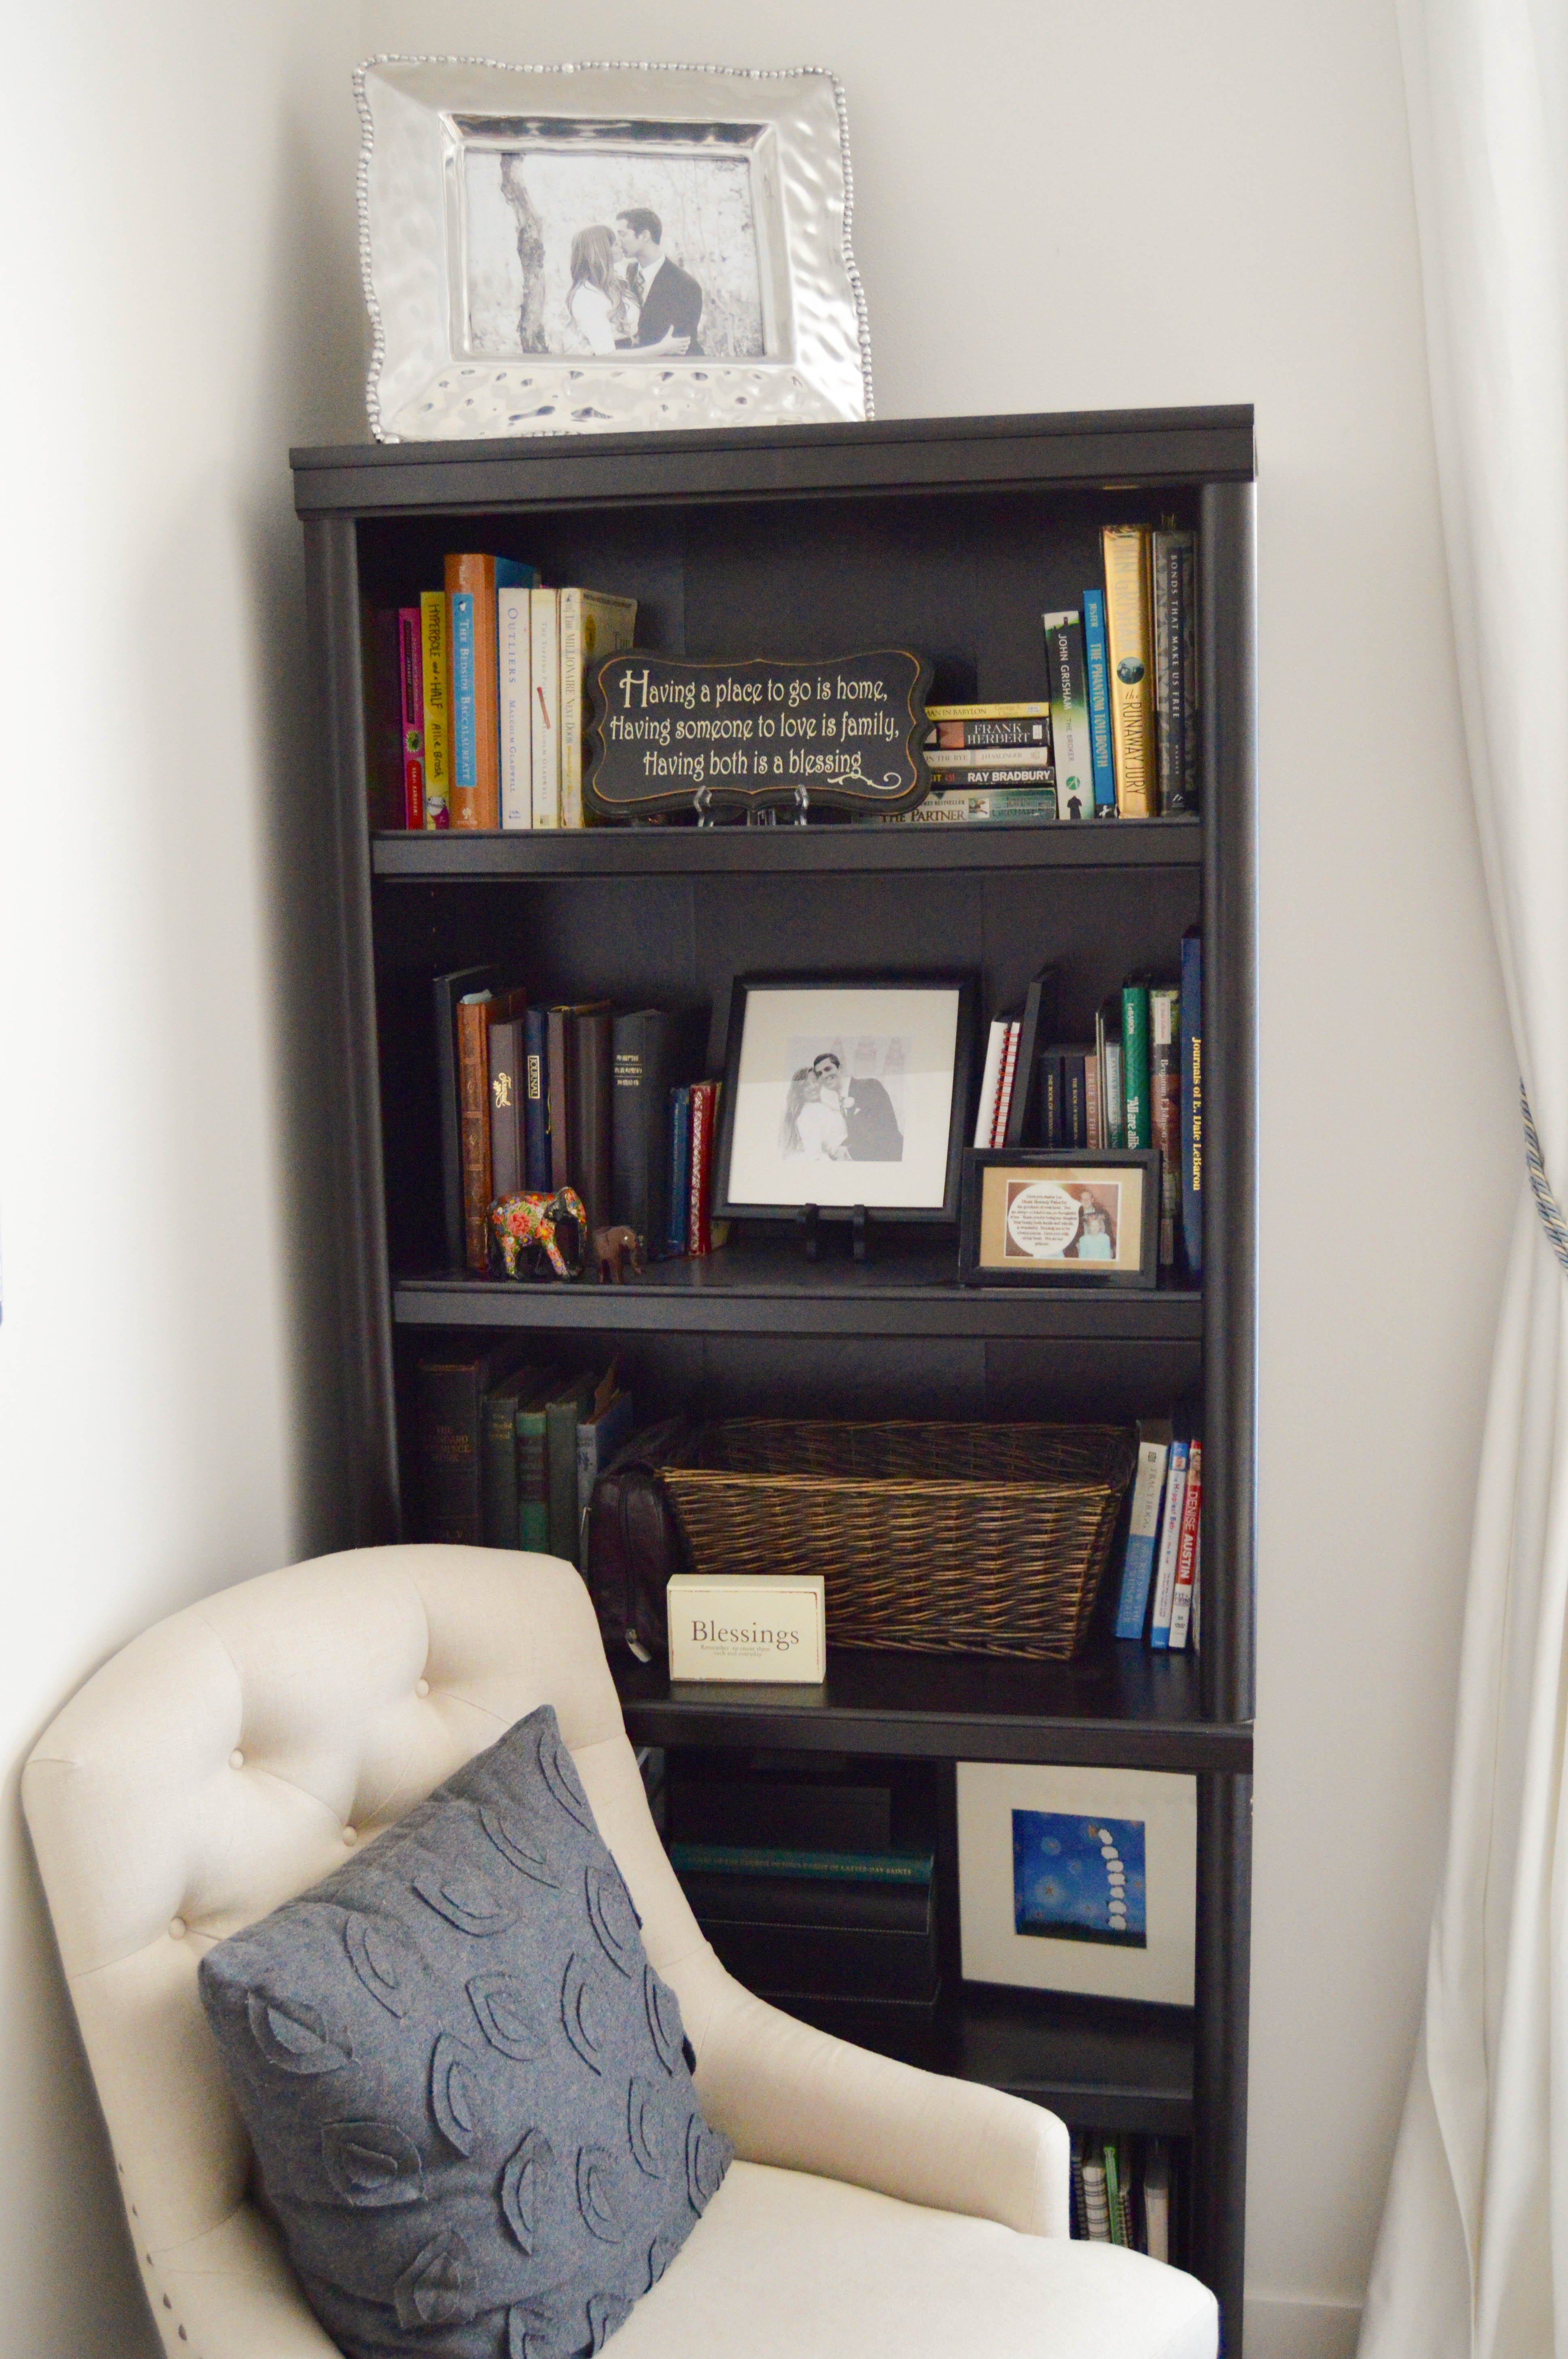
Here are a few example questions to ask yourself when you’re organizing:
- Does this item make sense here or does it belong somewhere else? (See the Categorize section above.)
- Does this item have a home? (See the Find or Create Homes section above.)
- What do you use the most often? What do you use not very often? (See rule #1 below.)
- What are the easiest-to-reach shelves, cupboards, and drawers? (See rule #1 below.)
- Do you immediately recycle your junk mail? (See rule #5 below.)
5 Good Home Organizing Rules to Live By
#1- The Easy Access Rule
Put the things you use the most in the easiest to reach places and the things you use the least in the hardest to reach places. This is a rule people break all. the. time!
I’ve especially noticed this rule broken in the kitchen. The kitchen utensils and dishes you use the most should be in your most high-traffic and easy-to-reach cupboards and drawers. If you only use the crockpot once a month, stick it up above the fridge so it’s out of the way and make room for that rice cooker that you use on a weekly basis. Give your most-used serving bowl the front row it deserves. I bet you there’s something right now in your kitchen that you hardly ever use but is taking up precious, easy-access shelf or drawer space.
#2- The Use What You Have Rule
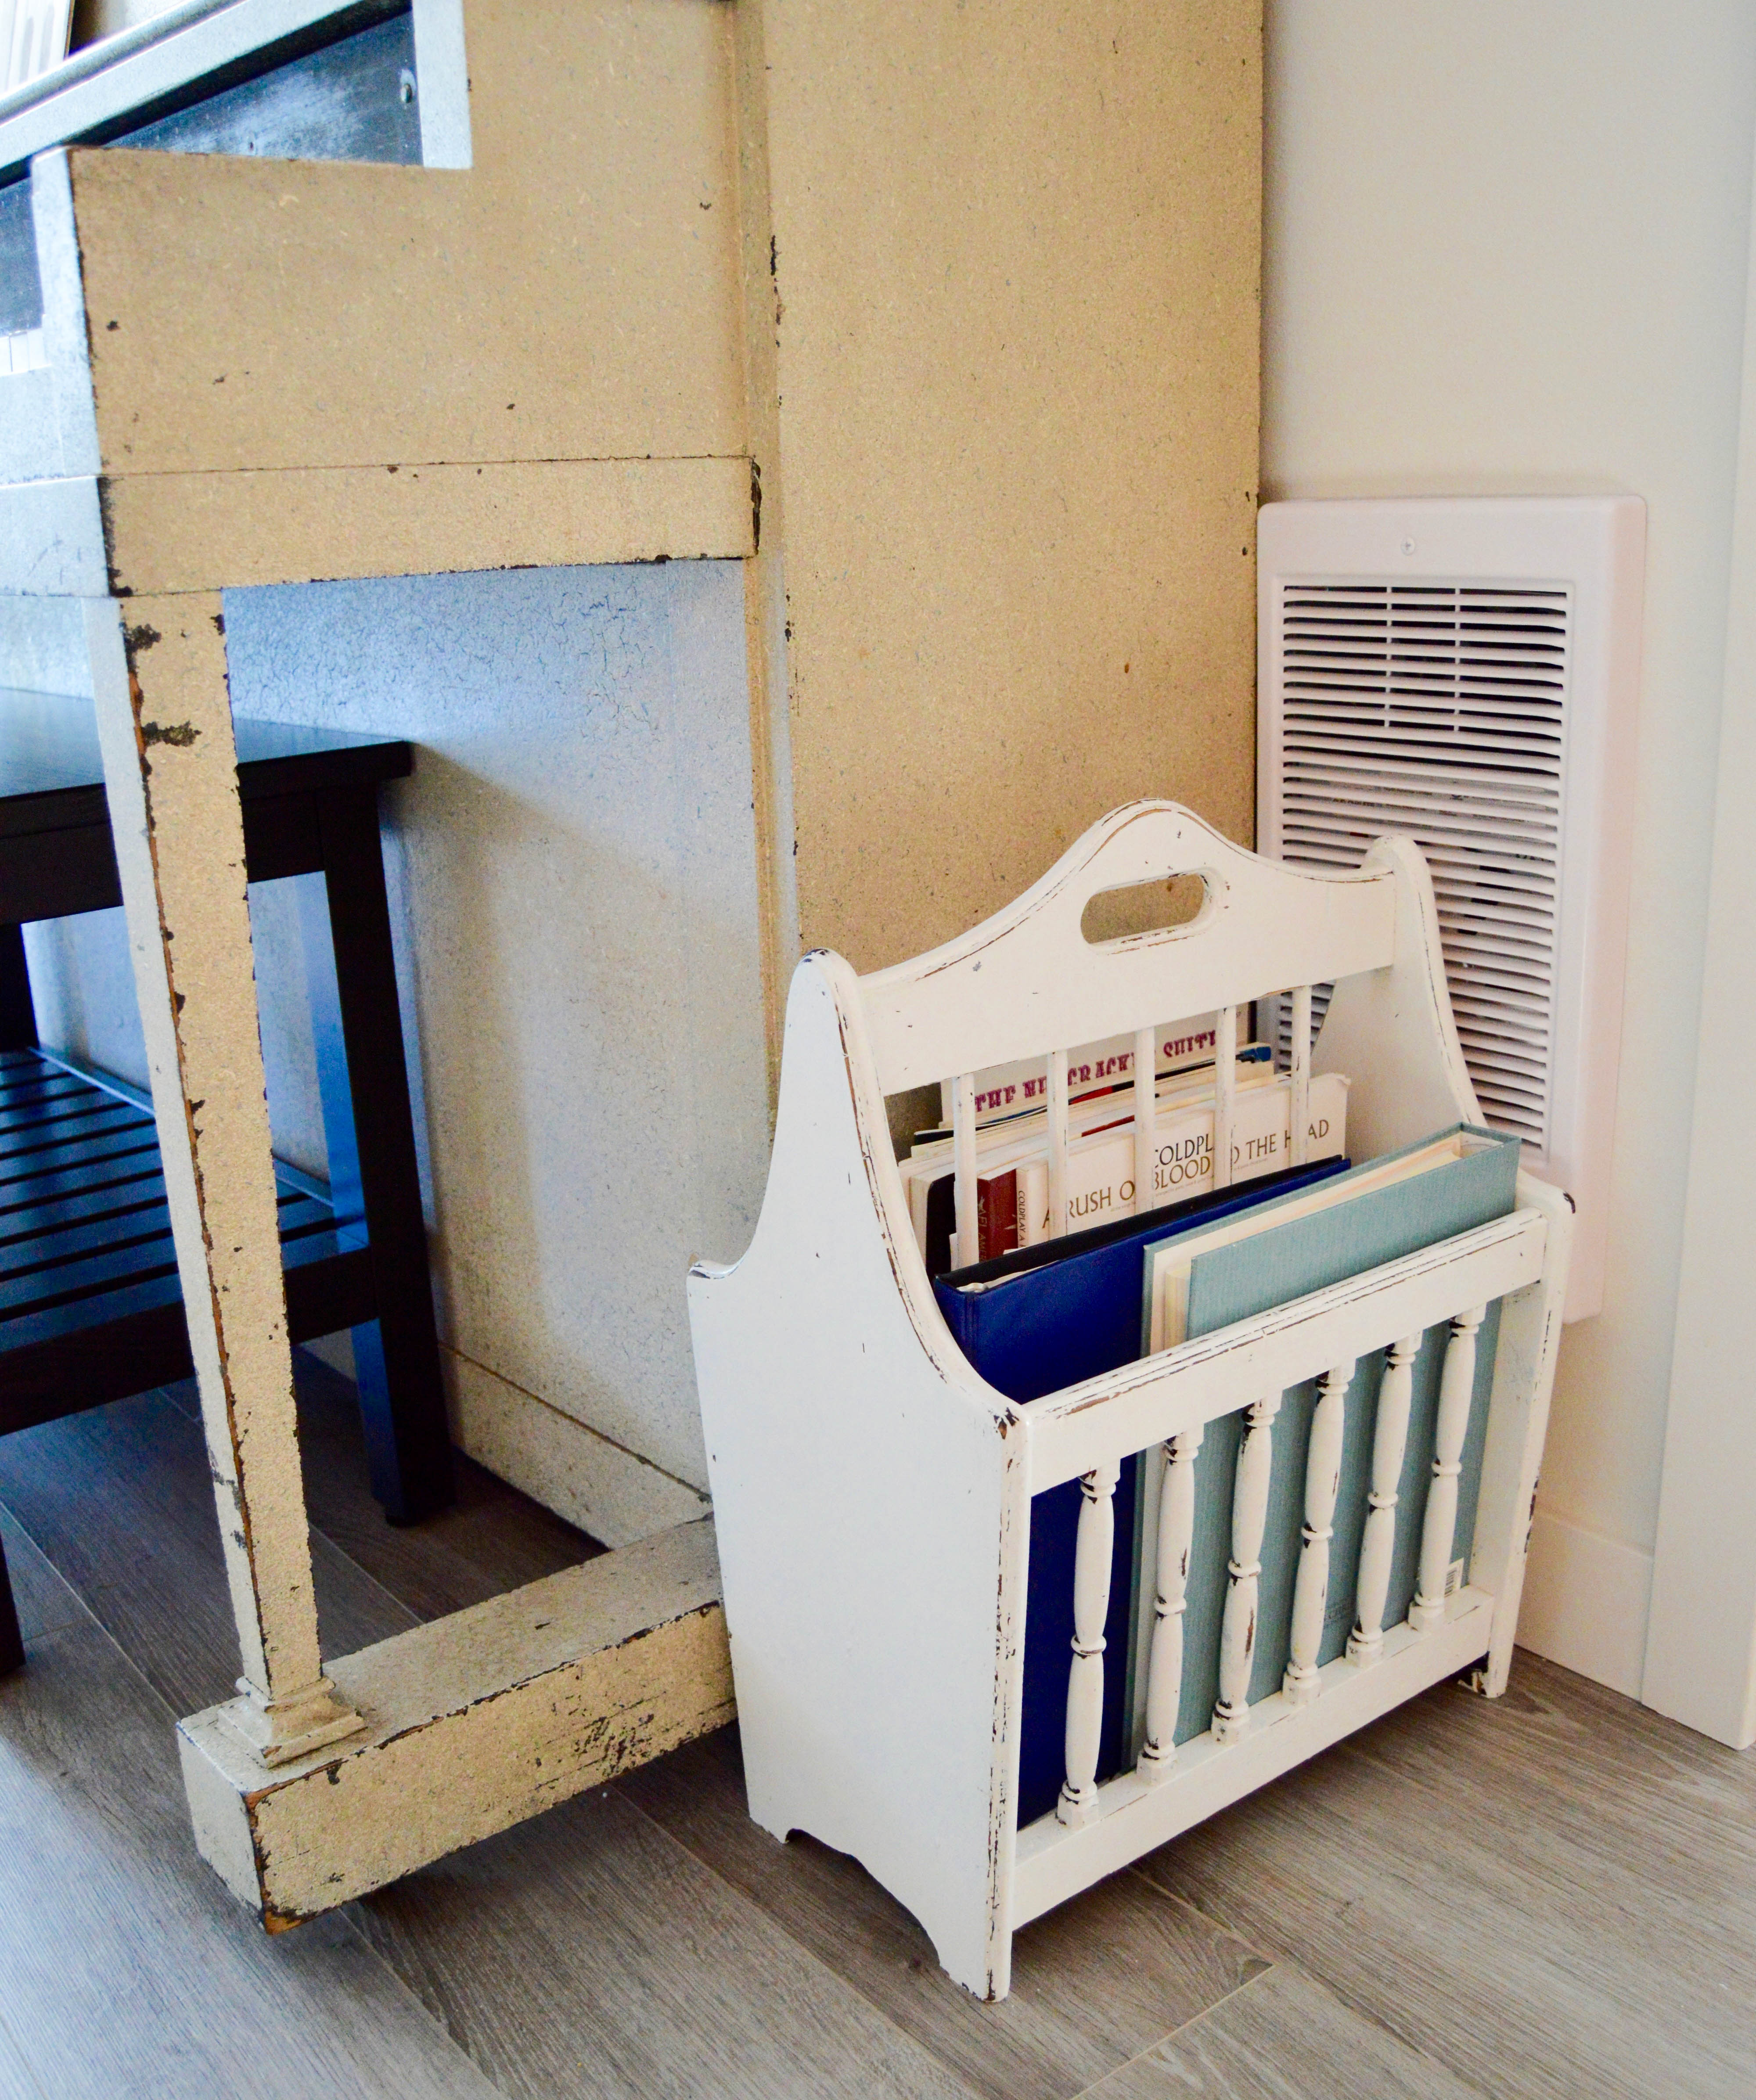
There’s no need to run out and buy an expensive organization system when you decide to organize your home. First, look around your home and see what you can utilize. You may already have storage bins and baskets that you can use. If you are going to go buy some things, then pay close attention to the next organizing rule (#3) and the organizing products that have worked for me.
#3- The Make it Visible Rule
When storing, try to make things visible by using clear containers and bins. Following this rule will help you avoid digging. I especially think this is important for long-term storage bins like holiday decor, old baby items, etc. because chances are you won’t remember exactly where something is. If using clear containers is not an option, then you can at least help make life easier by labeling the outside of your bins.
#4- The No Landing Pad Rule
Is there a spot in your home where everything lands? Maybe all the coats end up in a pile inside the door or your mail ends up on the counter or your keys end up who knows where. This is called your “landing pad.” Get rid of it by first coming up with a home for whatever is landing there (like coat hooks for the coats, or a file holder for the mail, or a key rack or bowl for the keys). Then, if you’re still tempted to use the landing pad, put something nice looking (like a potted plant) on there instead to help remind you.
#5- The Small but Often Rule
Organizing during a yearly spring cleaning is fantastic, but what’s even better is staying on top of your home’s organization. I highly recommend setting reminders in your phone for “homework.” Is your mail pile always lingering on the counter? Set a daily reminder to go through the mail and actually deal with it. Are you embarrassed to open your fridge in front of guests? After you’ve organized your fridge, set a weekly reminder to do a quick sweep through. Whatever your biggest disorganization tendencies are, remind yourself to stay on top of it. Do little tasks often instead of letting it build up to a disaster zone.
Organizing Products That Work for Me
What works for me may not make sense for you and your space, but below are products that I have found quite useful for organizing.
Shoe Organizers
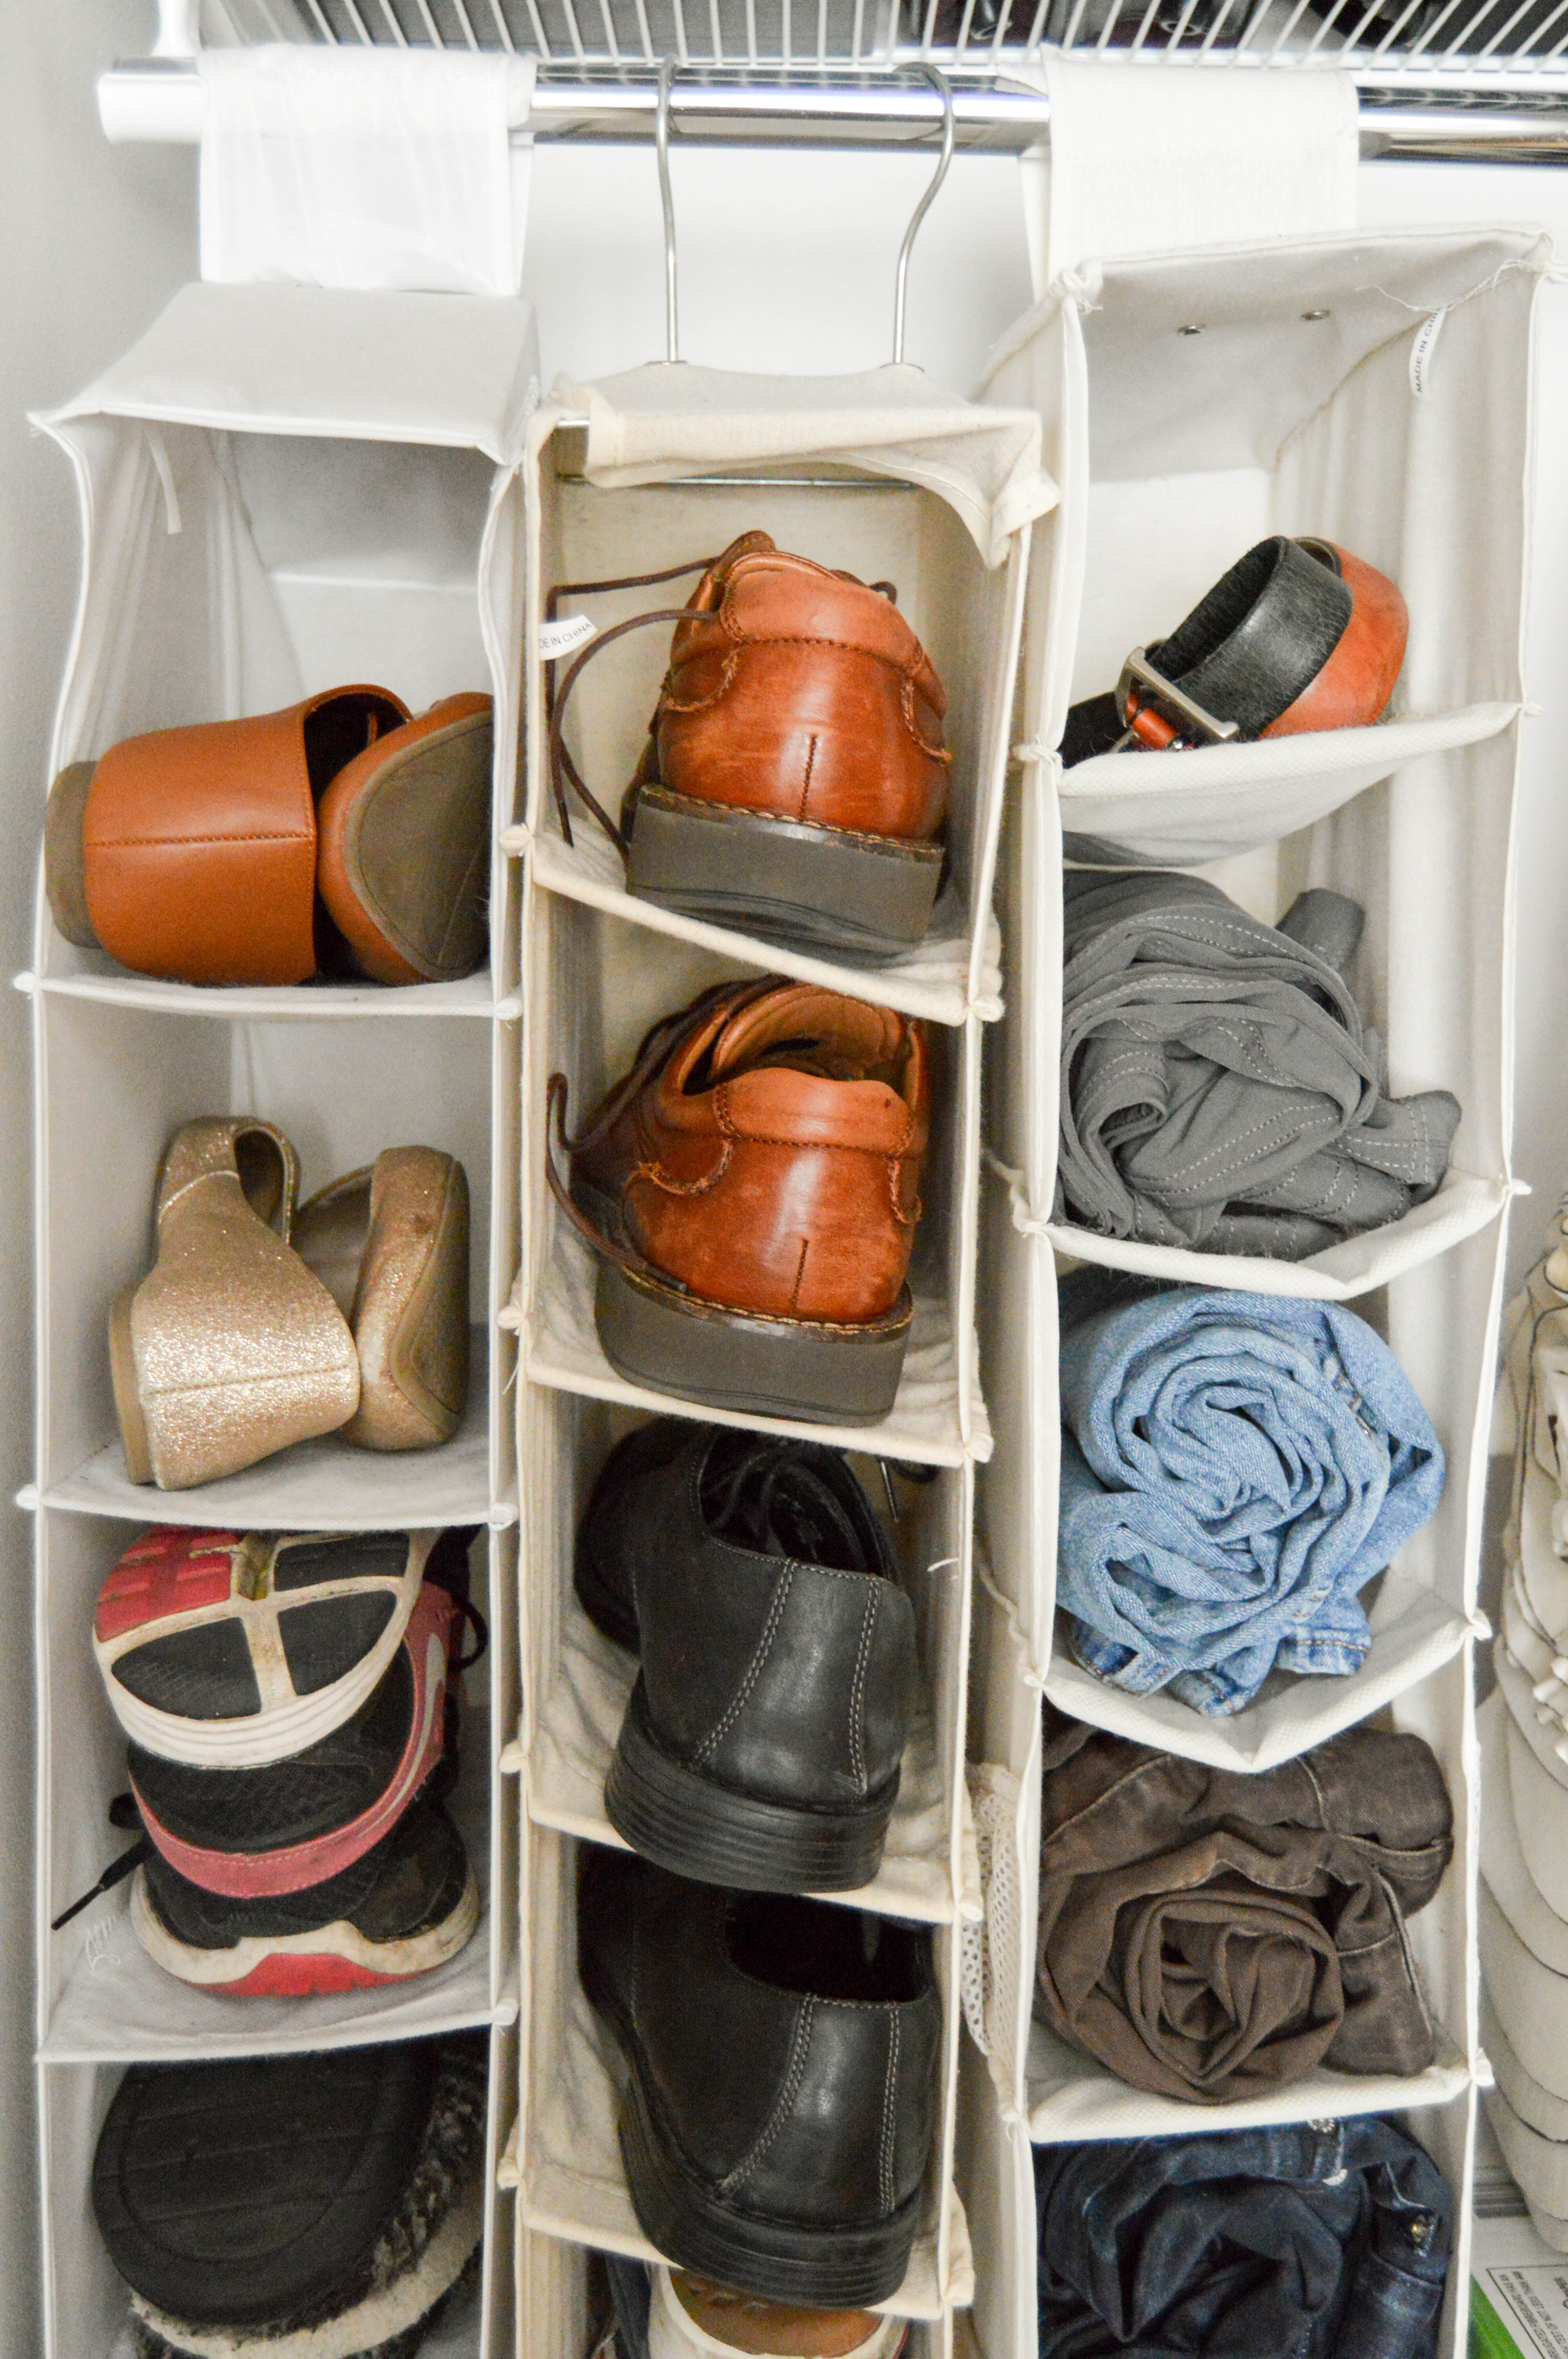
These are great anytime you have hanging space to spare. There are multiple types of shoe organizers… mainly those that hang from a closet rod (click here) and those that hang on the back of a door (click here). Shoe organizers are awesome for organizing not only shoes, but pants, accessories (like scarves, belts, hats, etc.), cleaning supplies, pantry food, card games, art supplies, etc.
For us, using a show organizer for pants was a game changer! My husband’s stack of pants were always a giant mess because he hated folding them. We bought this shoe organizer (Whitmor Linen Hanging Shoe Shelves) years ago from Amazon and it’s been great! He rolls up his pants and sticks them in individual slots. No more piles falling over and pants ending up puddled on the floor.
Clear Storage Bins
As we talked about in Rule #3, you want to make contents in a bin visible. I have storage bins similar to these Sterilite 70 Quart Bins for storing things like games, extra linens, holiday decor, and old baby clothes, and we have storage bins similar to these Sterilite 18 Quart Bins for storing crafting supplies, art supplies, and extra toys we rotate in and out. I love that I can see exactly what’s inside each bin without opening up the lid. Labeling only gets you so far and takes you more time.
Cute Storage Baskets
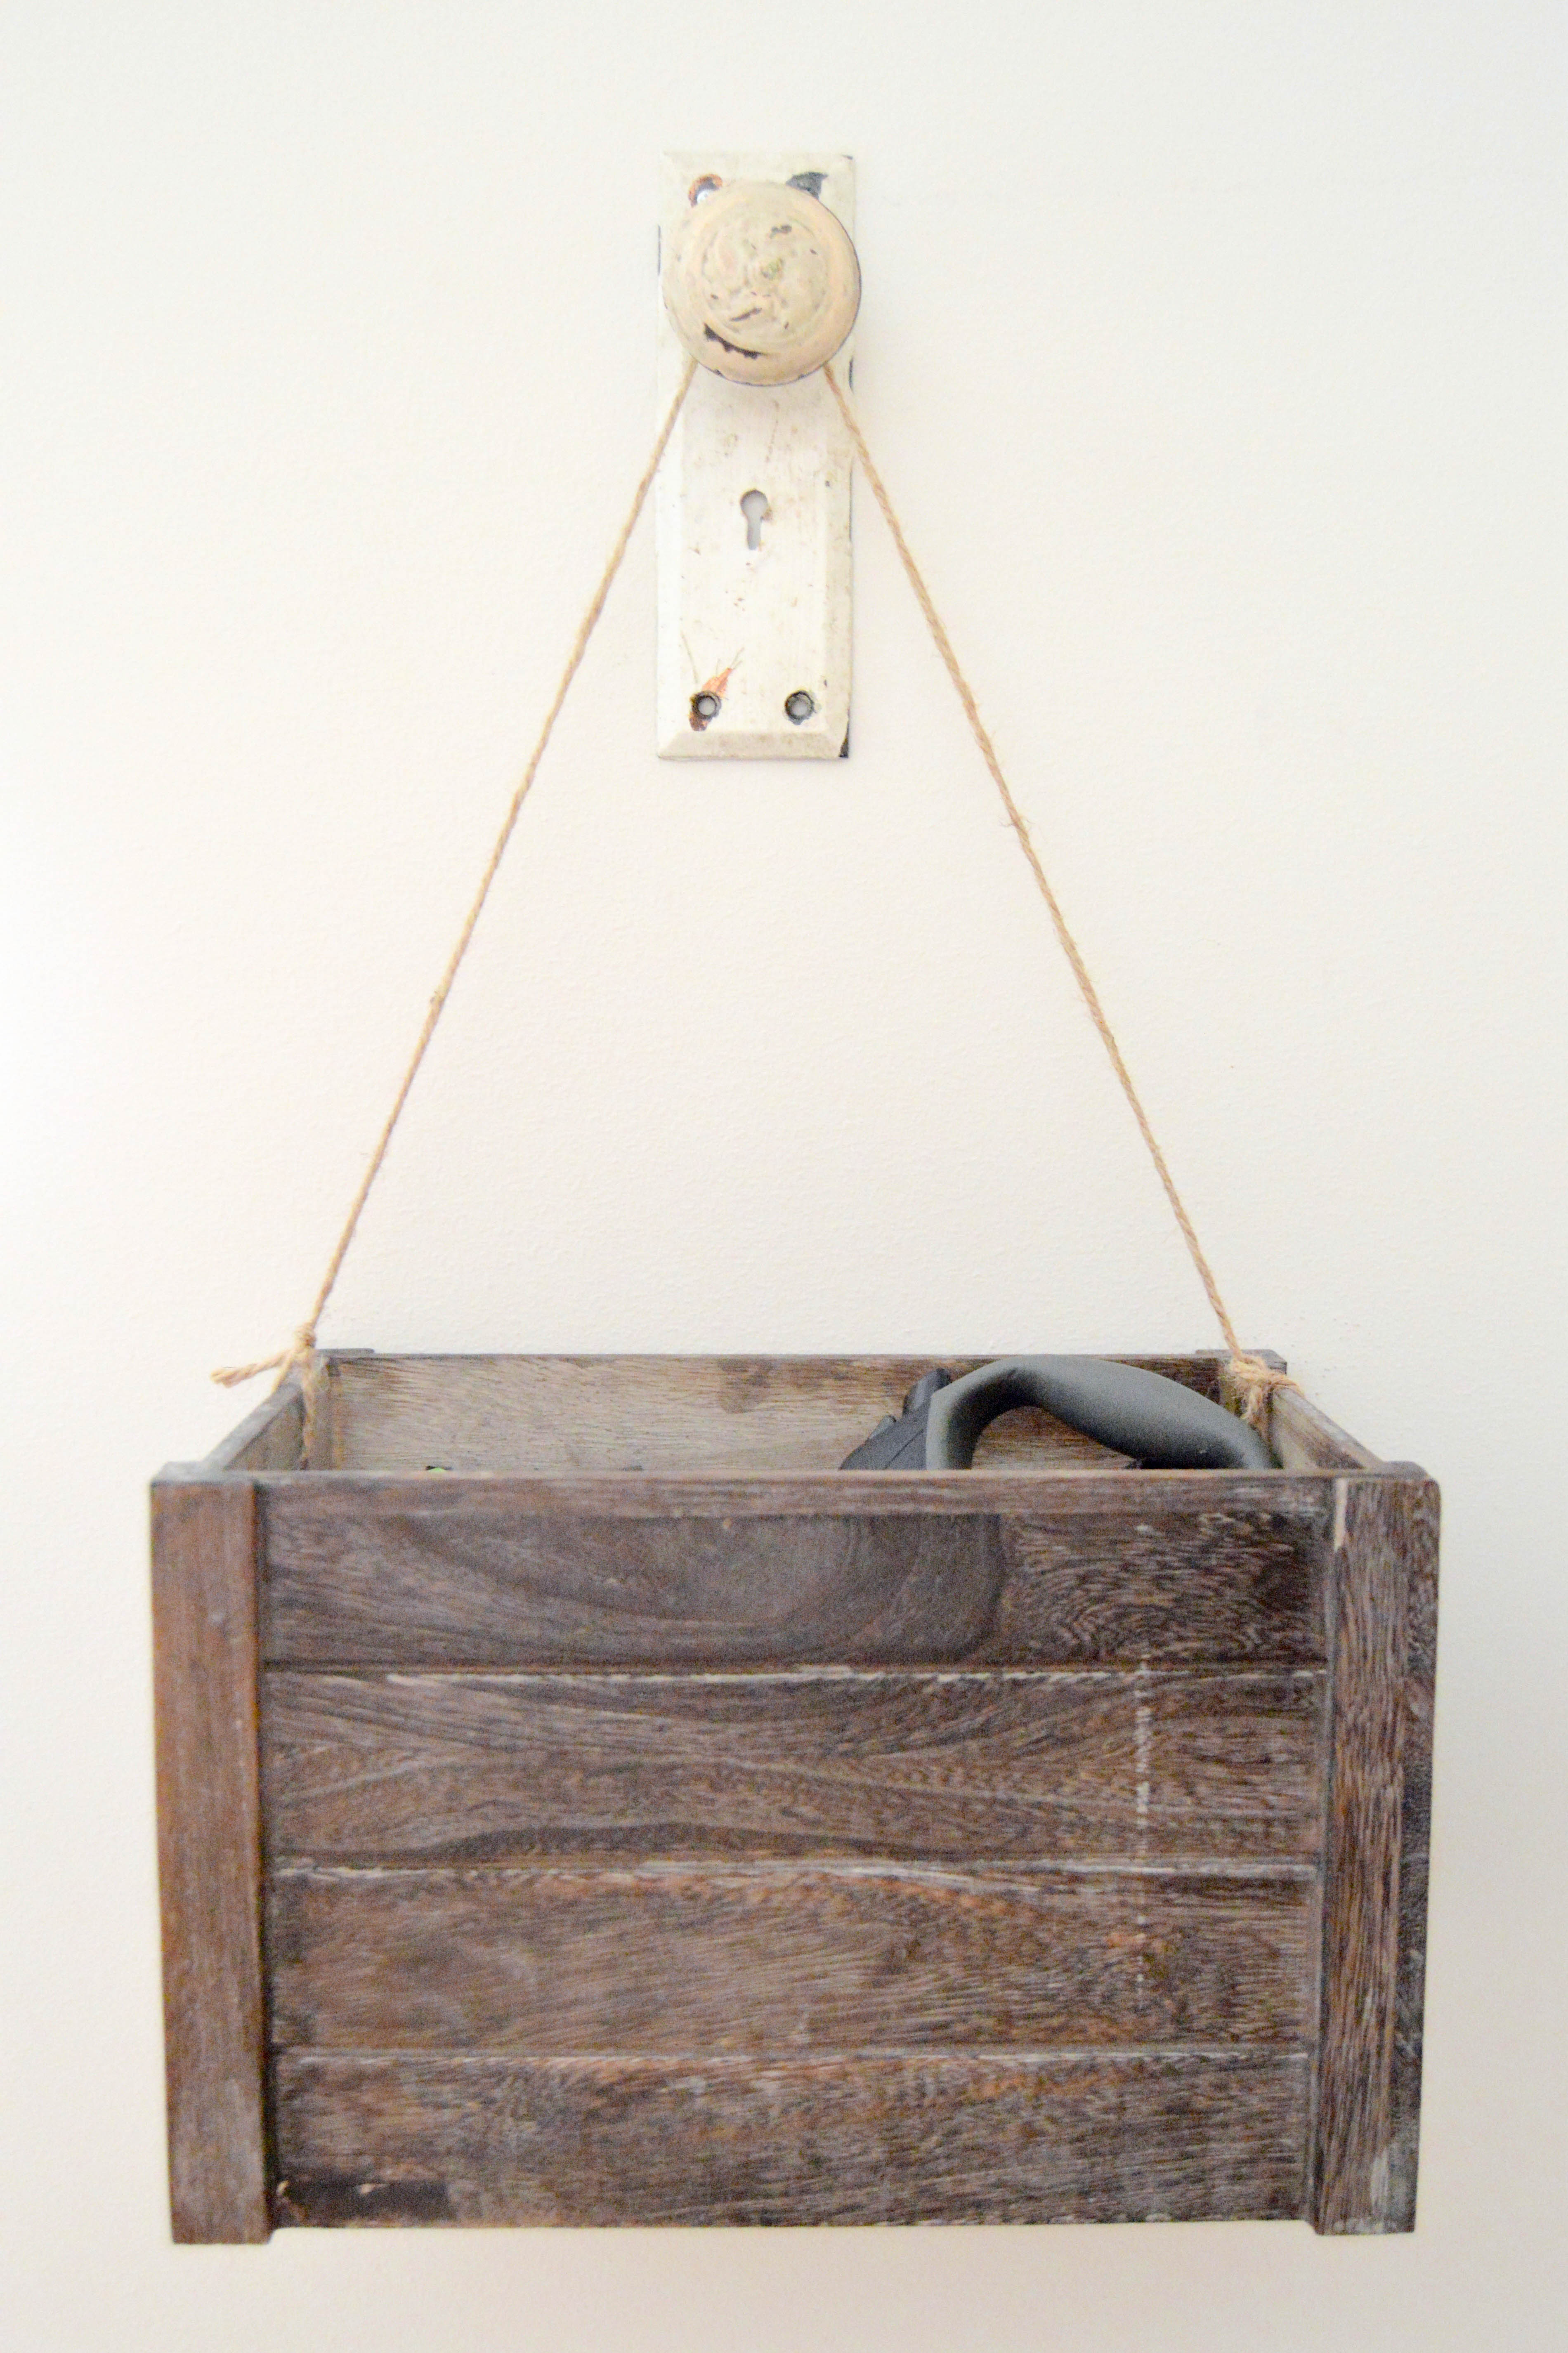
You can’t store everything in closets or behind closed doors or drawers; some things have to have a “home” in high-traffic areas (like dog leashes, tv remotes, etc.). I like using cute storage baskets, bins, and crates to give things a home while still having my home match my style. Amazon has a bunch of options for cute storage baskets and bins. Here are a few: storage bin with rope handle, gray lattice storage bin, and rattique storage baskets. Whatever your style, you can find baskets and bins to help organize. Remember, before buying anything look around your home and see if you can utilize anything you already have. If you’re on a budget, Goodwill and thrift stores can be great spots to pick up some storage baskets.
I’ve Organized… Now What?
Part 2: Organizing is complete! Yay! You have completed this virtual course of purging and organizing like a pro. I sincerely hope you have created a more peaceful, happy space in your home. And I won’t judge if you have to open that closet door one more time today just to admire your work.
So now what? Remember rule #5 in the “5 Good Home Organizing Rules to Live By” that I talked about above? Now that you’ve got your space organized, think about what you can do to keep it that way. Set calendar reminders if you have to. Do little tasks often instead of letting disorder build up. And congrats again on your organized space! 🙂
Pin It For Later

