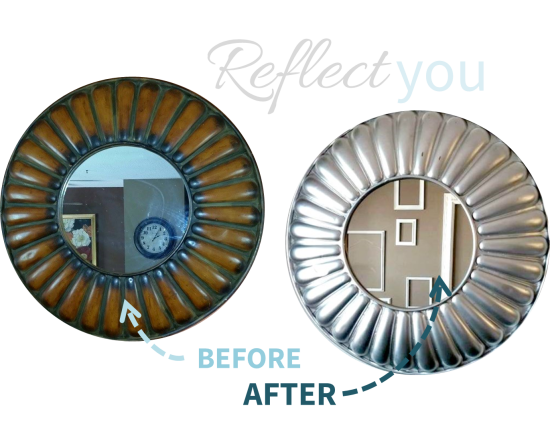
Doing DIY on a budget means looking at things in a different way. It means seeing the potential in something that looks old or ugly and envisioning what it could look like after a little TLC. The same concept was true for this super easy and simple DIY project I did. You can do it too! Integrating the perfect mirror into your design theme is easier than you think. And you can do it for $5!
The first step is finding your mirror. For me, finding the right one means patiently shopping for a bargain. Because you’ll be changing it anyway, don’t worry about getting a mirror that already fits into your color scheme—that’s easy to change. Rather, focus on the shape and texture. If a mirror has good bones and a price that gets you all excited, that’s your indication to buy. I was able to score this round, metal wall mirror for only $4.
But hold on. Wait a minute. It totally did not fit into the light, nautical theme I have going on. No probs! It really doesn’t take much to make any mirror reflect you and your design. And you can do it for dirt cheap too!
All you need is a can of spray paint, some plastic or cardboard, and some painters tape. I got my paint for free! (See how I find paint for free here.) The paint was actually chrome spray paint to be used on cars, but I figured my mirror wouldn’t mind. After taping off the mirror portion and setting the mirror on a piece of cardboard, I gave it two coats of paint. Once it dried and I removed the tape, I knew it’d be perfect for my living room wall. And it cost me less than $5.
It’s almost embarrassing how easy and inexpensive this DIY is. But hey, that’s what makes it such fun project! Comment below or send me a message to tell me how you DIY.
