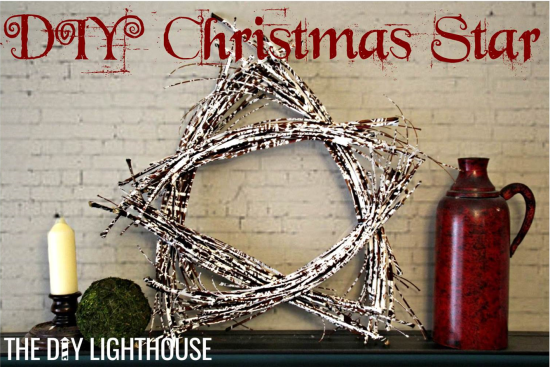
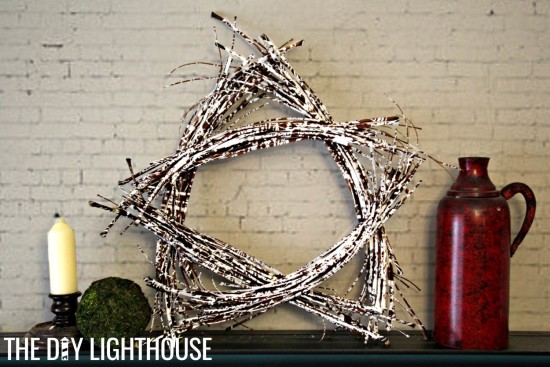
The Christmas star is one of the most significant, beautiful symbols of Christmas. Throughout the holiday season, the star helps remind us of the “why” of Christmas, and it helps turn the focus away from ourselves and, instead, toward serving and giving to others. The star represents the need to be a light to those around us. Because of that, it only seems fitting that our first Christmas holiday post this year is how to make your own DIY Christmas Star. This beautiful holiday decor will not only accent your home’s winter wonderland, it can be made for free!
How To Make Your DIY Christmas Star Holiday Decor
1. Pick Up Sticks
The idea for this project popped into my head when my husband and I were on a walk. I saw a pile of sticks and, thanks to the constant DIY fever I have, I immediately thought I could make something out of it. (Luckily, Nathaniel happily goes along with my random inclinations.) You can either search for sticks yourself (bonus: they’re free!), or you can buy them at a local craft store (bonus: you don’t have to hunt for sticks). Either way you choose, get a nice bunch of them. And it’s okay if your sticks are curved or straight, because either will work just great! Another thing to keep in mind is that the longer your sticks, the larger your DIY Christmas Star will be.
2. Divide Into Bundles
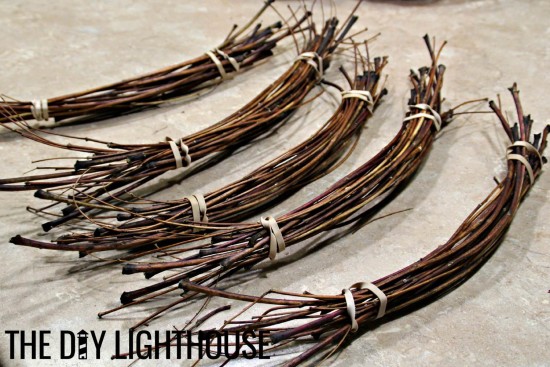
This part of the project is kind of a no-brainer. Simply divide your pile of sticks into five bundles of equal sizes. Once you’ve made the groups, twist a rubber band onto both ends of each bundle. This will temporarily hold them together.
3. Form A Star
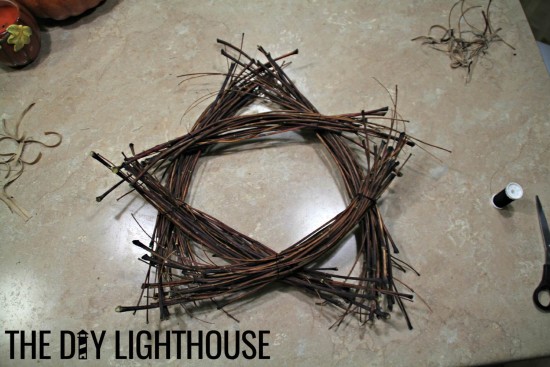
Taking your five bundles, form a star. If your sticks are straight, this should be fairly simple. If your sticks are curved, make sure that each bundle bows inward toward the center of the star. Doing that will give you a DIY Christmas Star that looks fuller and more naturally shaped. Remember, this step does not have to be perfect because we will be slightly adjusting the shape in the next step.
4. Keep It Together
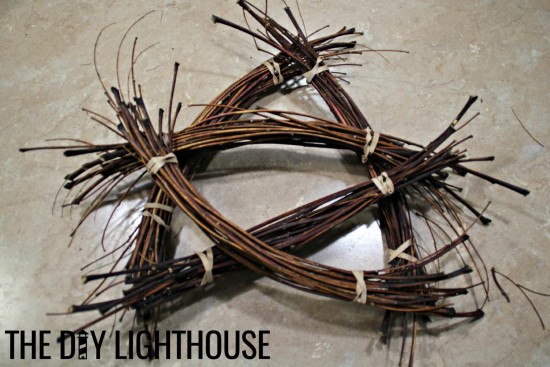
Using string, twine, metal wire, yarn, or whatever you think will look best (I used black thread), tie your DIY Christmas Star together. Whenever two bundles touch, secure them together. The shape of your sticks will determine how many places you’ll need to secure. My sticks are curved, so I ended up tying bundles together in nine different spots. When your DIY Christmas Star is tied together, somewhat weave the star points (where the ends of two bundles touch) together. Then, cut the rubber bands off.
5. Let It Snow
The last step is the icing on the cake….or, rather, the frosting on the star. To make your DIY Christmas Star become part of your holiday winter wonderland, it’s going to need a bit of “snow.” First, lay down newspaper, a garbage sack, or a flattened cardboard box. This will catch all the paint that drips off. Put your star in the middle of the work area, and, using a paint brush, drizzle white paint all over the star. (See how I get paint for free by reading DIY Hack: Get Paint For Free.) Because of the layering of sticks, your DIY Christmas Star will naturally create a snowed-on effect. The top will be mostly white while most of the sticks beneath will stay their natural color. If you’d like to achieve an even more snow-like effect, take an old toothbrush and, running your finger along the tufts of the toothbrush, flick white paint onto the star. (Just be careful not to paint the entire world while doing this.) Once the paint is dry, your DIY Christmas Star is ready to be showcased!
‘Tis the season to make your holiday decor the DIY way! Hope you enjoy making this DIY Christmas Star. We’d love to know what some of your other favorite Christmas decorations are, so please comment below. And remember, be a light this holiday season!
