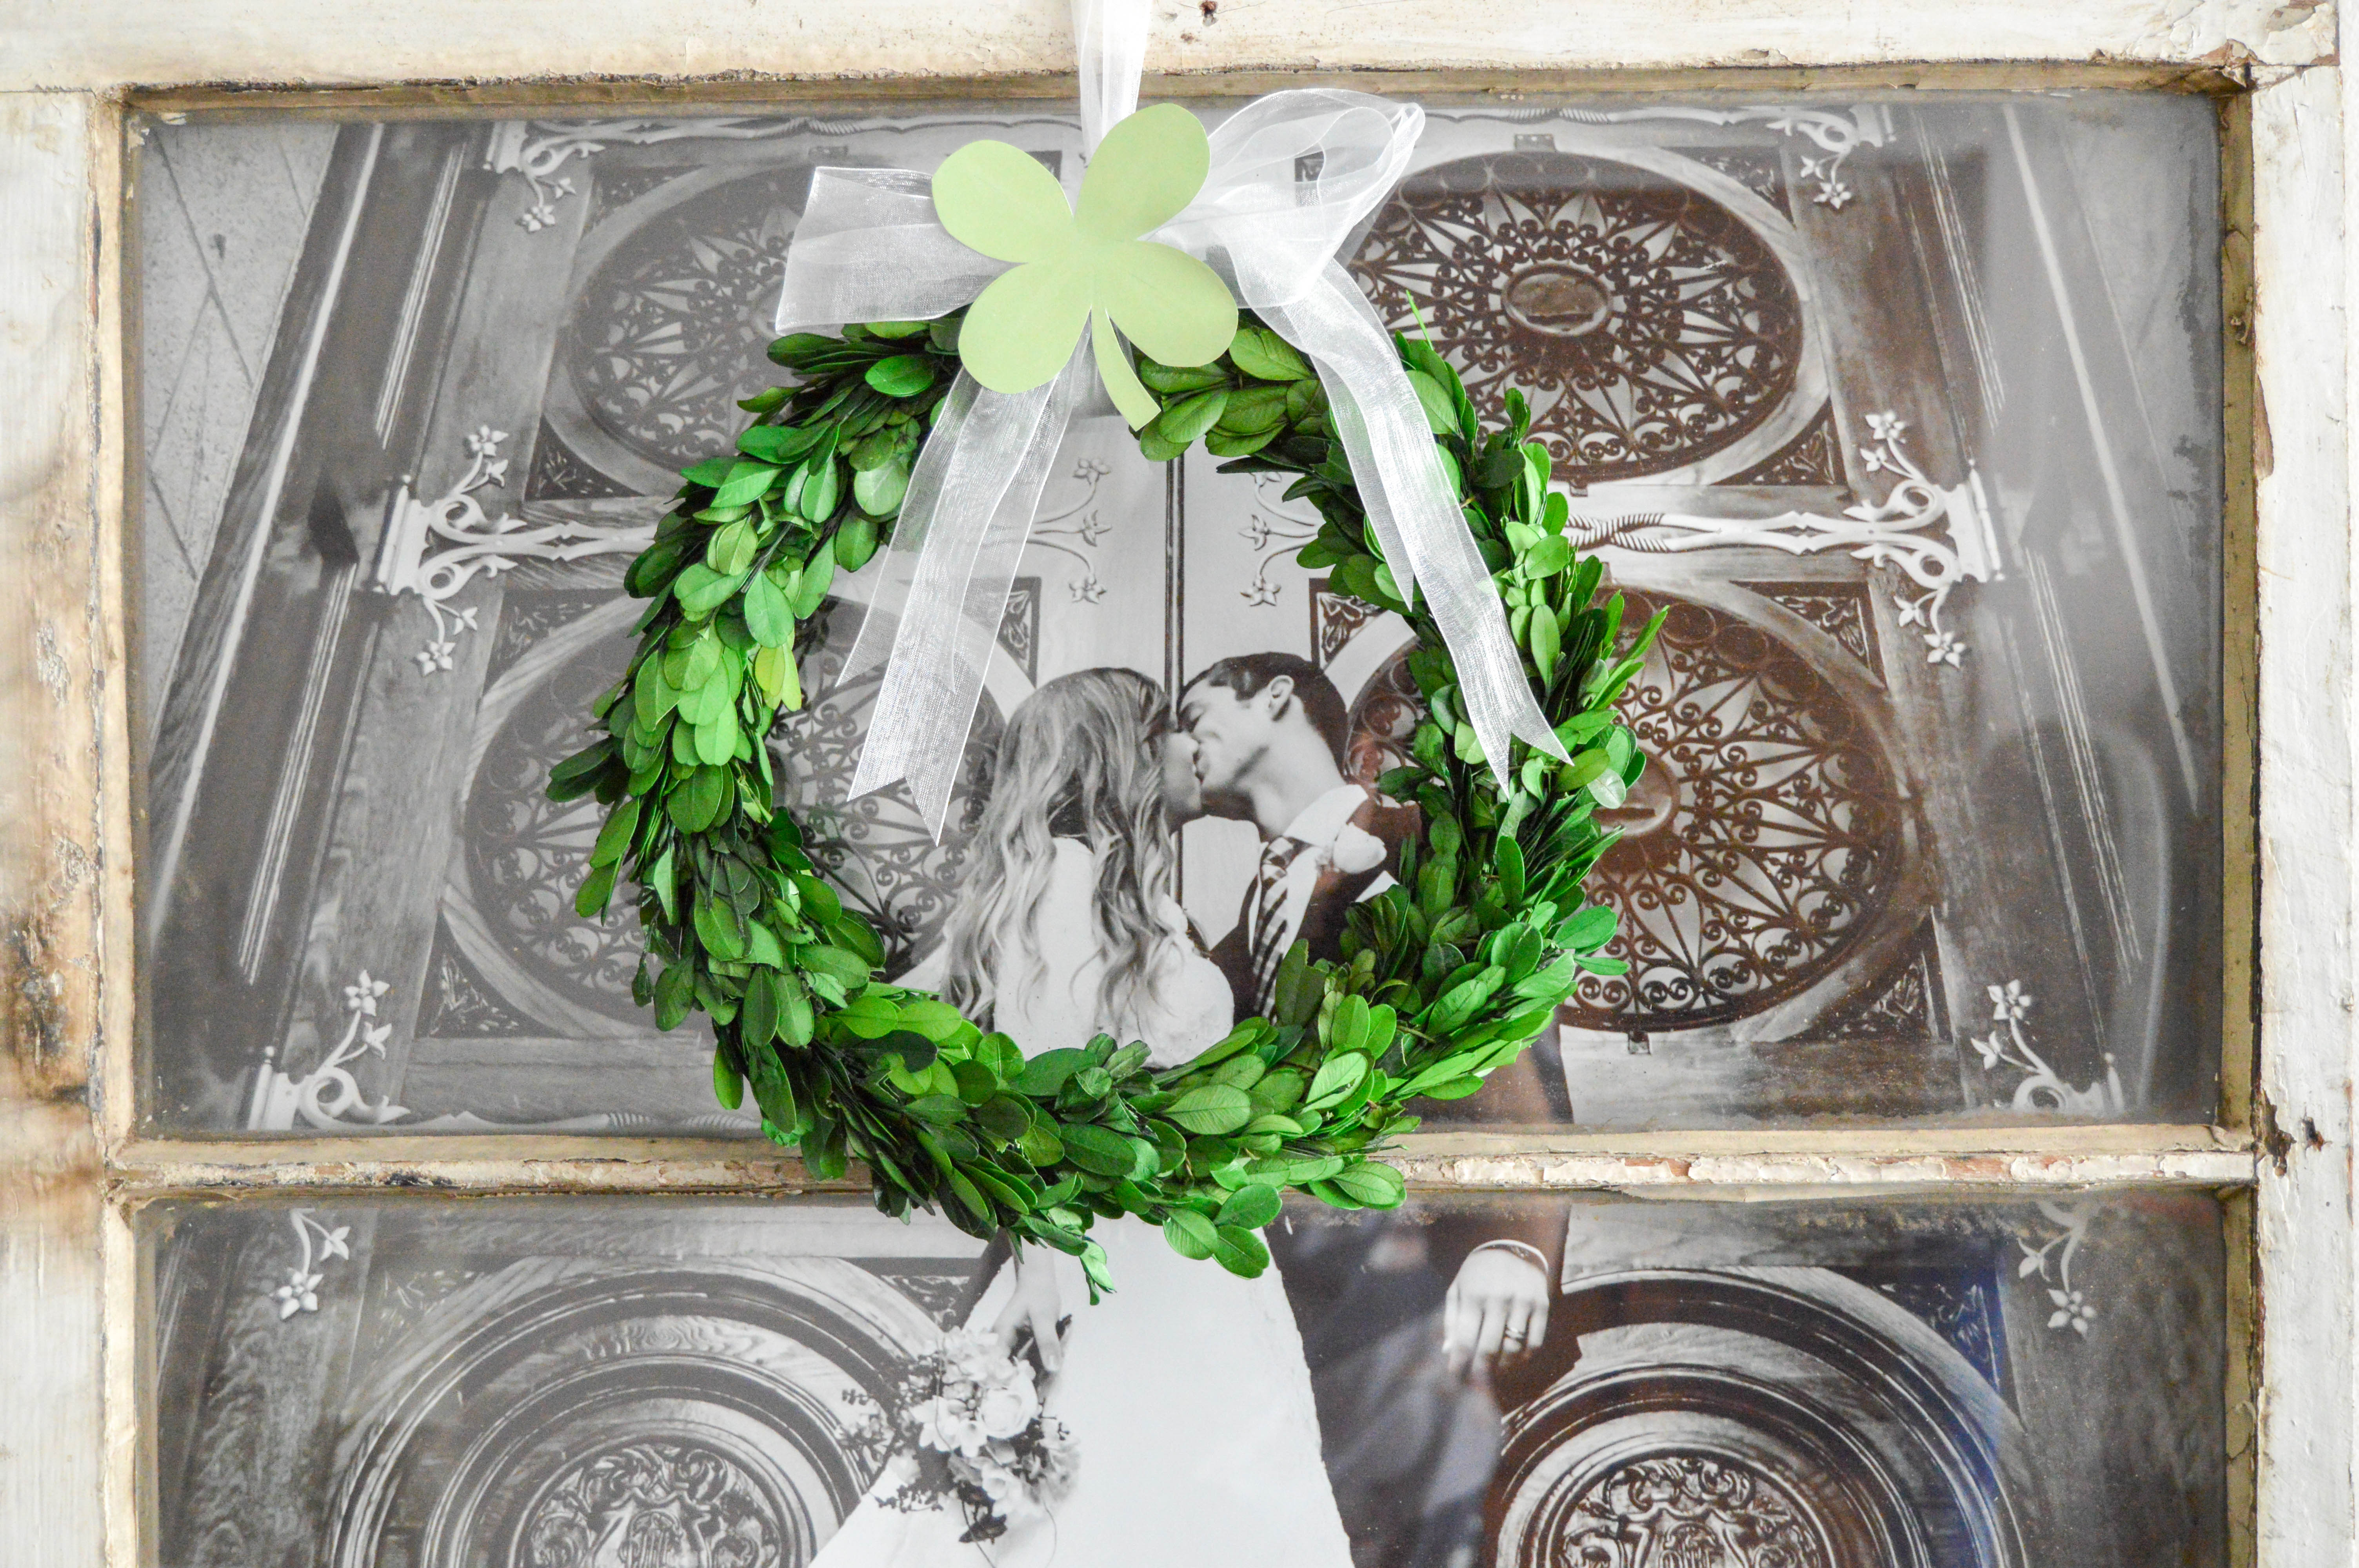
Growing up we always celebrated St Patrick’s Day with a green Cream O’ Wheat breakfast and some intense green clothing. To bring a little St Patrick’s Day home decor into our house this year, I decided to make a St Patricks Day boxwood wreath. Here’s a quick, little tutorial so you can make one too.
(This page contains affiliate links that we may be compensated for. Your clicks and purchases help support The DIY Lighthouse at no extra charge to you. We only put links to products we love and would recommend anyway.)
St Patricks Day Boxwood Wreath Tutorial
Step 1) Gather your supplies
You will need the following materials:
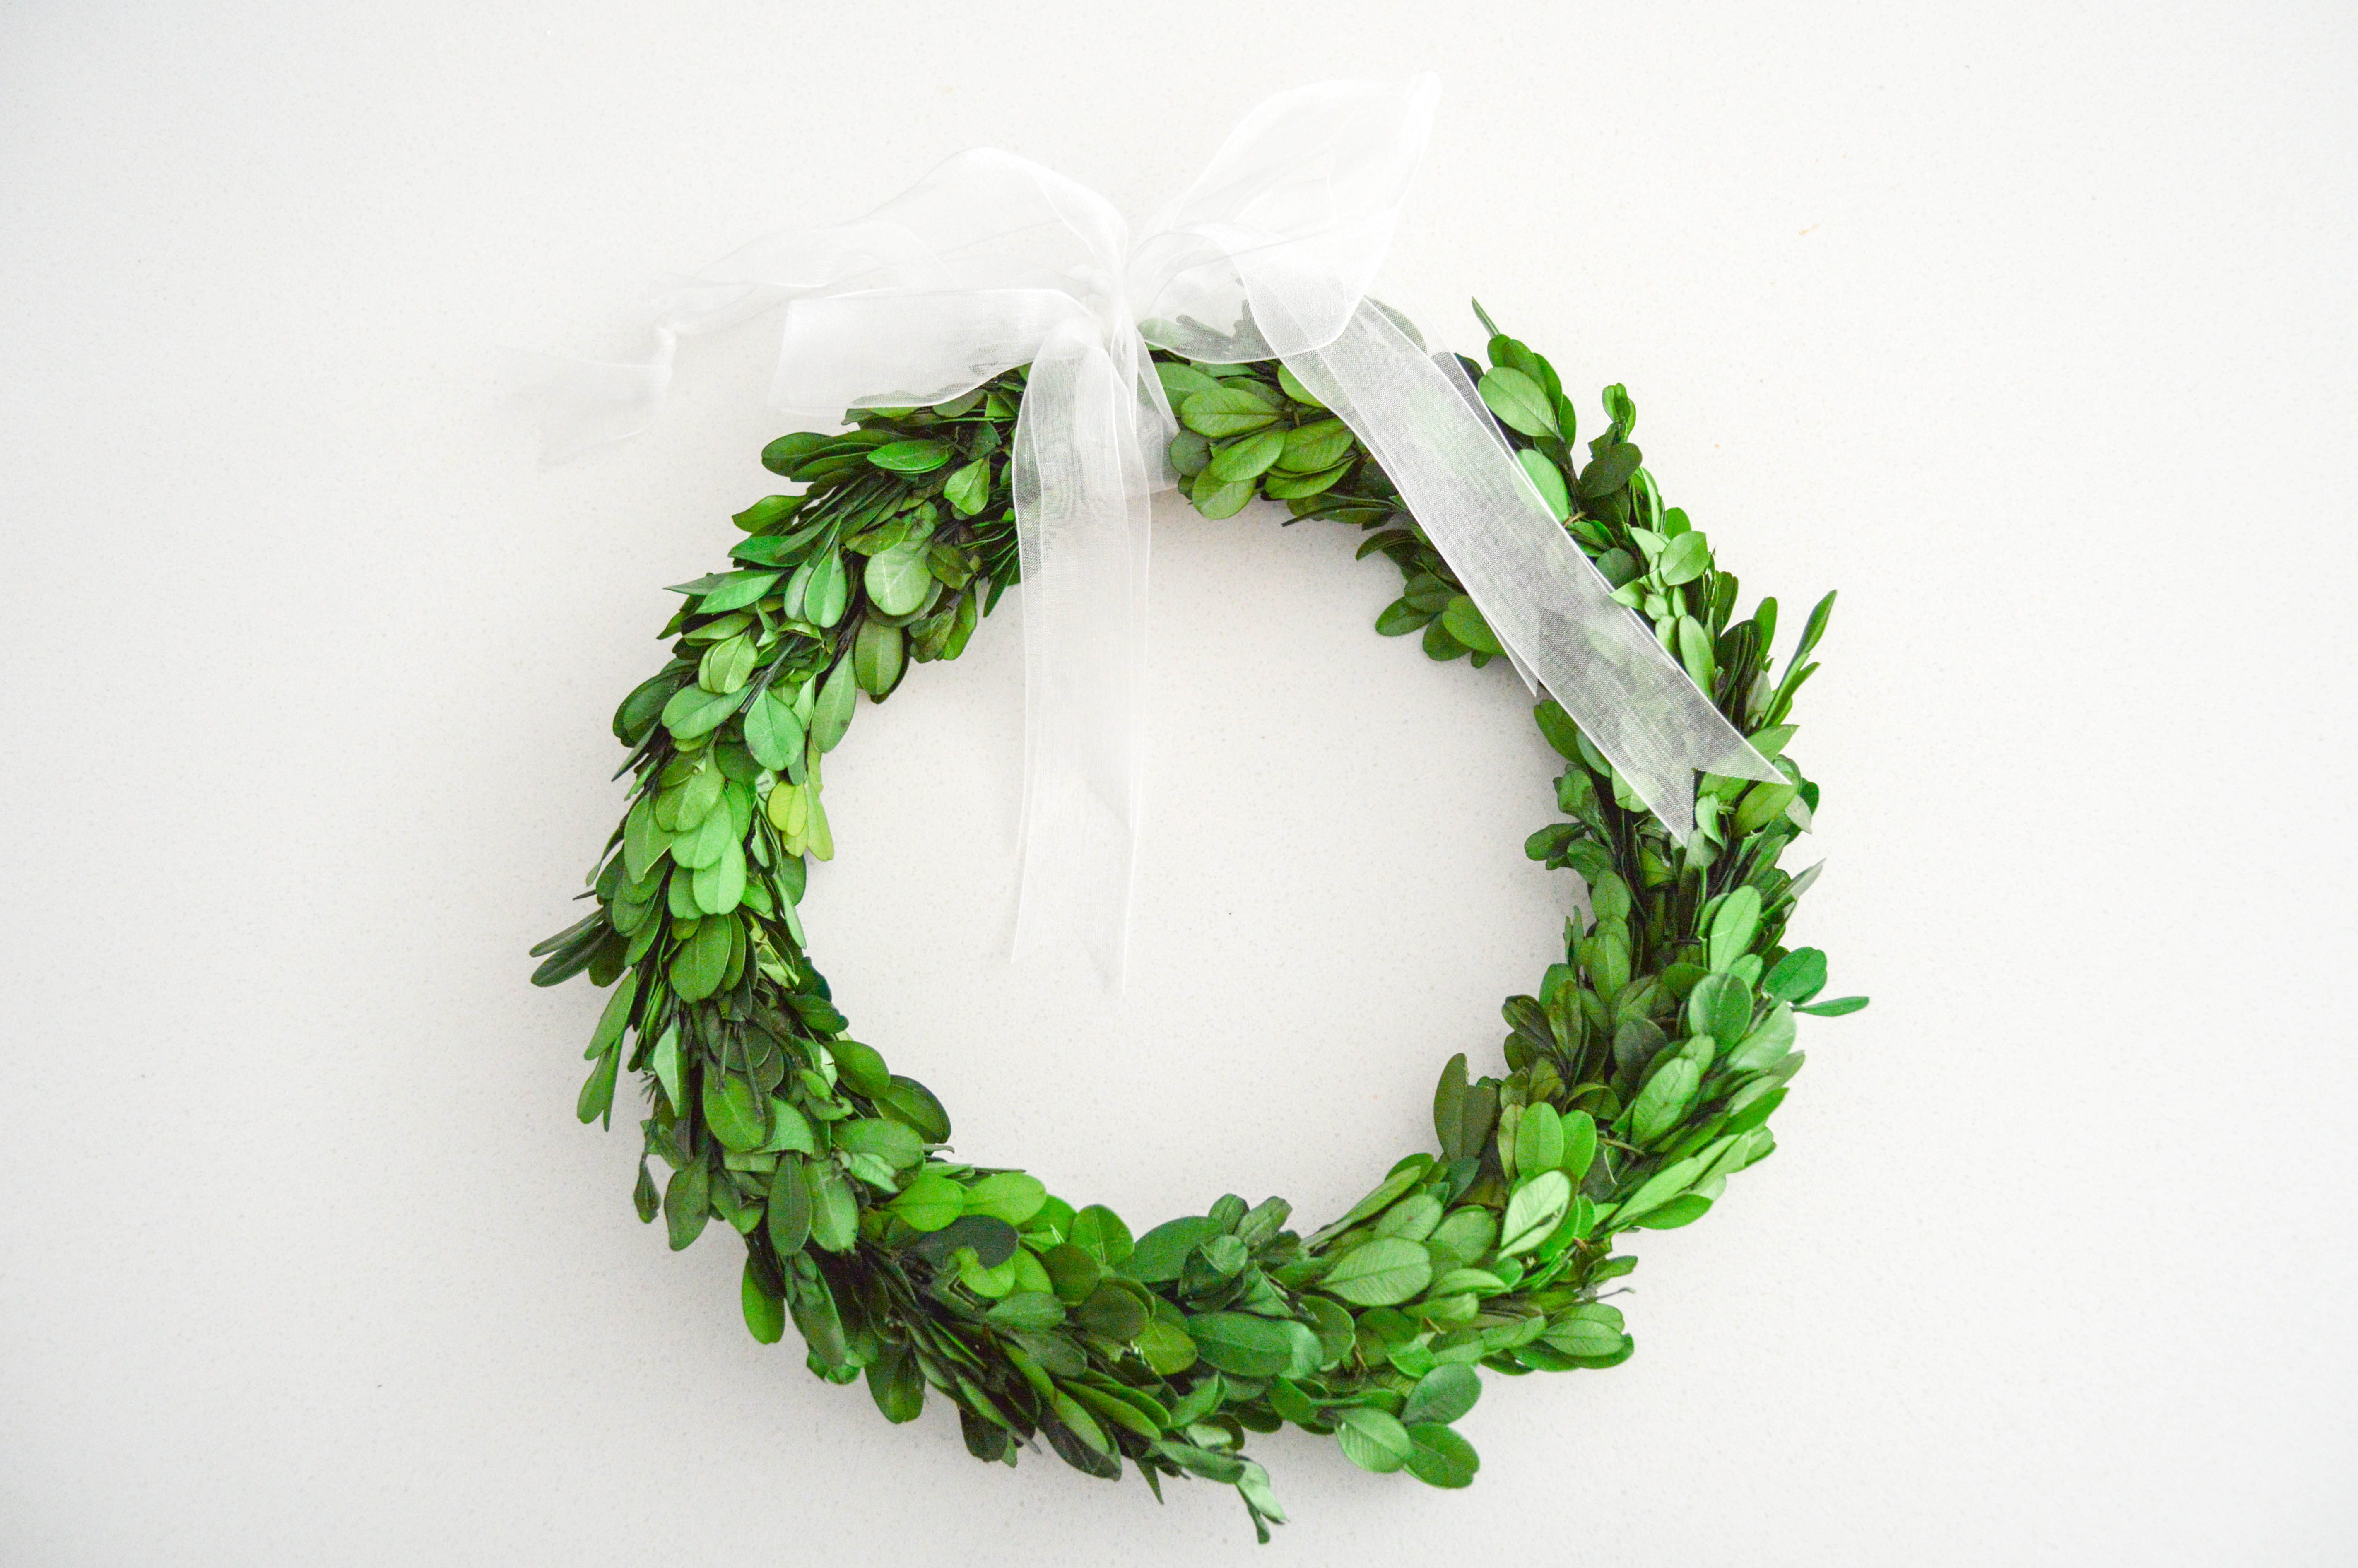
A boxwood wreath. I got one like this live, preserved boxwood wreath. The one I got came with a ribbon and bow for hanging, but you can easily add your own with ribbon like this one from Amazon.
Green paper. Choose whatever color and design you want your clover to be. I wanted a simple, clover so my paper is a solid light green.

Step 2) Make a four leaf clover
First, draw an x on your paper about the size you want your clover to be.

Then, using the X as your guide, draw the clover petals. You will also want to add in a stem.
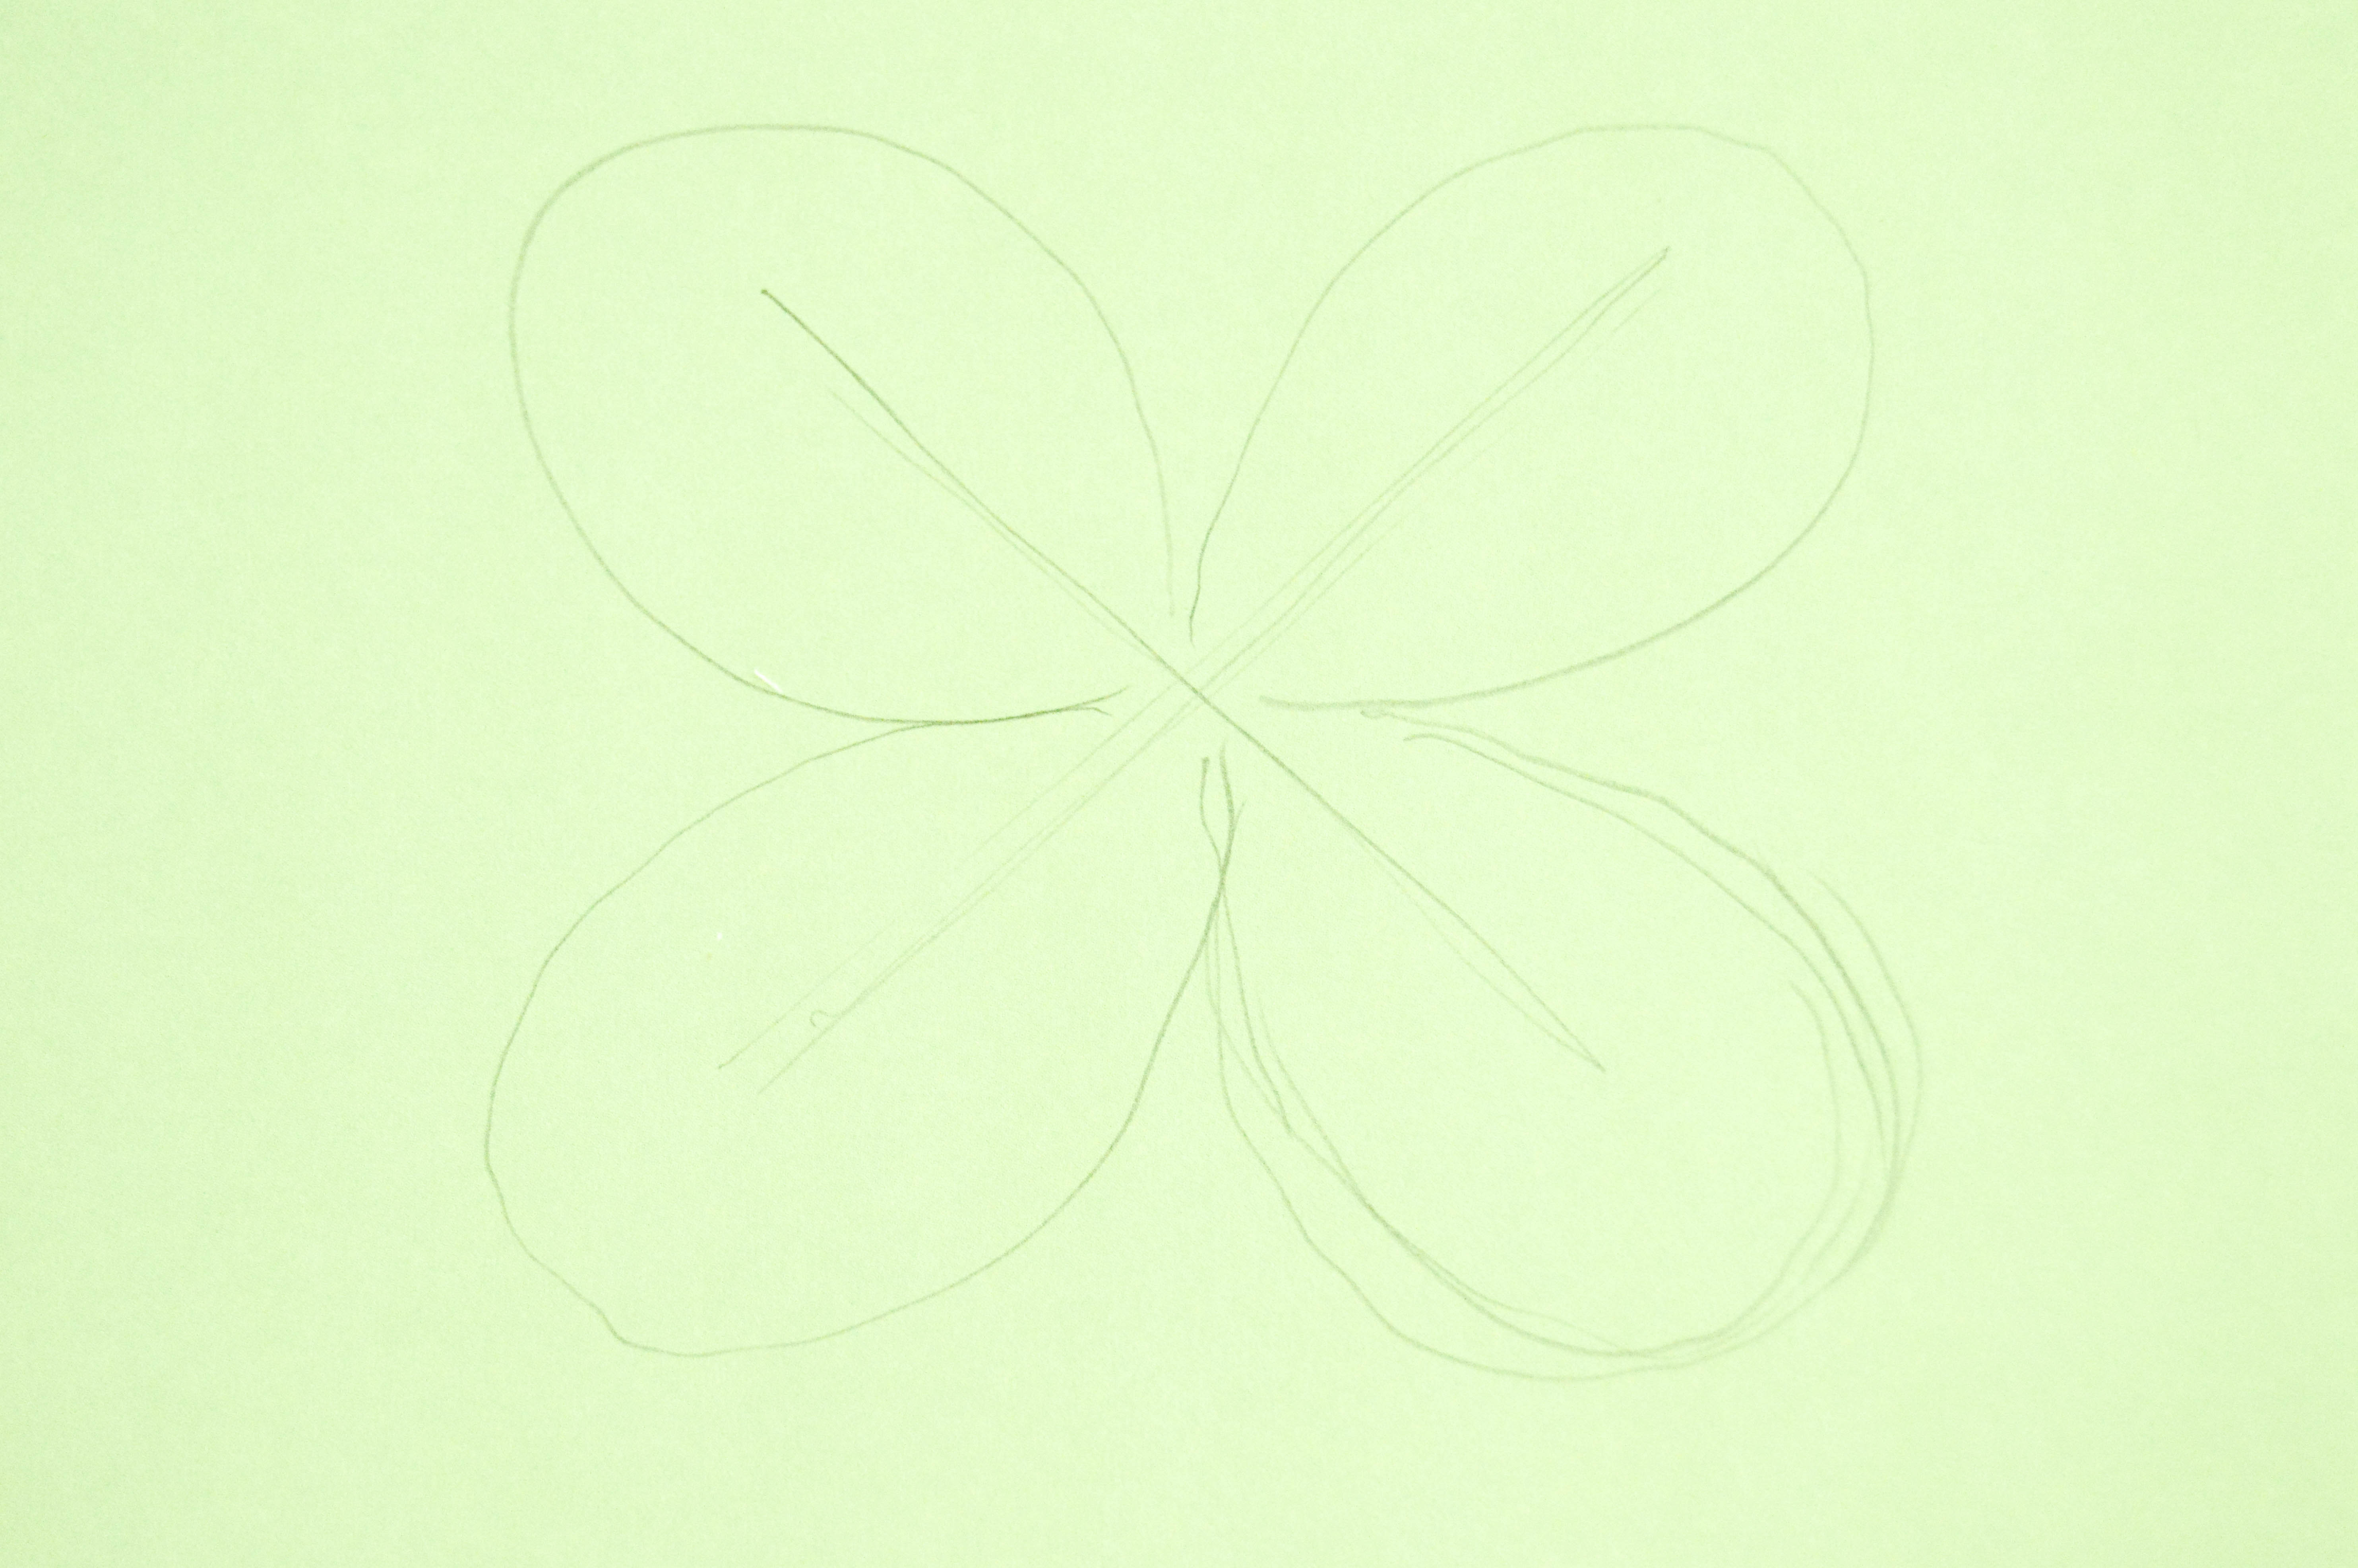
Cut out your clover and erase any visible pencil marks.
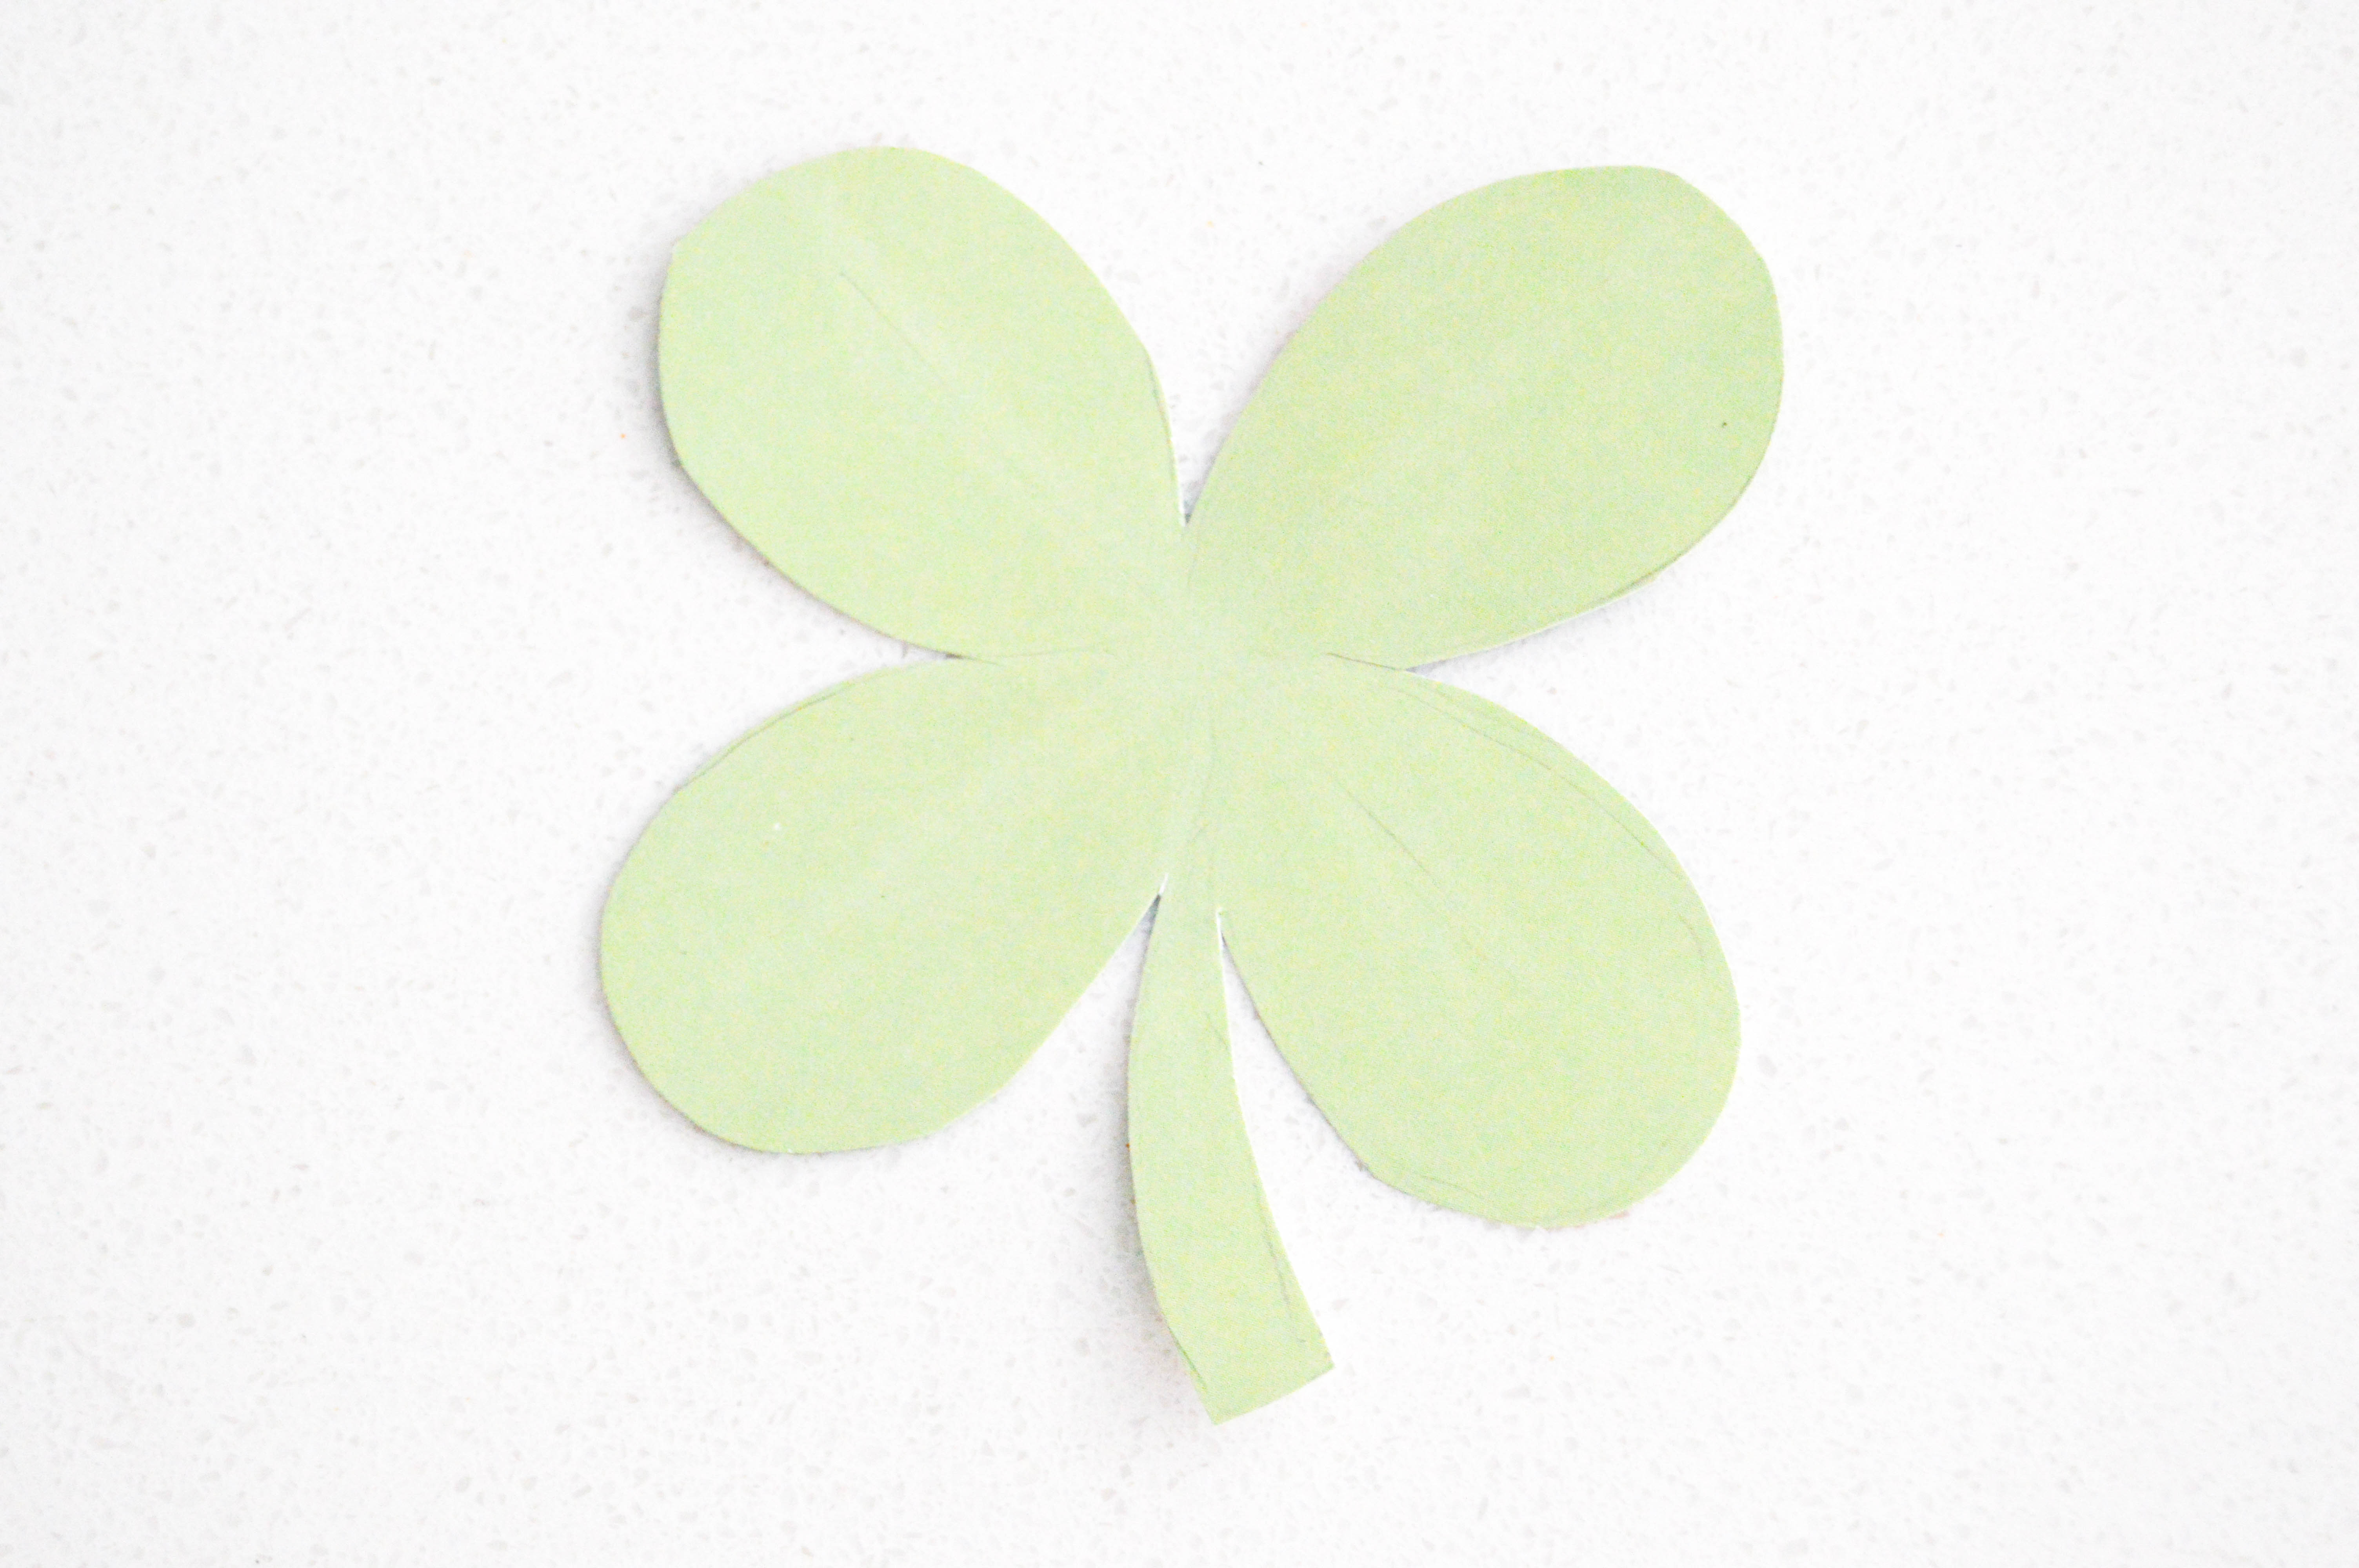
3) Attach your clover to the wreath
Using tape or hot glue, stick your four leaf clover to your wreath. I liked putting mine at the center of the bow.
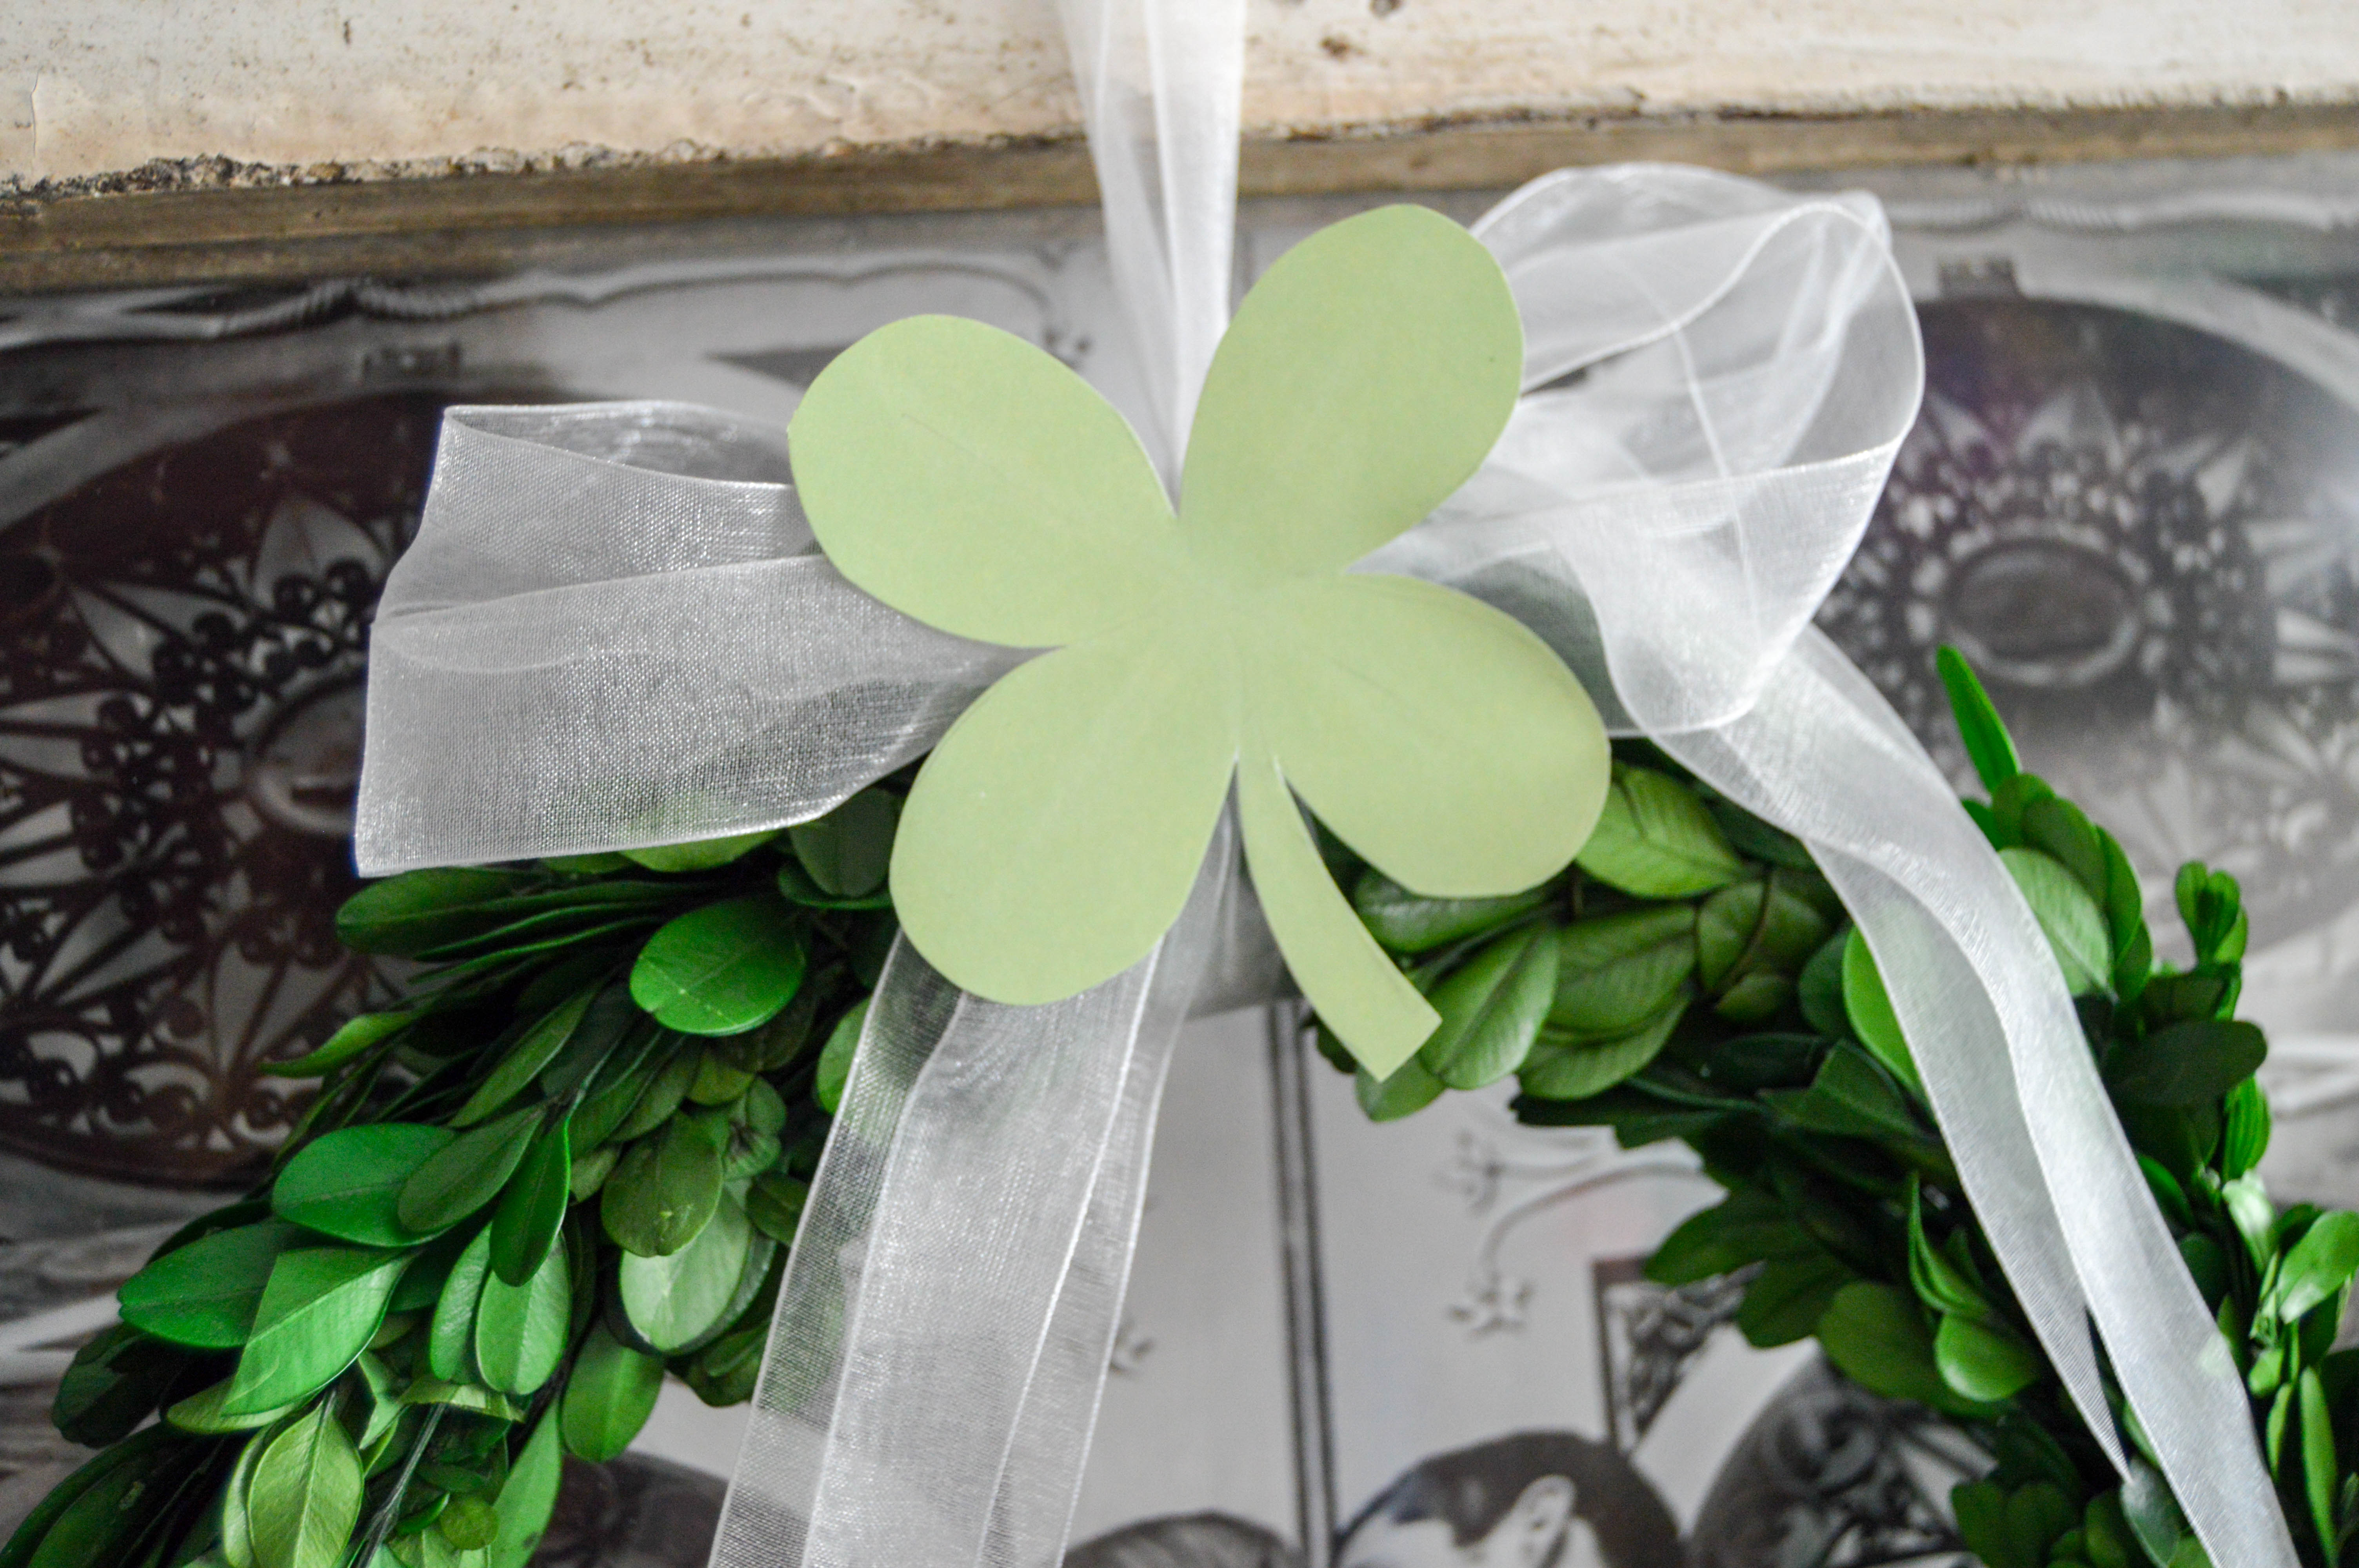
And there you go! Your super easy St Patricks Day boxwood wreath.
St Patricks Day Home Decor
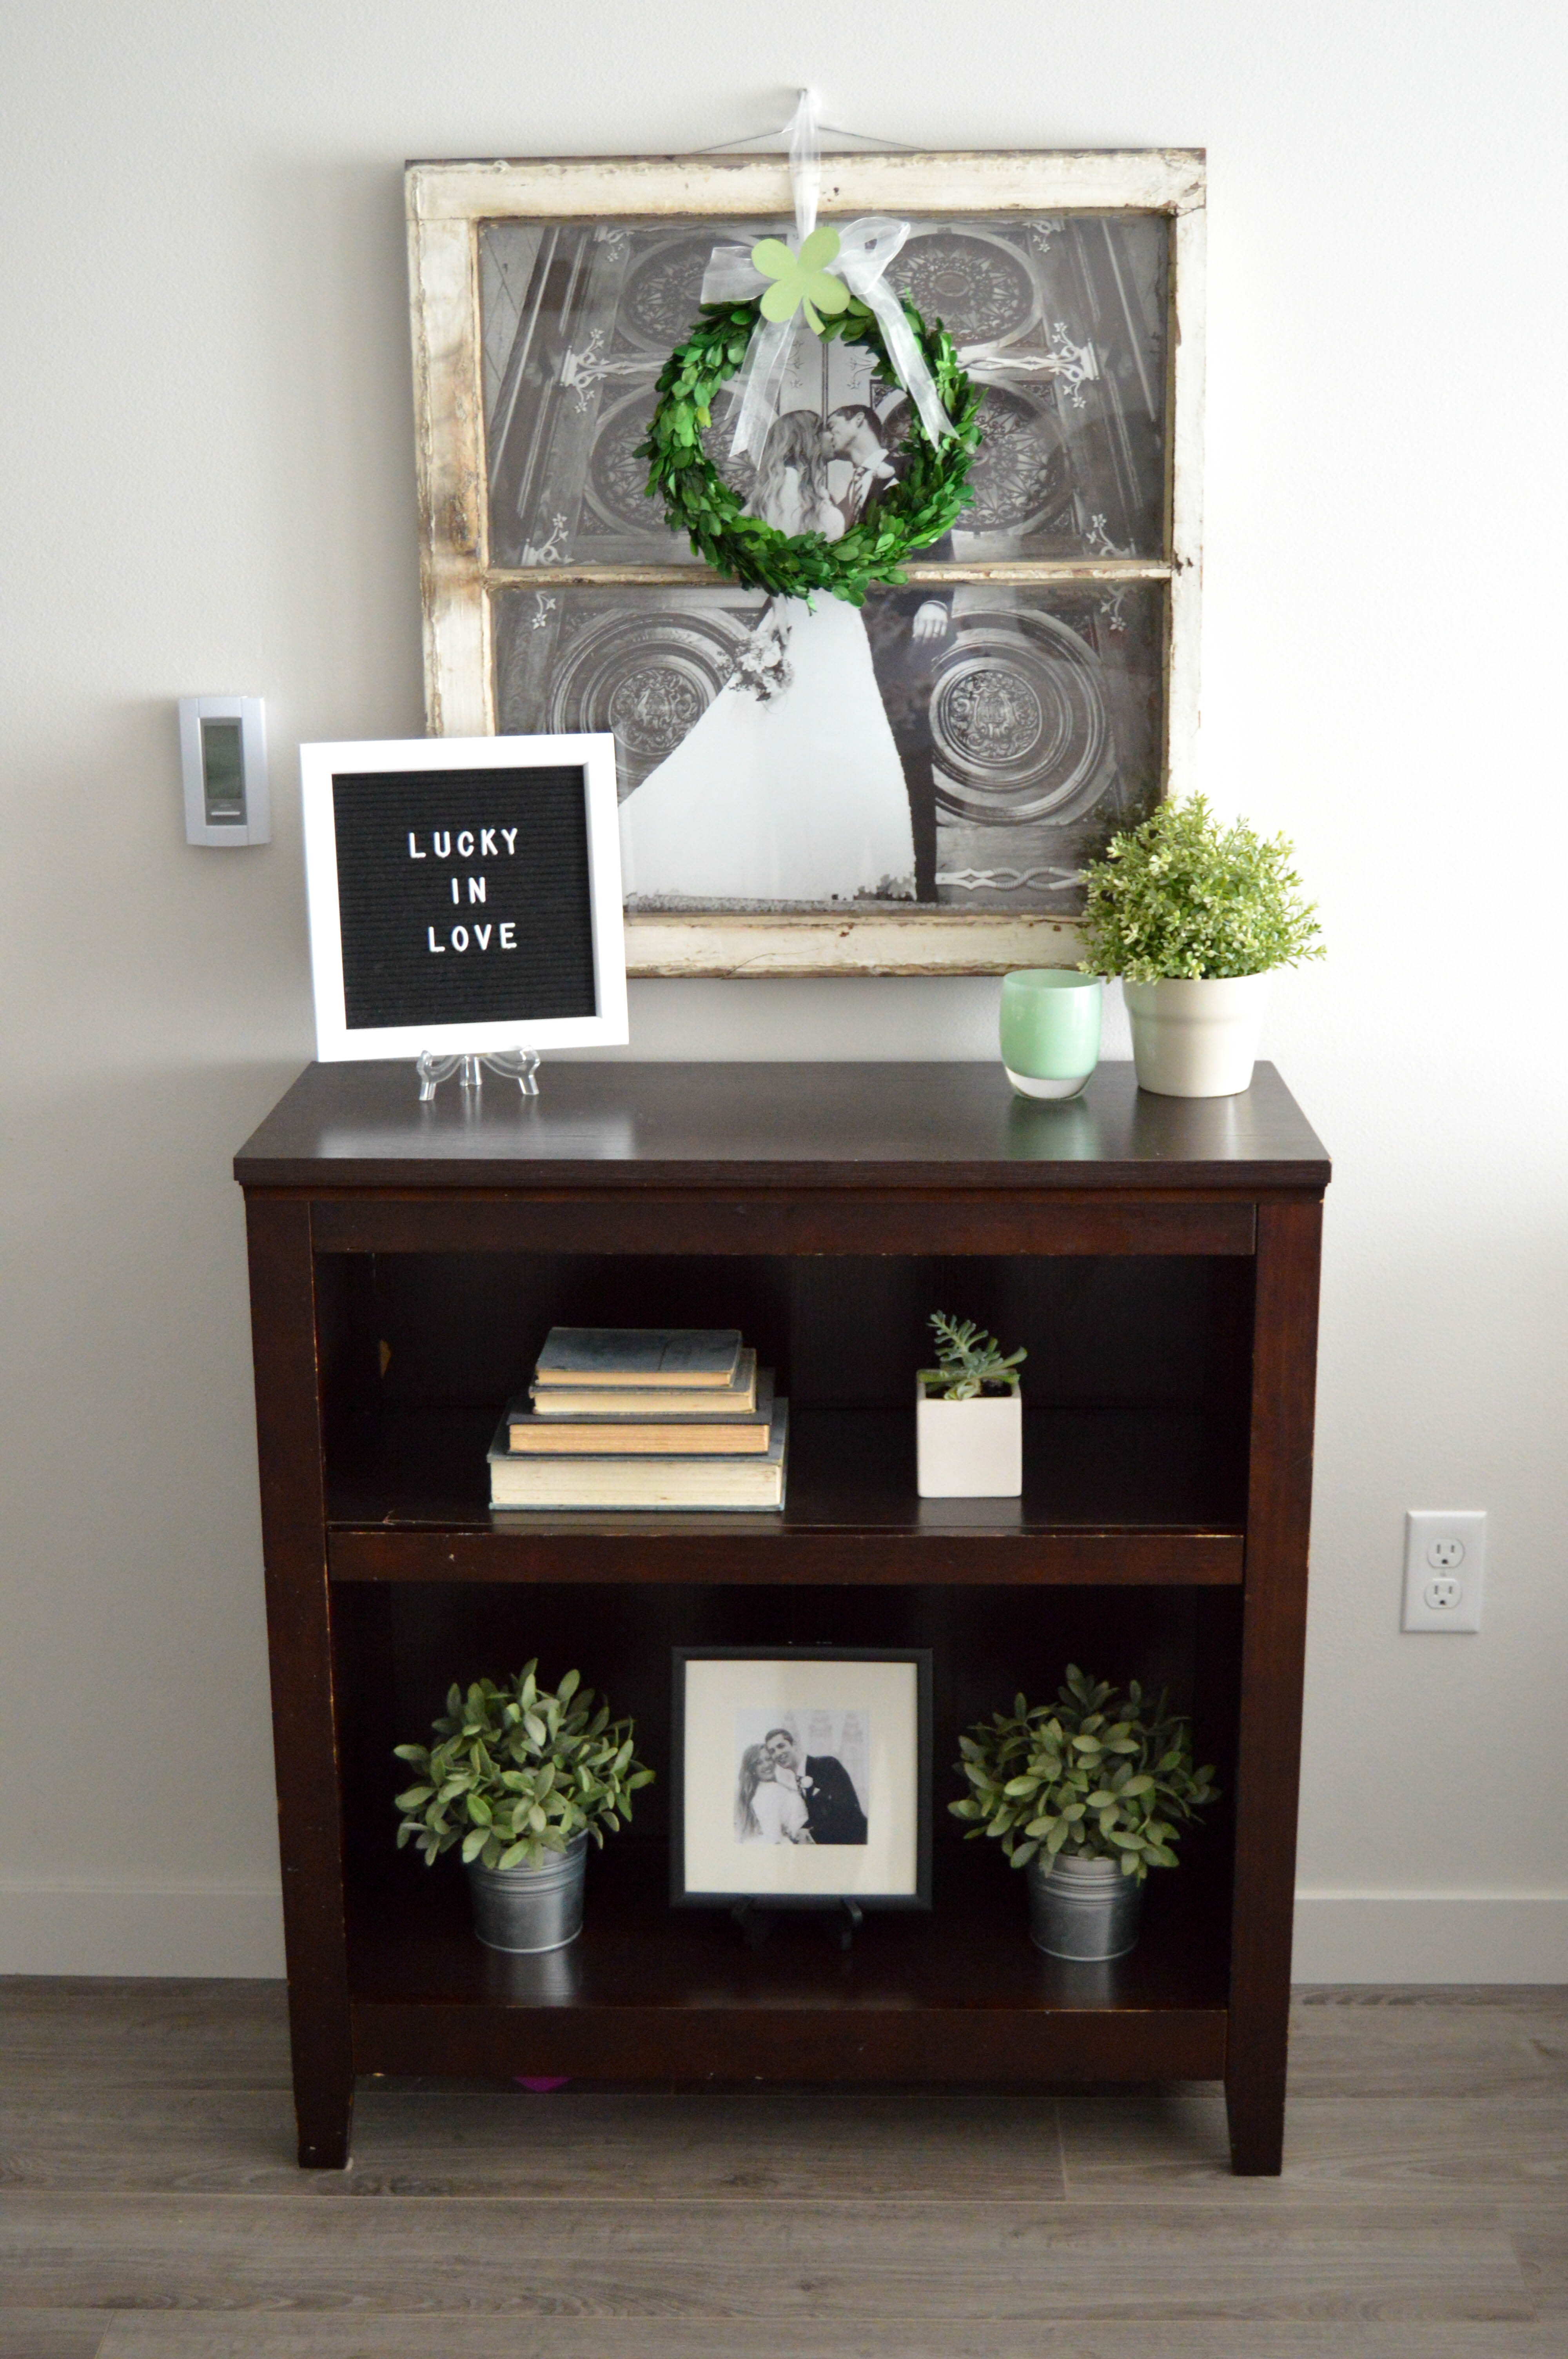
I hung my St Patricks Day boxwood wreath over a picture from our wedding day. To see how I made this antique window frame picture, click here. I also added a white and black letter board with the phrase “LUCKY IN LOVE.” You can get this black and white letter board on Amazon by clicking here. The three artificial plants are from IKEA, the candle and succulent were gifts from friends, and the stack of old books are from a garage sale. With a few things from here and there, you can recreate this farmhouse style black, white, and green St Patricks Day home decor too.
Pin It For Later
Other Posts You Might Like

Fun St. Patricks Day Family Traditions
