I recently revealed our long entry hallway makeover and promised to go into more detail on a few of the project we did. So, in this post, I’ll share our steps for creating the DIY live edge wood shelf.
(This page contains affiliate links that we may be compensated for. Your clicks and purchases help support The DIY Lighthouse at no extra charge to you. We only put links to products we love and would recommend anyway.)
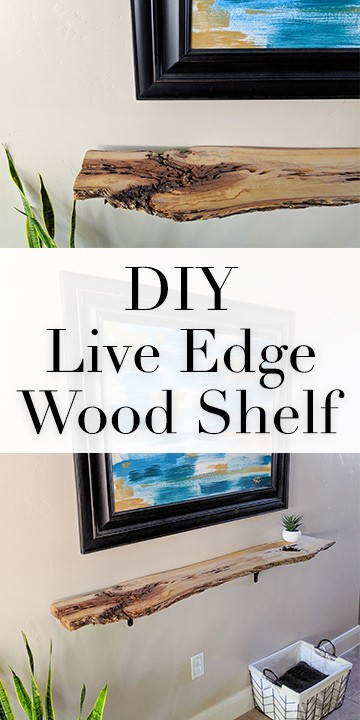
DIY Live Edge Wood Shelf
To break up our long entryway hall, we wanted to add a console table. After looking around for months, I couldn’t find anything that was cheap enough that I liked. So, I took matters into my own hands and decided to make a DIY live edge wood shelf.
I searched online and found a guy through Facebook Marketplace that sells wood slabs in LaVerkin, Utah for a really decent price. My husband and I drove out there and looked through his different slab cuts.
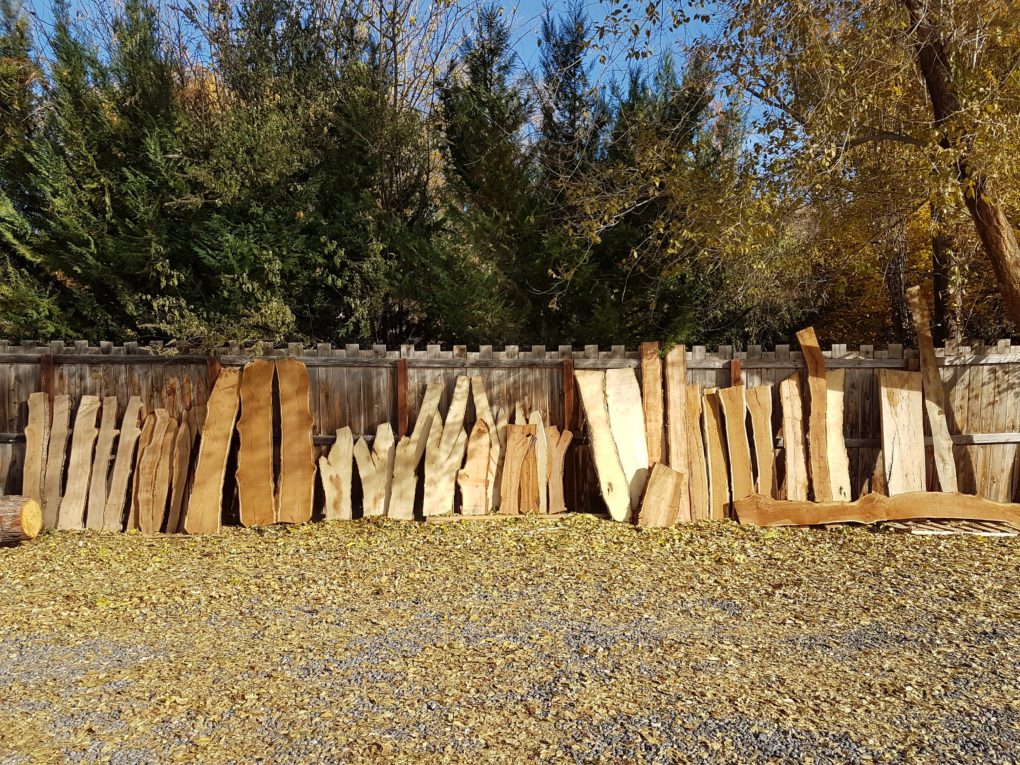
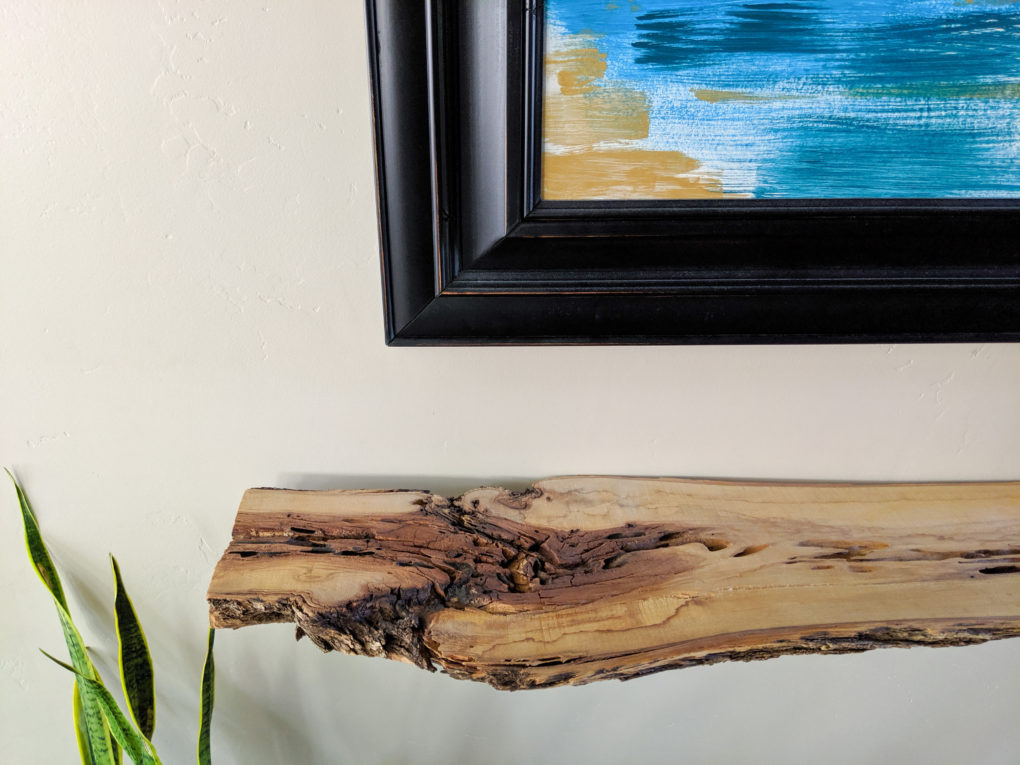
I was specifically looking for one with a straight edge on one side so it could sit flush against the wall, but a fun piece otherwise with knots or other stuff that would give it character. We found just the piece and had the seller cut the edges straight for us.
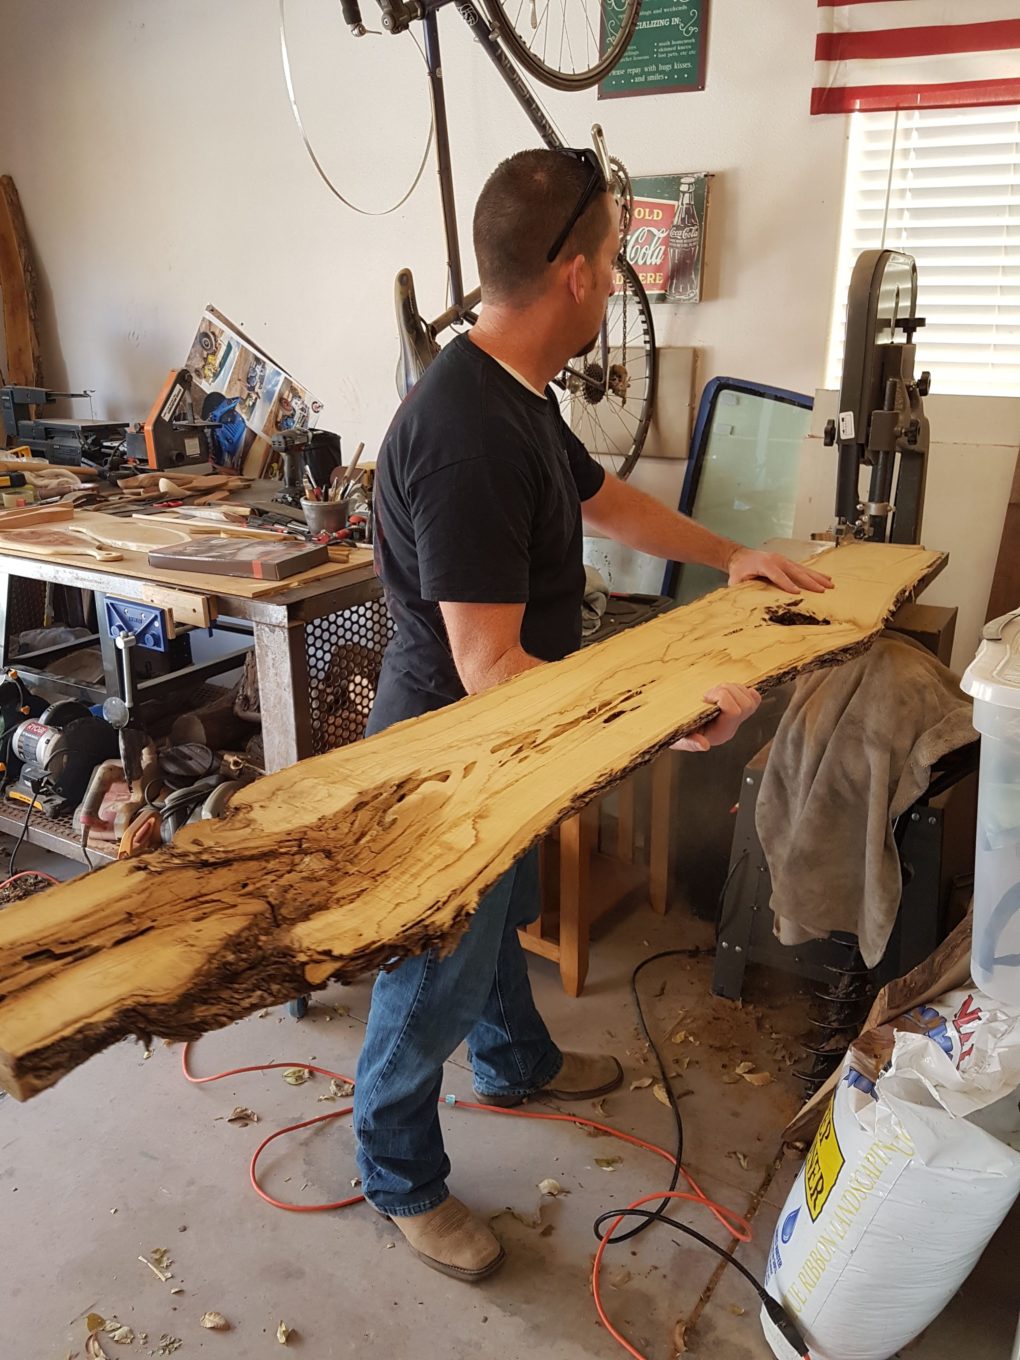
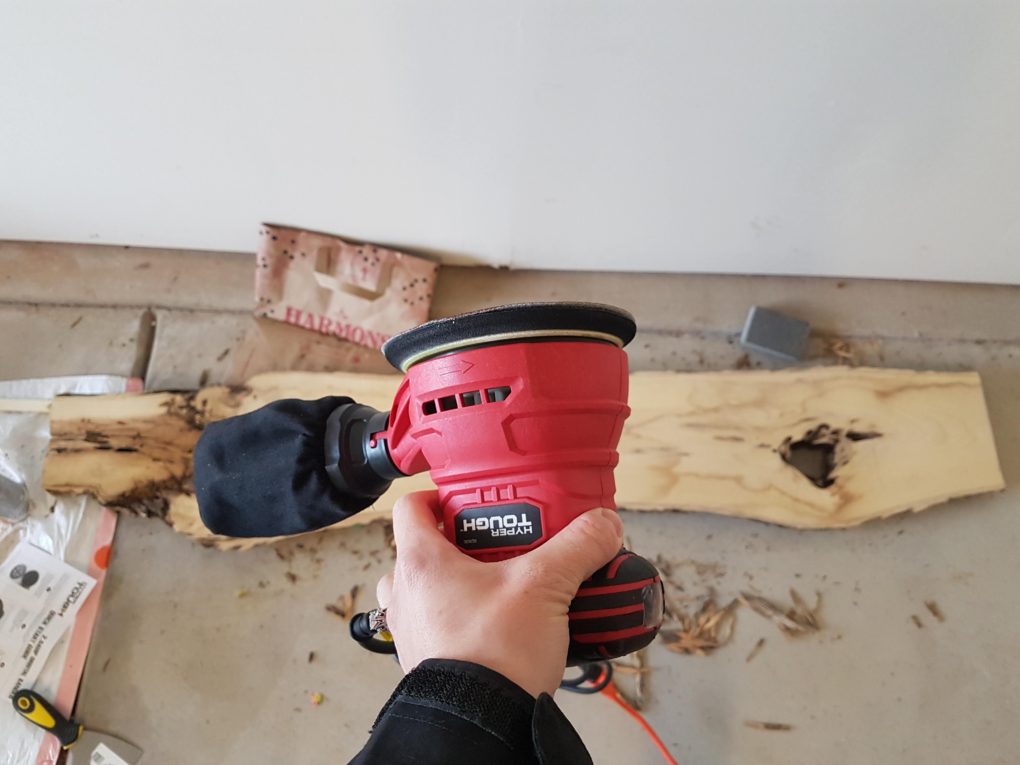
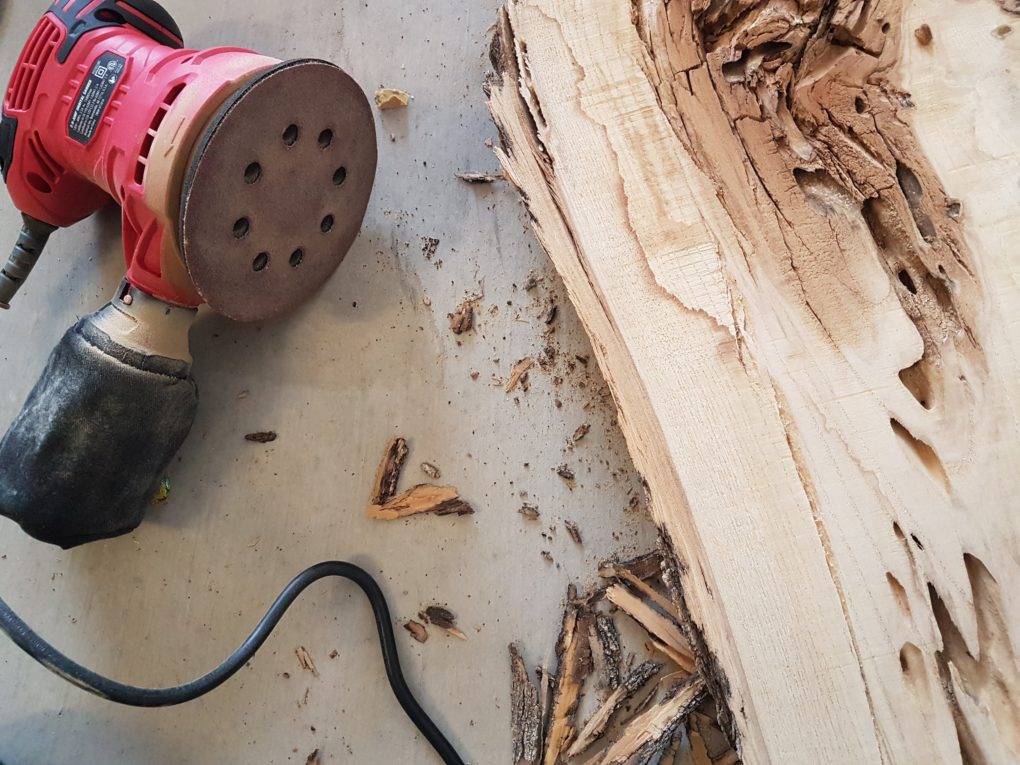
Sanding Down the Wood Slab
When we got the slab home, I sanded it down in the garage with an orbital sander and an 80 grit sand paper. Then we worked our way up to a 220 grit sand paper. I don’t think I did an amazing job sanding it down because it’s not totally smooth, but for this project it’s fine.
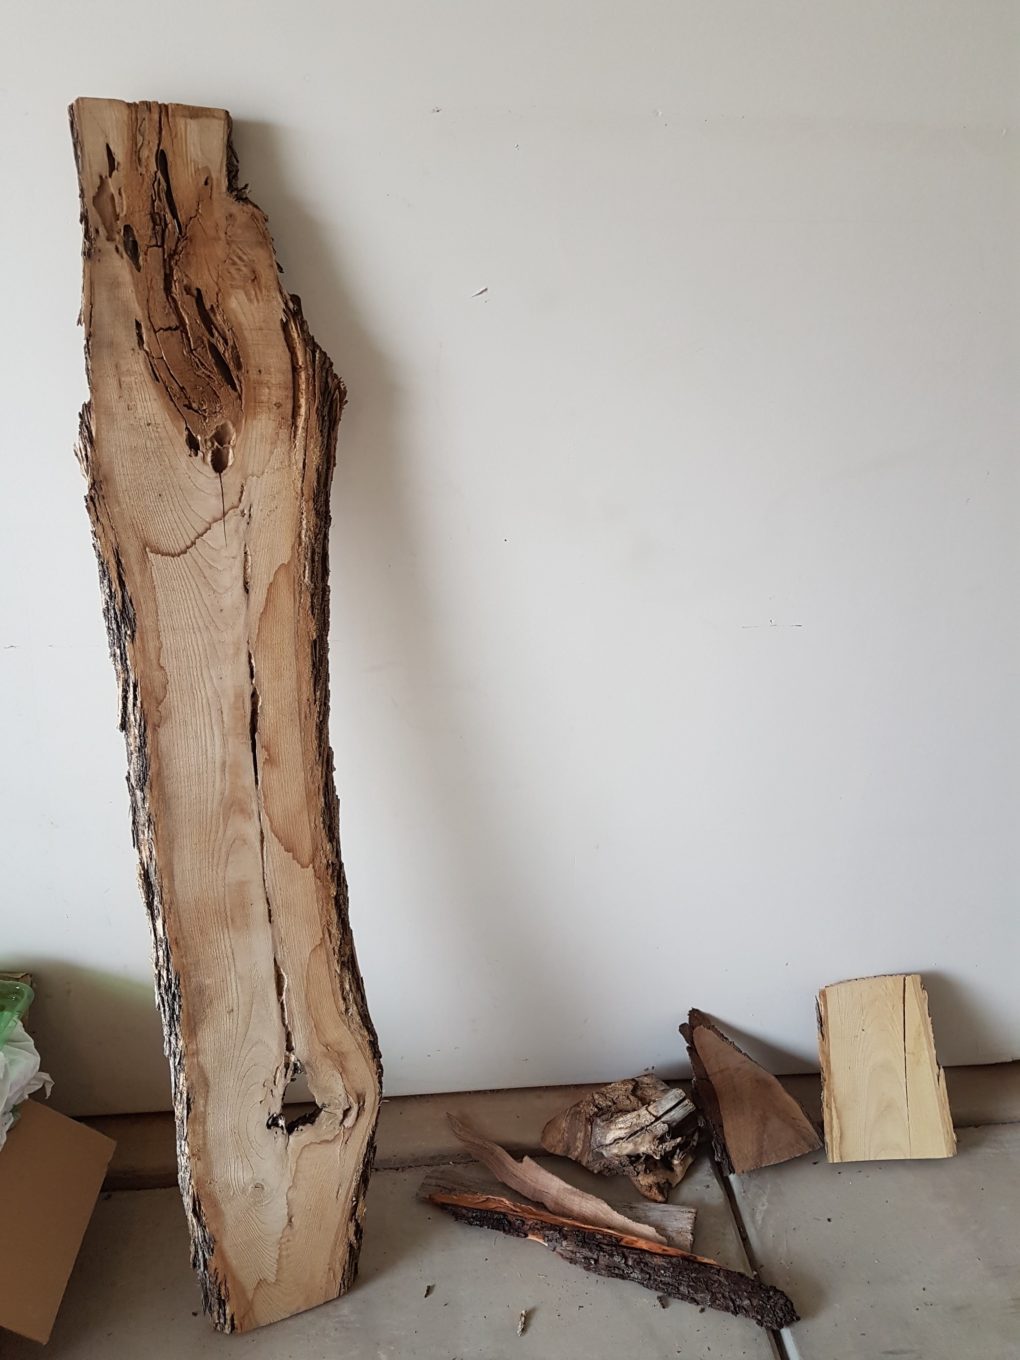
Decisions about the Live Edge Wood Shelf
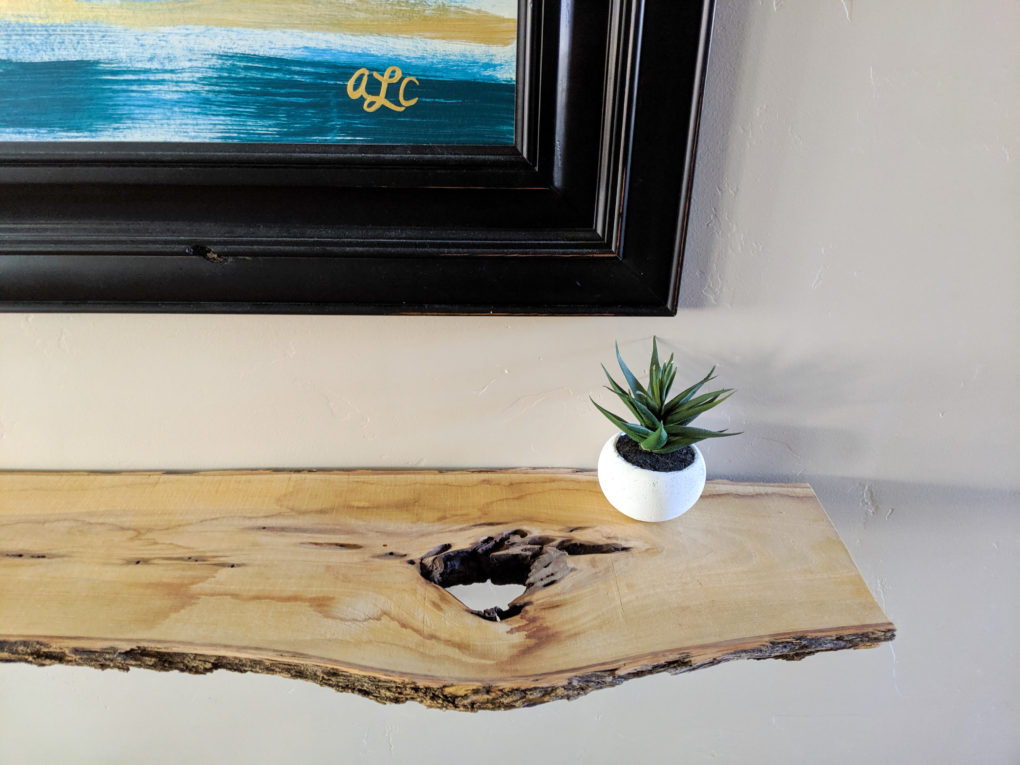
After sanding it down, first with a I went back and forth on wether or not to stain it. We had a sample piece and tried the stain on that and ultimately decided to keep it the original color so we wouldn’t loose the awesome color variants around the knots.
I also went back and forth on wether or not to take the bark off but since it was a piece that would not be getting very heavy use, ultimately we left the bark on. (For a piece that would be getting a lot of contact/use like a desk, dining table, etc. I would definitely have taken off the bark, but for this side shelf that acts more like a statement piece than a practical piece, we felt comfortable leaving the bark on.) I did, however, peel off any bark pieces sticking out so things wouldn’t catch on it and cause it to peel away later.
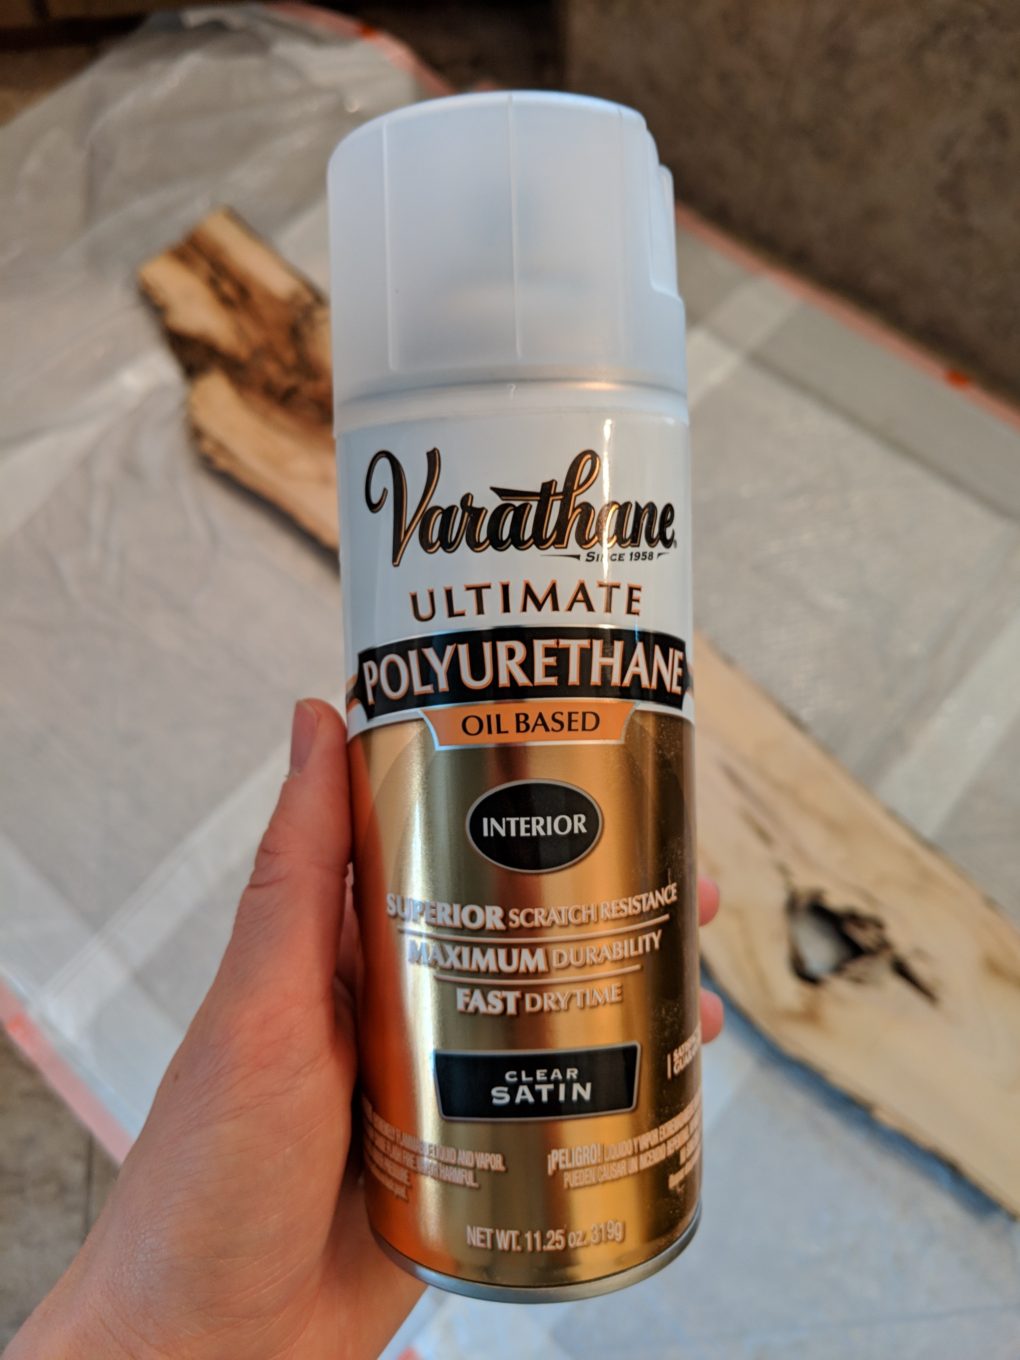
Sealing the Wood Slab
After a thorough wipe down and vacuum, I transferred the slab to a well-ventilated bathroom (because it was December, it was too cold in the garage to do it there or outside) and laid it down on a bunch of garbage bags.
I used a polyurethane oil based spray to protect the wood surface. I used the spray because my wood surface isn’t smooth, and I didn’t want poly seeping down into cracks. After letting a few coats of this dry, our wood slab was prepped and ready to hang.
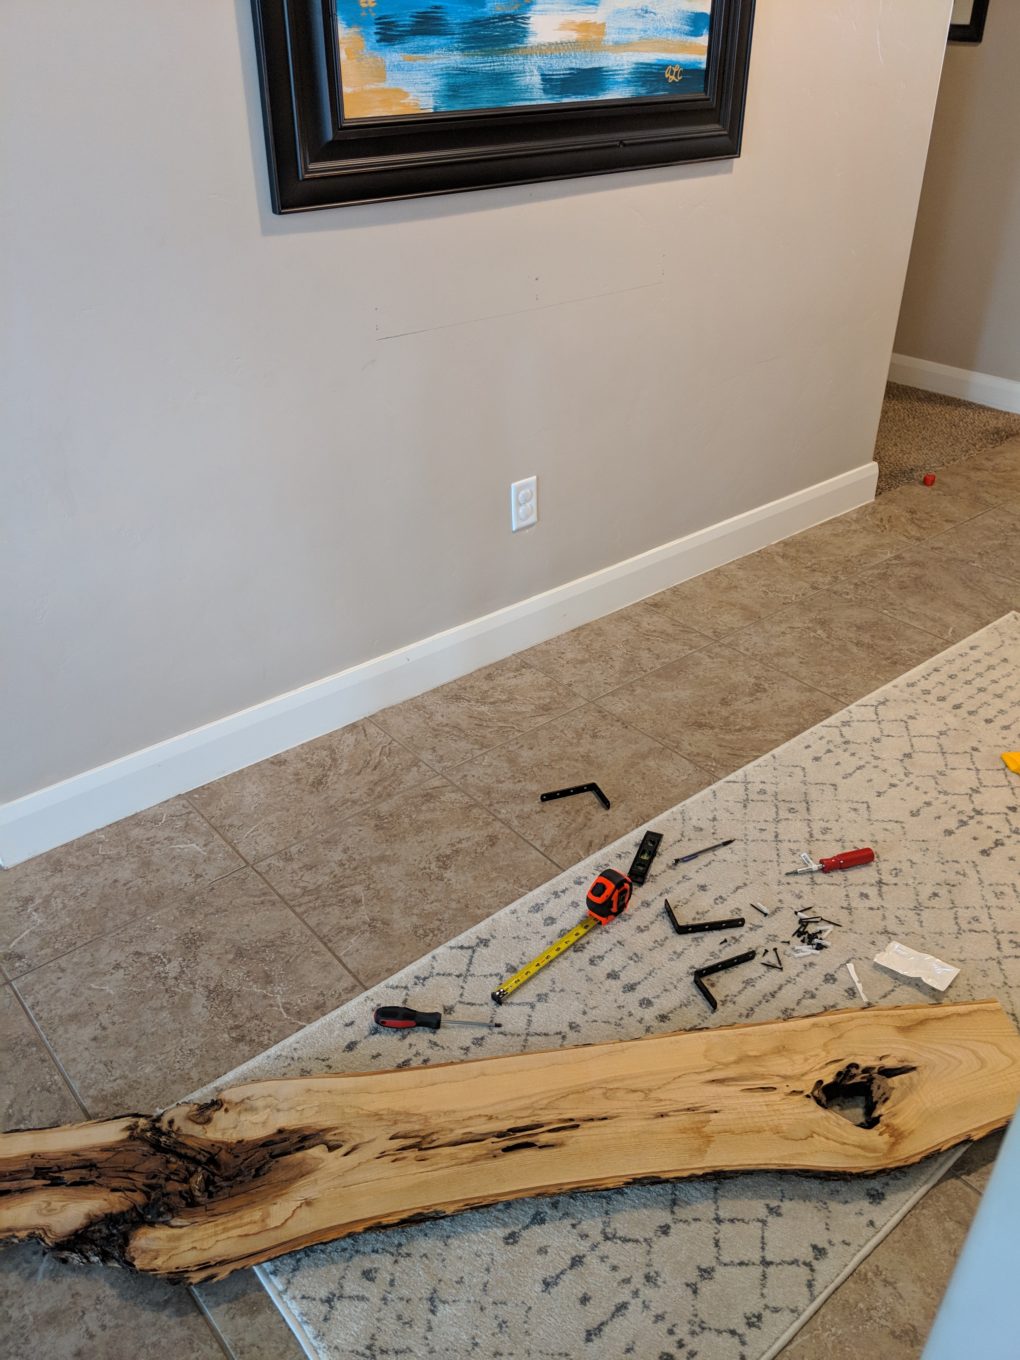
Hanging the Live Edge Shelf
We originally used these steel L shaped brackets from Amazon to hang the shelf to the wall. It had good reviews and we liked that it was really discrete. We wanted the shelf sitting at 36″ up the wall so we found studs and secured three separate brackets to the wall and shelf.
After a few weeks of having it like that, we realized it was not stable enough. The shelf could wiggle if someone pushed on the shelf. We know that wouldn’t be a good long-term solution, so we went to Lowe’s and got these studier brackets that had another support piece.
We replaced the two outer brackets to these new ones and left the middle one as is. It worked! The live edge wood shelf now feels sturdy.

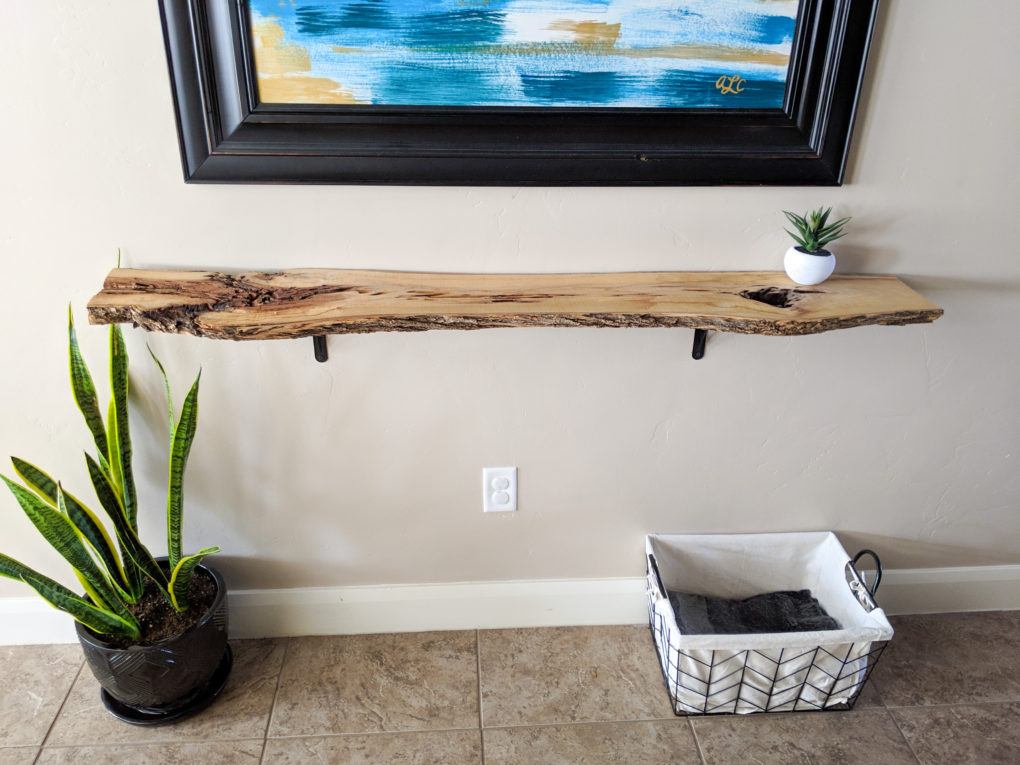
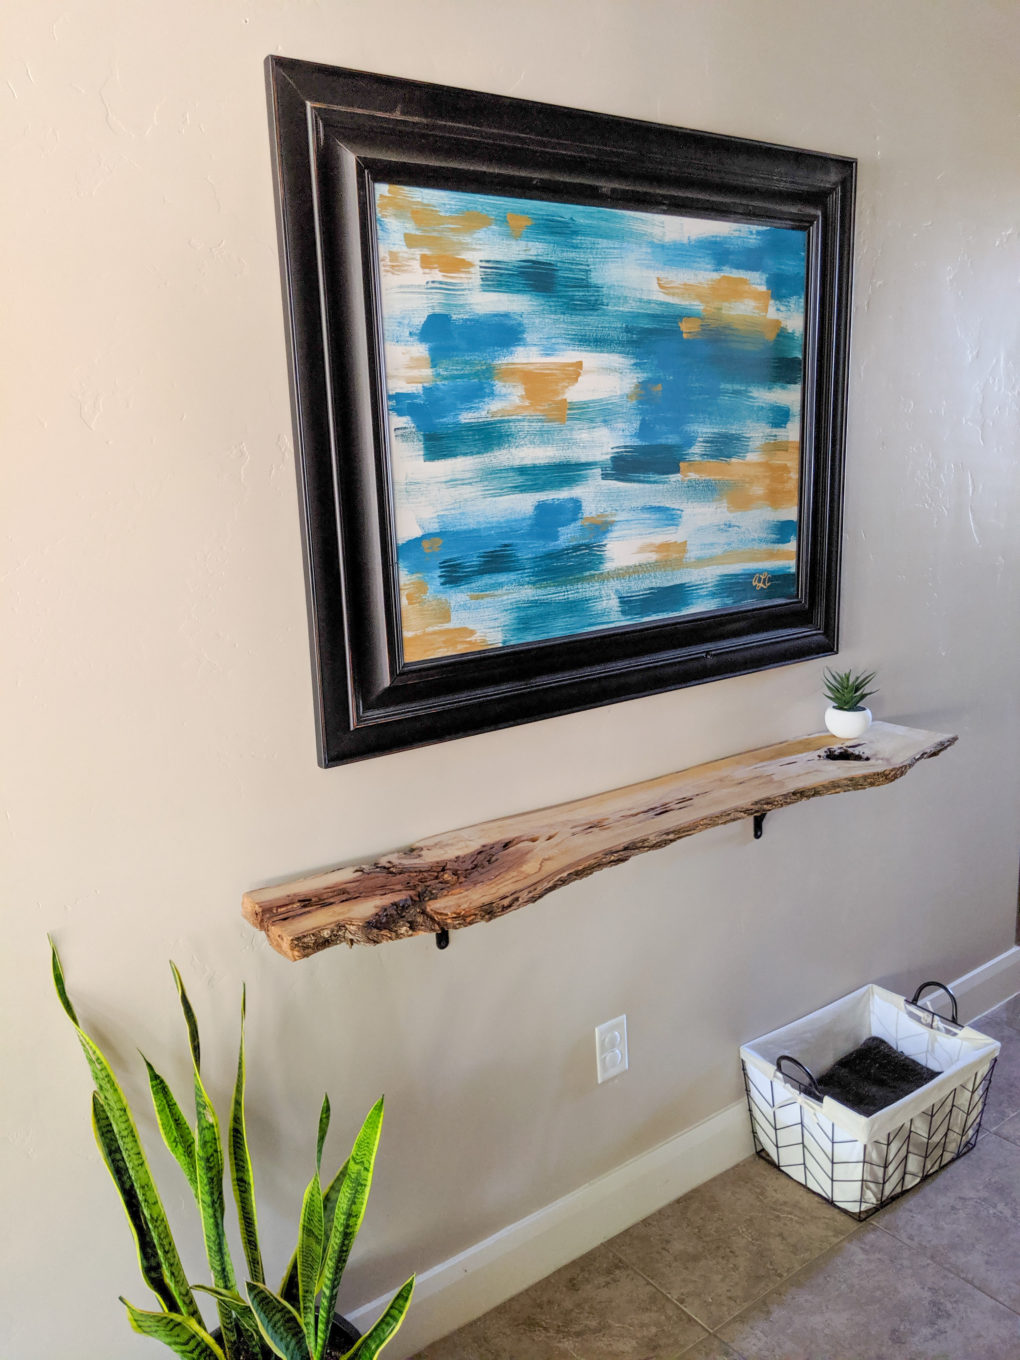
Live Edge Wood Shelf Finished Product
We love how our live edge wood shelf looks great. It’s a totally unique (imperfect but we don’t care) piece in our home that really bring character and interest to our entry hallway. Like we thought, we don’t really use it as a shelf except to hold this cute little faux plant. But we love how it’s basically an art piece that we made ourselves! All in all, it was an easy DIY project that we would do again in a heartbeat.
What do you think of our live edge wood shelf? If you have any questions on our process please feel free to leave a comment below.
Pin it for Later
Other Posts You Might Like


It’s so beautiful! And special because nobody else has one! I love it! And I’m glad you shared how you made it!
I’d like to know if you’ve had issues with the bark falling off? I’m hoping to put shelves around our tv like this, and am concerned about how to finish the edges if you’re leaving the bark on! I’m not interested in using epoxy resin (too shiny, not the look I want). Your shelf looks great!
Hey Erika, good question! I’m not sure how heavily your shelves are going to be used. Our shelf was almost entirely used as decor not really functionally. That said, it was in a main walkway and would get bumped here and there. A little bit of bark has fallen off but not a lot. I say leave the bark on and worse case it starts falling off and you can remove the rest.
Hi! Awesome tutorial. When you used the poly spray, did you only spray the sanded portion of the board or also the bark? Thank you.
Hey Martita! I sprayed the poly over all of it!