Ahoy! Chances are if you are here then you’re throwing a sailing themed or nautical themed party. I recently threw a sailing baby shower and wrote a post all about the invitations, food, decorations, games, etc. So if you need more sailing or nautical inspiration then click here to see that post. In this post I will be showing you a tutorial for how to make DIY sailboat party favors with Goldfish.
(This page contains affiliate links that we may be compensated for. Your clicks and purchases help support The DIY Lighthouse at no extra charge to you. We only put links to products we love and would recommend anyway.)
Sailboat Party Favors Tutorial
Follow these easy step-by-step instructions to make your own nautical sailboat party favors.
Step 1 – Gather Supplies
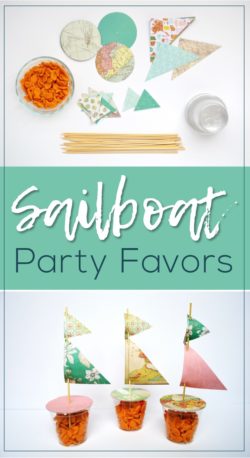
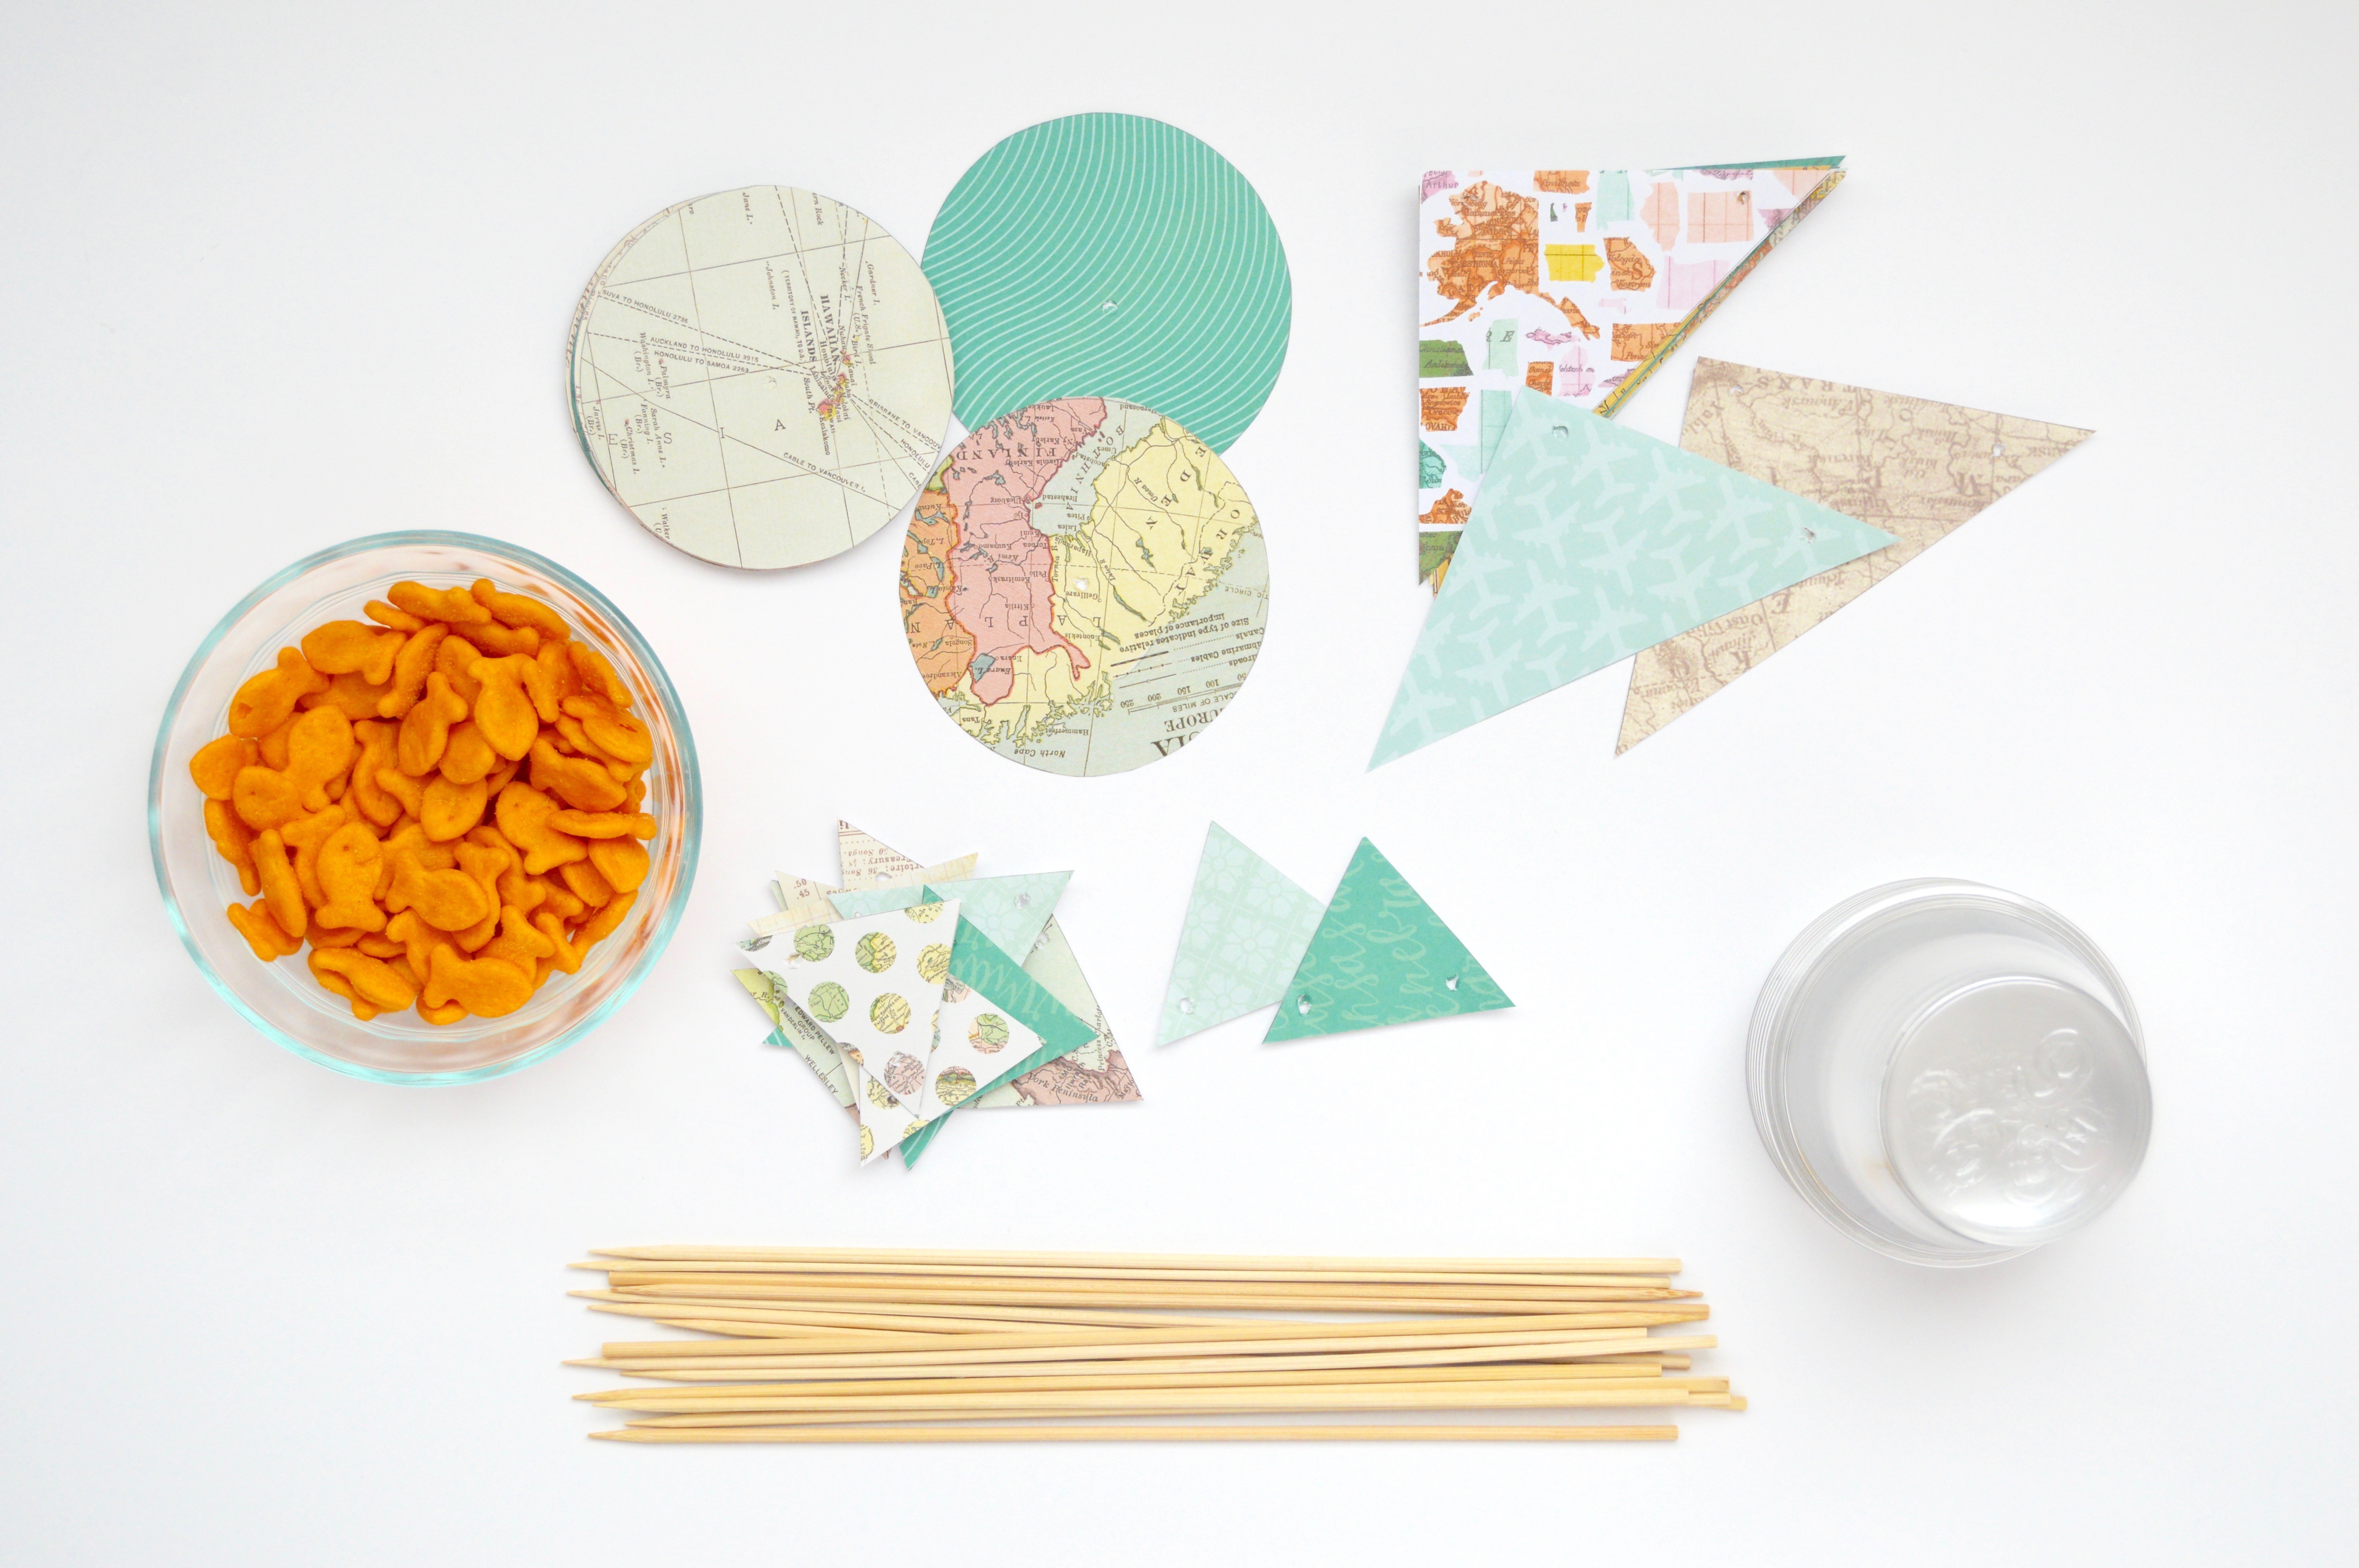
To make these sailboat party favors you will need the following supplies for each sailboat:
- clear plastic cup (I used cups like these 9 oz party cups)
- wooden skewer (like these bamboo skewers)
- Goldfish crackers (depending on how many party favors you are making you may need a bulk box)
- scissors
- glue stick
- themed paper (here are some cute paper pack options on Amazon that would work depending on your party colors and needs: old world, set sail, ahoy there, nautical, seafarer, yacht club, cape cod, and travel stories)
Step 2 – Make the paper top
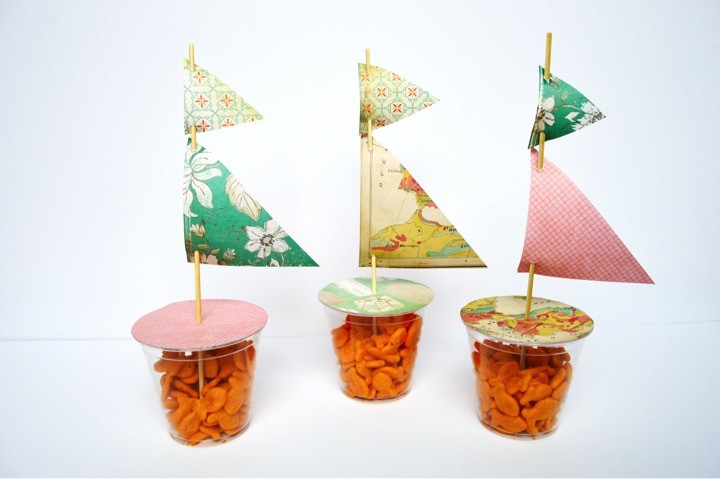
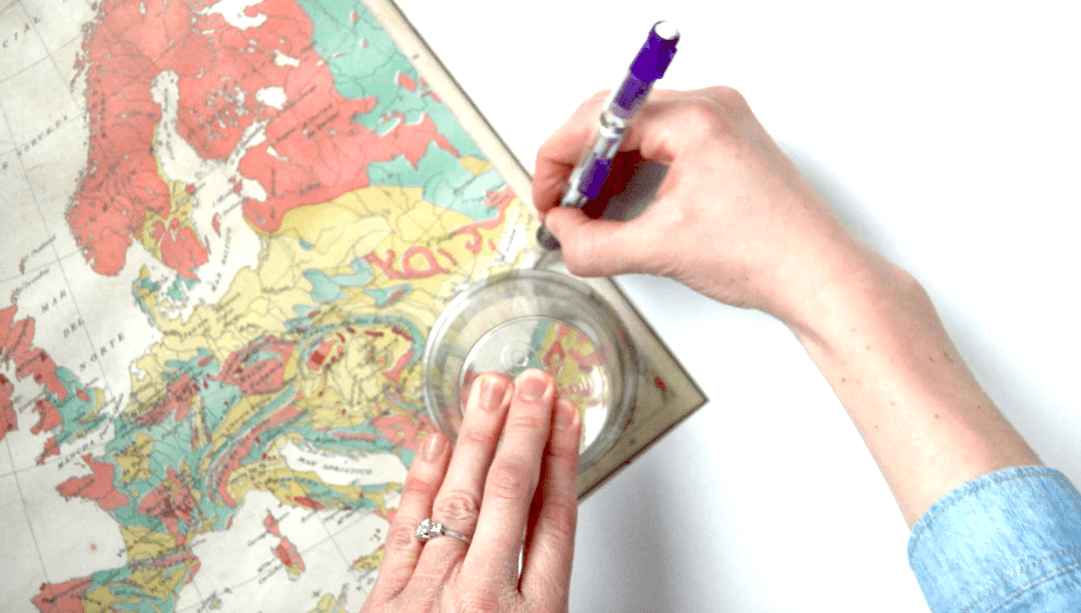
You can do this by tracing around the cup opening’s edge on paper. Cut out the circle and poke a hole in the middle of the circle with your scissors (for the wooden skewer to go into). This paper top helps the sailboat mast (the pole) stay upright and keeps the Goldfish from falling out before guests are ready to eat them.
Step 3 – Add the Goldfish and sailboat mast
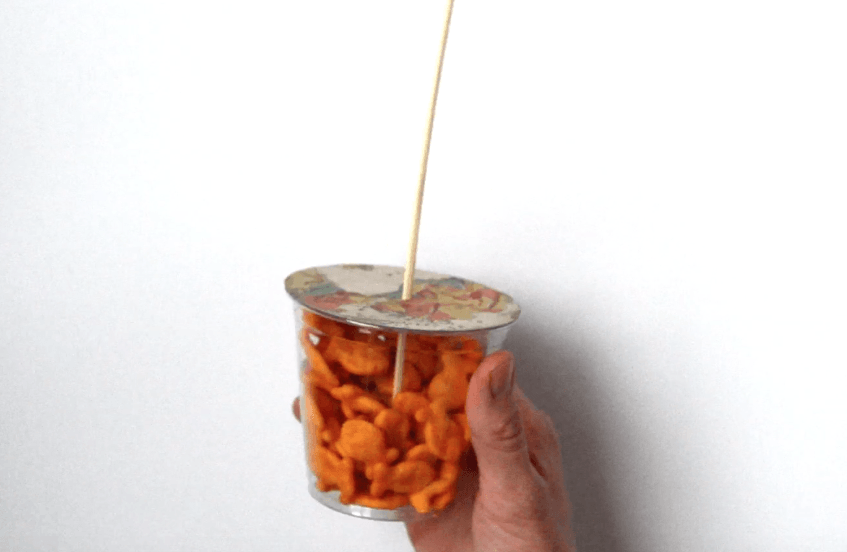
Fill your cup about 2/3 the way full with Goldfish. Then take your glue stick and run it along the cup’s top edge. Paste your circle paper top onto the glue and run your finger along the edge to make sure it sticks. Stick your wooden skewer in the center hole you made for the sailboat mast.
Step 4 – Add paper sailboat flags
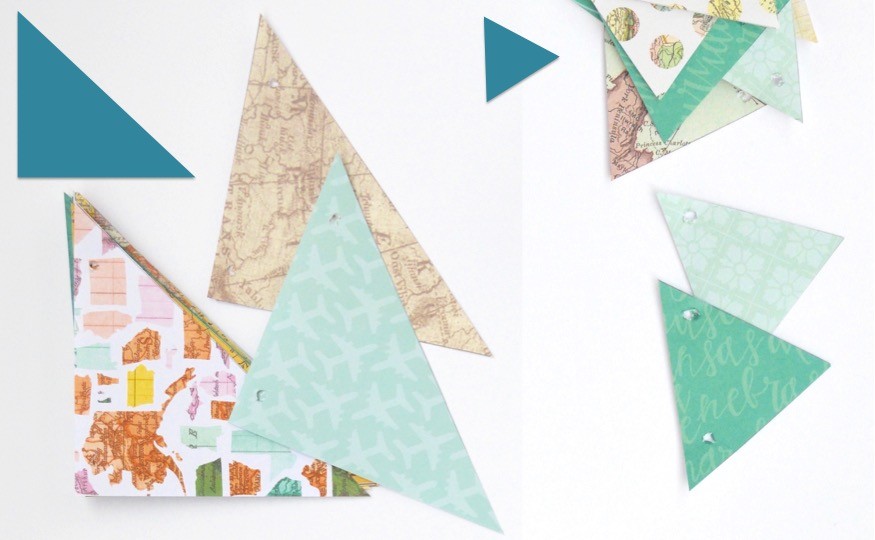
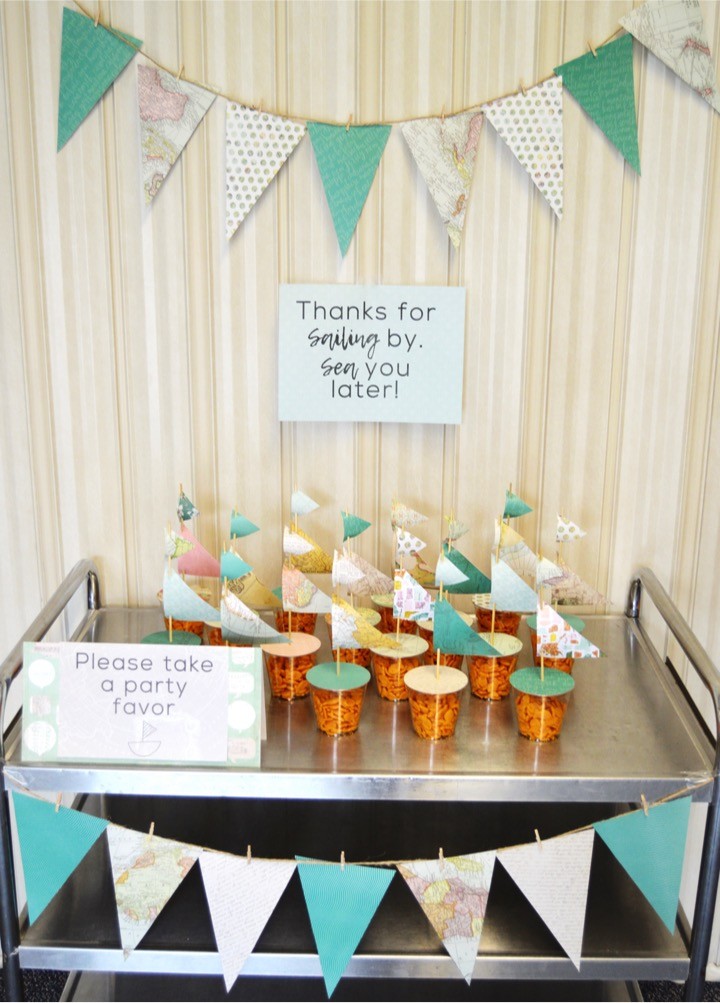
Cut two different triangles from your cute themed paper. The first triangle should be a bigger right triangle and the second should be a smaller equilateral triangle. Then poke two holes in each triangle along the left edge with your scissors. Slide the wooden skewer through the holes so that the skewer goes to the back during the middle portion of the triangles.
Step 5 – Set up a party favor table
At the baby shower I displayed the sailboat party favors on a table for guests to grab one on their way out. The table had a sign saying, “Thanks for sailing by. Sea you later!” and was decorated with some DIY paper flag banners that I talk more about in my other post, Nautical Sailing Baby Shower Ideas.
Sailboat Party Favors Video Tutorial
If you are a visual person like I am, then watch this video tutorial for how to make these sailboat party favors.
Sailboat Party Favors – Pin it for Later
