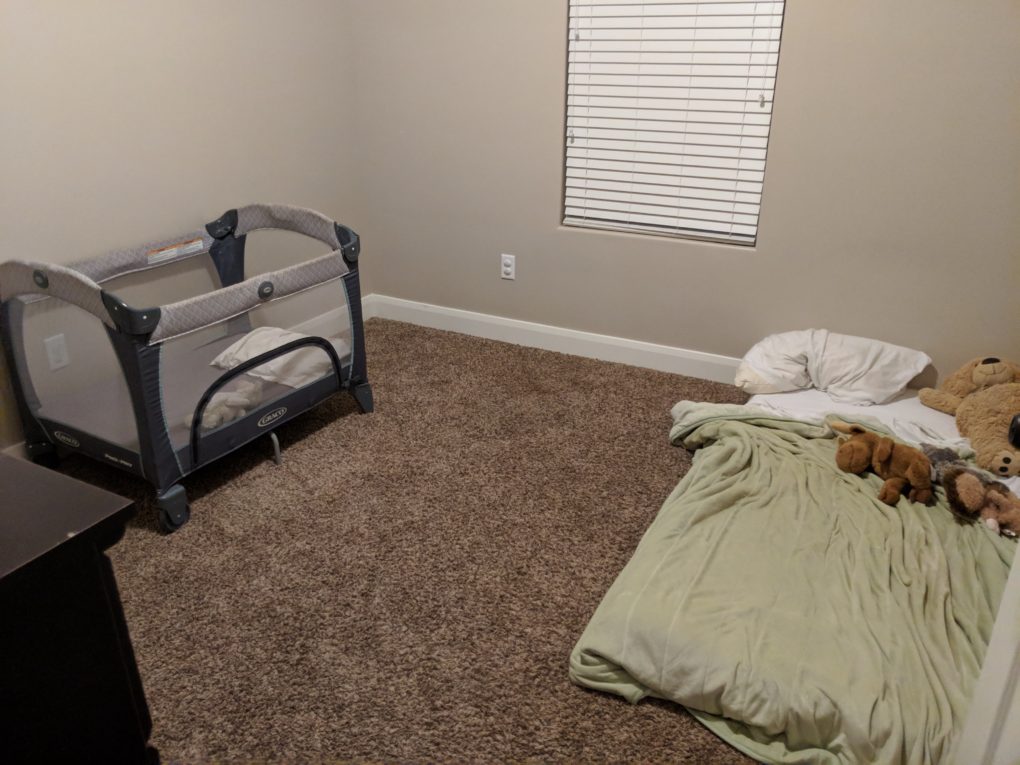
Our DIY constellation mural wall all started because the kids’ bedroom was literally the most boring room on the entire planet. Our baby slept in a pack ‘n play and our toddler slept on a borrowed mattress. Since moving, we had bought the kids a dresser and that’s it. Five months later it still looked like it had on day one.
(This page contains affiliate links that we may be compensated for. Your clicks and purchases help support The DIY Lighthouse at no extra charge to you. We only put links to products we love and would recommend anyway.)
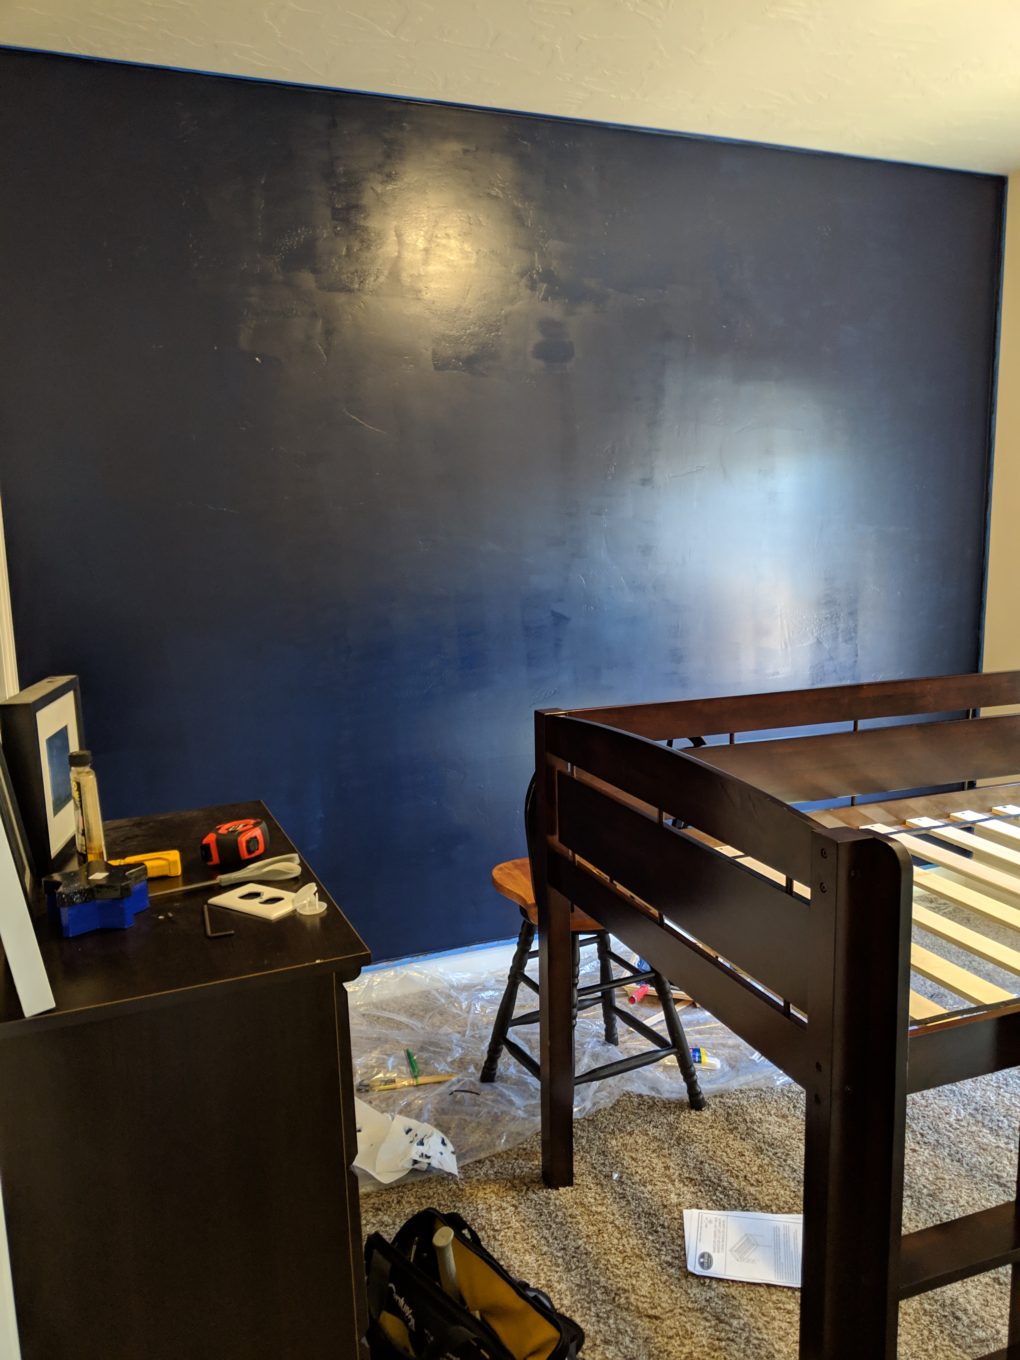
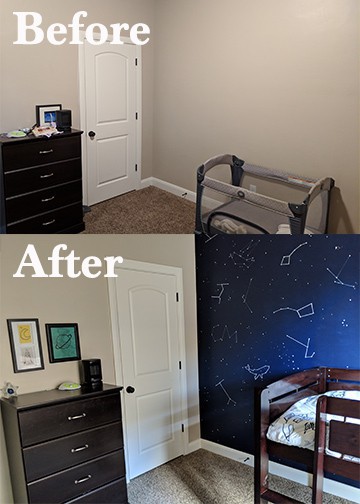
Here are a couple before pictures to show you just how boring it was.
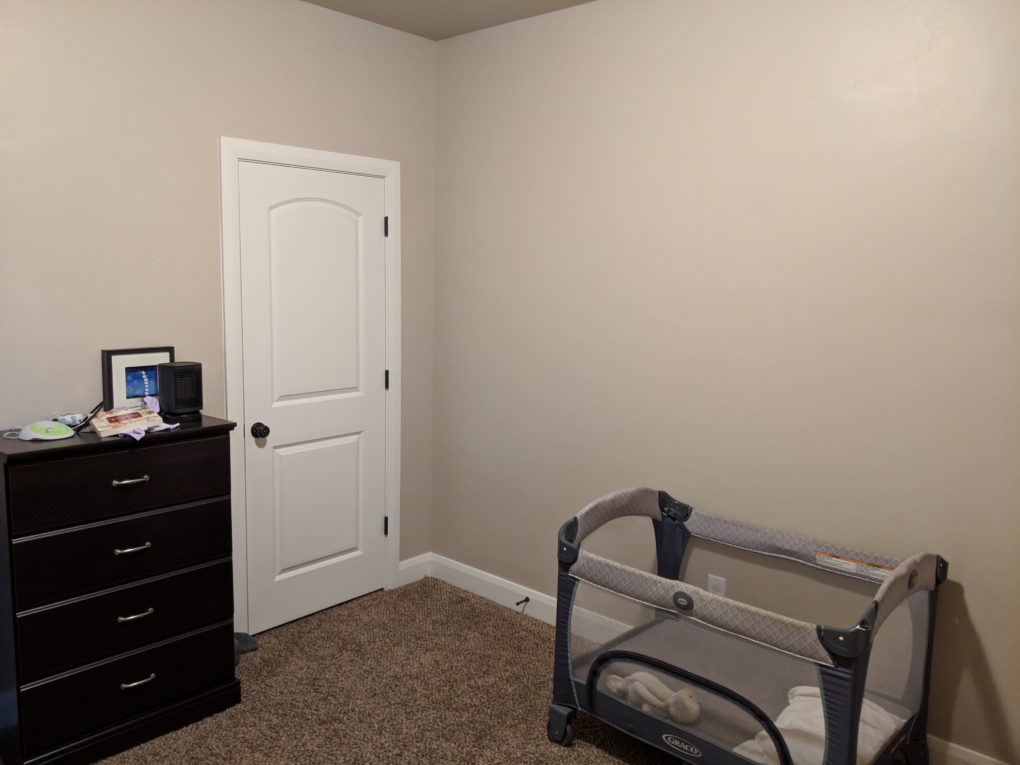
I have a habit of attacking my least favorite room in our house and turning it into one of my favorites. In our old condo, our den was that space for me. I was surprised how a simple mountain mural makeover totally transformed that space. So, I decided to do another mural in the kids’ bedroom to *fingers crossed* give their bedroom a total transformation.
DIY Constellation Mural Wall Tutorial
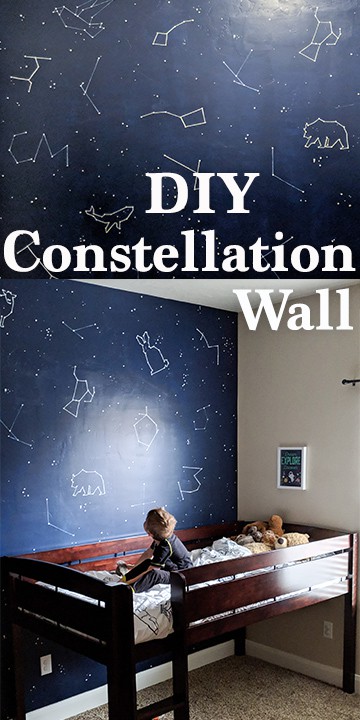
For phase one of the transformation, I painted a constellation mural on the far wall. I went to Pinterest (one of my best friends) for some inspiration and liked this tutorial from Young House Love. To give my wall a more whimsical feel, I decided to also add geometric-looking animals mixed in with the regular-looking constellations.
Constellation Mural – Preparation
To begin, I washed the wall and baseboard, taped it all off, and laid down some plastic so I didn’t wreck the carpet.
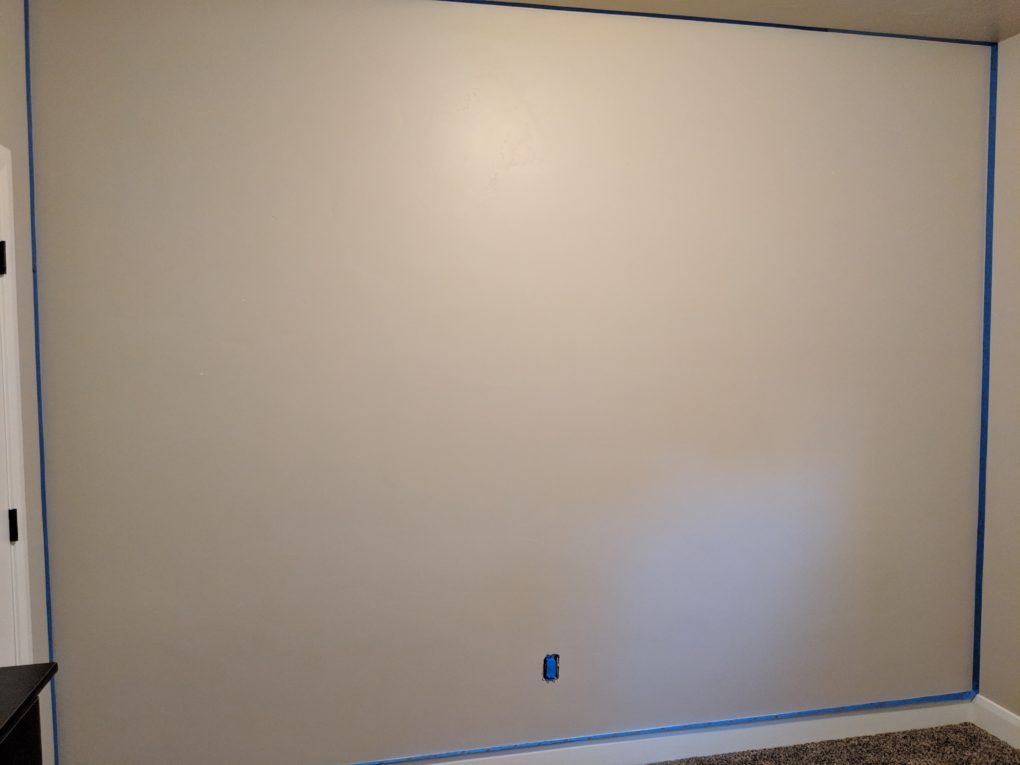
Then, I used what I thought was Sherwin Williams Anchors Aweigh–because that is what I asked for at Lowe’s. For some reason I didn’t notice it wasn’t Sherwin Williams brand until writing this post (mom brain?!). After inspecting a photo of the can later–it looks like it was the Valspar brand that they color matched to Anchors Aweigh. With that being said, I got painting my undercoat!
Constellation Mural – Night Sky Background
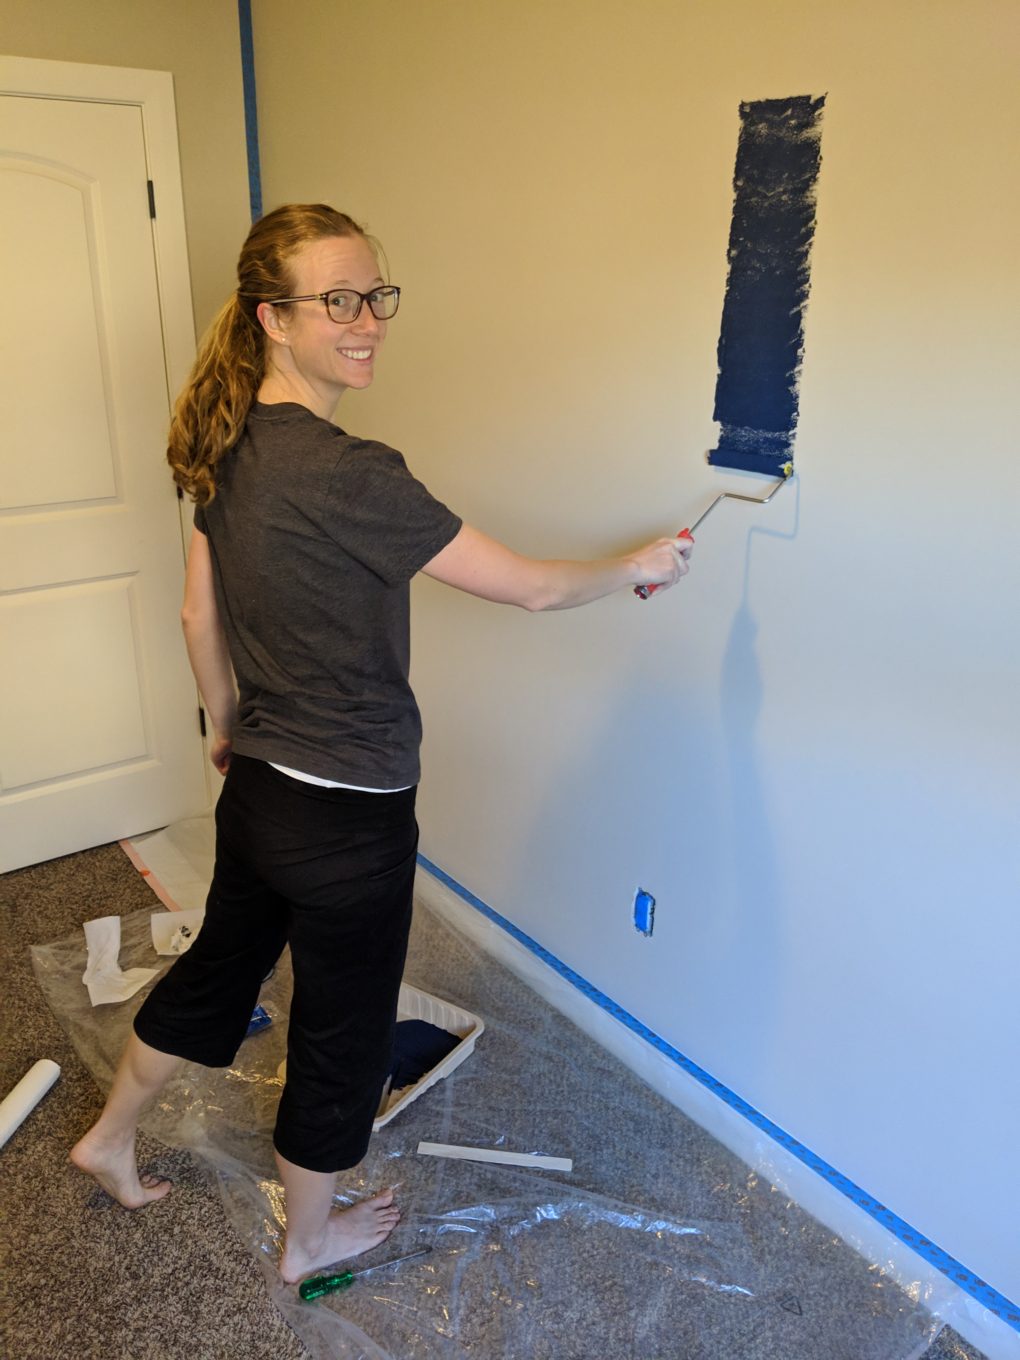
It took a couple of coats to get good-enough coverage. This is how it looked after almost finishing one coat.
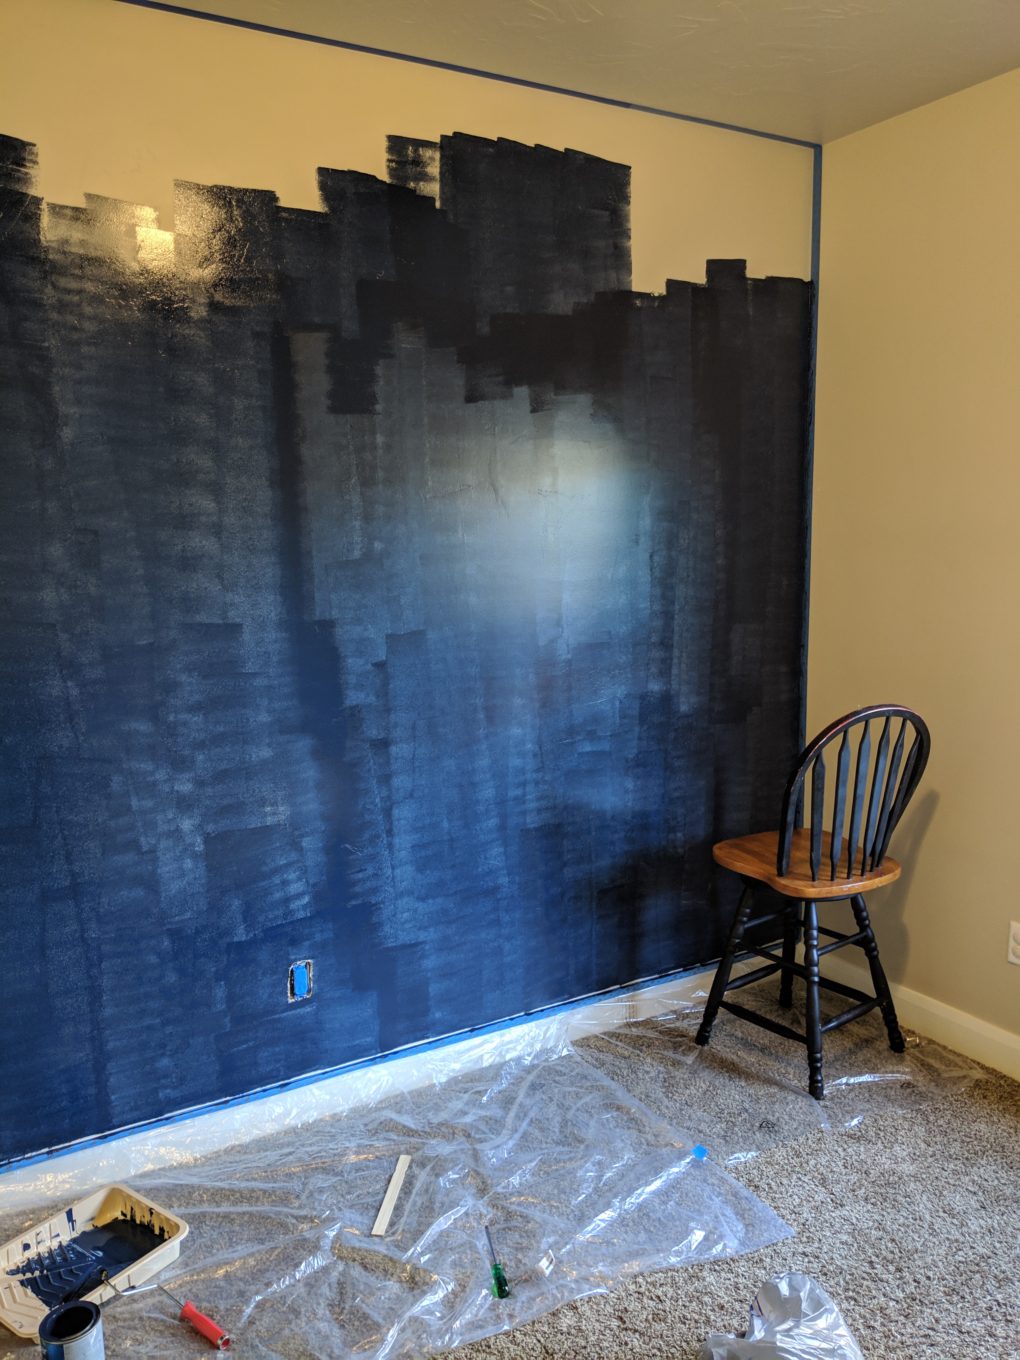
And then here it is after two coats.
Constellation Mural – Constellations
I had a lot of fun coming up with the different constellations we used. We have a “J” for my son’s initial and a “CM” for my daughter’s initials. Five of the constellations are animals. (My son has a rabbit stuffed animal and my daughter has a lamb stuffed animal that they love so we were sure to add those.) Then there are a few classic constellations like the big dipper, little dipper, and orion + orion’s belt. The rest are random, made-up constellations.
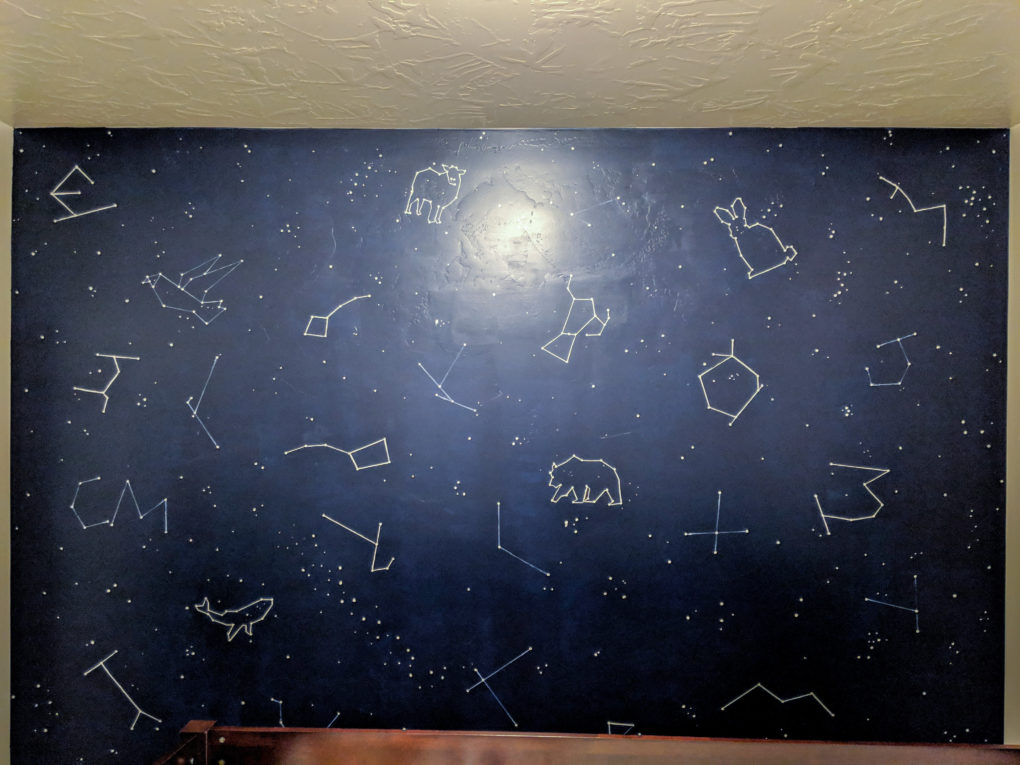
Geometric Animal Constellations
To make my animal constellations, first I found some geometric versions that I liked online. Then I literally traced them from my computer screen onto paper and simplified them a little bit until I liked each one. Then, I free-handed them onto the wall, using my drawings as reference.
(If you are not confident in your free-hand abilities, I recommend either using a projector to project them onto the wall so you can trace them or using the chalk method that Lovely Etc describes in her night sky tutorial.)
Paint Pen Attempt
With the sky paint dry, I was ready to start painting the constellations. I tried using a white Sharpie paint pen with a ruler like the people at Young House Love did, but it wasn’t working very well at all for me–not sure why it worked for them? Yes, I followed the instructions for using the paint pen. It just wasn’t making nice, thick lines like I wanted. It’s as if it did not like writing on my blue paint or that I was trying to write up on a wall instead of down on a desk.
Paint Can & Paper Edges
So, I improvised. I grabbed a can of white paint I had lying around and a short, stubby brush, and started drawing my lines that way. I’m not going to lie, it was pretty tedious. I found that I couldn’t use the ruler to make my lines straight because the second time I went to use the ruler, it left excess paint on the wall from my first line.
But there was no way I would try to free-hand straight lines. Desperate for a straight edge to guide my constellation drawing, I ended up using the edge of paper to help make a straight line. I would literally put the paper up on the wall and paint just over the edge of the paper so it made a line of white paint. Then I would rip that part of the paper off and do the next line with another straight edge of paper.
For your sake and mine, I really wish I had used an easier method to copy or had a brilliant way I could share with you. Alas, sometimes DIY projects don’t end up being glamorous or brilliant. Sometimes they are trial and error until you find what works. For me, it was utilizing paper edges.
Paint & Paint Pen Combo
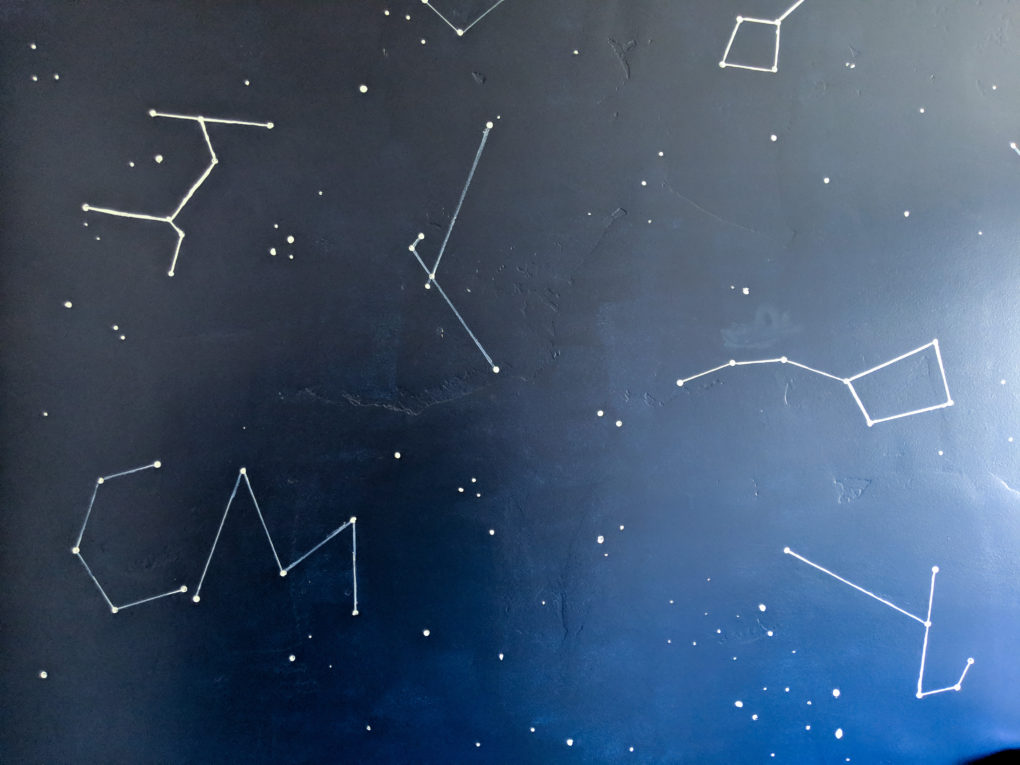
I did end up leaving the paint pen for thinner, more washed-out-looking constellations. I like how it added some depth to the overall mural. Let’s be real… mostly I did it because I didn’t want to spend the time going over paint pen constellations that I had already done. Adding a few more made it look intentional haha.
Here you can tell the thinner constellations were made with a paint pen and the thicker constellations were made using a paint brush. (Note: my paint pen ran out way sooner than I expected. So there’s another reason I’m glad I didn’t try to keep using the paint pen. If you want to, just keep that in mind if you’re wanting to use one–you may actually need 2-3.)
Arranging the Constellations
I purposely spread out the constellations and tried to balance putting heavier-looking ones next to lighter-looking ones. I recommend just standing back every once in a while to see how the overall picture is looking.
Mural Constellation – Painting the Stars
After I painted the lines for the constellations it was time to add stars. I grabbed a new pencil, dipped the eraser into my white paint can, and added dots to wherever the constellation lines met or ended. I also scattered these bigger white dots around the rest of the sky. Sometimes I clumped them together and sometimes I left some gaps. My goal was to try and have it look random and mimic some of the clusters of stars we see in our night sky.
Then, I took the tip of a paint brush, dipped it in paint, and added smaller stars throughout the sky. I almost didn’t do this step but I’m so glad I did! It really added dimension to the overall night sky.
Finally after letting it dry, my constellation mural was finished! The kids totally love it. Weeks later, they are still pointing out the animals and staring at it.
Night Sky Bedroom Furniture
For phase two of our kids bedroom makeover, we got our son a low-loft bed and our daughter a crib. (First crib and kids bed we’ve owned! Wahoo!)
Rocket Ship Low Loft Bed
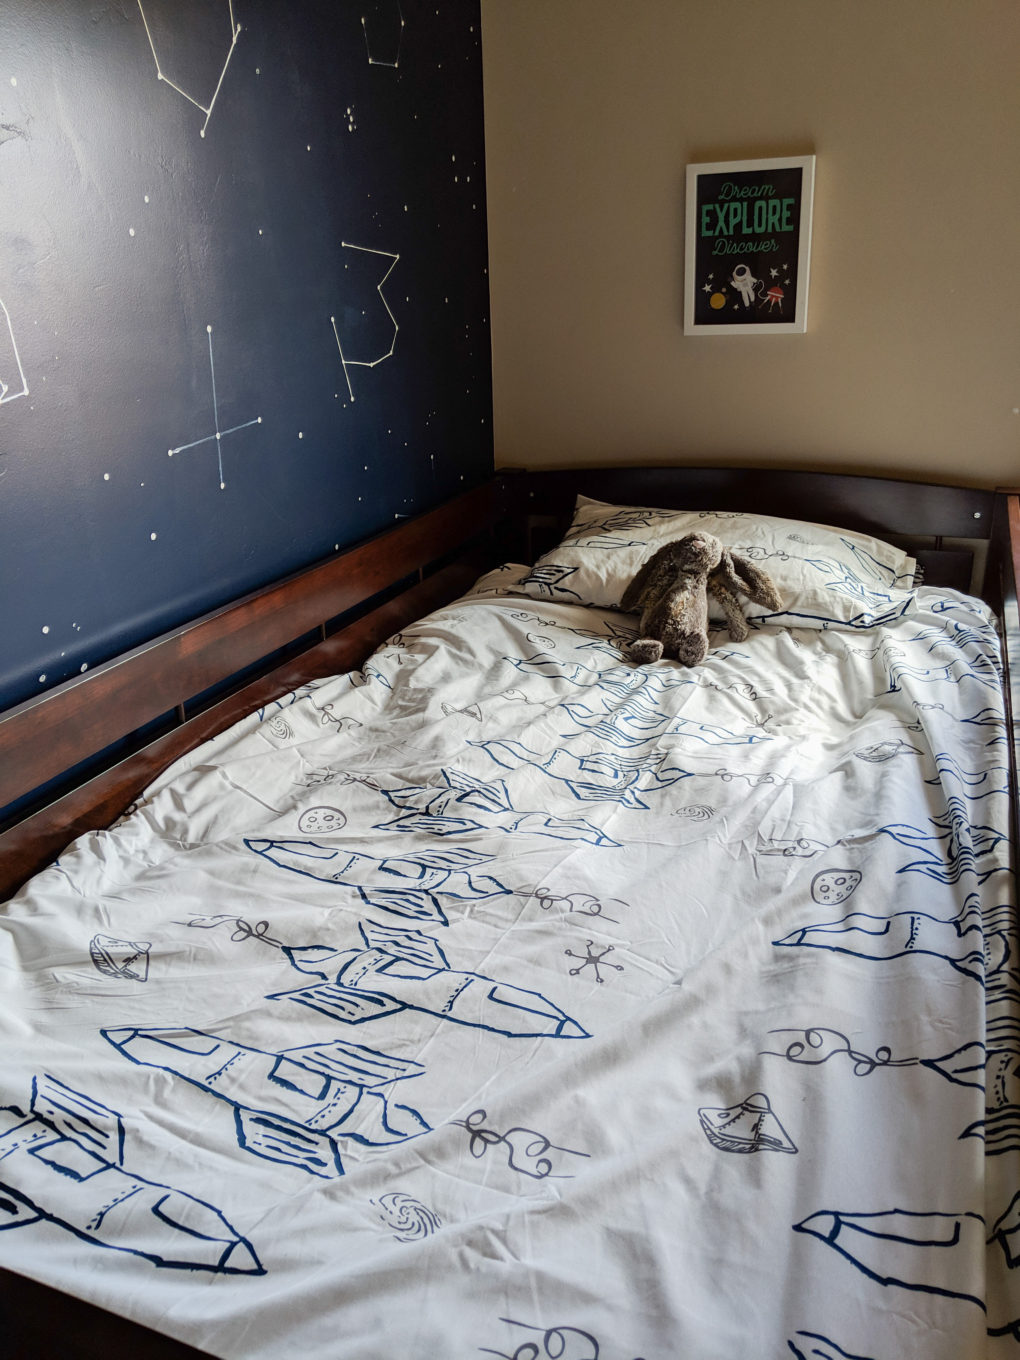
We went with a low-loft bed for our 3yo boy. We may end up trying to fit 3 kids in this room one day, and it would allow our daughter to sleep underneath it. The reason we didn’t go with a regular loft bed is because I wanted to keep it as close to the ground as possible for safety reasons but we still get that extra space underneath. I researched for months and this low-loft bed by Canwood on Amazon was by far the cheapest/best available. (It comes in 6 colors.) And we got this 5 inch twin mattress which is soft and perfect for it.
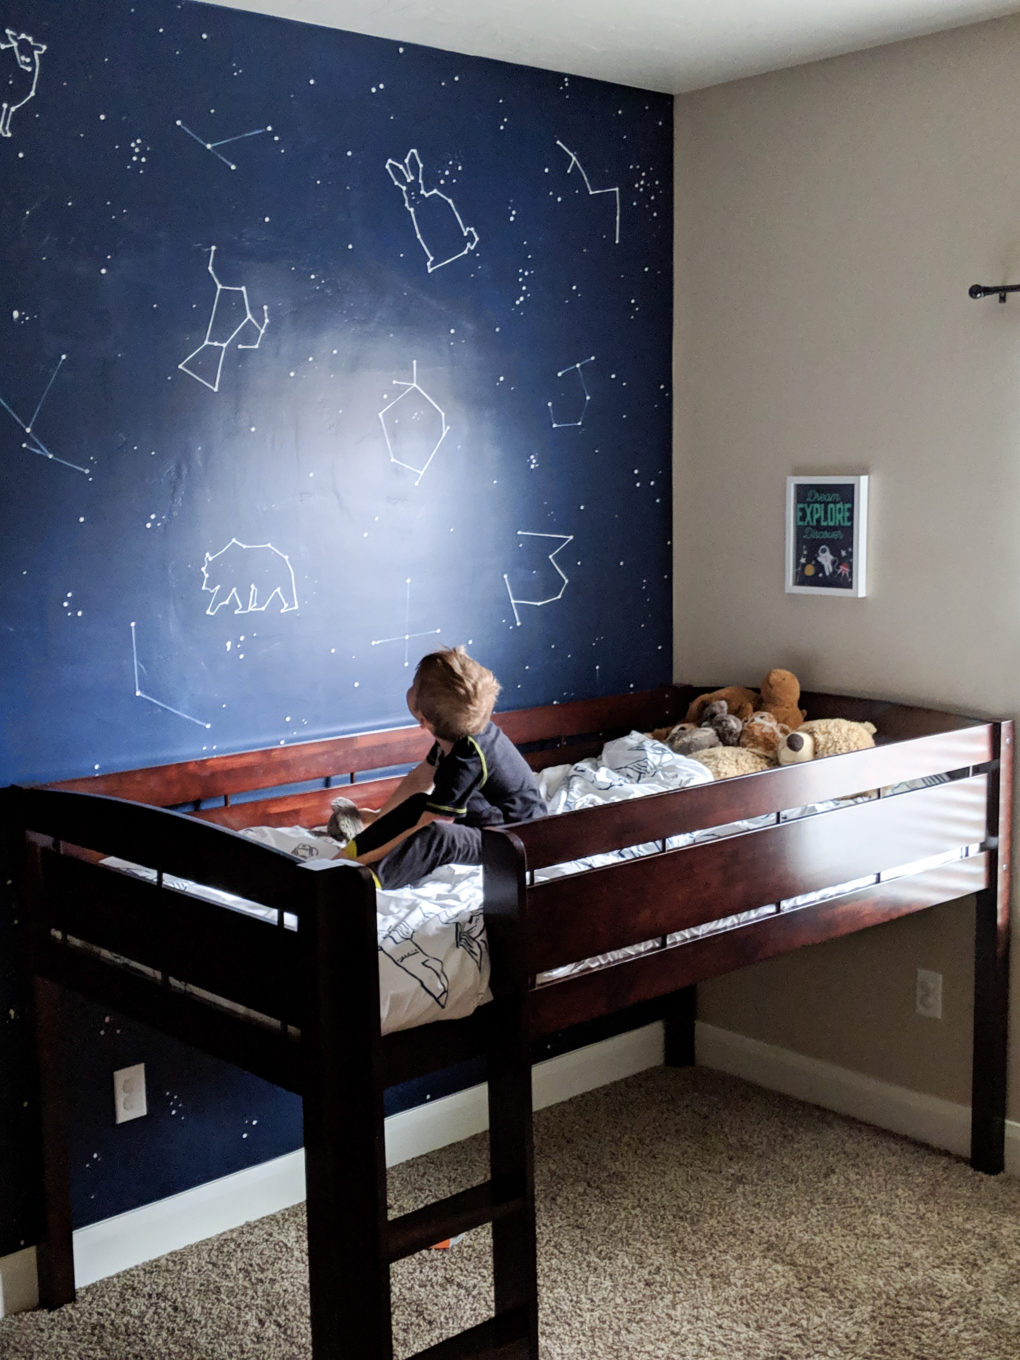
To carry on the night sky/ space theme, we added a duvet and a rocket ship duvet cover on our son’s bed. I like how the print is subtle but still there. The white looks good next to the dark blue night sky wall. And guess what? My boy is obsessed with his new bed! He calls his bed a rocket ship and plays on and under it. We worried he would have problems getting down to go potty in the middle of the night, but it was never an issue. I would totally recommend this bed.
(Safety Tip I Have to Mention: We actually changed out our blinds in this room for cordless cellular shades. After getting the low loft bed we noticed our boy playing with the blind cords once. Immediately, we took them down and started looking for cordless options. We ended up getting custom Levelor blackout cellular shades from Lowes. It was kind of expensive but worth it. Strangulation is a real issue and it would be a complete nightmare to have our boy die from strangulating on the blind cords.)
Counting Sheep Crib Corner
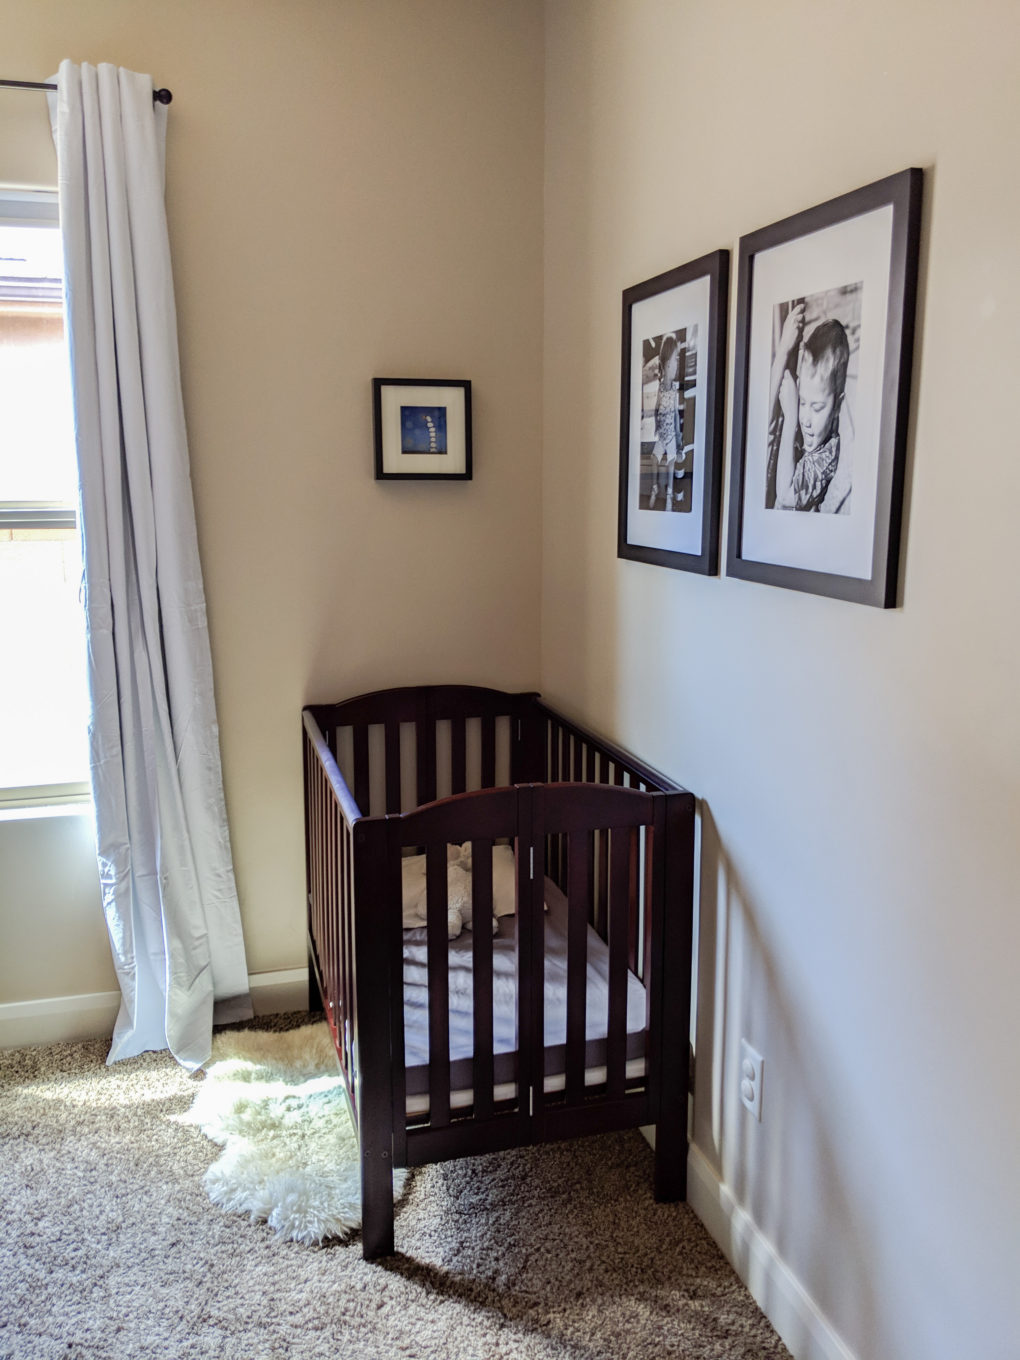
My daughter is pretty young still, and I didn’t totally want to subject her to the space-themed feel my boy wanted. At least until she’s old enough to say she likes it. So, instead, in her corner of the room we want with more of a subtle “bedtime/counting sheep” theme.
We really like our portable, smaller crib. It’s big enough for her to grow into more but doesn’t take up too much floor space. (It’s also available in other colors.) We use this mattress, mattress pad, sheet and pillow with it.
Sticking out from under her crib we have a faux sheep skin rug like this one. And above her crib is a cute piece of artwork my friend, Tessa, made for me. For now, that’s all I’m planning to do but things could change.
Frames Around the Room
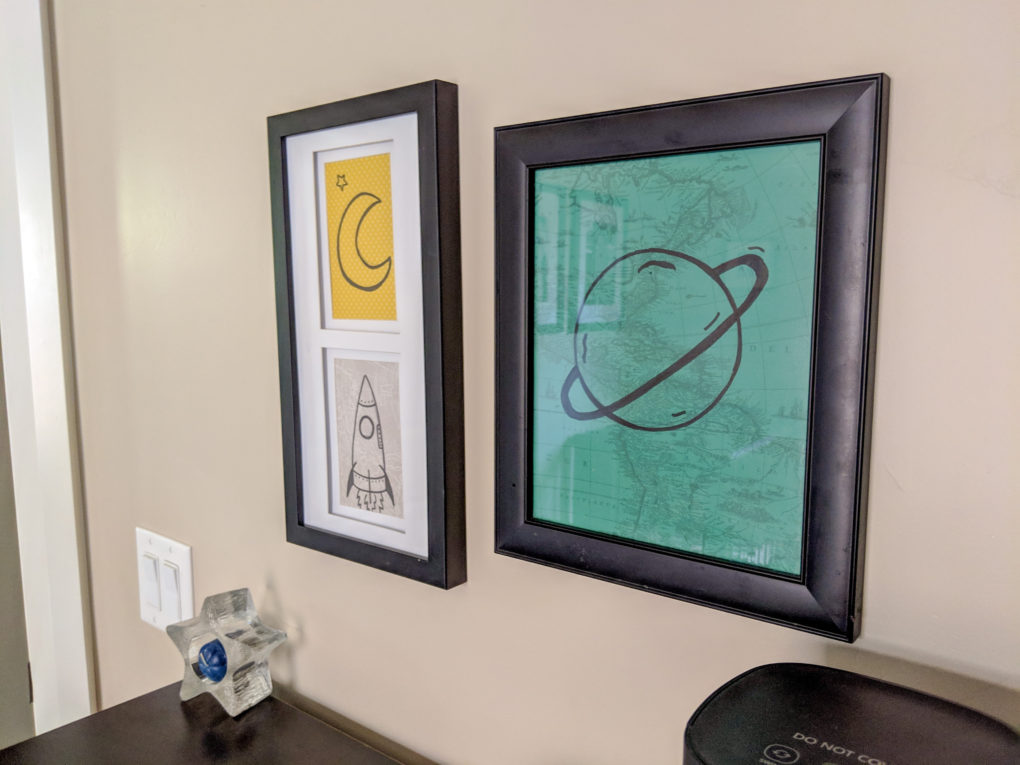
Like I said above, the stars and sheep paper artwork was done by my talented friend, Tessa.
The DIY space art above the dresser was super easy. I literally just drew with black sharpie on some paper I had lying around and stuck them in frames from our Goodwill equivalent–Deseret Industries.
The astronaut art above the low-loft bed is from Ross so unfortunately no link here, sorry!
To add a personal touch to the room, I added over-sized prints of candid moments of my kids from a fun park outing. The 16×20 frames and 16×20 mats (with 11×14 openings) were on sale at Michael’s. They go on sale often so you may want to hold out for a sale. I had my photos printed at Nations Photo Lab for pretty cheap because I was doing a bulk purchase. If you’re only printing a couple it would probably be cheaper doing it somewhere local.
What’s Next
This room has come a looooong way. It still doesn’t feel totally done, but for now we’re enjoying it as is. Some grand ideas I may potentially follow through with later are: turn the seldom-used closet into a giant rocket ship hideout, change the curtains out for something cuter, add string lights around the ceiling, and hang a mobile above one of their beds.
Do you have any other fun ideas for this space? I’d love to hear them!
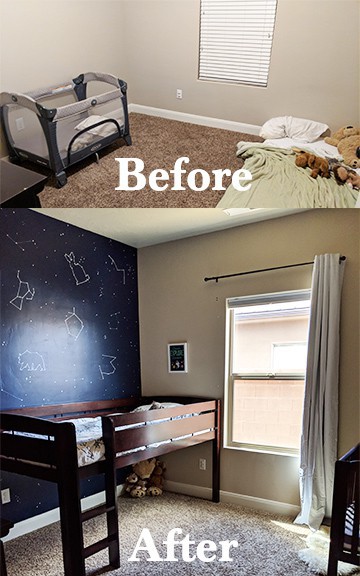
Because I love before/after pictures, here are a couple side by side.
Pin It For Later
Please help us share this post! Pin it for later and to share with your friends.
