Thanksgiving Day is all about giving thanks for the good things we have in our lives. That’s why a Tree of Gratitude and Thanksgiving is the perfect holiday craft for your family this time of year. Even the smallest of children can participate in this project and show an attitude of gratitude for life’s blessings.

How to Make a Tree of Gratitude and Thanksgiving
Gather the supplies
One fantastic thing about this project: you probably have most of the supplies already. All you’ll need is colored paper, a brown marker, scissors, tape, and a black ink pen. If you don’t already have them around the house, it’s just a quick trip to the grocery store to purchase these low-cost materials.
Make the trunk
To create a tall enough space to work with, tape several light brown pieces of paper together. (Be sure to put the tape on the back so it’s hidden.) Next, using a pencil, lightly sketch the trunk and branches of your tree. This will act as the base of your Tree of Gratitude and Thanksgiving upon which you will place the leaves. Once your trunk is how you “wood” want it, trace over the pencil with a dark brown marker. To create a tree bark effect, draw four to five small ovals within the trunk, and fill in the trunk and branches with vertical lines, making sure to draw around the ovals. Remember to “leaf” some white space throughout so the brown lines are distinct. Cut out the trunk and branches, and tape it to the wall, door, or other surface you will be using to display your finished product.

Create the leaves
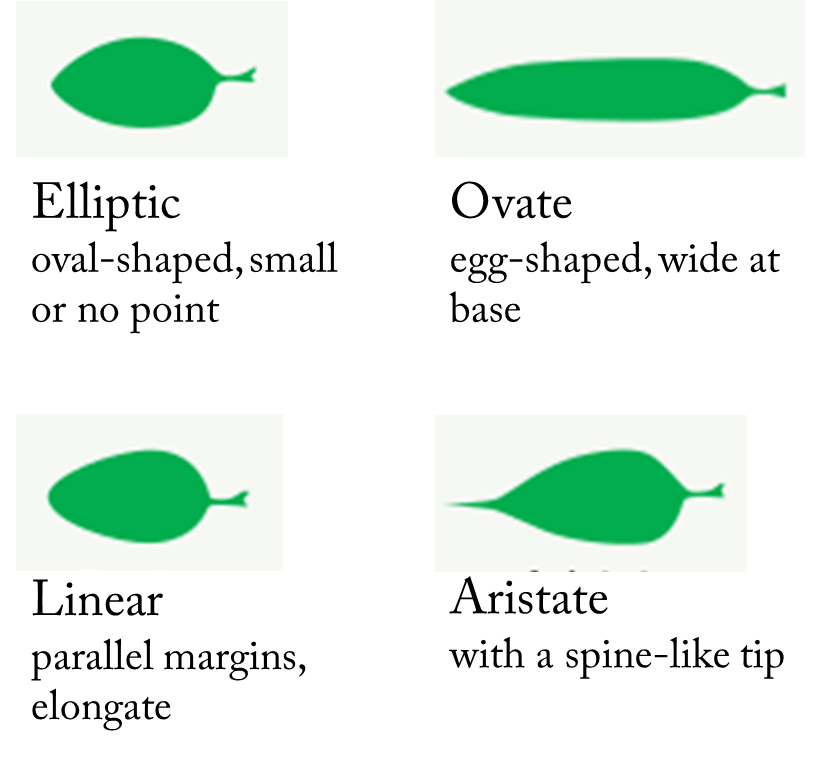
The leaves are what give your Tree of Gratitude and Thanksgiving life and color. While I chose red, orange, yellow, green, and brown leaves, feel free to use whatever colors you fancy. Now, as you may have noticed, the leaves on my Tree of Gratitude and Thanksgiving are various sizes and shapes. You are welcome to create a leaf trace that will help make all your leaves uniform, but I personally prefer variety because it helps to create interest and a sense of depth. If you decide to go with the method I did, freehand cut different sizes of leaves with aristate, elliptic, linear, and ovate shapes (leaf stems can be excluded). The cutting can be done very quickly, because imperfections only give it more character. I cut out about 70 leaves, and it only took me 15 minutes.
Give thanks
This part of the project can last for however long you like (examples: over the entire month of November or only on Thanksgiving Day). Each member of the family will have the opportunity to write words of gratitude and thanksgiving, one word on each leaf. Once your creative juices are flowing, it is very easy to find things to be thankful for. Our Tree of Gratitude and Thanksgiving included obvious words like health, family, and home, but it also included words like cheesecake, movies, and basketball. There is no wrong answer! Even if you have little kiddos at home whom need help writing, they can contribute by telling you things they are thankful for. Once you have a word written down, put a piece of tape on the back of the leaf, and tape it randomly onto the tree or the “ground” beneath the tree. Enjoy your tree as it becomes filled with thoughts of thanks. The more things you express gratitude for, the fuller and more beautiful the tree!

We’d love to hear the sentimental and funny things your friends and family were thankful for this year, so please comment below! We’d also love to hear other ideas of how you express gratitude on Thanksgiving.

How To Feed Large Groups On A Budget

11 Cheap Meal Ideas For Feeding Large Groups

7 Ways To Show Your Child You Are Listening

Delicious Apple Snack Recipes For Fall

DIY Thanksgiving Turkey Wreath