Take a look at your wall. If it’s a snooze fest, then you’re in the right place. Stenciling a wall is the perfect compromise if you’re too afraid to use wall paper but you’re ready for more than just blah, blah, blah. A stenciled wall adds interest and pattern to a room without breaking the bank. If you’re wondering how to stencil a wall with a pattern, below are 6 easy steps.
How to Stencil a Wall
1. Find the right stencil & gather your supplies
When picking a stencil, choose one with the right kind of character because your stencil will really set the tone for the whole room. Tip: If you’re on a tight budget, look into making your own stencil. (Click here for a tutorial.)
Now go shopping! Wahoo! In addition to your stencil, pick up a can of paint in your color of choice, a stirring stick (these are usually free at the paint store!), a foam roller (one that’s shorter than the width of your stencil–duh, but worth mentioning), a brush, a paint tray, a drop cloth, a pencil, and some handy-dandy painters masking tape (yep, the magic blue stuff).
2. Prep the wall & area
Clean your wall with a damp rag to make sure there is no dust and dirt. Don’t ask me how a vertical surface gets dusty but trust me it does. Once your wall is spic ‘n span and dry, tape off the baseboards, windows, ceiling, etc. using the magic blue tape so that you don’t accidentally get paint on the wrong surface. It’s also probably a good idea to lay a drop cloth (or some garbage bags) on the floor by where you’re painting.
Pop open your paint can and give it a good stir. Then pour some paint into your paint tray. Don’t over do it. . . you can always pour more but it’s hard to pour less.
3. Pick a starting point
Determine a good starting point for your stencil. I’ll let you in on a little secret. . . . The best place will likely be the most prominent top corner of your wall. Pick the most visible corner because your stencil will likely be cut off when you reach the other end of the wall. Because furniture usually hides the bottom of the wall (where you stencil will be cut off), starting at the top and working your way down is usually the way to go.
4. Tape up the stencil & start painting
Tape your stencil to the wall. And no worries because if you’re using our friend Mr. Magic Blue Tape then he should peel off nice and easy without taking any paint off with him. Getting your roller and dip one of the sides in the paint from your paint tray. Use the tray’s slope to cover the roller with paint but take it easy so your paint isn’t dripping all over the place. And now for the fun part. . . . Roll over the stencil! You can use your paint brush for any spots you can’t reach with the roller.
5. Mark the corners
After you’ve painted the stencil, lightly mark where the corners of your stencil are using a pencil. This will help you line up the next stencil spot and ensure a level design.
6. Repeat
Lather, rinse, repeat. After a couple of stencils, you’ll get in the groove and start cruisin’! May I suggest turning on some of your favorite tunes and jamming out to pass the time? Just let your hair down and have some fun stenciling.
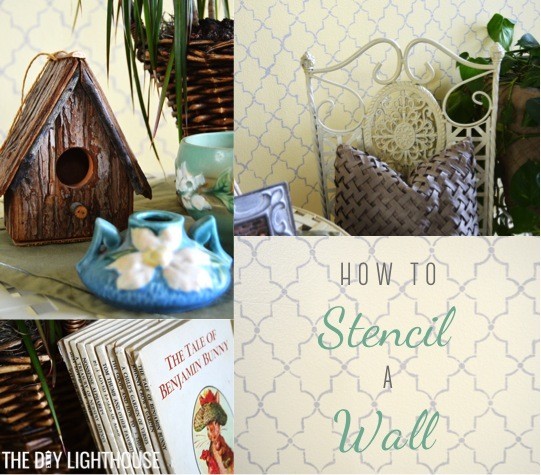
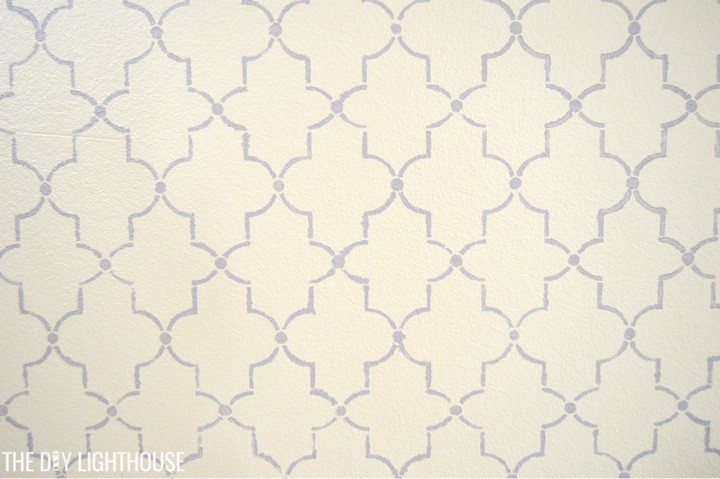
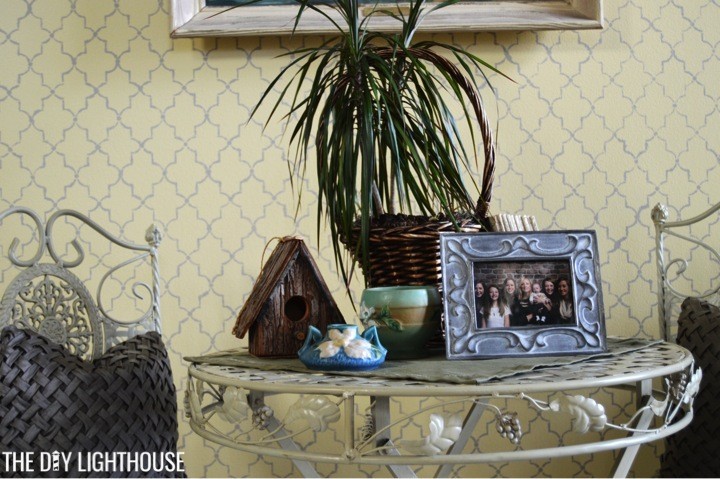
Check out the pictures below of the wall stencil I did for my mom’s little garden table area.
Please let us know if you have questions in the comments section below. And we’d love to see your stenciled walls!

![]()