If you are looking for a fun project, craft, or home decor idea, try your hand at a DIY world map. On a tight budget? No problem! I made this world map for easily under $5.
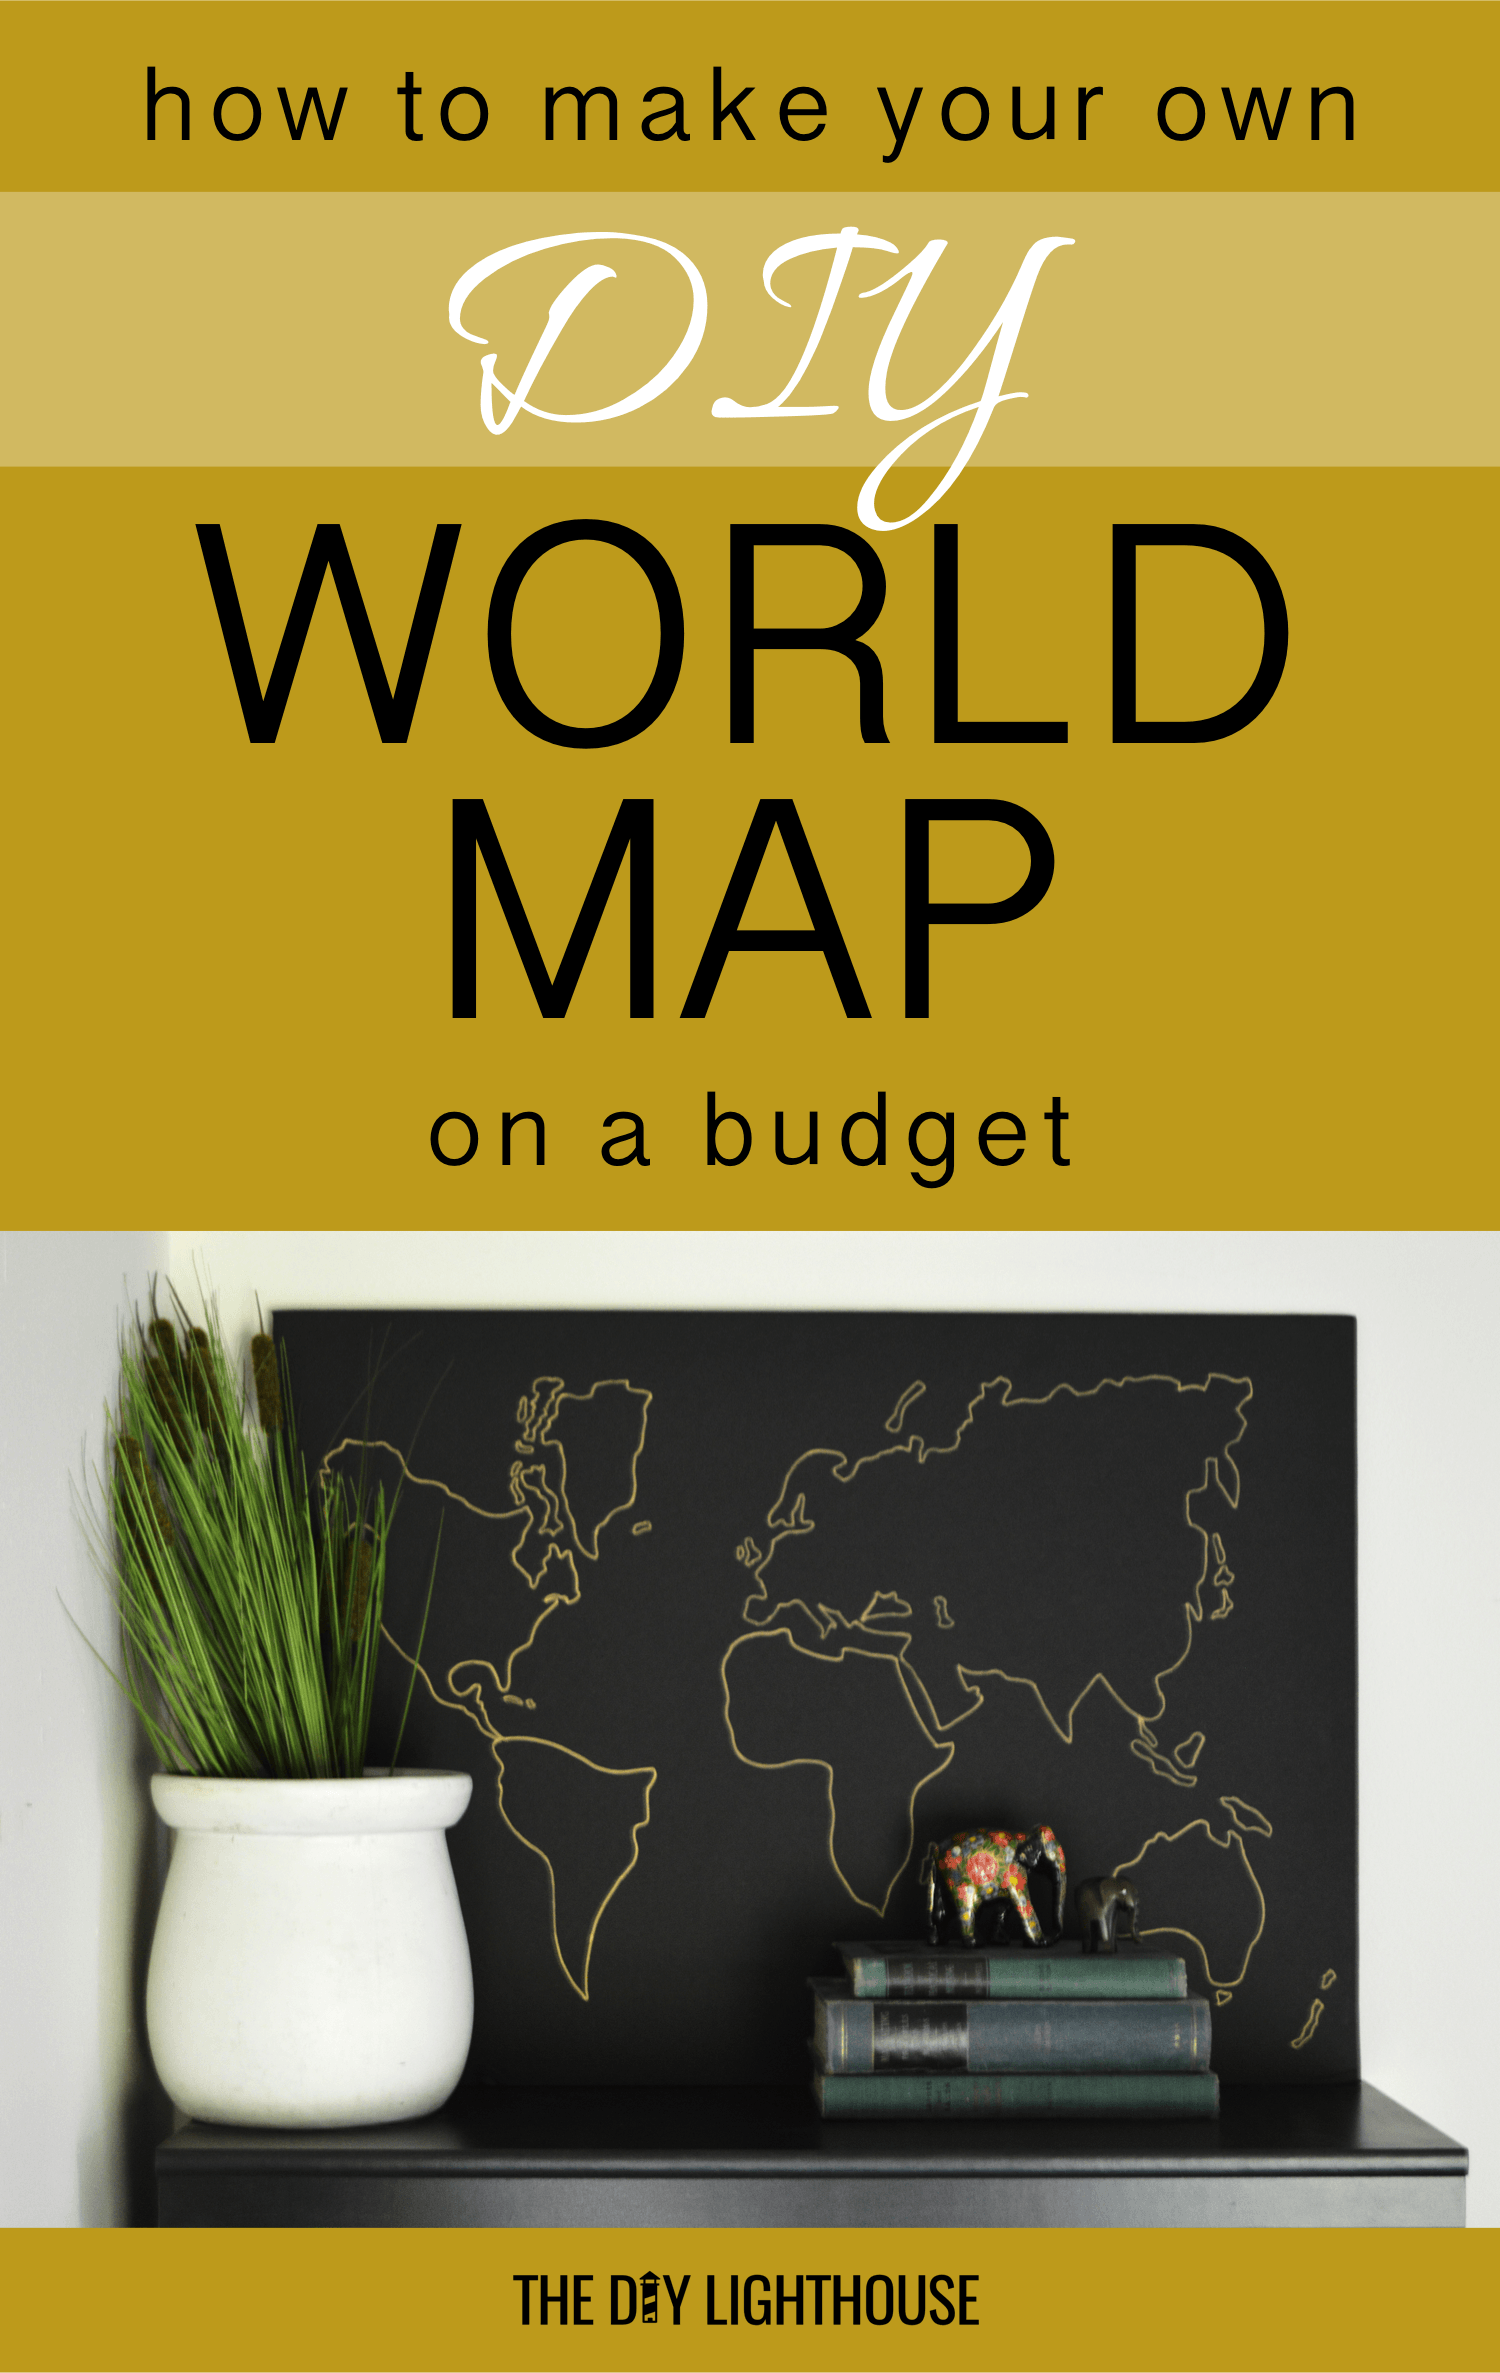
4 Easy Steps for Making a DIY World Map on a Budget
Step 1: Get Your Supplies
Stop by a store to pick up your needed supplies. I got mine at Target, but you should be able to find these supplies at most big grocery retailers or dollar stores. You will need…
- 1 black foam poster board (I used the Elmer’s brand because that’s what Target had)
- 1 gold Sharpie marker
- Pencil, white scratch paper, and scissors (hopefully you already have these around the house)
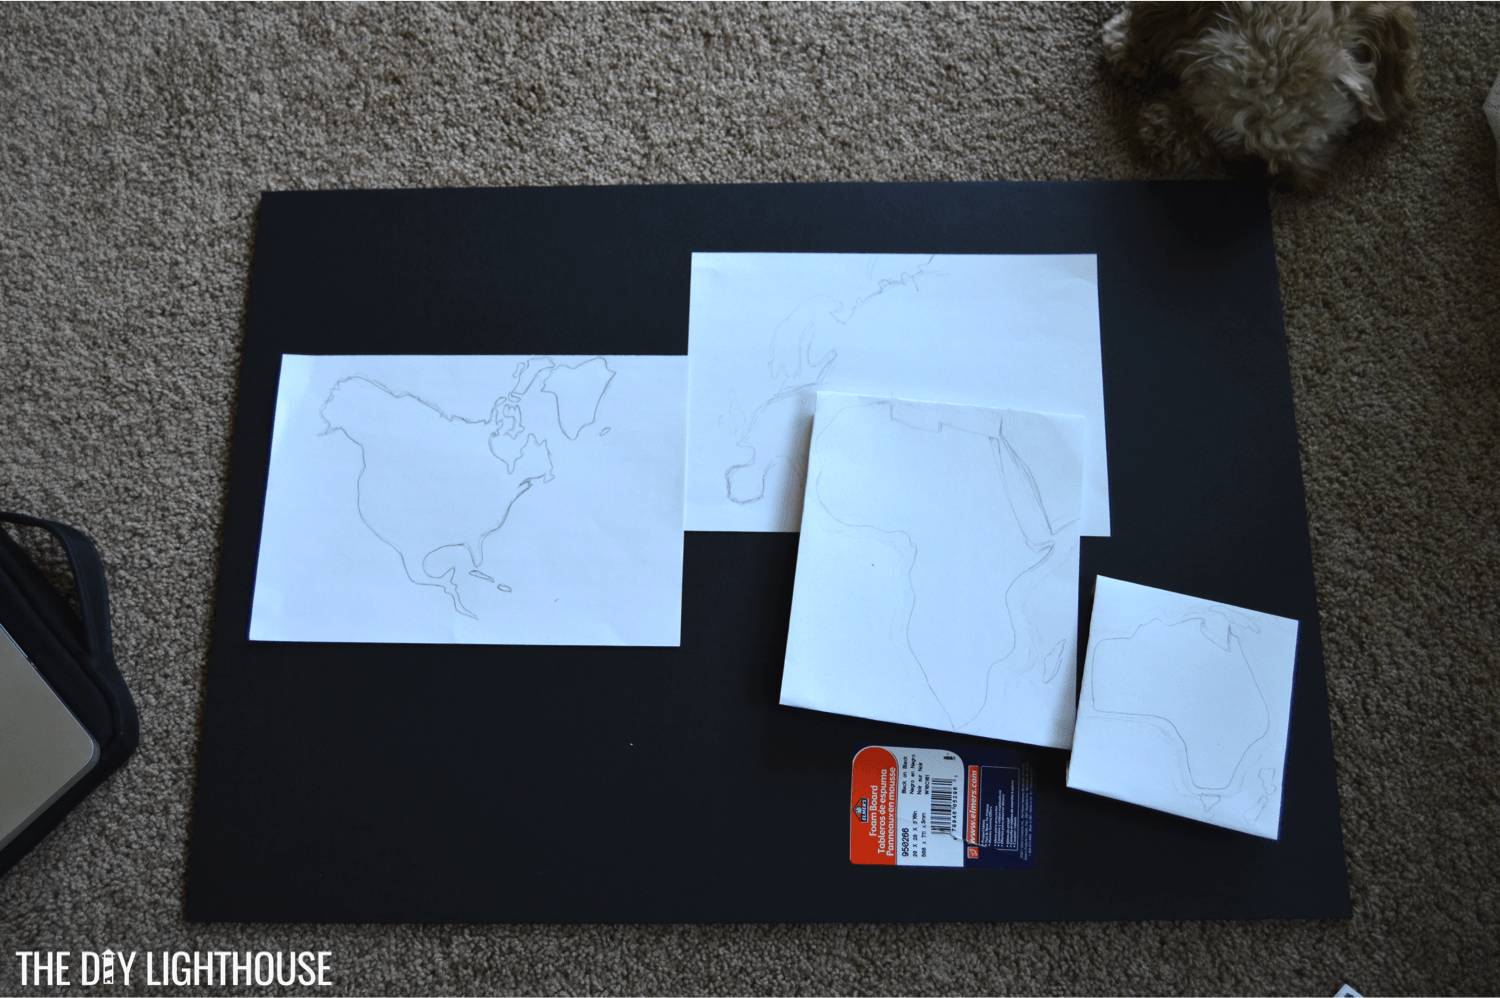
Step 2: Draw The Different Continents
If the title of this step freaks you out because you don’t like drawing, then don’t draw them. . . . Instead, print out the different continents. If you’re comfortable drawing, below are two options. Whatever way you choose, be sure to try and make your outlines the size you want your continents to be on your final world map.
A) Using some scratch paper, draw the different continents onto your paper. You can enlarge the photo of a world map on your computer or laptop and–using thin, white paper–gently trace around the continents. The computer screen should have enough light coming from it to make tracing easy. Just be sure not to push too hard as you don’t want to damage the screen.
– or –
B) Reference a picture and freehand the continent silhouettes like I did. Tip: Use pencil for this part! I’m glad I used pencil because I had to erase and redo some of my continents because they were the wrong size or shape.
(Side note: I did not draw Antarctica, but feel free to add this to your map if you like.)
Step 3: Cut Out Your Continents
Take some scissors and cut out the outlines you drew of the different continents. You can now place these on your black foam poster board and arrange them. This is a great way to make sure that your continents are the right size and proportionate to each other.
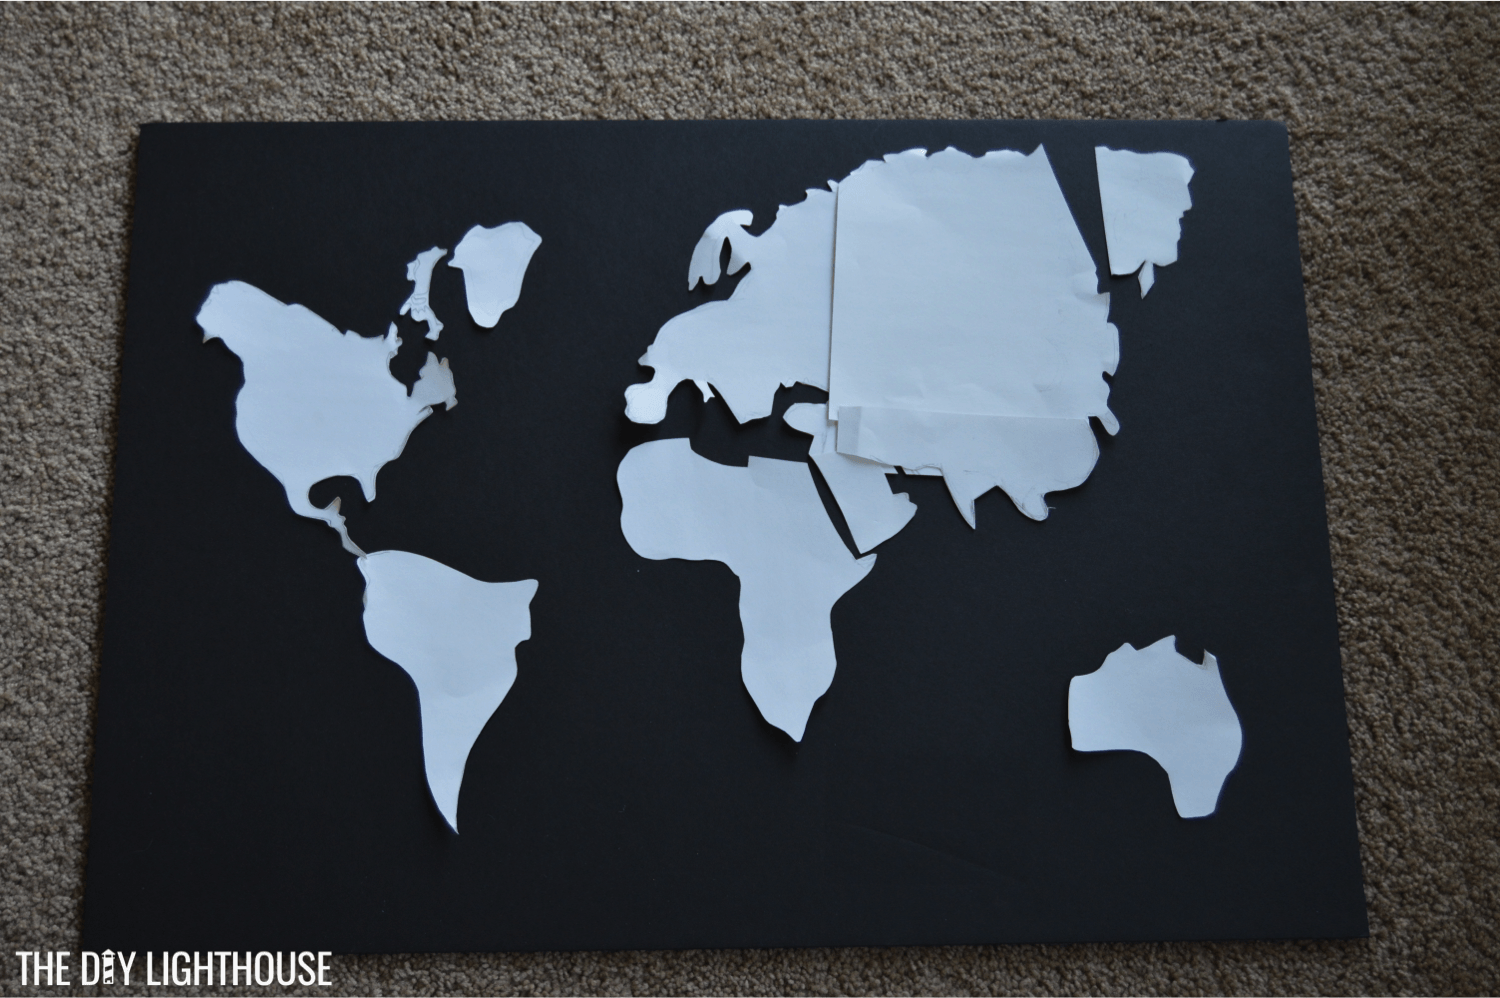
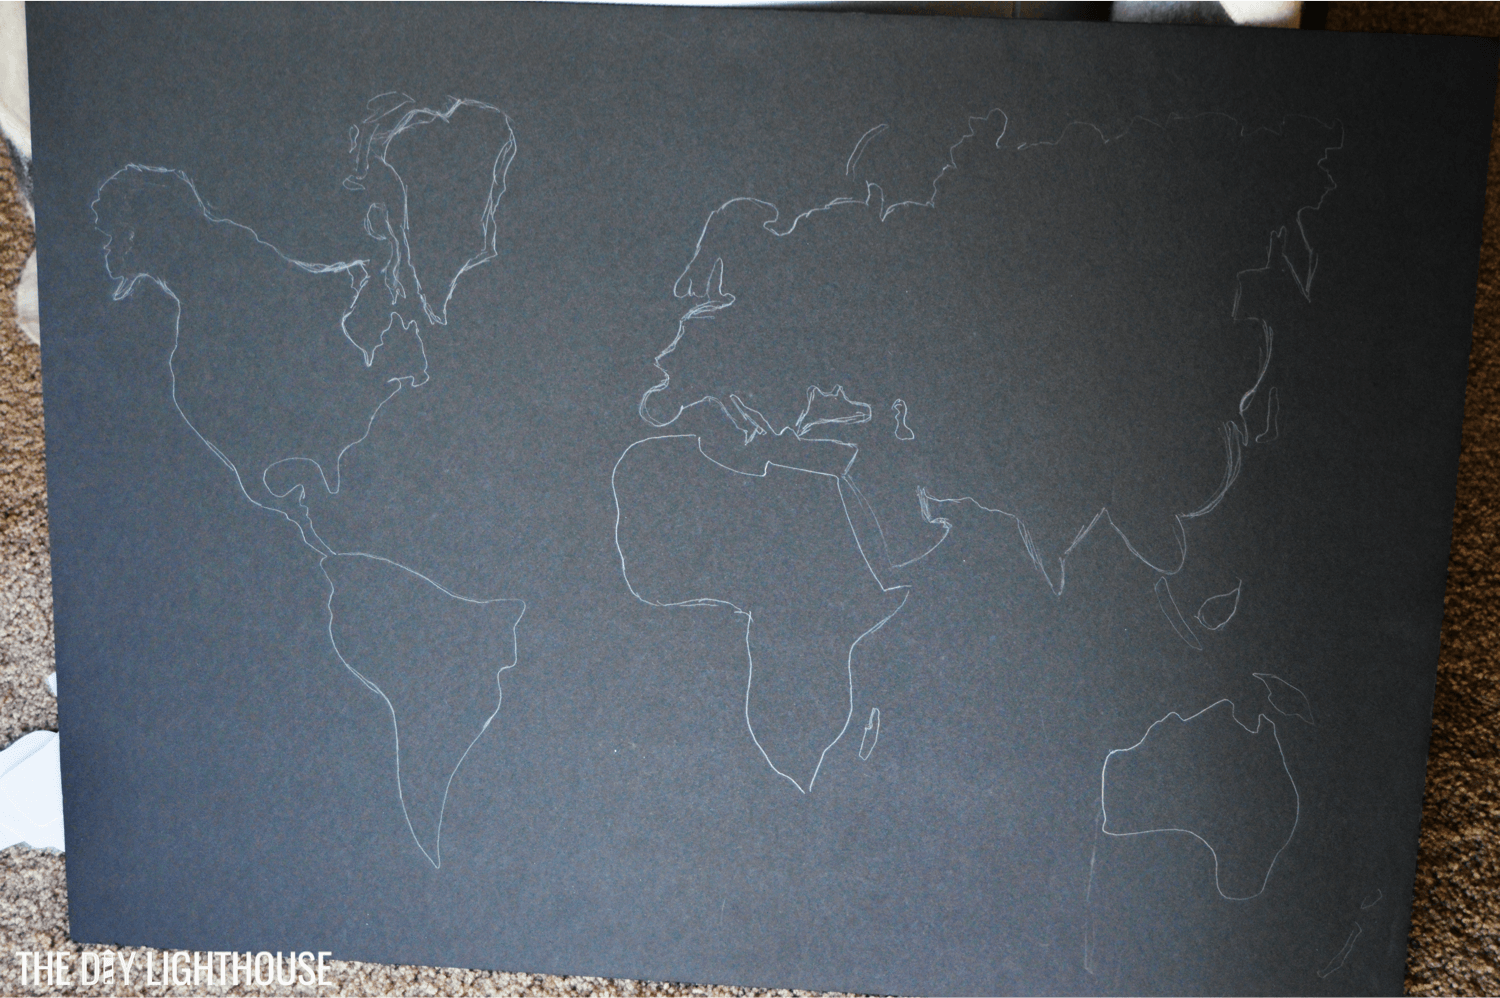
Step 4: Trace Your Cut-out Continents
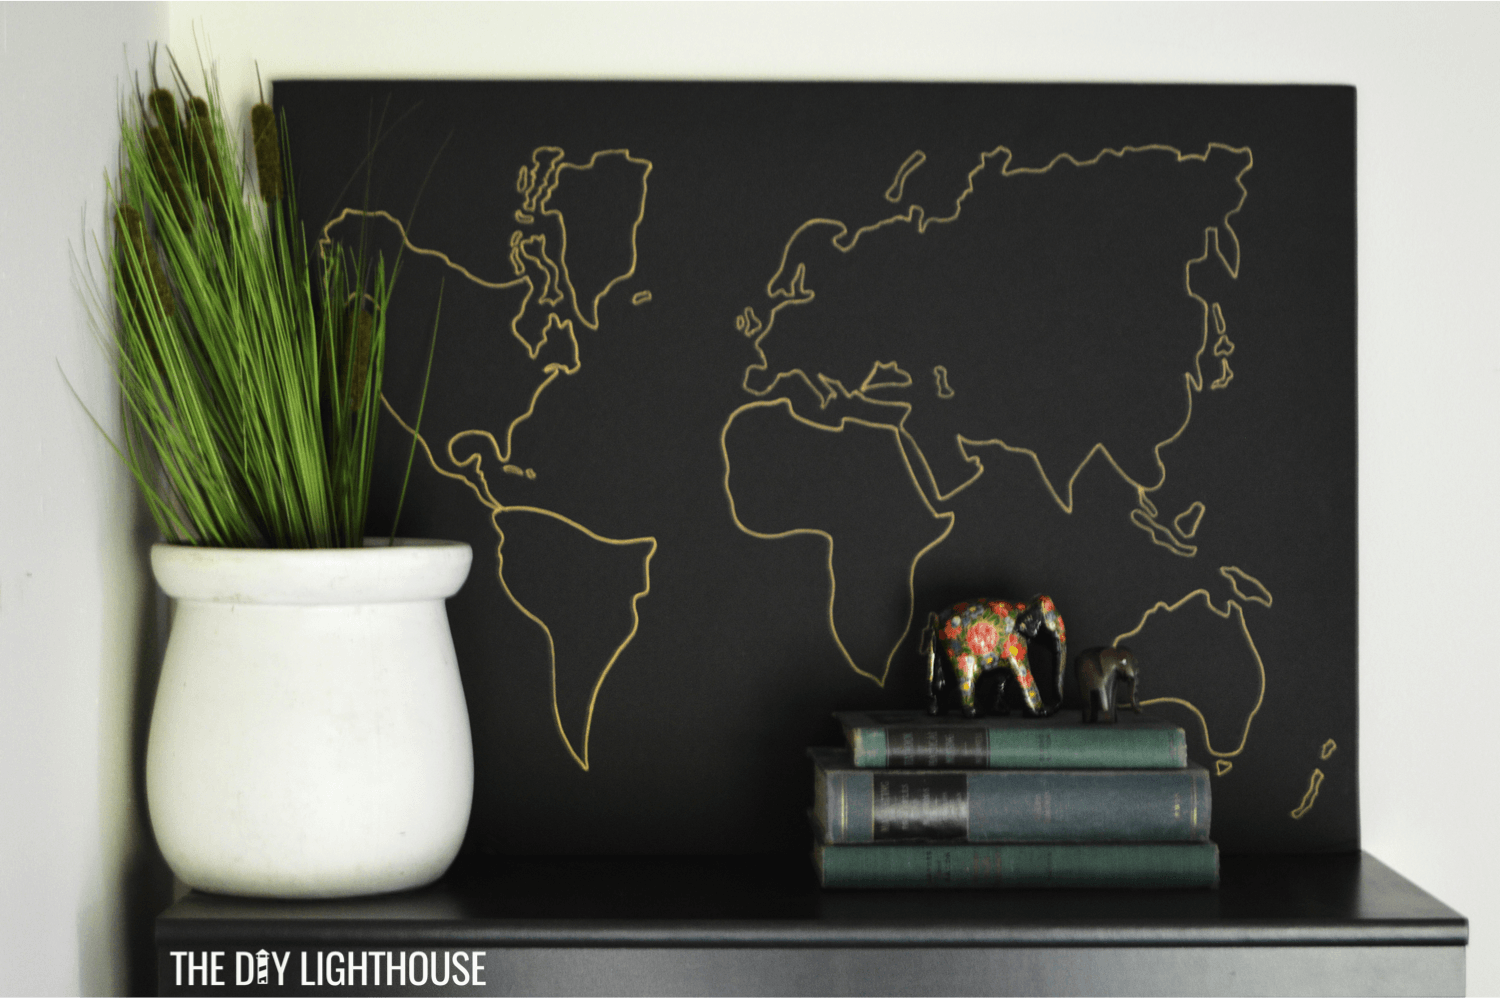
When you have your continents just how you want them, lightly trace them with pencil. Make any last minute changes, and then go over your pencil with a gold Sharpie marker. Once you’ve finished, you can go back and lightly erase any showing pencil marks.
That’s it! Hang up your world map in the classroom or around your house or apartment. I made my world map for a travel themed bridal shower, but I liked it so much that now the map is on a table in my bathroom. I never knew that poster board could look so cute!
We would love to know how your DIY world map turns out! As always, feel free to comment below with questions or ideas.
Looking for another craft your can make on a budget? Check out our post on how to make DIY decoration banners by clicking here.
Also, shout out to my cute, little helper, Moose the dog! I couldn’t resist snapping a photo.