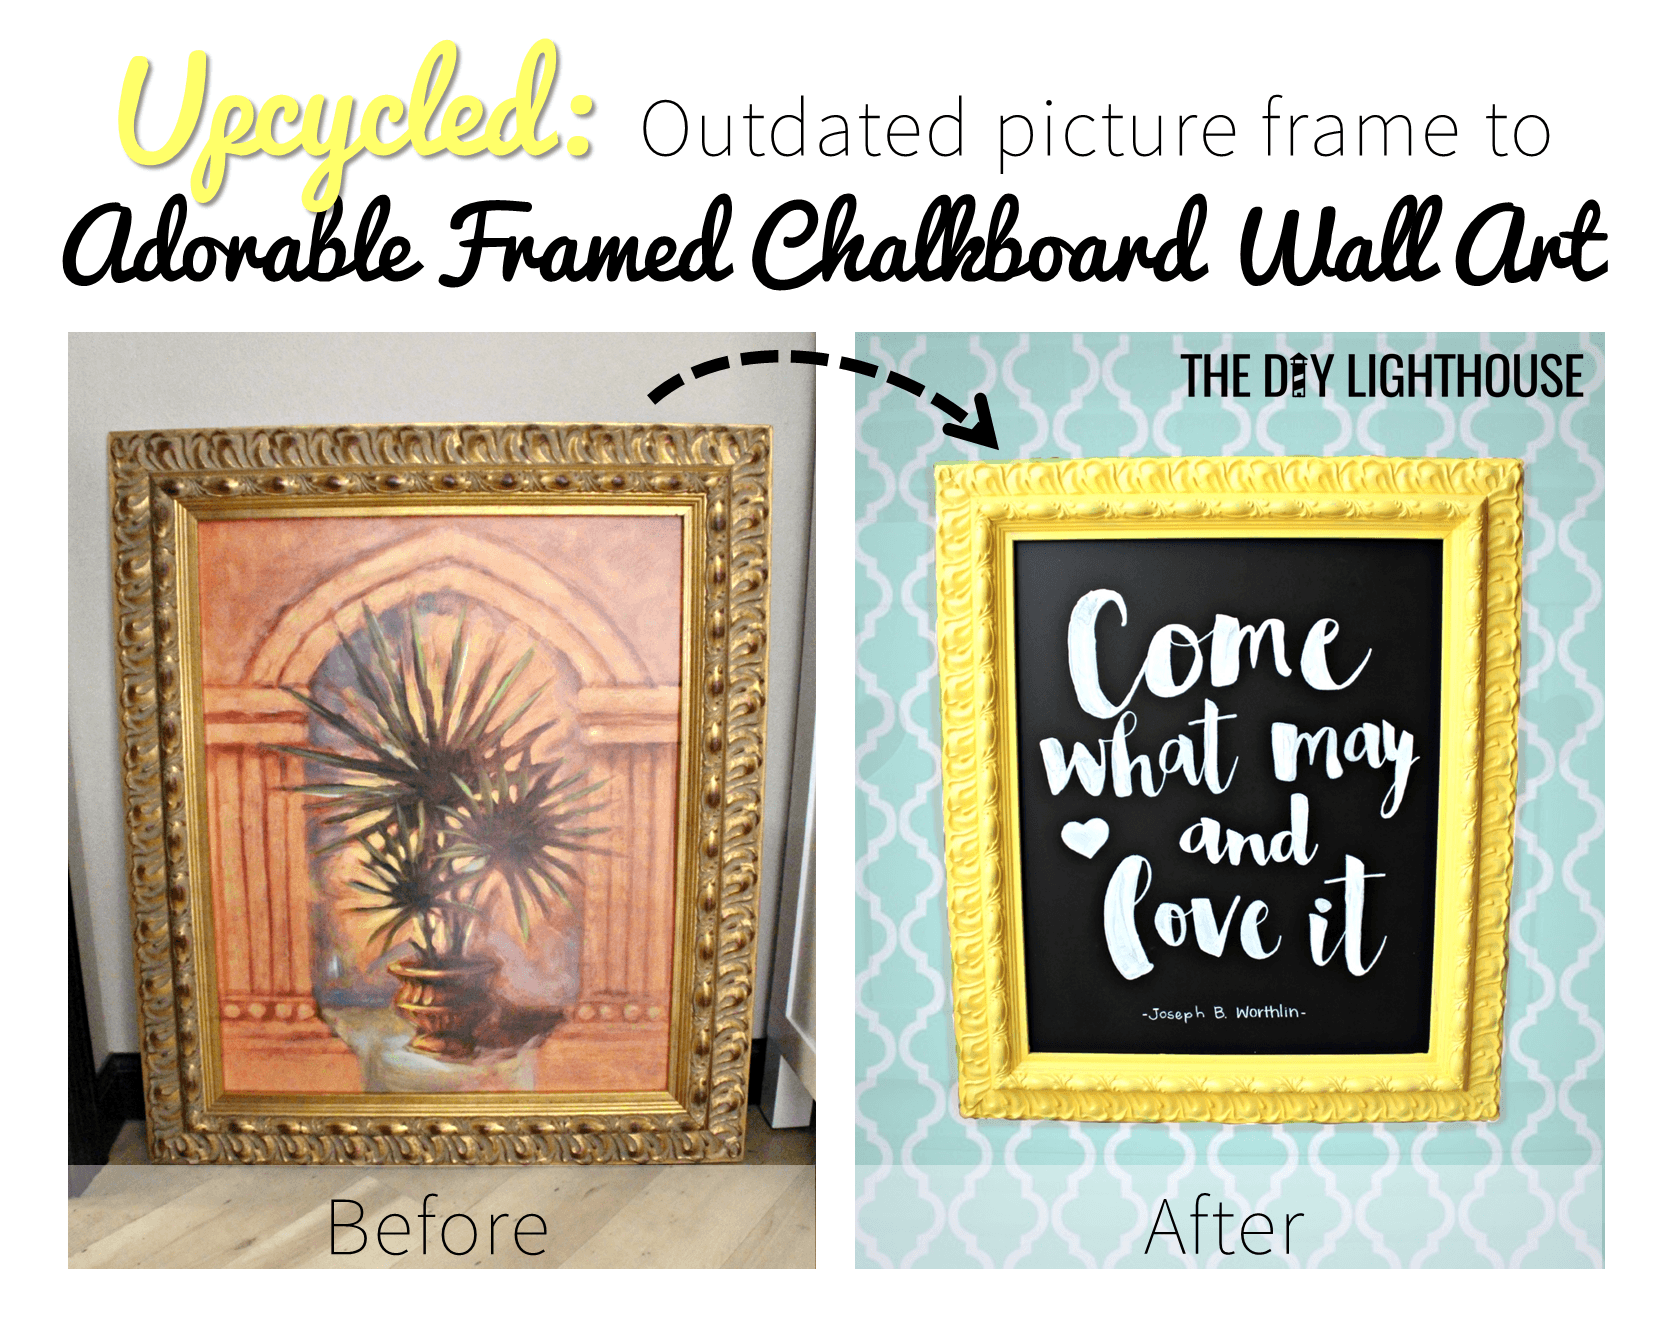
Looking for a beautiful, easy way to personalize your home? This framed chalkboard wall art is inexpensive to create, and the finished product will chalk up loads of compliments. All it took was $12 and a little creativity. Follow these 7 easy how-to’s to make it your way:
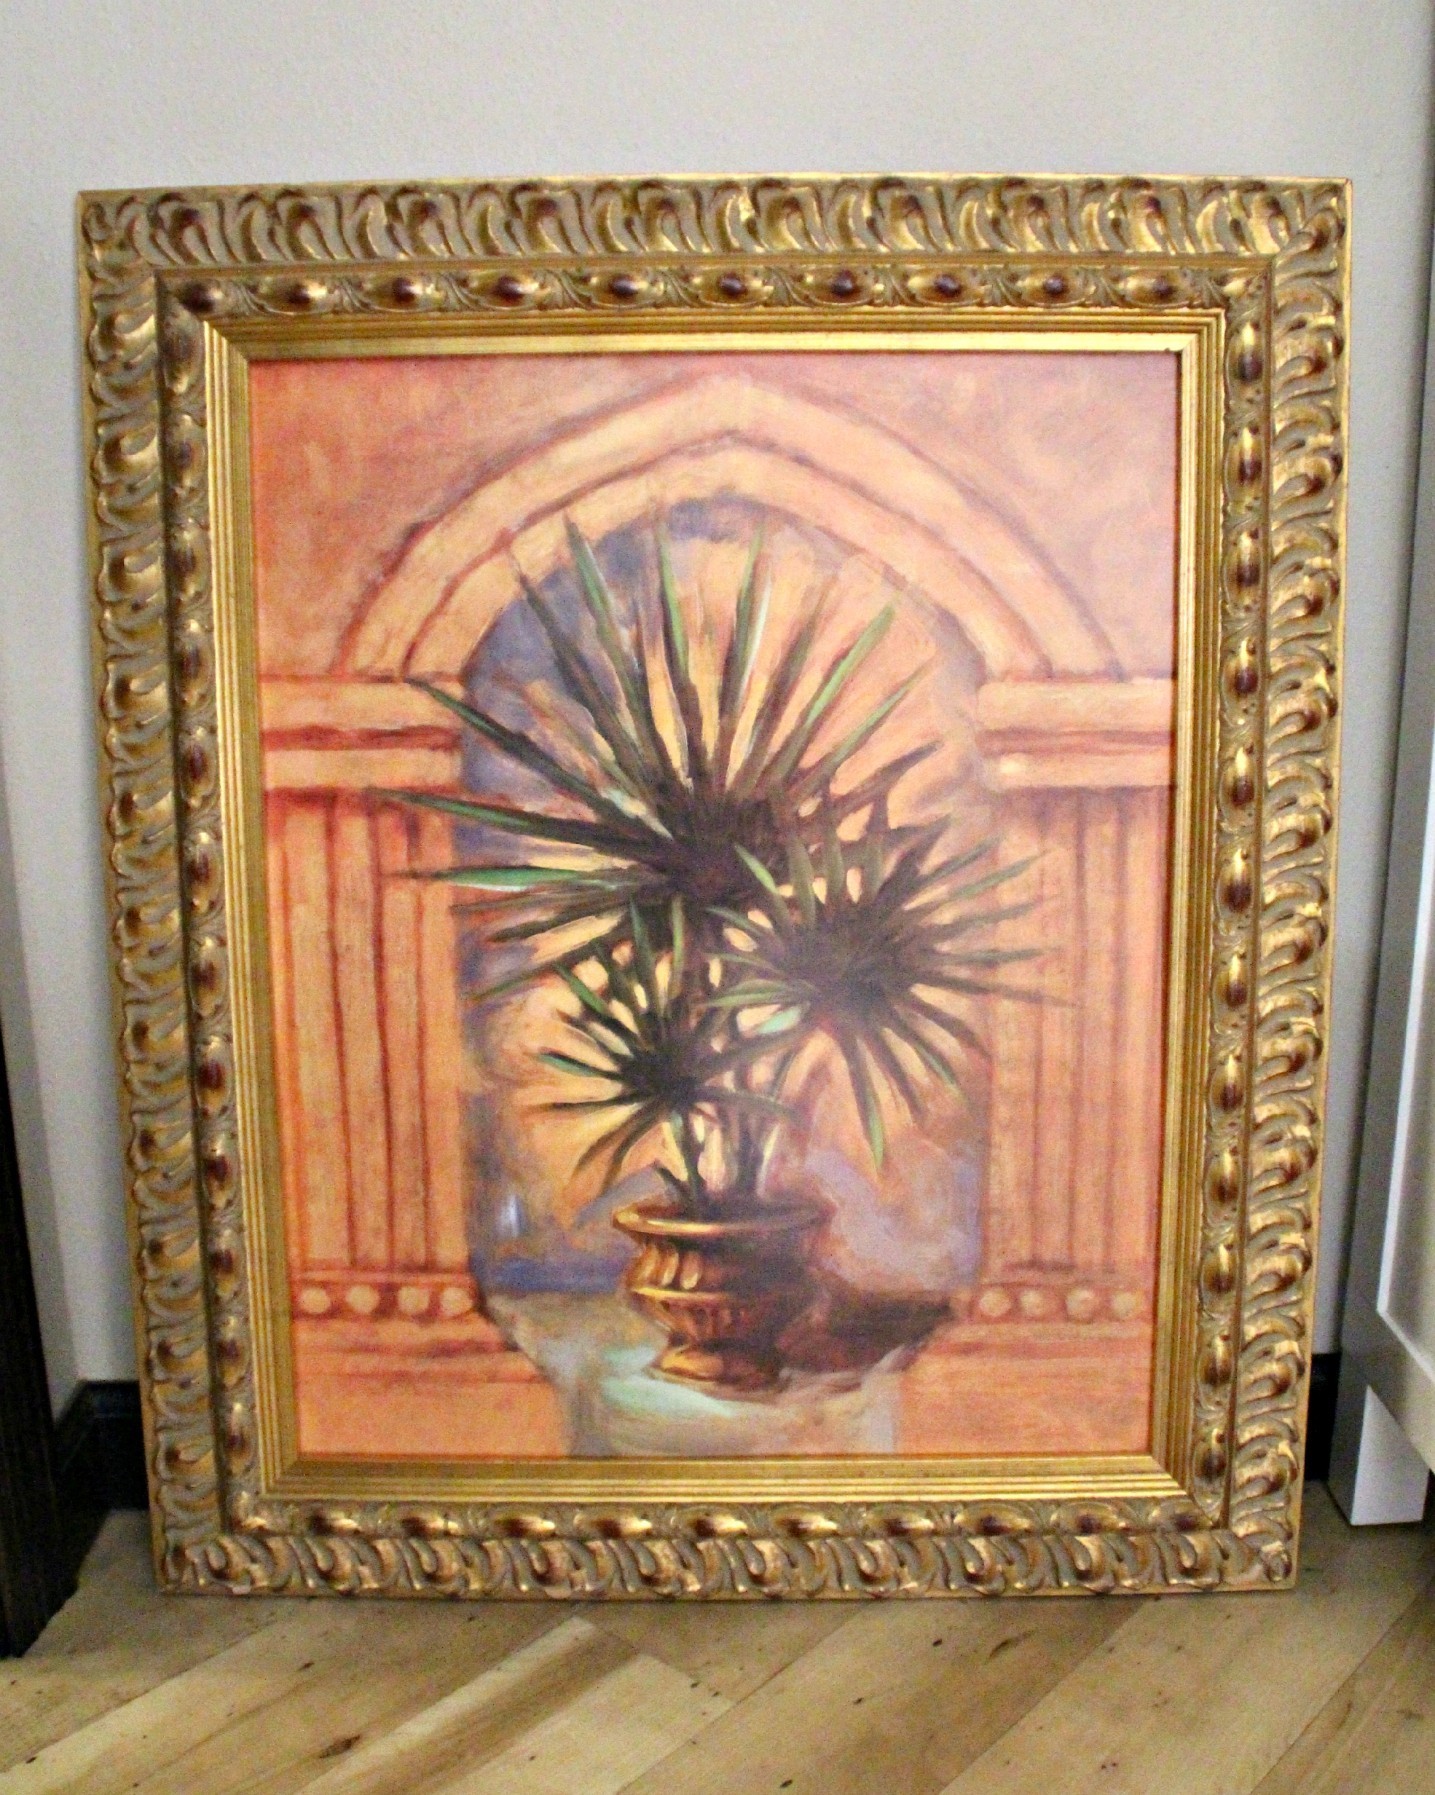
1. Find a cheap, ornate frame
The more ornate and interesting the frame is, the better. Buying one new can be pretty pricey, especially if you’re going for a large size. Since you’re going to be painting the frame anyway, it’s better to find your frame at a rock-bottom price. I found my large frame for $2 on a local buy & sell Facebook page. Look around on craigslist, a local classifieds page, second hand stores, local buy & sell Facebook pages, or garage sales for a cheap frame. Better yet, take an old frame you already have! Just make sure that whatever frame you go with comes with the glass because you’ll need it to create the chalkboard surface.
2. Buy the supplies
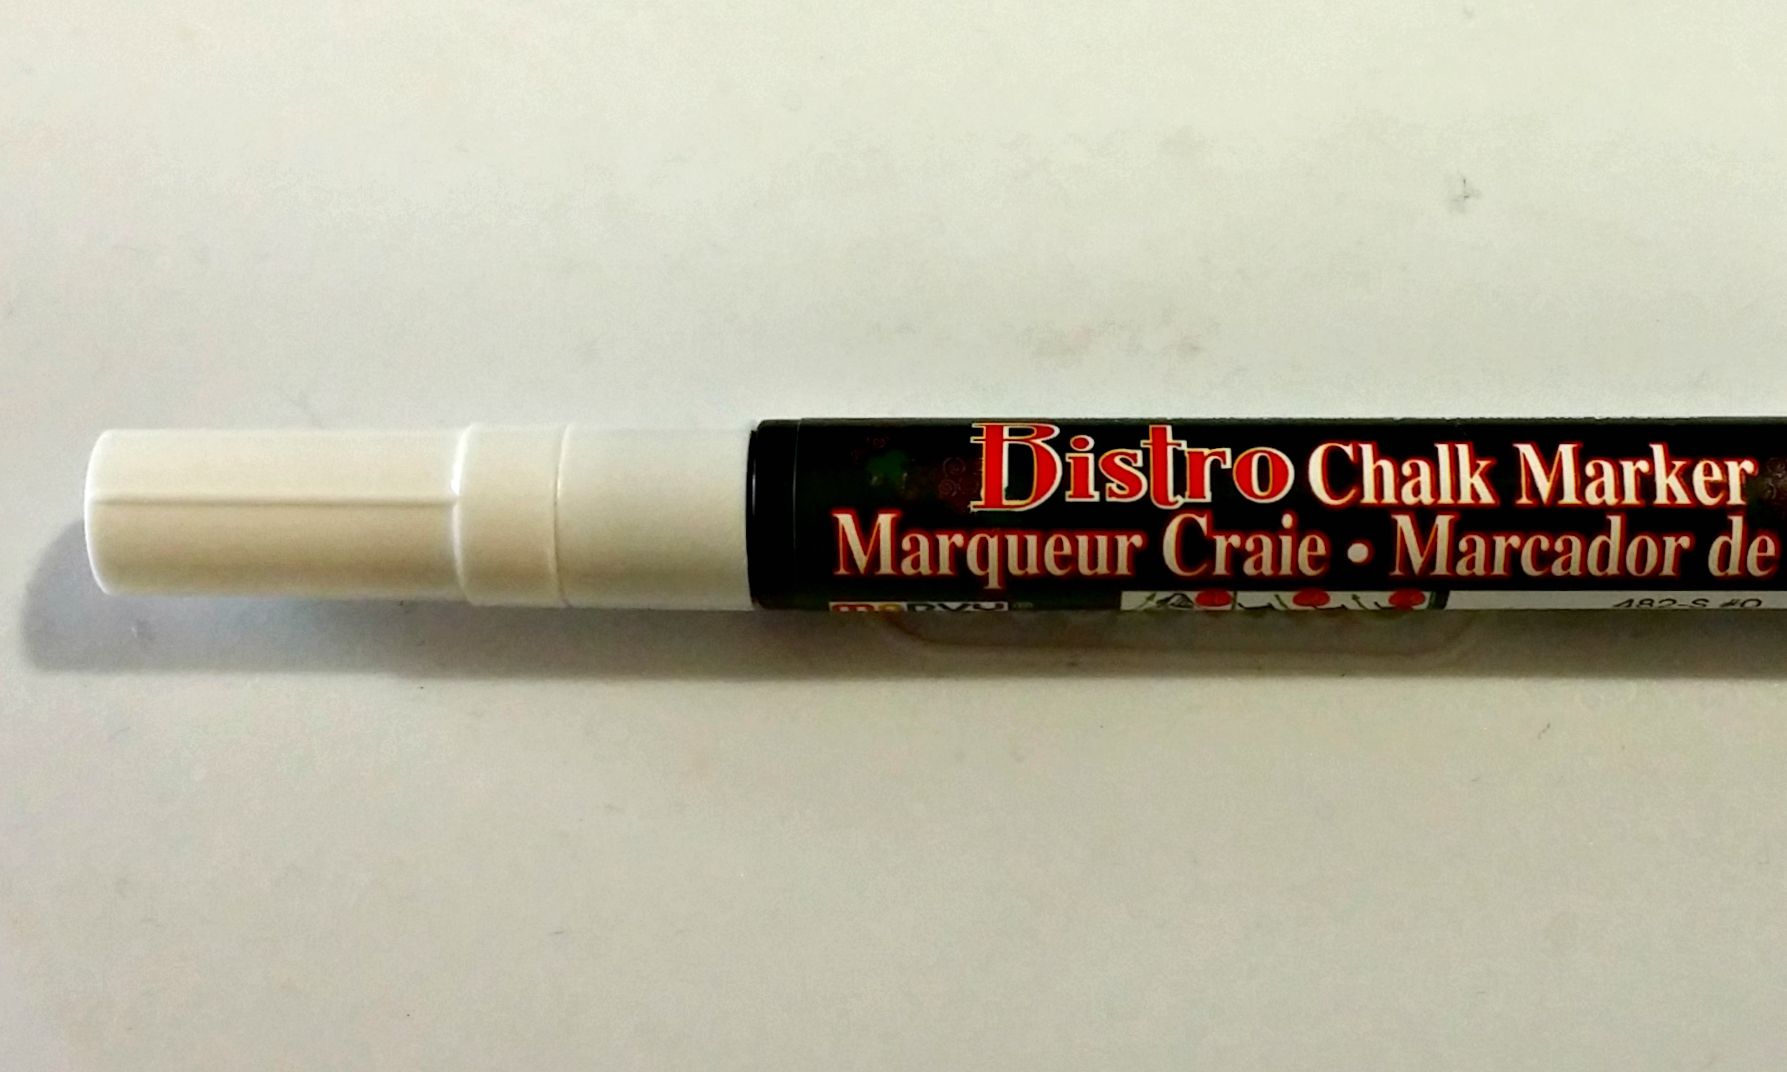
The supply list is very simple: a piece of sandpaper, colored paint, chalkboard spray paint, and a fine-tipped chalkboard marker. A small grit sandpaper will be best. (For tips on buying the right kind of sandpaper, click here.) I’ve found sandpaper packages at Goodwill for $1, so be sure check those second hand stores first! You will need two kinds of paint: the color you’ll be painting the frame and the chalkboard paint. (To see how I get paint for free, click here.) For this project, I got a $1 pint of yellow paint and a $6 can of chalkboard spray paint from Ace Hardware. The chalkboard marker was at Hobby Lobby for about $4, but you can find these markers at pretty much any local craft store.
3. Clean the frame & glass
Why are we cleaning the frame and glass when we’re just going to cover it up with paint? Well, that’s the point. Paint adheres best to clean surfaces (especially when painting glass), and it results in a more smooth finish. I used a couple Clorox cleaning wipes to wipe down the frame and a bit of Windex and a rag to clean the glass. This step should only take 5 minutes or less depending on the size of your frame.
4. Scratch the surface
Painting on glass can be tricky. Paint just naturally adheres better to things that are porous, like wood. Glass…not porous. But there are things you can do to help. Besides doing the step above (cleaning the glass well), scratching the glass with some small grit sized sandpaper will give the paint something to grab onto. Again, click here for tips on sandpaper grit size. Once you’ve sandpapered (is that even a word?) the entire front side, be sure to clean the glass again really well.
5. Paint
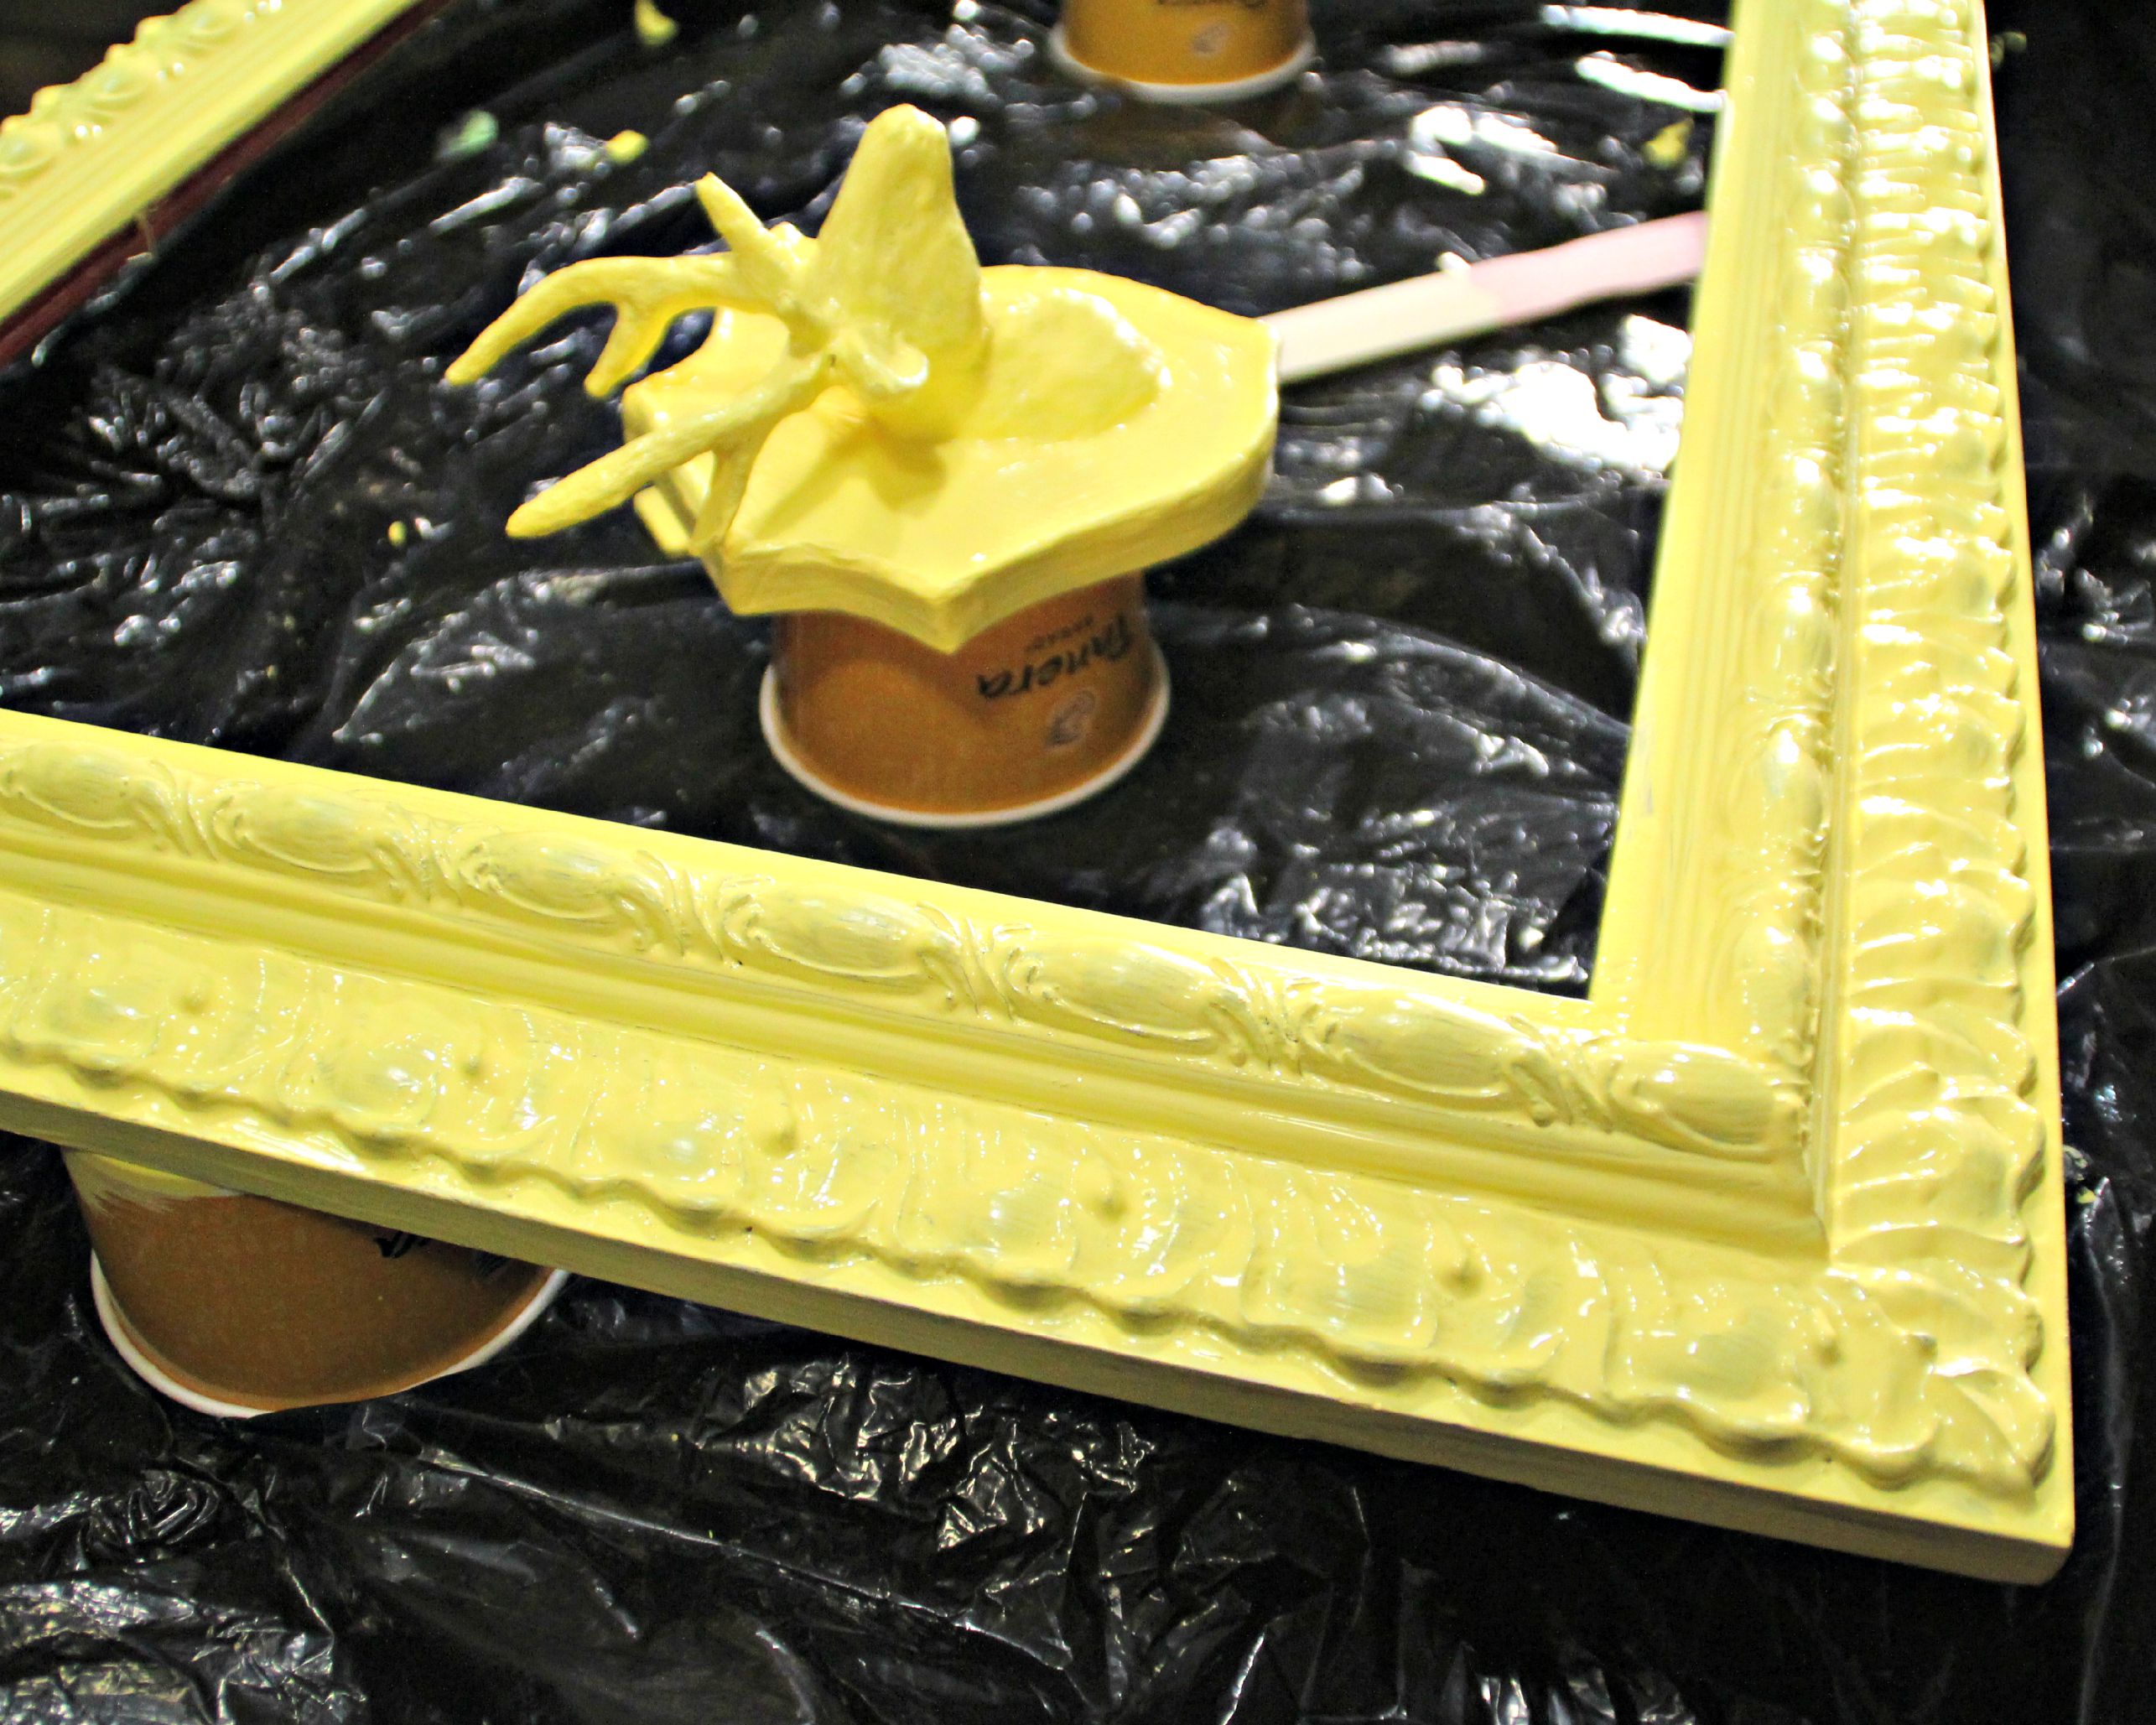
You probably don’t want paint everywhere, so spreading empty garbage sacks down on the ground helps contain the mess. Quick tip: When painting the glass and the frame, be sure that the surfaces are not resting flat on the ground, otherwise the paint will pool around the edges and dry all funky like. As you can see in the image below, I have used paint cans, cups, bowls, and other random objects to raise the surface being painted. (Please ignore the random deer head; it was used for another project.) Be sure to read the directions on the spray paint or paint can before beginning to paint. The directions will inform you on things like the paint drying time or that the spray paint needs to be shaken for 2 minutes after hearing the ball rattling around. One important thing to remember with spray paint is that it’s important to begin and end the spray off of the glass or else you could get little splatter marks. And if you want to apply more than one coat of paint on your frame, here is a quick tip to keep your brush from drying out. Both my frame and my glass only ended up needing 1 good coat of paint each.
6. Design the text & image
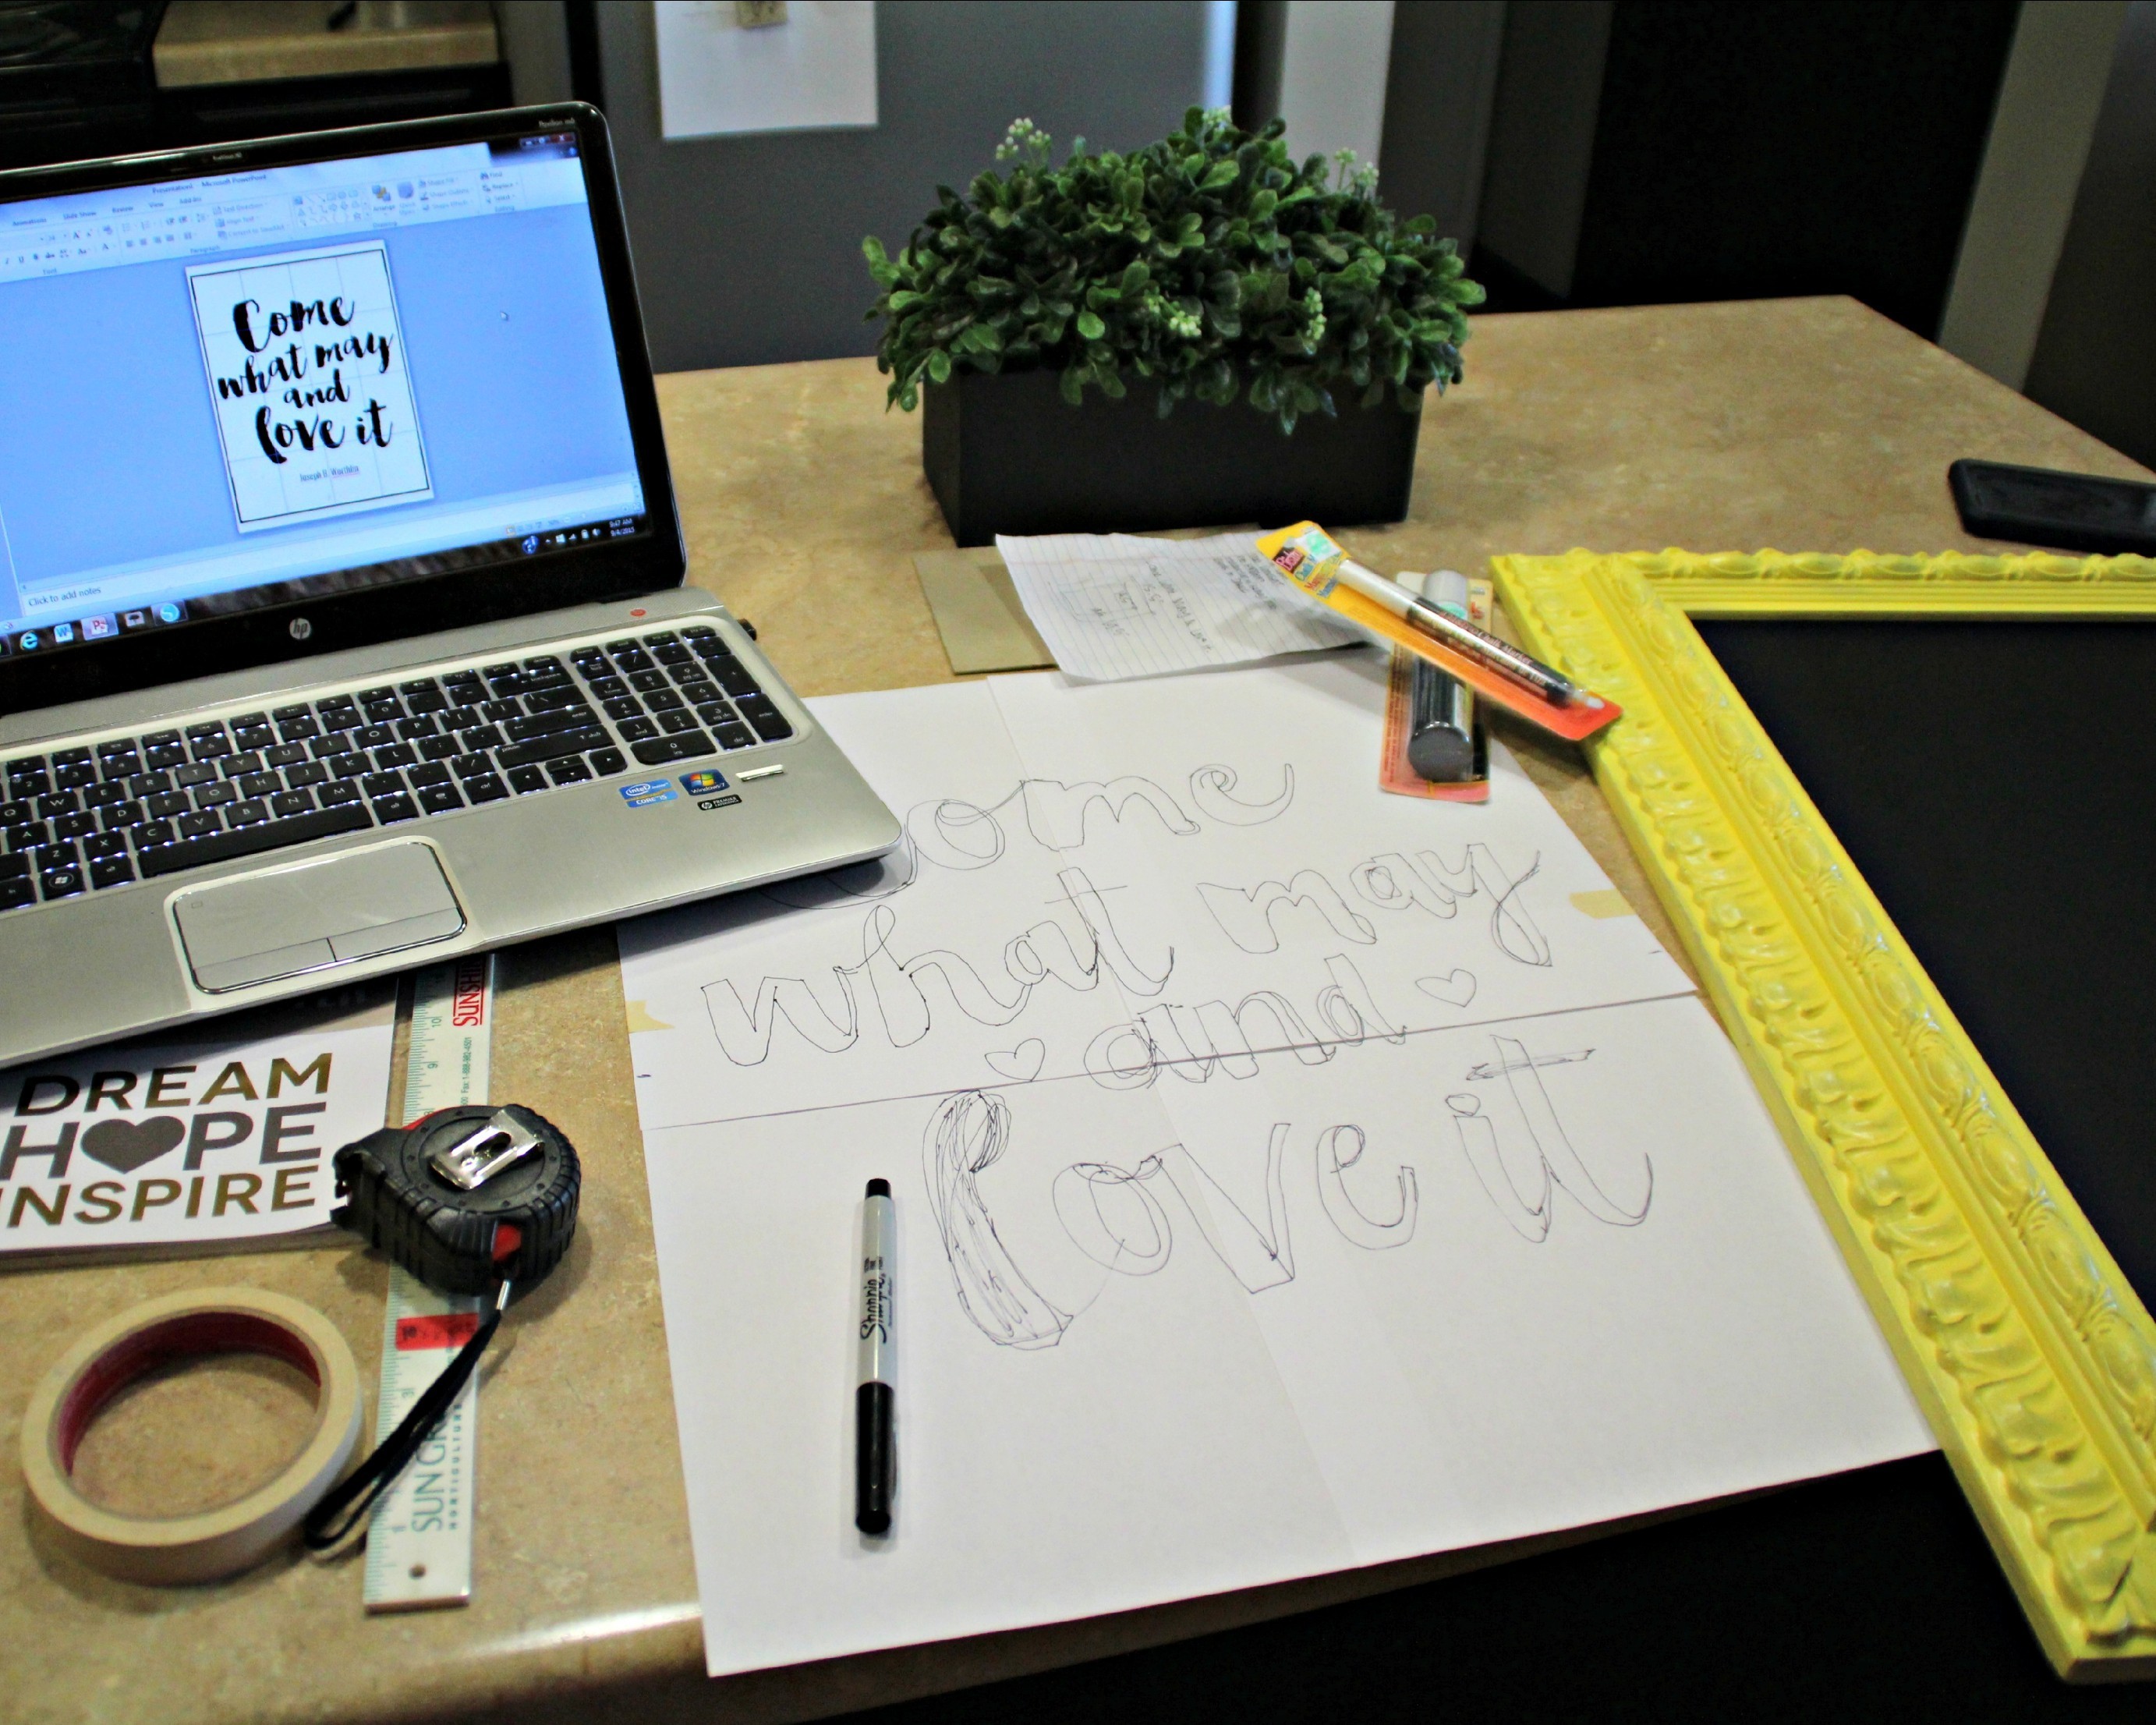
Now that you have a beautiful surface to create your design, it’s important to carefully think about what you want your finished product to look like. For my design, I asked my husband what one of his favorite quotes is. Perhaps you’d rather just draw something. Whatever you decide, take some time to plan. Before fully committing on the chalkboard, first try a digital version. I first designed the quote I used on my computer using PowerPoint. I measured the space of my chalkboard once it was in the frame and used those same ratio measurements in Powerpoint. Once you like what you see on your computer, you can go straight to the chalkboard or do another practice step, like me, using paper and pen.
7. Chalk it up
Add lines to your digital text/image to divide the space into quadrants. These lines and the corresponding invisible lines you mentally draw on the chalkboard will act as a guide when it comes time to transfer the image/text onto the board. Again, be sure to follow the directions on the chalkboard marker. You my notice that most chalkboard markers are, interestingly enough, not really intended for chalkboard surfaces. This means that the marker will give you the same powdery look that chalk does, but it won’t erase off as normal chalk does. Despite this flaw, I still prefer the clean look the marker achieves over using normal chalk. But because the chalk marker doesn’t erase off, it’s important to be careful as you write/draw your image. Just work slowly and use the imaginary lines you’ve created. Another thing you could do is cut out your text/image and trace it onto your chalkboard before filling it in. I didn’t feel that was necessary, but by all means, if you’d feel more comfortable that way, go for it. Remember, just have fun with it and let your creativity take shape!
 Got more fun chalkboard ideas? Comment below! And be sure to let us know how your DIY framed chalkboard wall art turns out!