Hello y’all! My name is ShaNae Carrier and I’m writing today with the help of my handsome husband, Spenser. We have been invited to share a little bit about our handmade, custom clocks. You can find us, CarrierCustoms, on Etsy at: https://www.etsy.com/shop/
About CarrierCustoms
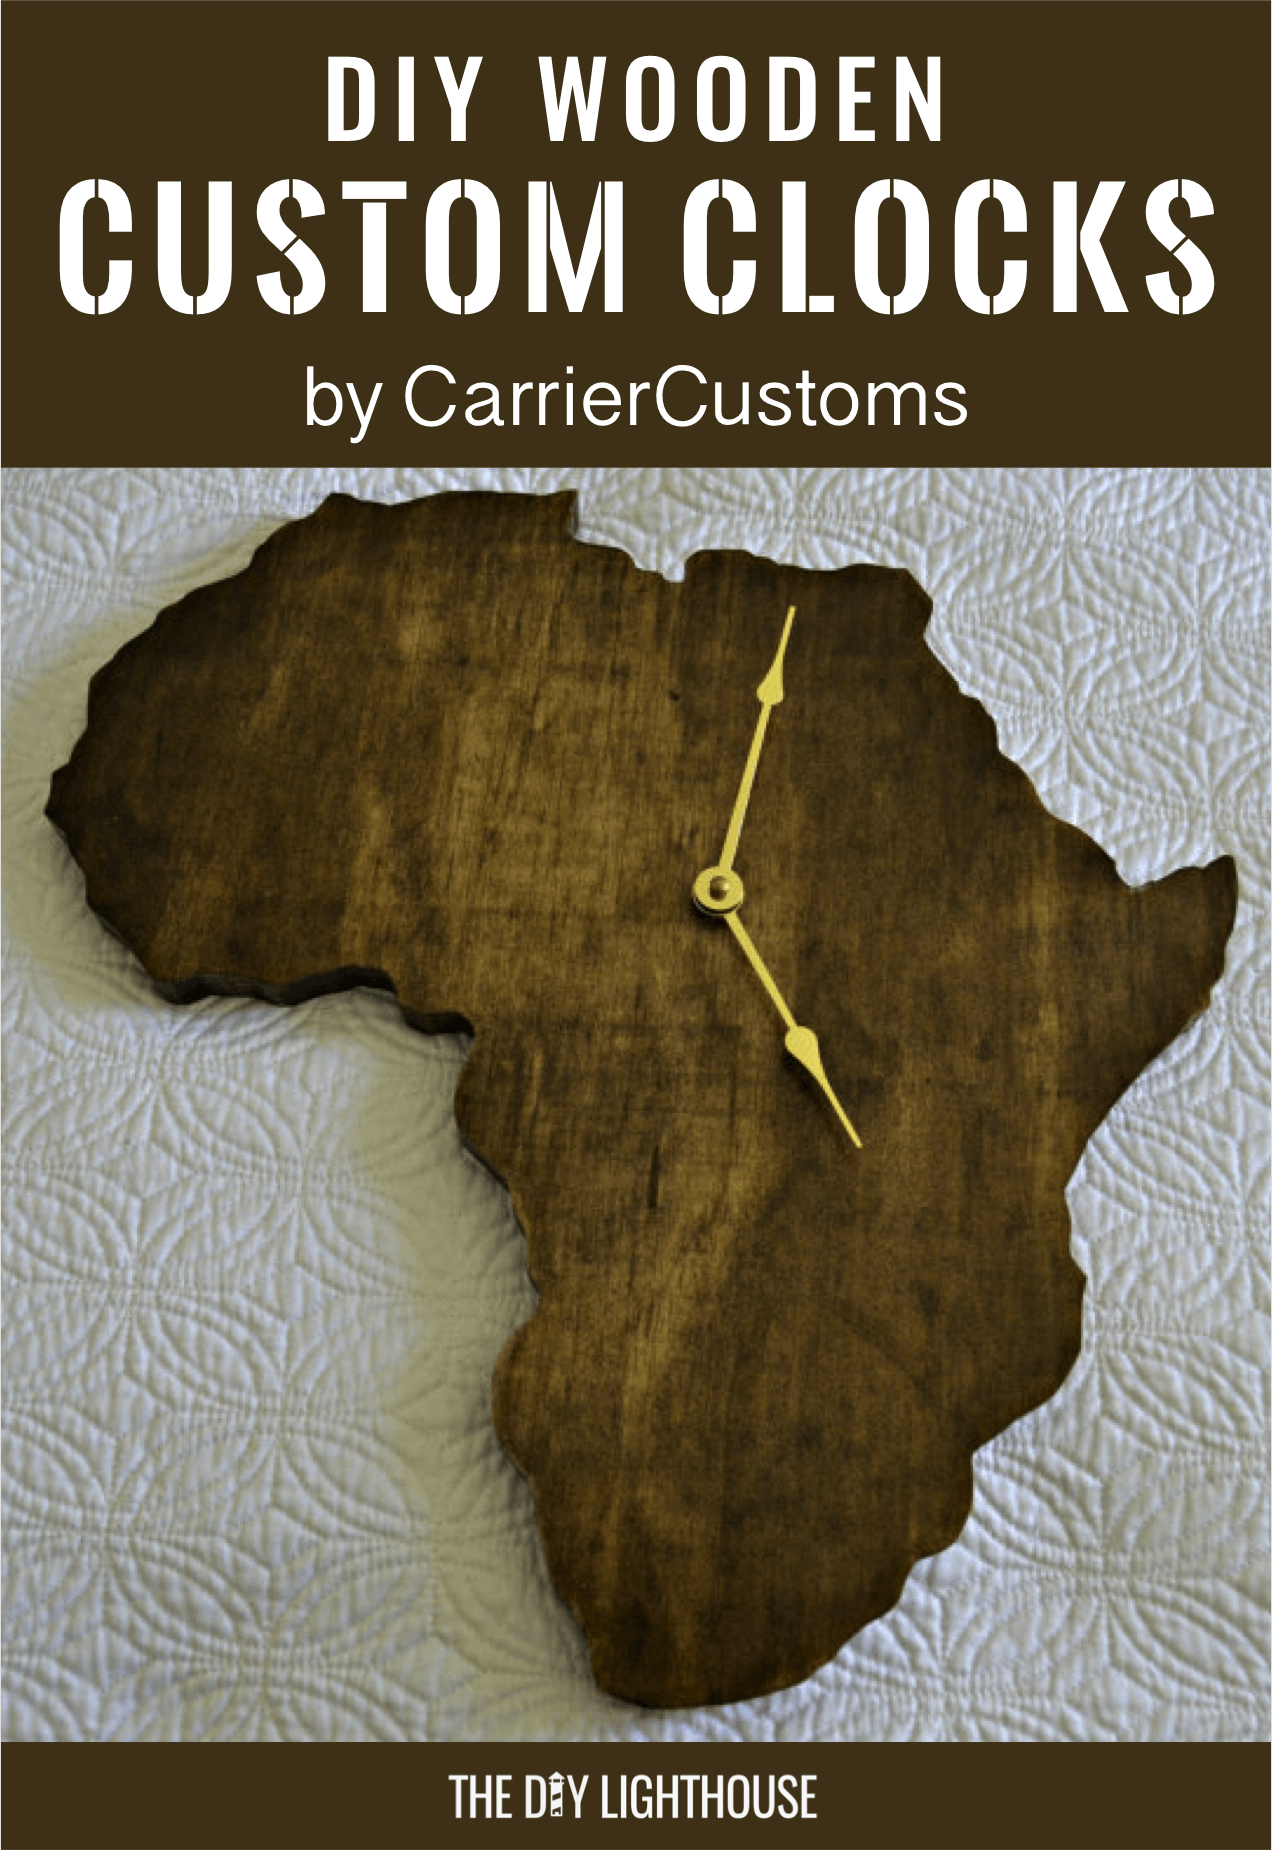
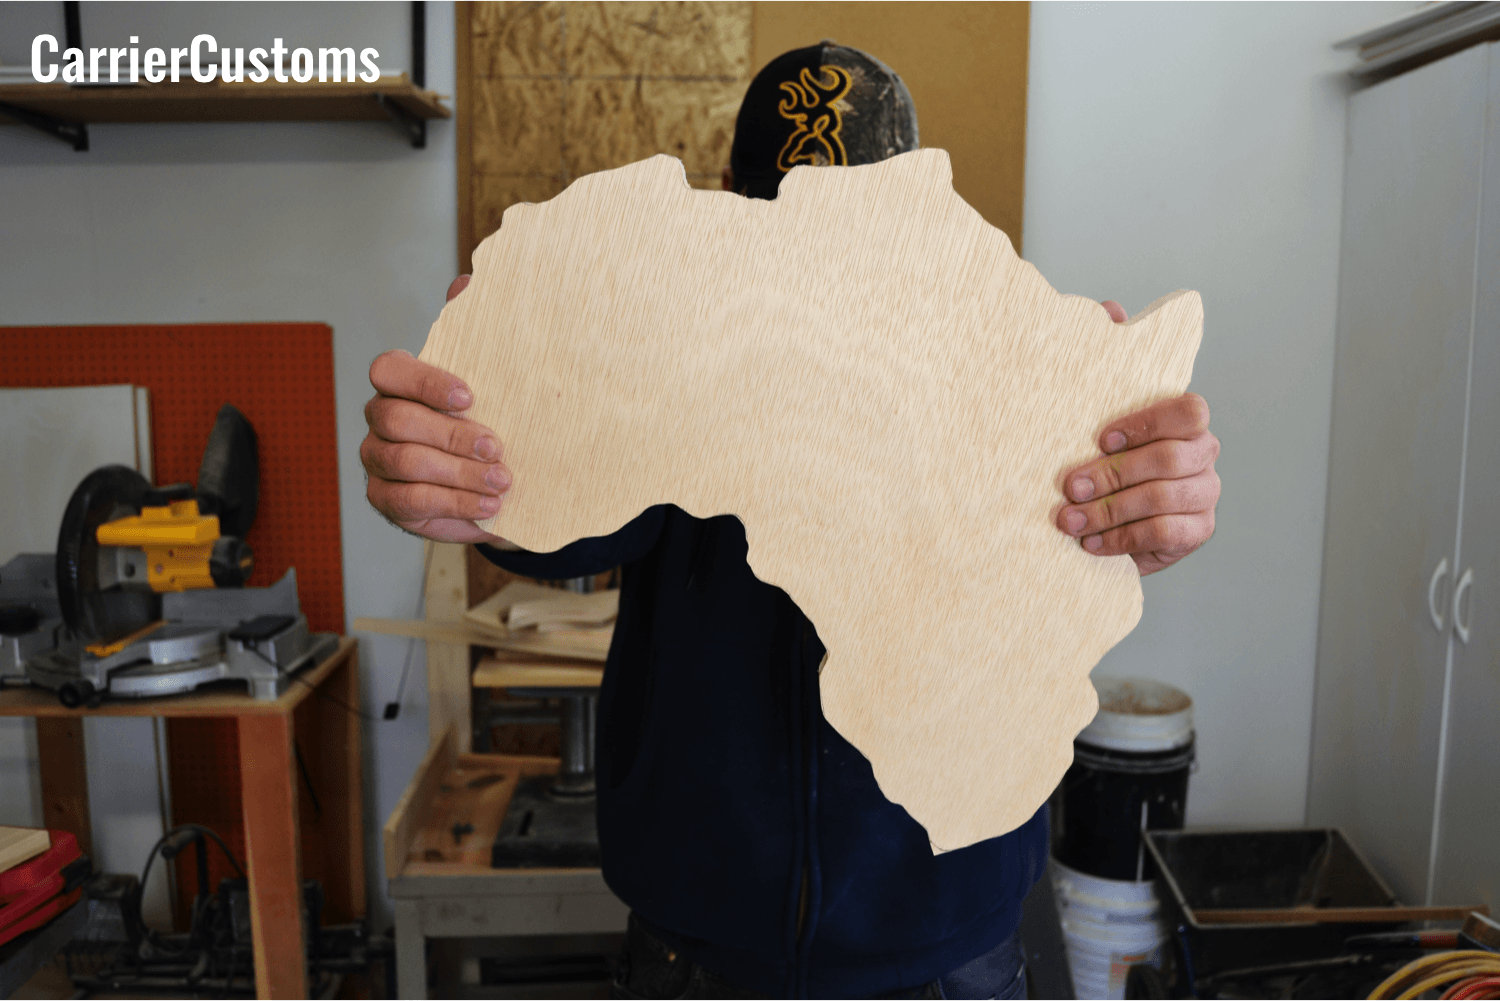
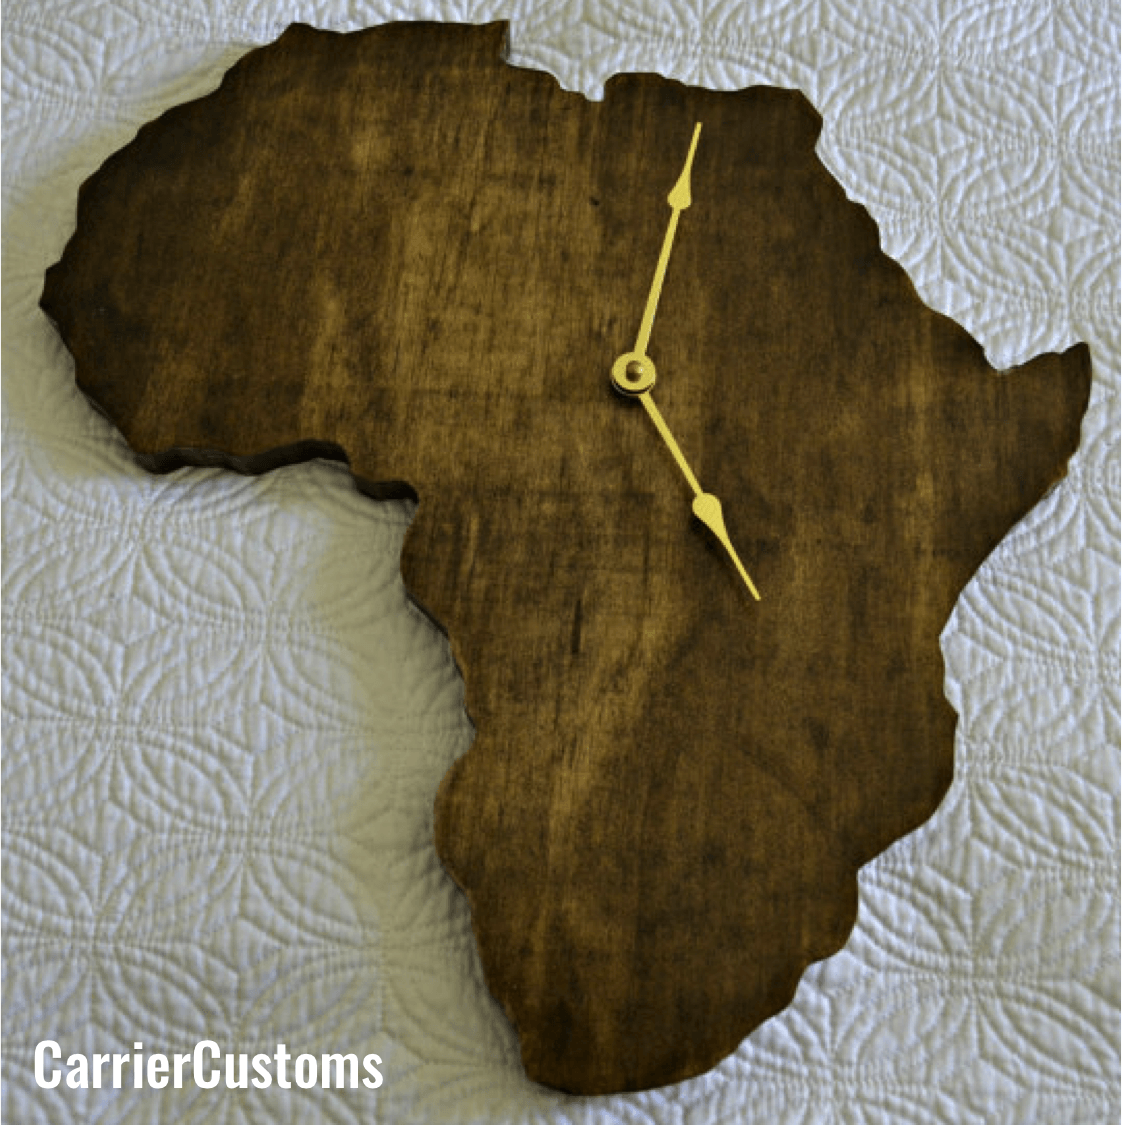
Spenser works in law enforcement and I’m a scientist, so ‘crafty’ isn’t usually used to describe us. However, in our free time we enjoy creating things and spending time in Spenser’s dad’s wood shop. A few years ago, I lived in Tanzania for awhile. And when I got home, Spenser made me a clock in the shape of Africa as a gift. It’s now hanging on the wall of our living room, and just about everyone that visits our home says they love it.
Earlier this year, I got to thinking. . . why don’t we make more clocks? People enjoy handmade pieces that give them bits of nostalgia. So, we opened an Etsy account and got to work. The unique aspect about our products is that they are custom. Say a customer wants a clock in the shape of Germany and we don’t have one in stock. They shoot us a quick email or Etsy message, and within two weeks Germany’s up on the site and their clock is in a box on its way to their front door. Buyers get to choose shape/outline, size, and color. We enjoy making pieces that are individualistic and speak to our consumers, so the more custom, the better. Below is a quick run down of our clock making process.
5 Steps for a DIY Wooden Custom Clock
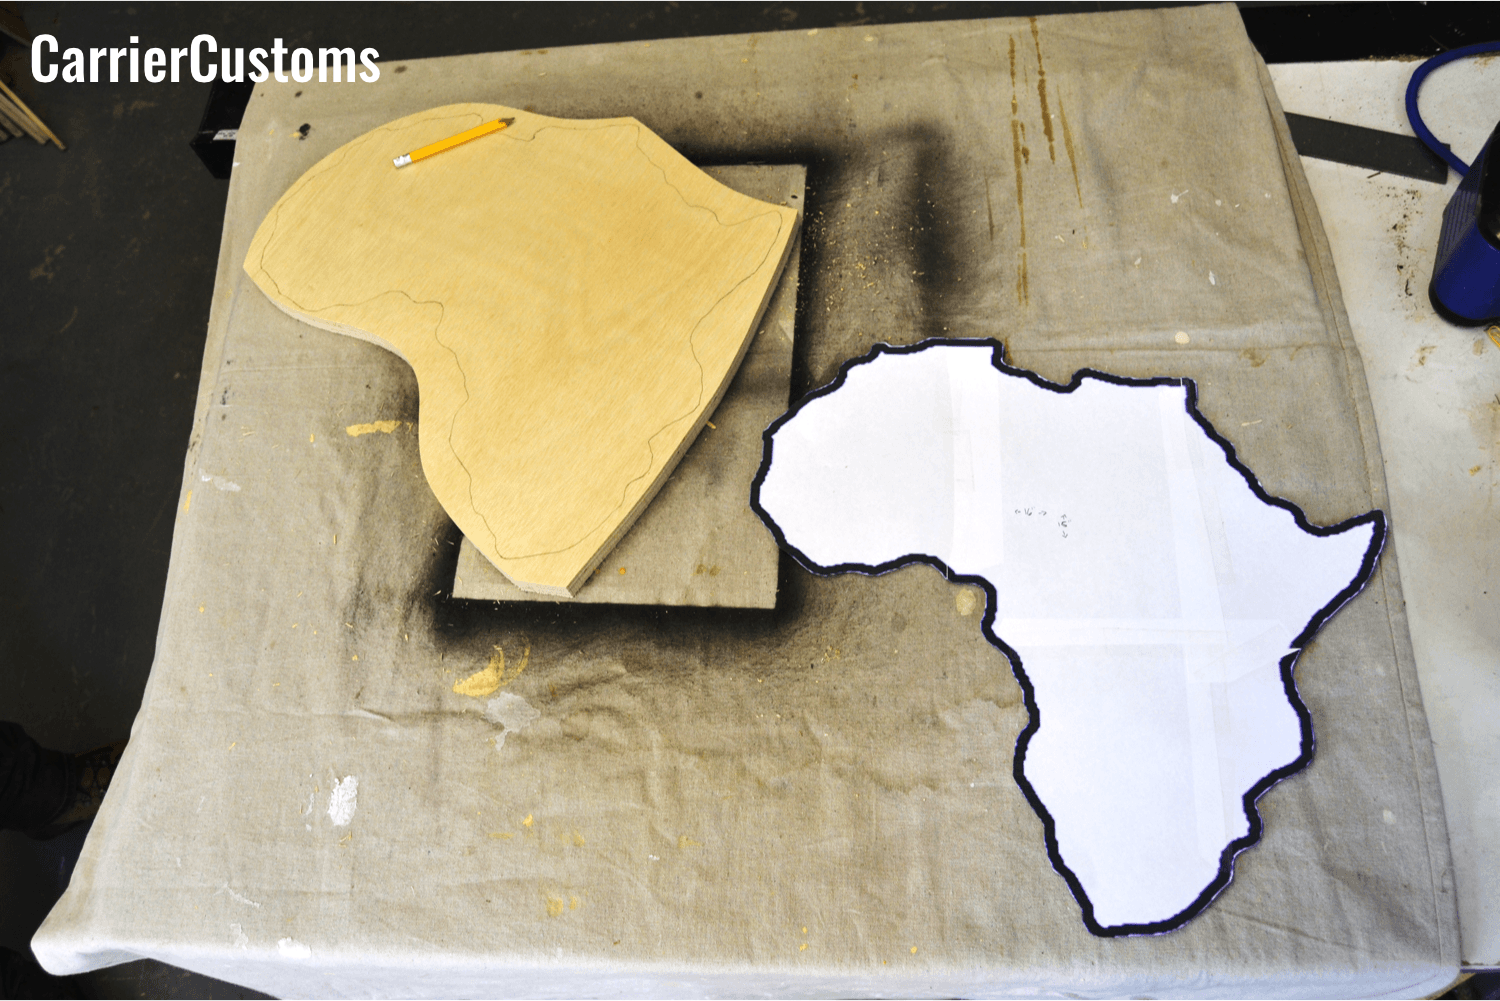
Step 1: Print and trace the outline
Trace your outline onto a ¾ inch piece of pine board, and then use a band saw to cut out a rough shape. You can get pine board at any local Home Depot or Lowe’s.
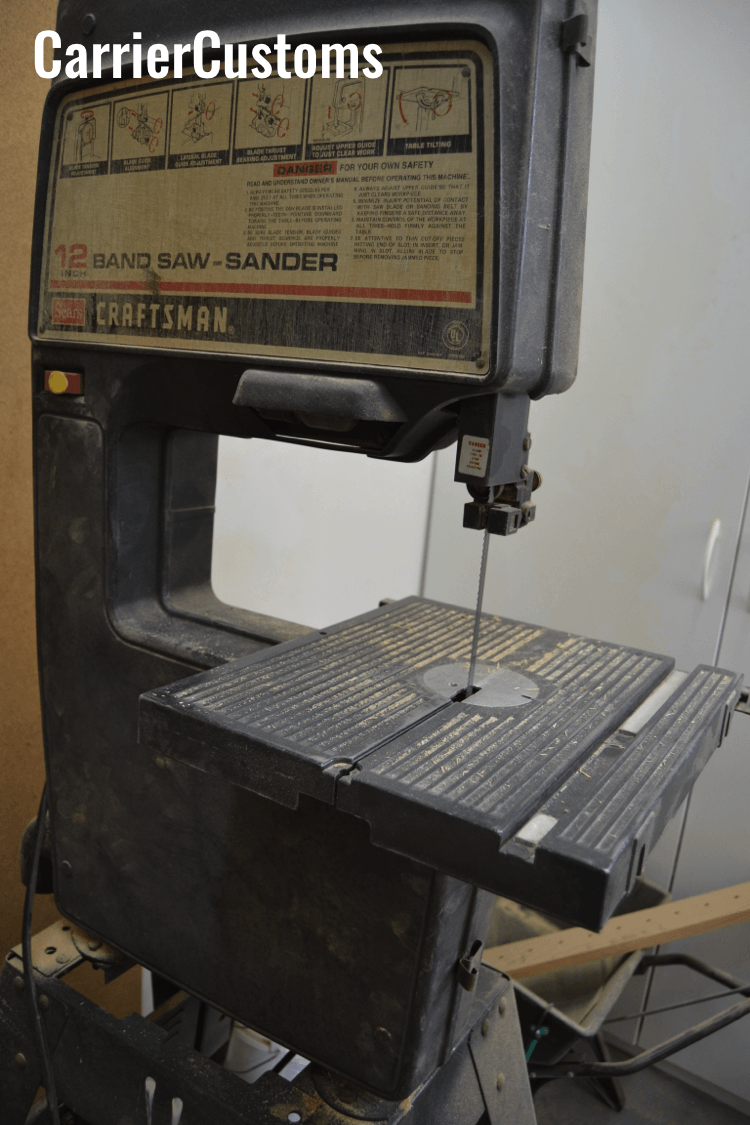
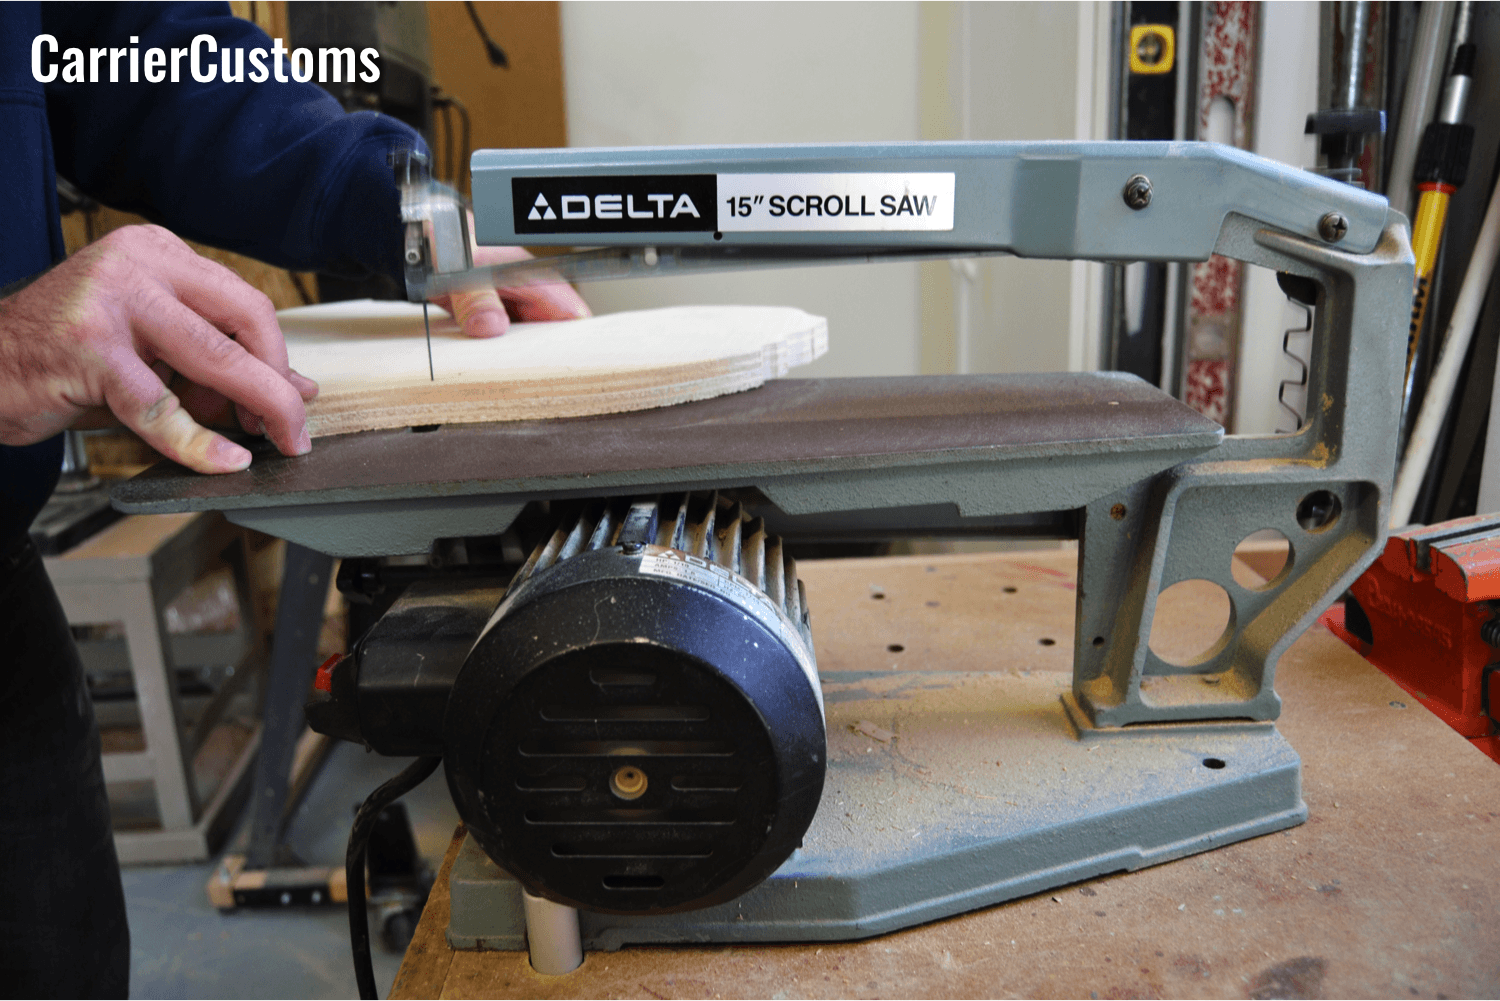
Step 2: Cut the outline
Use a scroll saw to carefully cut along the stenciled outline. When using a scroll saw, move slowly and hold on tight by pressing down firmly so the saw doesn’t snag onto the wood and destroy your piece.
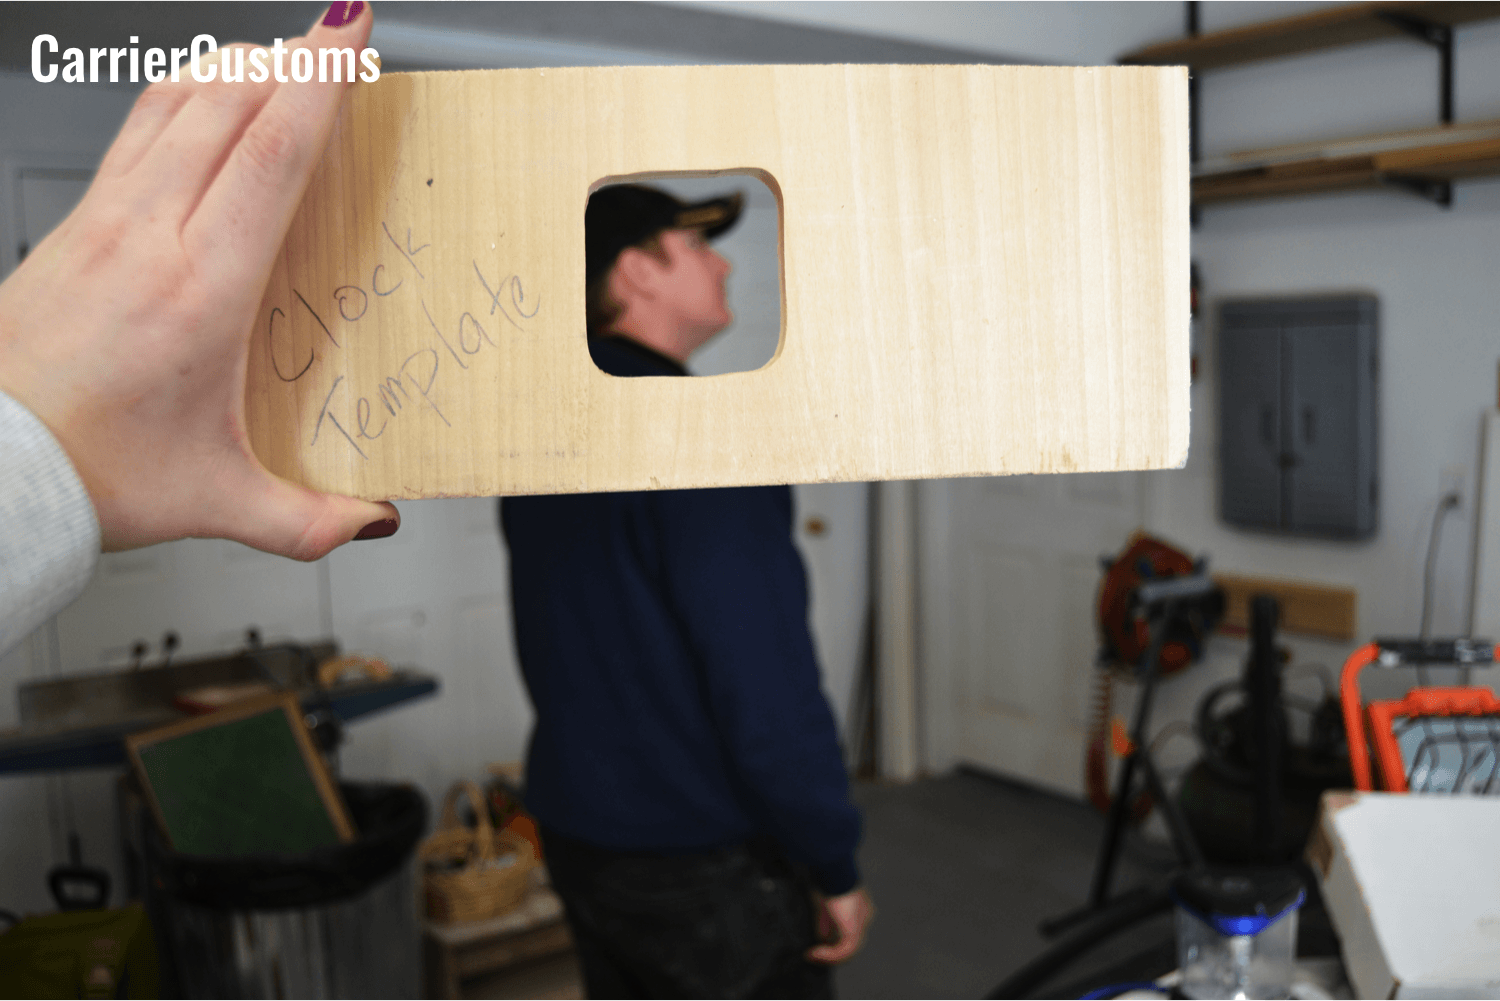
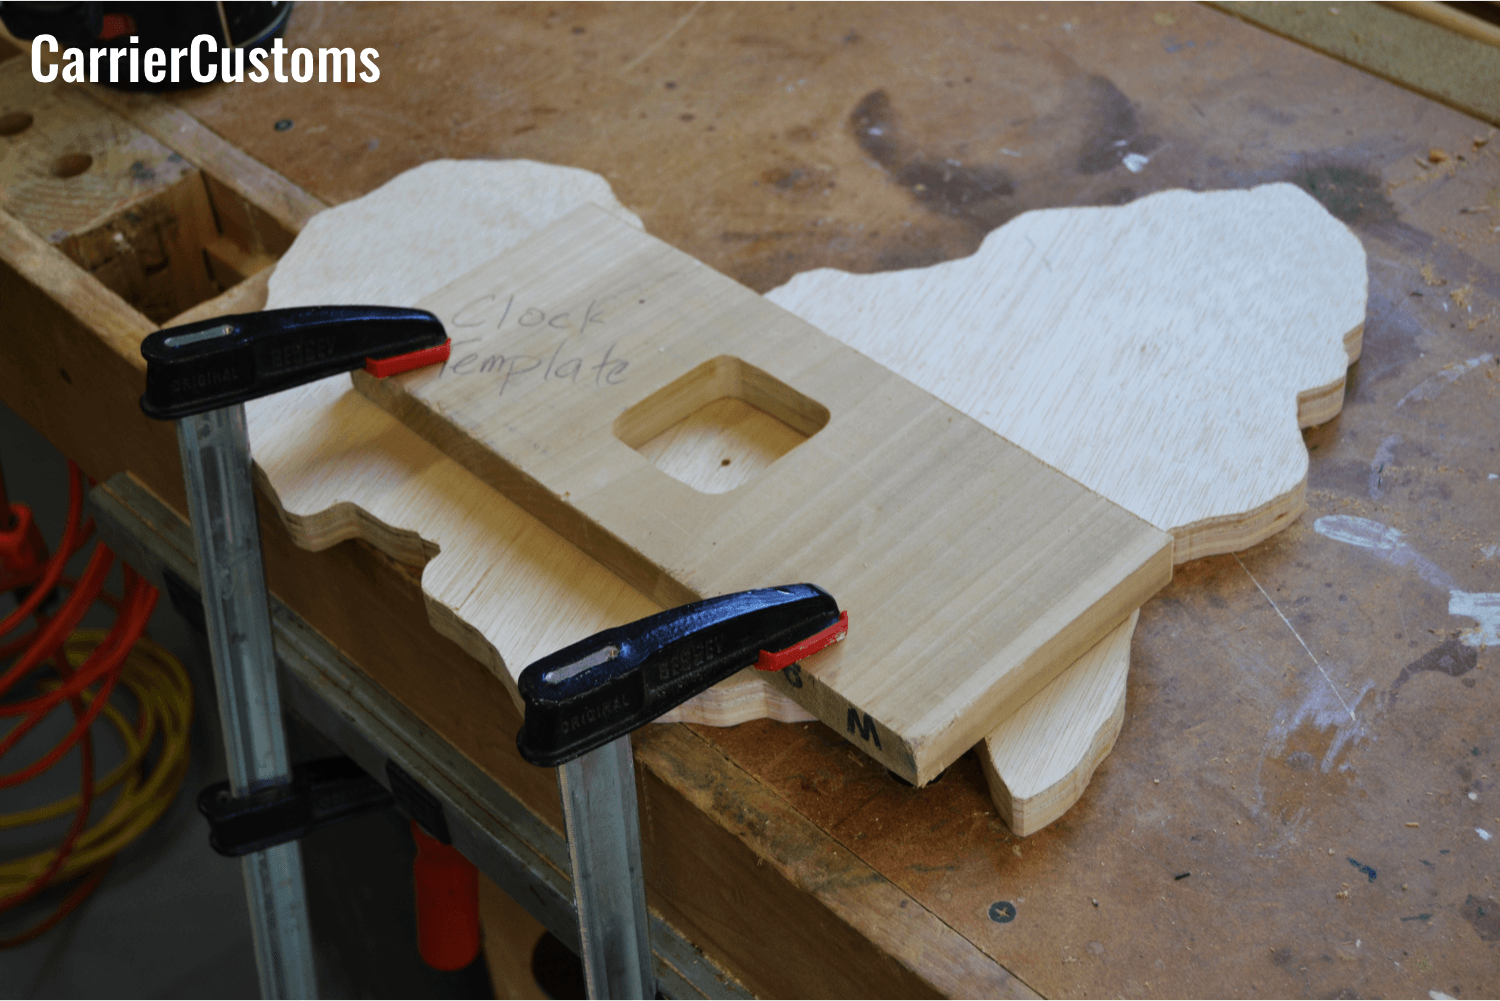
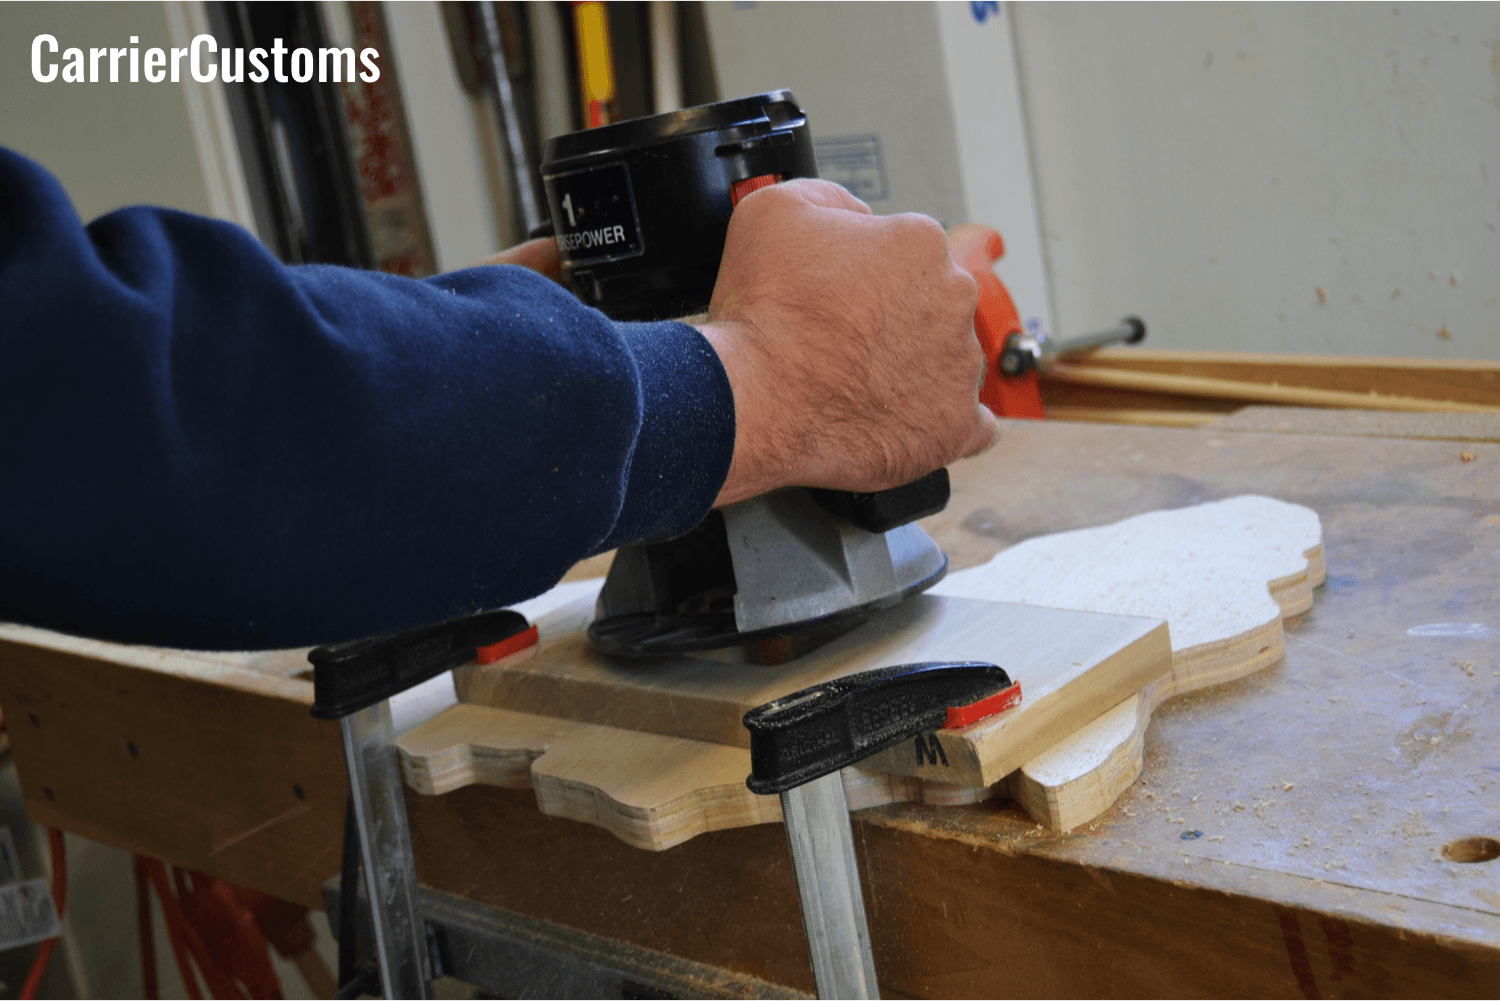
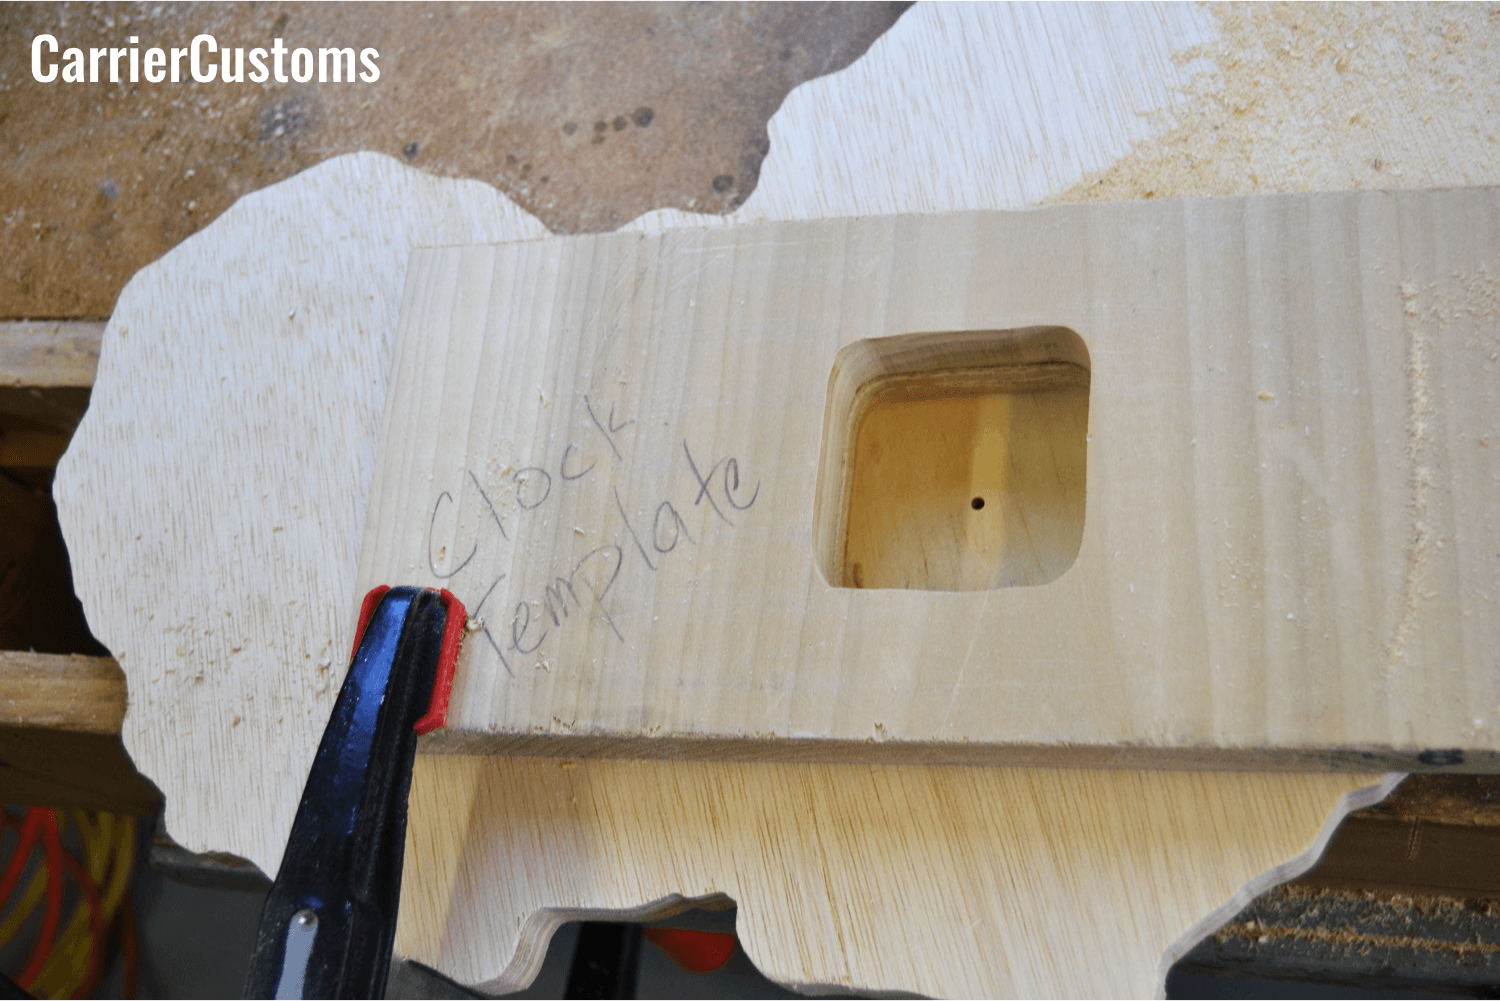
Step 3: Cut out ‘the guts’ for the clock piece
This is the final difficult step, we promise! Using a template, cut out the area in the back of the clock where ‘the guts’ of the clock will go. You can buy clock guts and hands from any local craft store. We get ours from the beloved Hobby Lobby. So first, decide where you want your hands to be on the front face of the clock. Then, drill a hole through your clock using a 5/16 inch drill bit. Keep in mind, your size(s) may vary. And finally, using a template on the back of your clock, use a router to eliminate the spot for the guts.
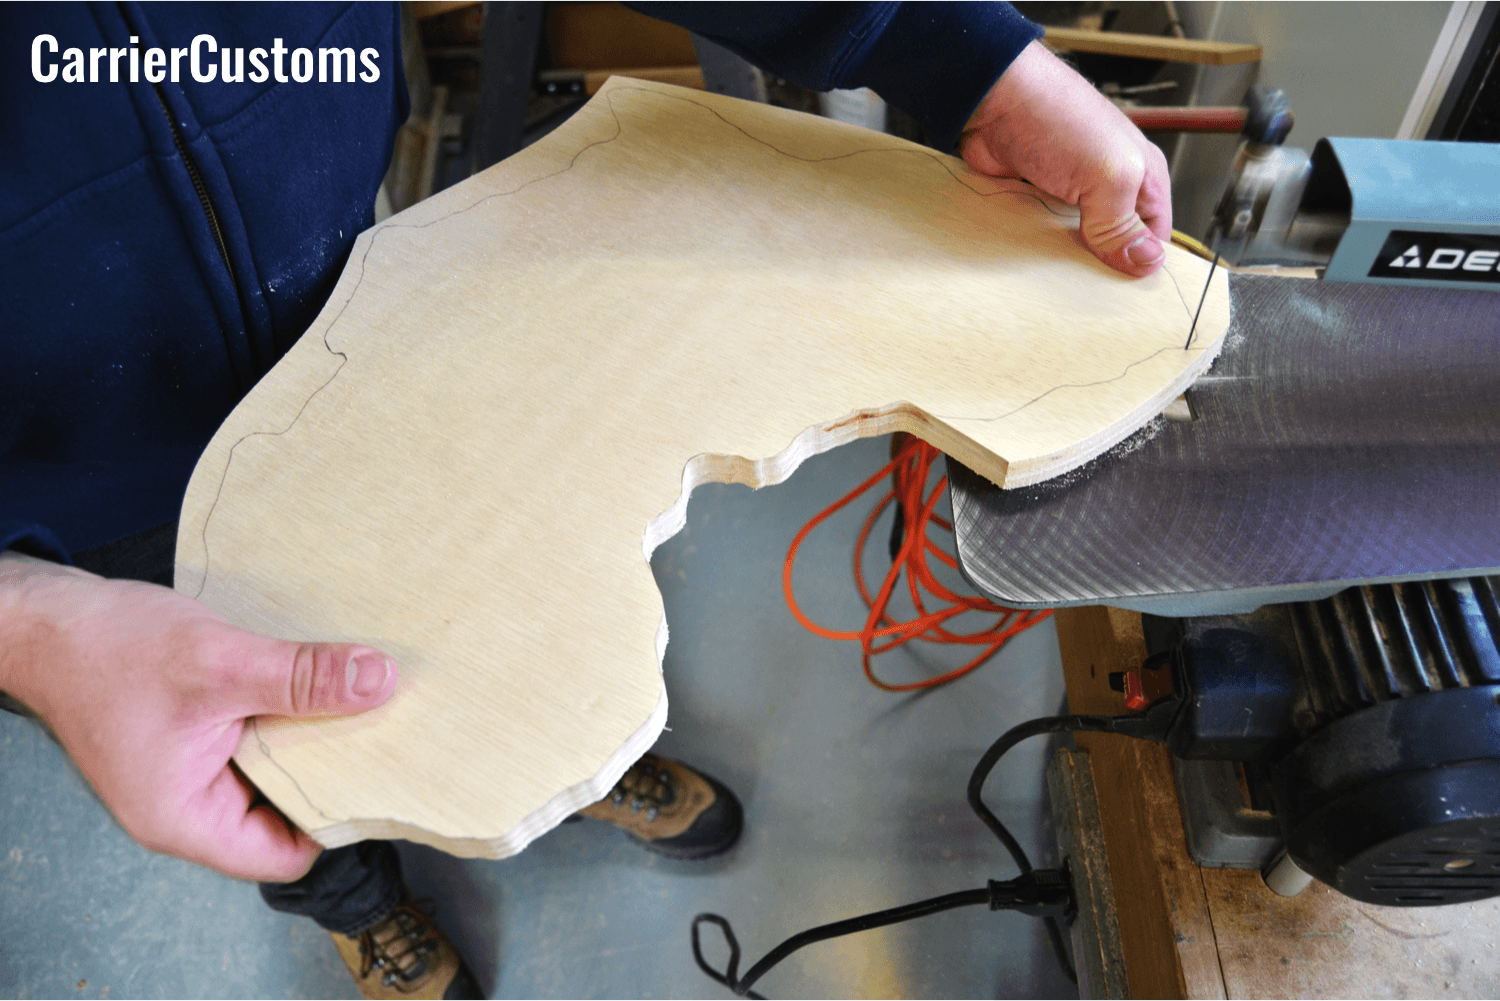
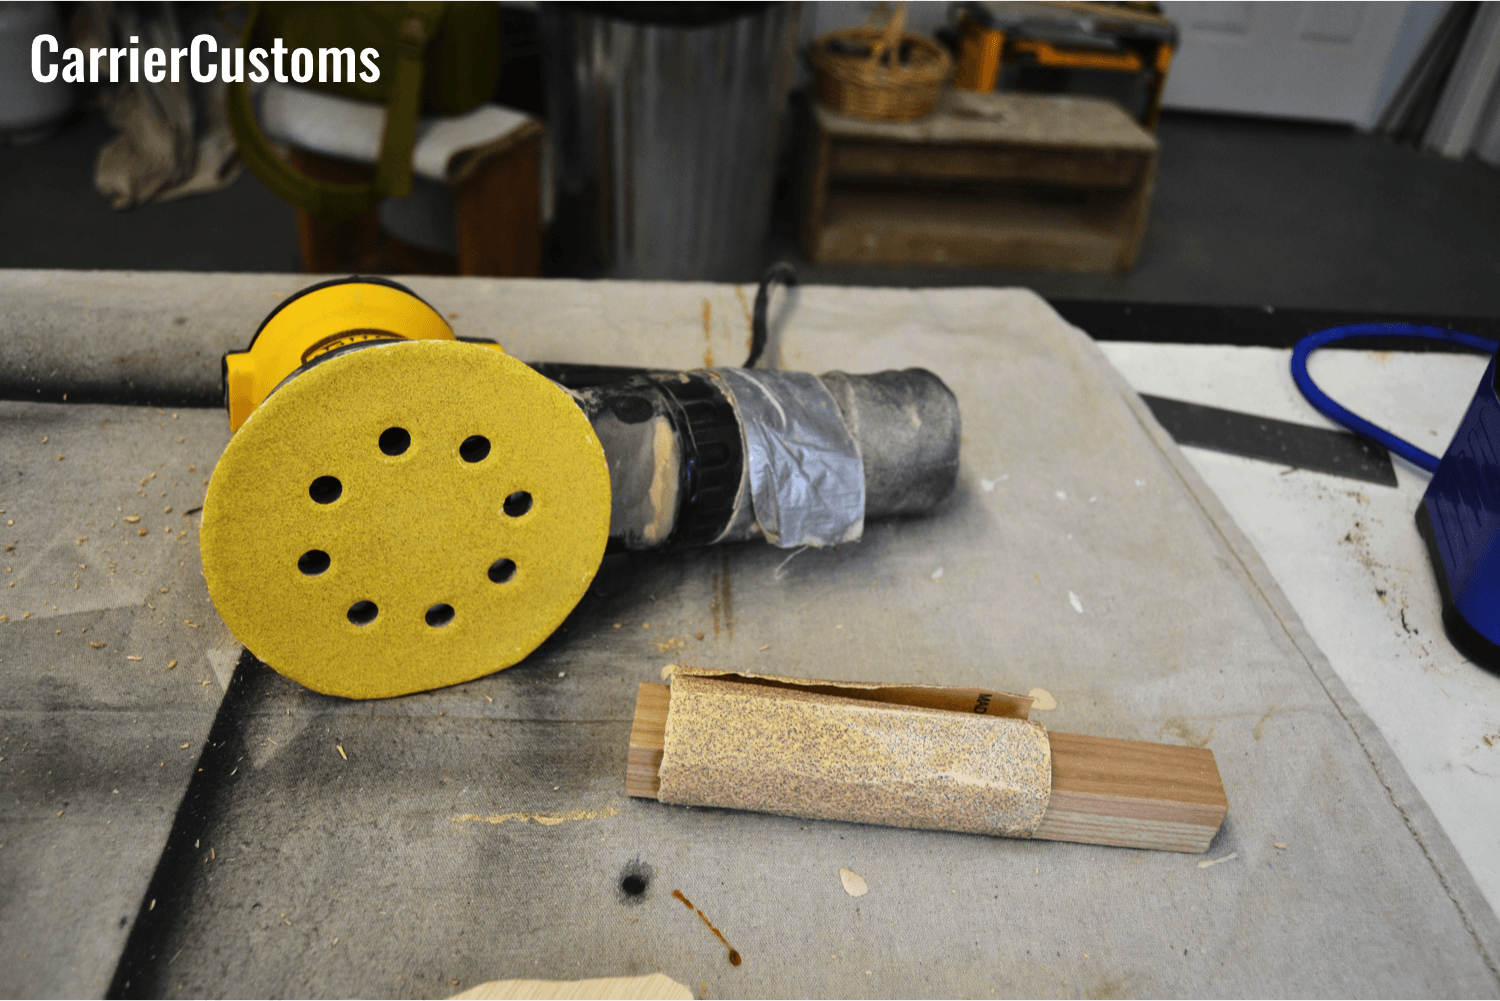
Step 4: Sand and stain the wood
This step is my favorite part. First, sand down the clock to make it smooth on all surfaces. We use an orbital sander and start with 120 grit sand paper and move up to 200 grit. This ensures that the clock is as smooth as possible.
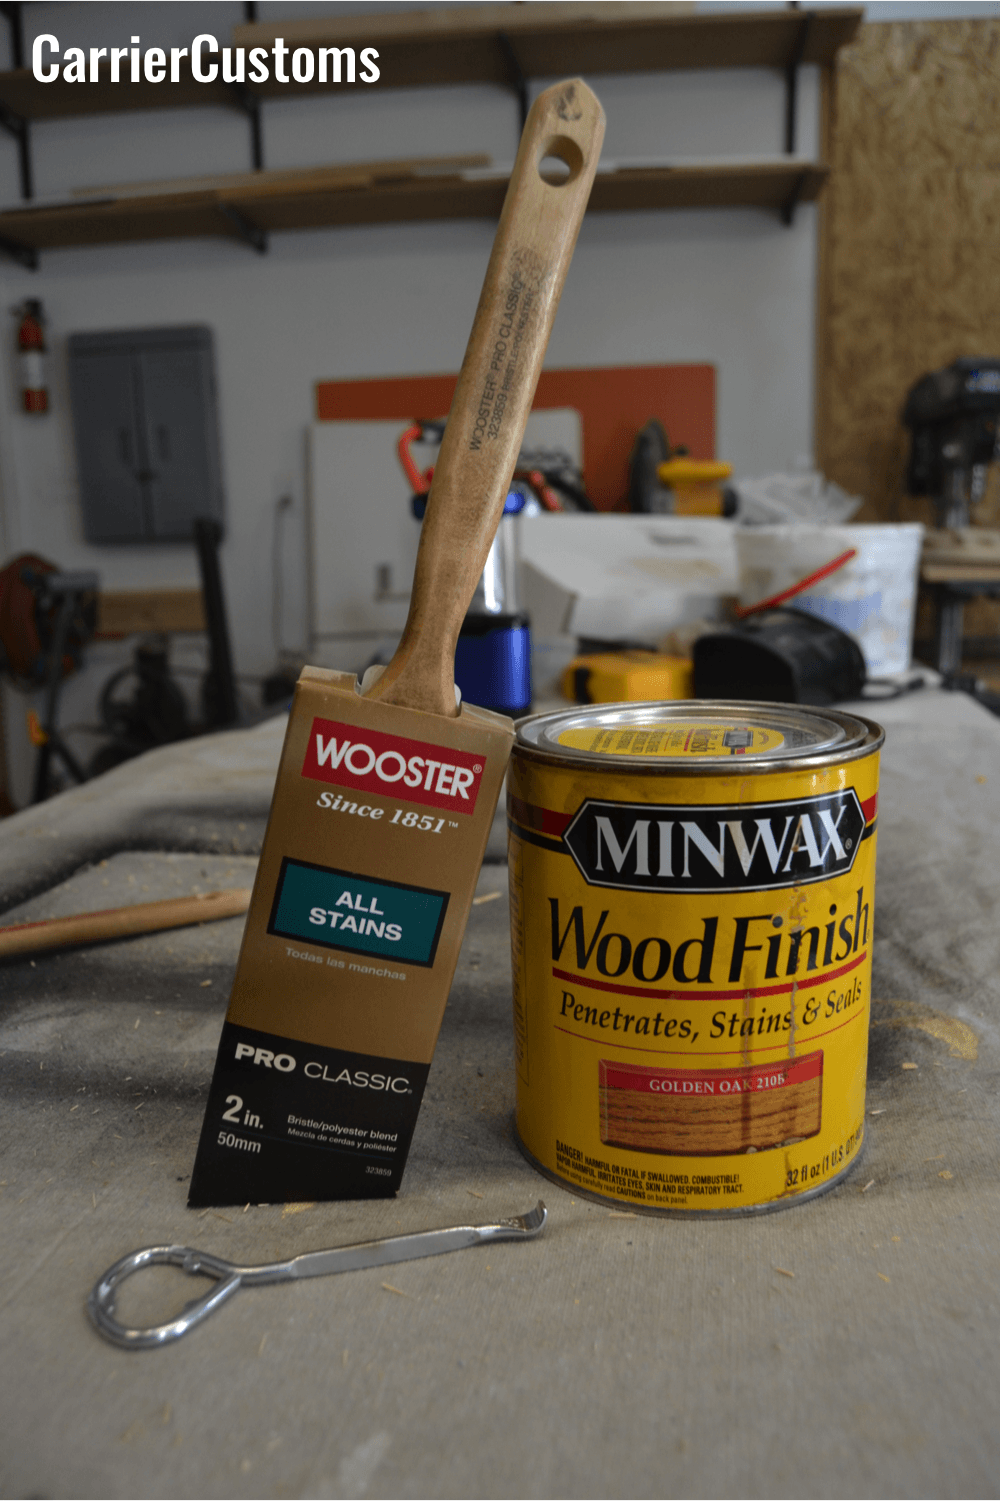
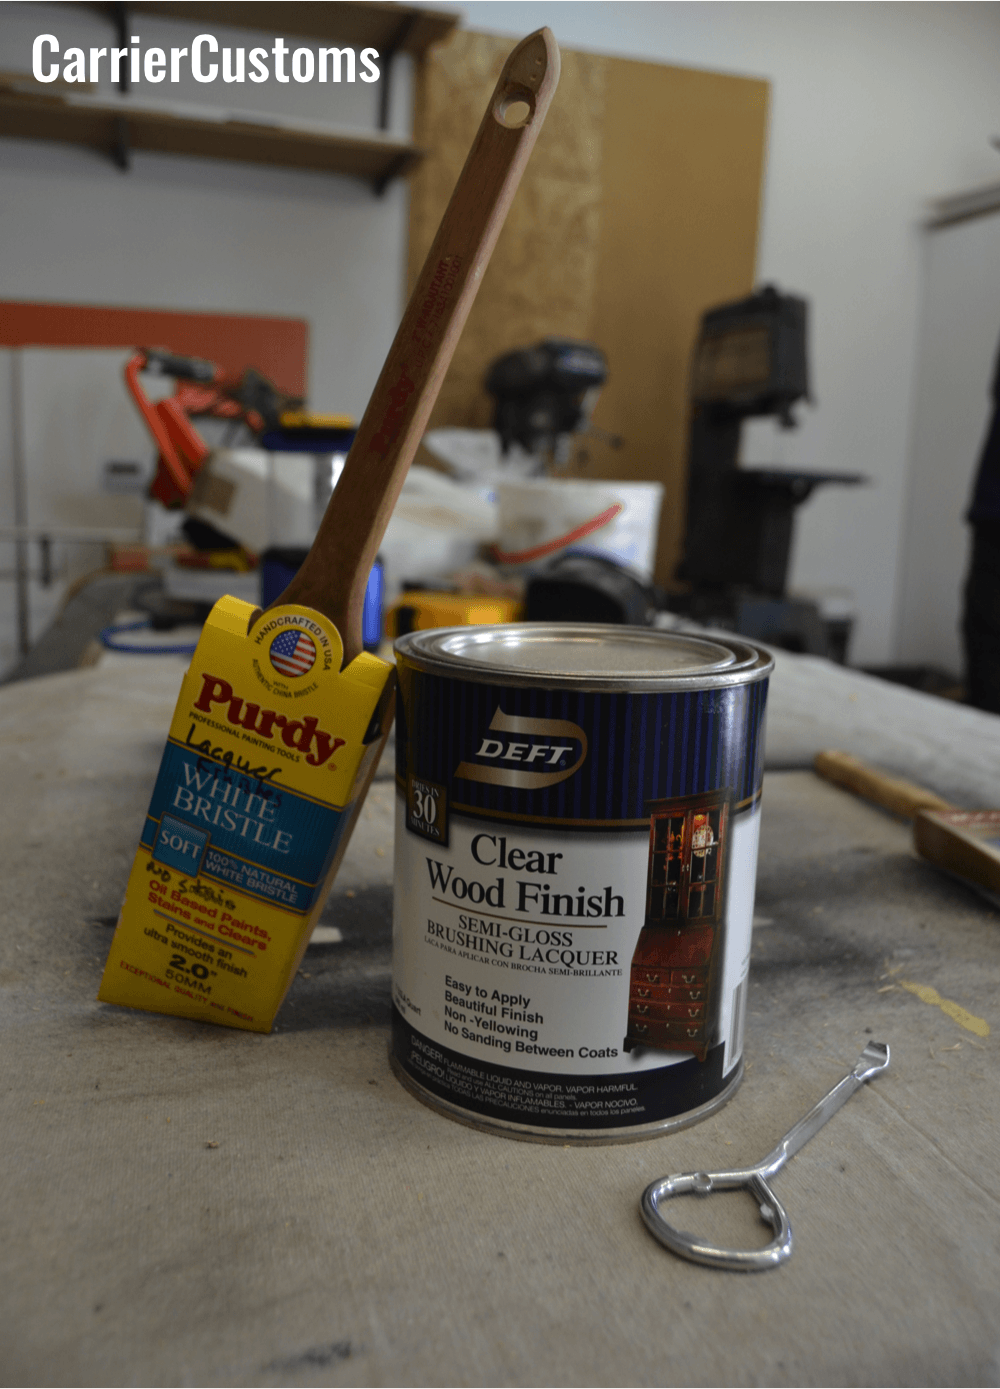
Then, using the stain of your choosing, color the front and sides of your clock using either a paint brush or a cloth. Between applications, wait at least ten minutes. When the front and sides of your clock have reached the desired color, stain the back with at least one coat. (Note: The longer you leave each layer of stain, the darker the clock will be. Therefore, if you want a really light color, stain the clock, then wipe off any excess stain immediately after application.)
Once your stain is dry, approximately 8 hours (if not a full night), lacquer the front and sides of your clock using a brush (unless using spray-on lacquer). Let dry for 2-4 hours then reapply another coat of lacquer if so desired. Again, let dry for 2-4 hours.
Step 5: Insert the guts and hanging bracket
Finally, the finishing touches! Take your clock guts and follow the instructions on the package to insert them correctly into the back of the clock. Most kits require a single AA battery to function. Then, to hang your piece on a wall, use a hanging bracket (size of your choosing) available from any hardware store. And lastly, place your clock on a spot where the world can admire your handiwork, and give yourself a pat on the back! You did it!
I hope you all enjoy gettin’ your craft on. And if not, stop by our shop by clicking here and let us make your custom piece for you. These items make great gifts for everyone! If you ever run into problems or have any questions, please feel free to contact us at alnfssm@hotmail.com. We’d be happy to help! Thanks for reading and have a fabulous day!