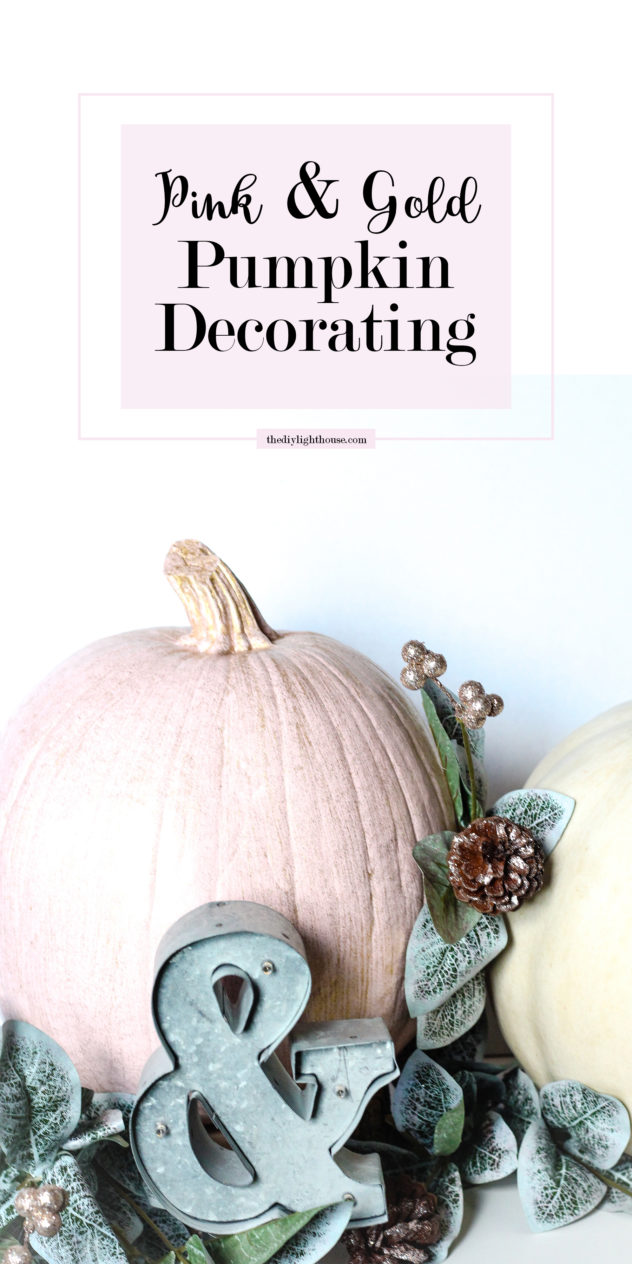
If you want a more classic way to decorate for fall–one that is void of pumpkin guts–I’ve got exactly what you’re looking for! This DIY rustic, totally “in” color pallete combines the romantic light pink pumpkin dusted in gold glitter with the classic white pumpkin. And below I show you how it all came together.
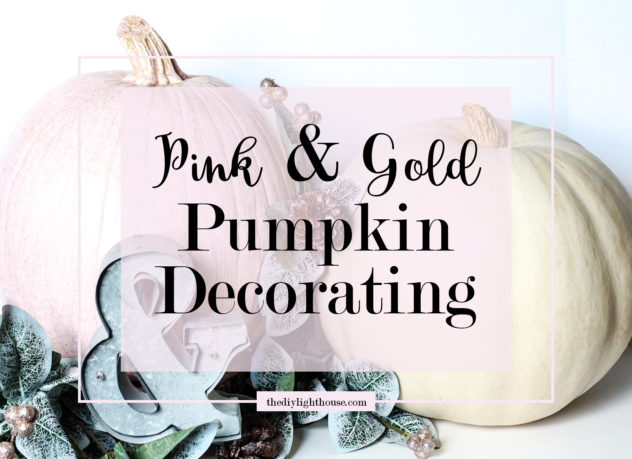
DIY Pink & Gold-Dusted Pumpkin Decorating
(This page contains affiliate links that we may be compensated for. Your clicks and purchases help support The DIY Lighthouse at no extra charge to you. We only put links to products we love and would recommend anyway.)
1. Find DIY Supplies
Making a DIY pink & gold-dusted pumpkin is crazy simple, people. All you need is:
- a small can of paint or a can of spray paint in the desired pink color
- some gold glitter paint
- a couple paint brushes
- a garbage sack or a surface to paint on
- oh…and a pumpkin, of course!
The pink color I used was sample pint-sized Clark + Kensington paint called Surprise Party (07C-3). P.S. My local hardware store was doing a promotion where pint-sized samples only cost $1, so I totally scored! If you want to save yourself a trip, here are 3 different shades of pink that I think would work splendidly: ballet slipper pink, gloss candy pink, or bonnett pink. You can also might be able to find paint for free in your area! Check out our post DIY Hack: Get Paint for Free to see how.
I picked up the gold glitter paint from Walmart. It’s a 2 oz bottle of the highly-rated Folk Art 2798E Glitter Gold. Intended for enamel use, it gives a transparent, glossy look, simply adding a coat of glitter while maintaining the integrity of the pink color.
Basically any paint brush will do, but I recommend this #1 best-seller paint brush package. (You get 5 premium brushes for $9.99!) Remember that you will need at least two brushes for this project, one for each paint.
I always use garbage sacks to paint on. It’s a very inexpensive way to maintain the mess, and you can just bunch it up and throw it away when you’re done! If you do go with the garbage sack method, just be sure to secure the corners down if there is even the slightest breeze or else you’ll end up with a very unattractive mess. If you are spray painting, be sure to check out our video on how to spray paint in a box. It’s a lifesaver!
I actually used a typical orange pumpkin for my pink, gold-dusted decor piece. I also bought a white pumpkin because it was super cheap and I think they look magical. If you’re wanting to go the mini pumpkin route, you can buy an assortment of pumpkins and gourds for just over a buck a piece. Or find large carving pumpkins near you with Amazon Fresh!
2. Paint the Pumpkin Pink
Hands-on time literally takes less than 10 minutes. Isn’t it great when a fun DIY is also quick and easy?!
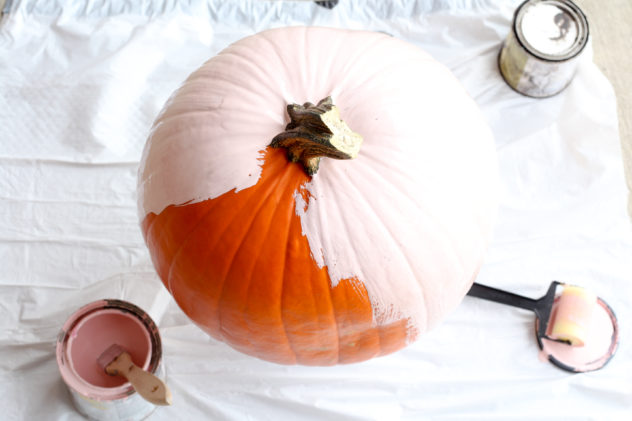
Before you get too excited about the painting, be sure to wash your pumpkin. Dirt will cause the paint to blister or look…well, dirty. It’s amazing how much hidden soot is on those bad boys. I plopped mine in the sink and softly used a sponge to get rid of all the dirt. Be sure to let your pumpkin thoroughly dry before applying paint. (If you’re as disgustingly impatient as I am, you will towel dry and then blow dry your pumpkin to remove an excess moisture….Seriously, who has the time to wait 2 minutes to let their pumpkin air dry?!)
When your pumpkin is completely dry, you’re ready to paint it pink! For this project, I put another pint-sized paint under my pumpkin so that I could paint the majority of the bottom side without having to wait for it to dry. (Another testament to my impatience.) Remember to paint the stem pink too!
3. Have a Glitter Fest. ‘Nuff Said.
Hopefully you only needed one coat of pink paint. If not, quickly add another coat before moving on to the fun part. Once your pink coat is dry, add your coat of glitter paint! I would recommend painting in up-and-down strokes, so they run parallel with the ridges of the pumpkin. About an hour later, and you’ve got yourself a DIY pink and gold-dusted pumpkin!
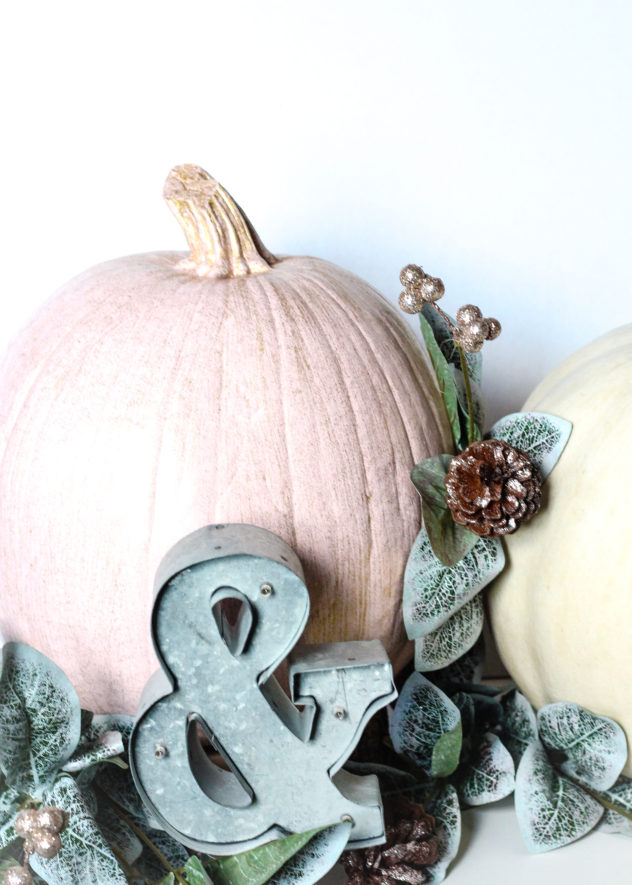
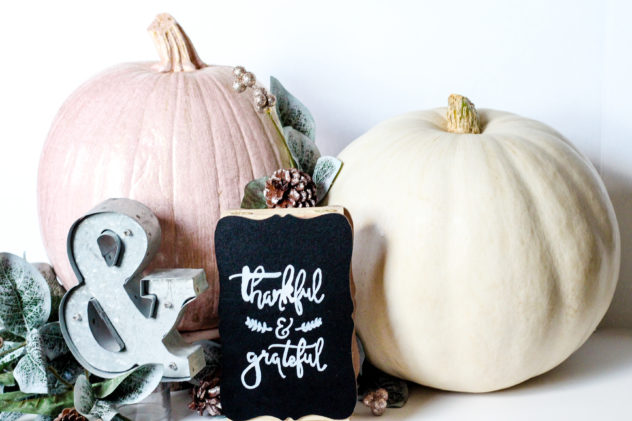
This gorgeous fall pumpkin decor piece pairs really well with white pumpkins, pine cones, frosted foliage, and other rustic accent pieces. I added a fun touch to my pumpkin display by quickly making a “thankful & grateful” chalkboard sign to act as a reminder of what this season is all about. I’d love to know how you decide to display your DIY pink & gold-dusted pumpkin! Please comment below with the details!
If you enjoyed this post, please feel free to pin the image below. Happy pumpkining!
Other posts you might like:
21 Totally “In” Essential Fall Color Palette Combinations

Cheap Fall Decor Ideas
Tree of Gratitude & Thanksgiving Craft
DIY Hack: How to Keep Your Paintbrush From Drying Out

10 Tasty Ways to Use Thanksgiving Turkey Leftovers
Tips for Painting While Pregnant
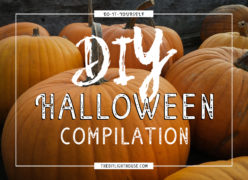
DIY Halloween Compilation [Frighteningly Easy!]
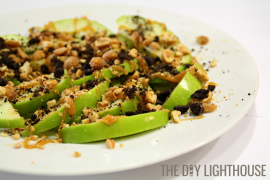
Delicious Apple Snack Recipes for Fall