Call me weird, but I have this thing where I collect gift bags and tissue paper. After years of doing this, I have over 10 gallon-sized Ziploc bags full of carefully folded tissue paper (in every color of the rainbow) and about 30 gift bags. These get recycled and used for birthday, wedding, baby shower, housewarming, and holiday gifts…unless they’re used in a super crafty, feminine office space project.
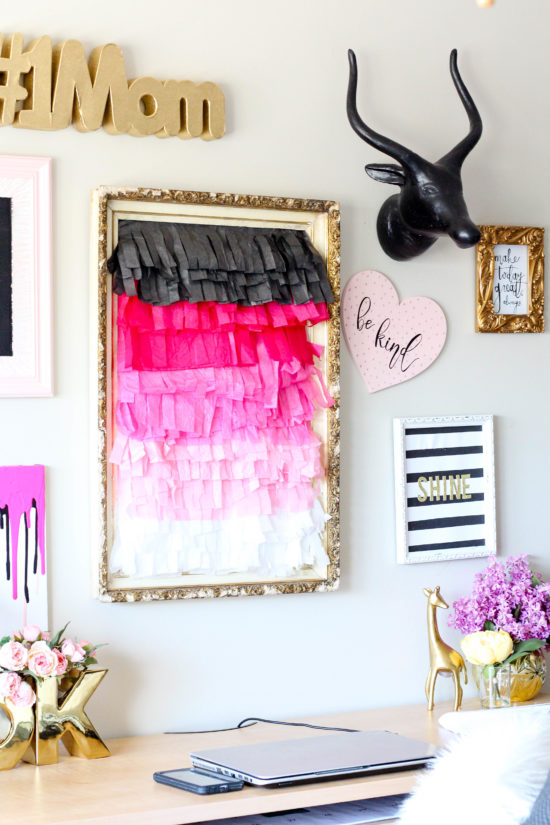
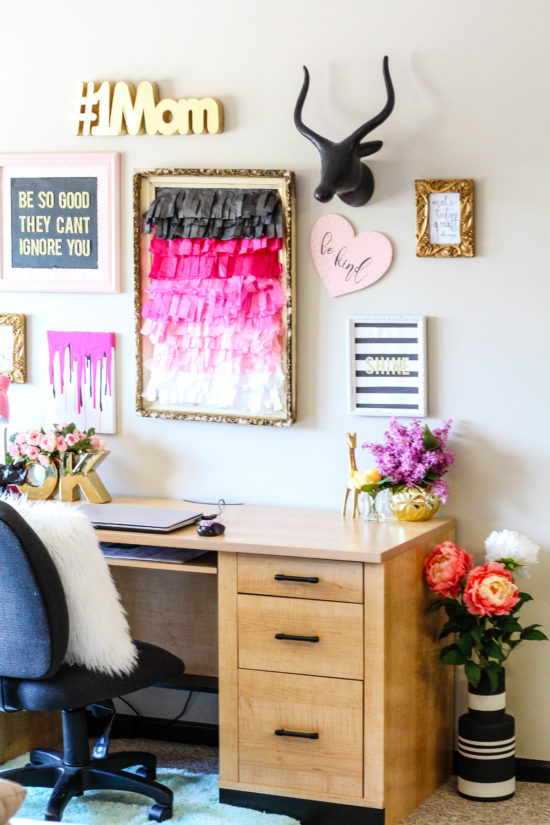
When I began to put together my new office space in our apartment, I knew I wanted to do it on the cheap. I found a well-built, beautiful desk for $50 and the chair for $6. With DIY in my bones and a tight budget, I decided to make most of the surrounding office decor myself. Pink, gold, black, and white were in my color palette. One of my favorite DIY wall pieces is a focal point in the space: the DIY ombre tissue paper fringe wall decor.

DIY Ombre Tissue Paper Fringe Wall Decor
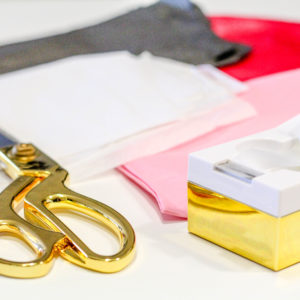
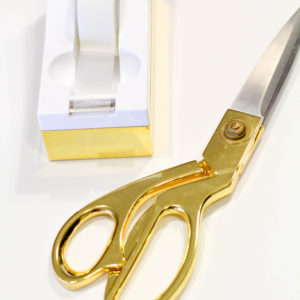
This was such an easy, quick, and suuuuper inexpensive project. In fact, it cost me $1 to make. No joke. Here’s how it went down: I found the frame at a local Habitat for Humanity restore in the “free” section, I bought a white poster from Walmart for $0.97, I leveraged my tissue paper collection, and I used probably $0.03 worth of scotch tape and some scissors. And the nail. Can’t forget the nail. That’s it, my friend! And the best part? You can do it for cheap-o too!
Take your garage sale/Craigslist/Good Will picture frame find and measure the size of poster you’ll need to work with. Once you’ve cut your poster down to the appropriate size, take new or used tissue paper and create the ombre effect with whatever colors you choose. (This is the fun part!) Stick to a monochromatic palette, create the rainbow, or use your kiddos’ favorite colors. Whatever colors you choose, order them with the darkest on top and lightest on the bottom. (If you want a bottom-heavy look, feel free to switch the order.)

Then fold and cut your tissue paper in strips, making sure not to cut all the way through the height of the paper….Otherwise is would just fall apart. You just need to make the cuts long enough to get the tassel, fringe effect you’re going for. Use several layers of the same color before switching shades, making sure that the cuts create a brick-like layering. (Aka, don’t have all the cuts line up or it’ll look weird. The more staggered, the better. Eh?)
Once you’ve taped each layer to the poster, finish this bad boy off by securing your poster into the frame. If scotch tape isn’t cutting it, try a more heavy-duty tape or hot glue. Aaaand boom goes the dynamite. You’ve got one fancy-looking DIY ombre tissue paper fringe wall decor and a whole lota satisfaction from having done it yourself!
Other posts you might like:

Pink & Gold Unicorn Birthday Party

DIY Floral Wall-Hanging How-To
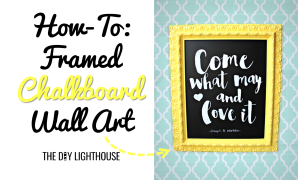
How To Make Your Own DIY Framed Chalkboard Wall Art
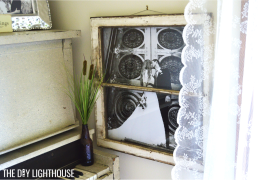
How to Make a DIY Window Picture Frame
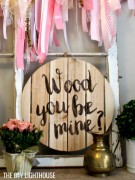
Wood You Be Mine? Decor
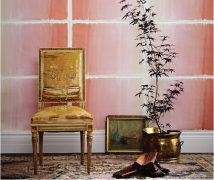
22 Ways to Transform Your Walls