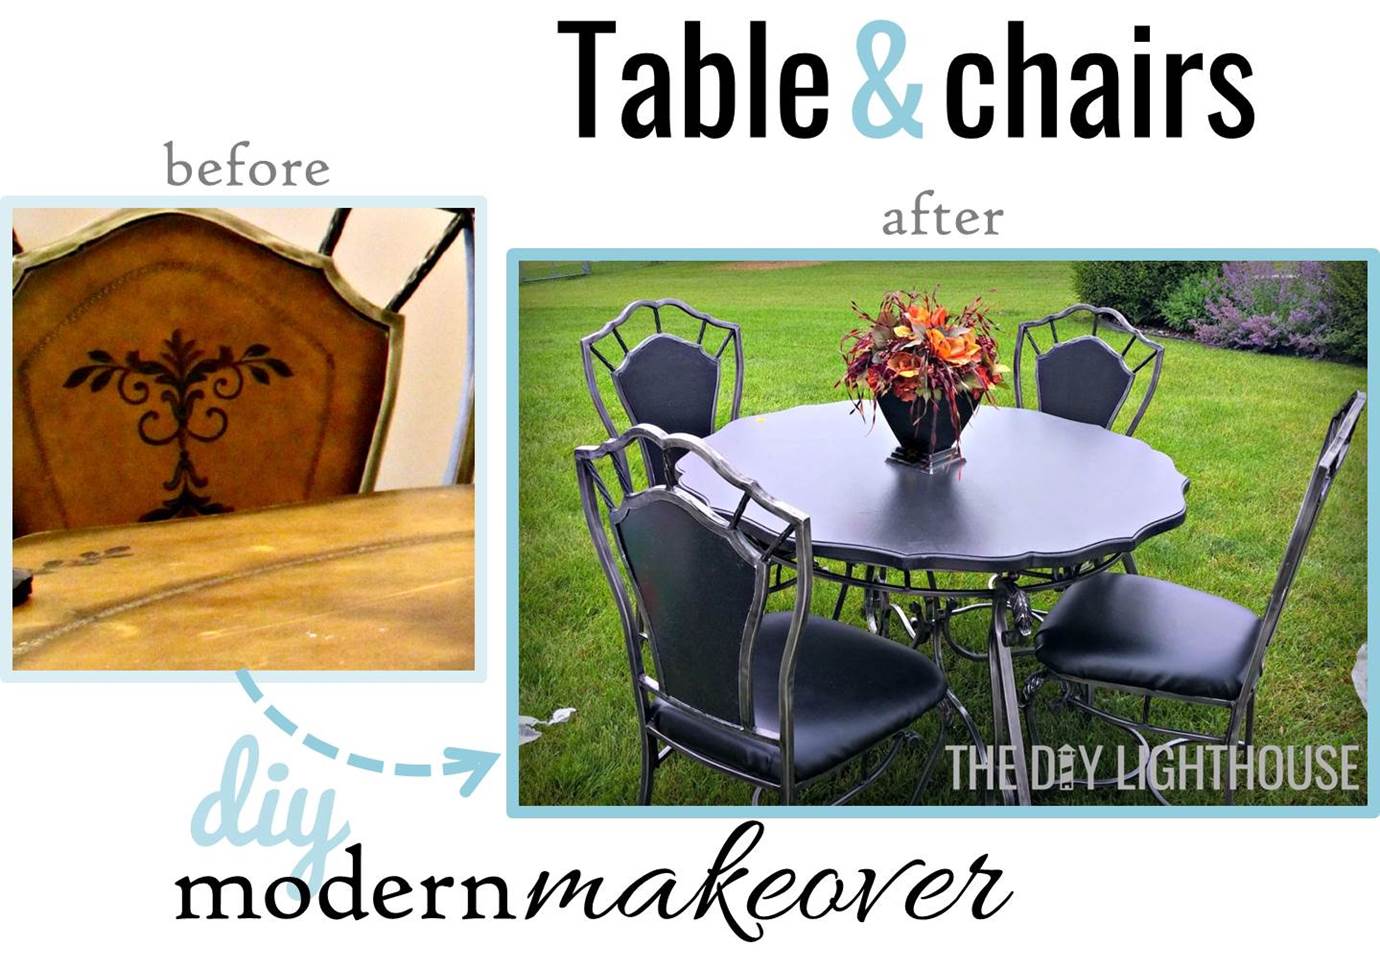
Every piece of furniture has a story. My dining set was adopted into our family when we first moved to Minnesota. Now remember, while in graduate school you can’t just buy a dining set like you can an ice cream cone, hence my search for the ultimate deal. After some required patience and eating from a wooden bar stool while 8 months pregnant, I found our dining set on Craigslist for $60. I talked them down to $40. Luckily for me, we have a car that can transport a dining table and 4 chairs in one trip. (If you don’t, many hardware stores, like Home Depot and Menards, rent out trucks for a pretty decent hourly fee.) Our dining set wasn’t the prettiest thing, but we love her and she had good bones. And hey, there’s nothing a little bit of makeup (fabric and paint) can’t fix!
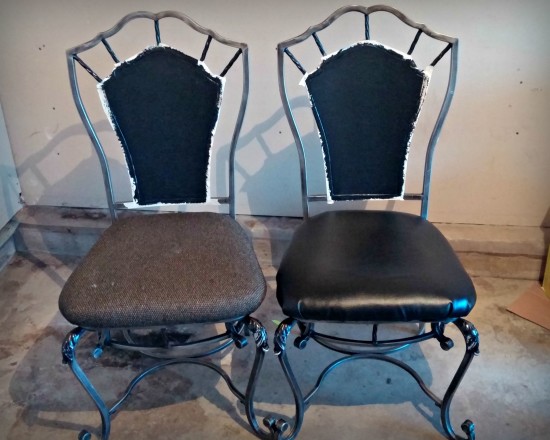
I’m not going to lie; the idea of reupholstering furniture intimidated me a bit. But after I sat on nasty horse poop green fabric for several months, I became slightly more motivated to change things up. The chair cushions easily attached and detached, so I knew it’d be the perfect first reupholster project.
The Supplies
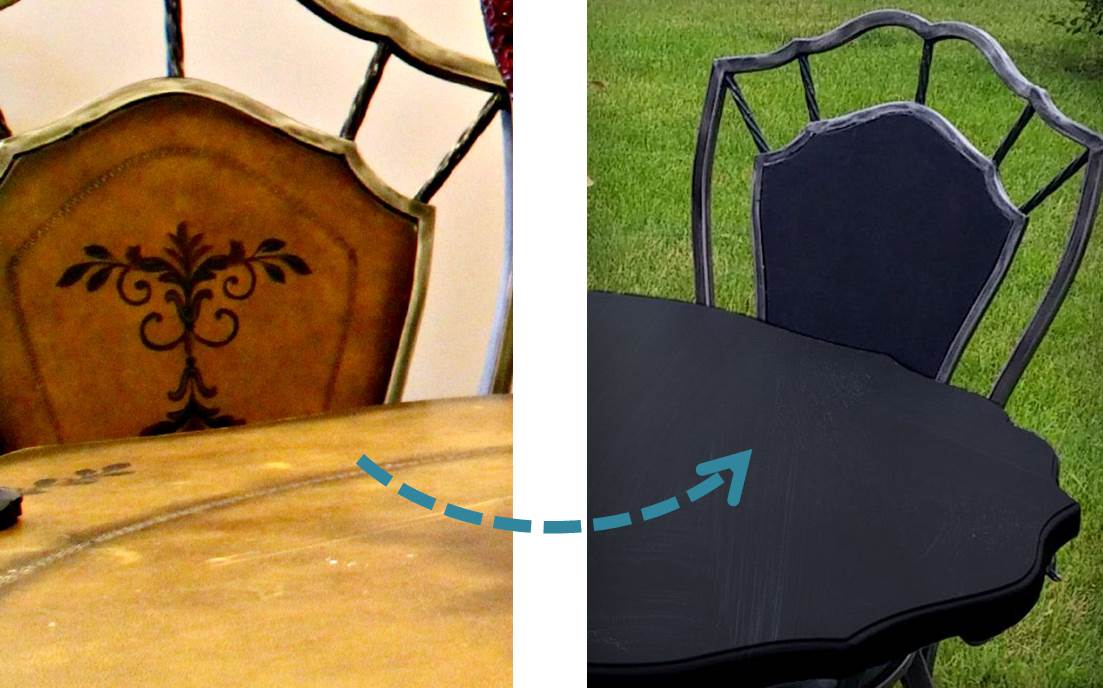
Out of all my projects to date, this one required the most materials and expense. Due to the condition and material of the tabletop, primer and two paint coats were necessary. Also, dining sets can experience a lot of use—just think of all water spills alone—so I always recommend some kind of finish on the table top. I used a semi-gloss polycrylic. In addition to the table top, the chairs get a lot of wear and tear along with the spills, so a good outdoor upholstery fabric was on my shopping list. When looking for the right fabric, I recommend getting sample swatches of fabric colors to make sure it’ll look great with the rest of the set. I ended up scraping my first fabric choice once I saw how it clashed with the color of the metal. And when deciding how much fabric to get, measure twice and give yourself at least a couple inches of wiggle room. Because I went with quality materials, my supplies cost $40 total.
The Painting Process
The painting process was fairly simple. Taking the time to tape off the metal before painting not only allowed the painting process to go much faster, but it made nice clean lines to the finished product. I know taping is boring, but in the words of Nike, just do it! I’ve found wearing throwaway rubber gloves really helps keep things, like my wedding ring, clean and paint free. (A box of 100 gloves cost me about $3. The glove size that would have fit me the best was about 3 times more expensive, so I went the cheaper route with a much larger glove size and it hasn’t ever been a problem.) I finished the painting out in the garage, but you can also cover your floors with plastic or garbage sacks to maintain the mess.
The Reupholstering
The reupholstering was actually really fun! I got to apply some canvas stretching techniques I learned in a college oil painting class when stapling the fabric. (To see how I reupholstered the chairs, click here.) The chairs look beautiful and will last for years!
Because we moved into the city and downsized, our dining table had to go. The parting was bitter sweet, but even in the time crunch we had to sell it, it sold for $180. After the original cost and the added materials, that’s a $100 profit!